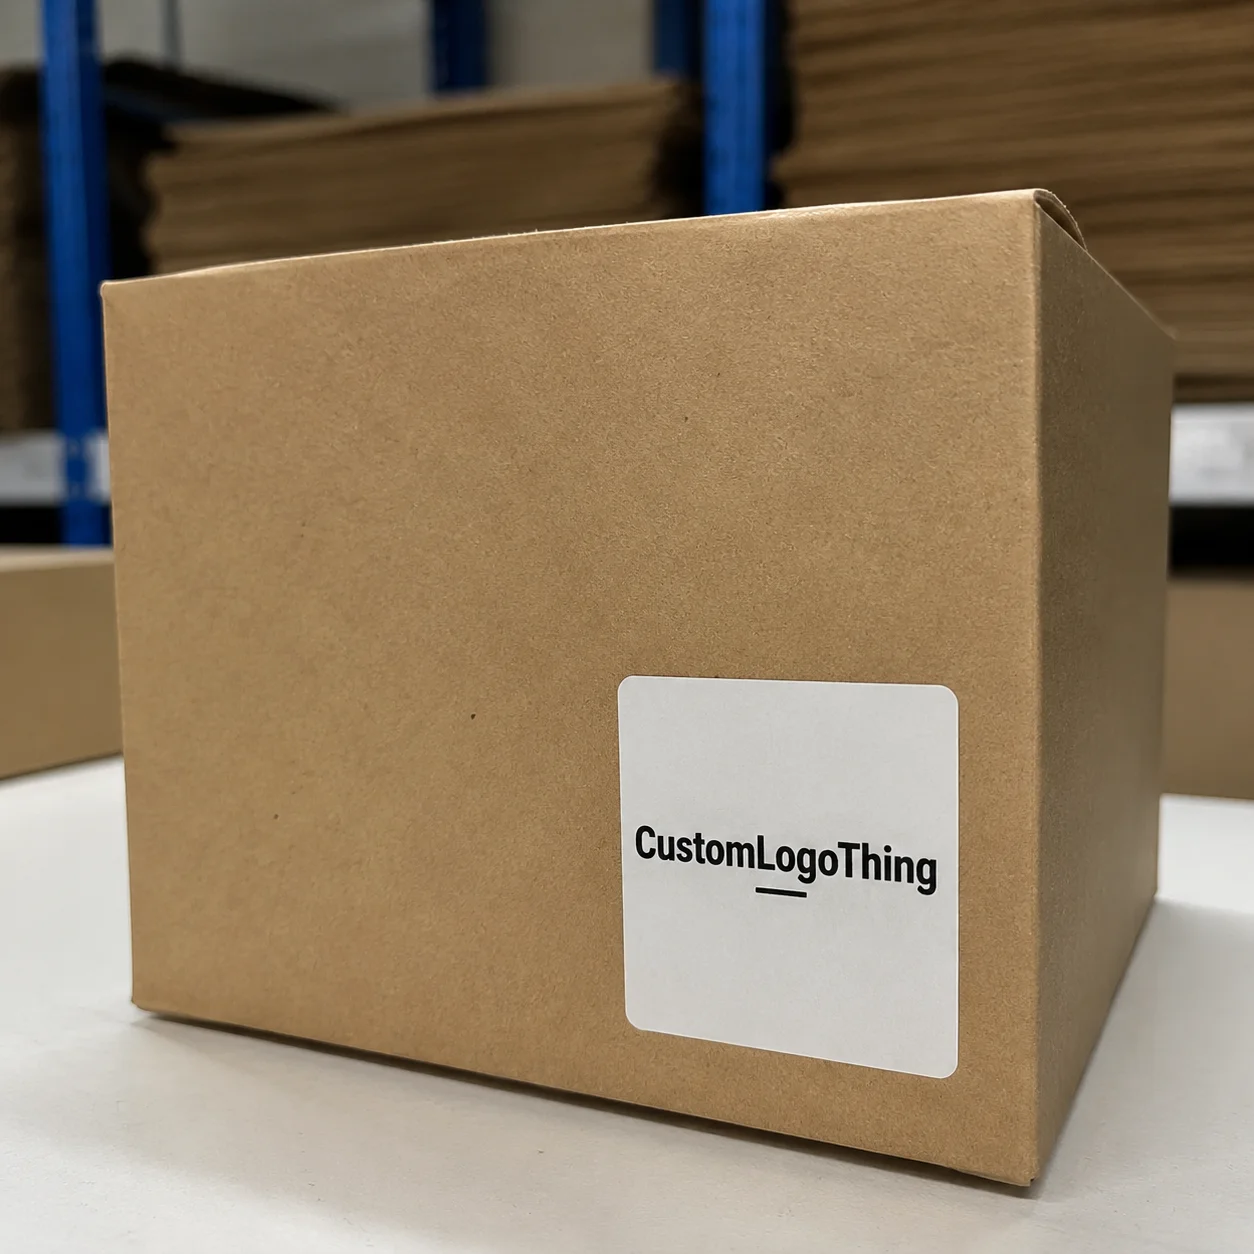
For a lot of brands, 4x4 Stickers Custom is the format that lands in a useful middle ground. A 4-inch square gives enough space for a logo, a short message, and a readable URL or handle, but it does not overwhelm the package the way larger labels sometimes do. That balance makes the size especially common for jars, cartons, mailers, pouches, and event kits.
The size works because it is easy to place and easy to recognize. On a clean retail box, it can act like a badge. On a shipping mailer, it can seal and brand at the same time. On a jar lid or product insert, it feels intentional without needing much extra explanation. The trick is treating the sticker like a production component, not just a decorative add-on.
That distinction matters more than many buyers expect. A sticker sees handling, pressure, shelf light, and sometimes moisture or abrasion before the package reaches the end user. If the material, adhesive, and finish are mismatched to the real surface, even a good design can underperform.
Why 4x4 stickers stand out on crowded packaging
A 4-inch square is versatile because it behaves predictably across different packaging types. It reads cleanly on a small jar lid, stays proportionate on a folding carton, and still carries enough visual weight to help a mailer or insert feel branded. That is one reason 4x4 stickers custom orders show up so often in product launches, retail packaging, and promotional kits.
Square proportions are practical for layout work. A centered logo, a short tagline, and a web address can sit comfortably inside the space without forcing the design into awkward horizontal or vertical arrangements. The format also keeps the eye moving in a stable way, which is useful when the sticker has to be understood quickly on a shelf or in a shipping line.
The limit is just as important as the benefit. Once text gets too small, a square sticker starts to feel crowded. Thin strokes, dense copy, and intricate graphics can disappear once the sticker is trimmed and placed on a package with texture or glare. Strong packaging design usually wins by simplifying the message and letting the shape do some of the work.
As a buyer, it helps to define one main job for the sticker before you send the artwork. It may seal a pouch, identify a product line, mark a seasonal release, or add brand recognition to a mailer. Once that role is clear, the material and finish choices become much easier to judge.
- Jars, tins, and lid seals
- Retail packaging and shelf-ready branding
- Mailers, tissue wraps, and closure seals
- Event handouts and swag bags
- Product inserts and limited-run promotions
In practice, the best-performing sticker is usually the one that communicates fast and stays out of the way after that. If the package already has strong graphics, the 4x4 format can support the system without competing with it. If the package is minimal, the sticker can become the focal point.
How the custom sticker production process works
Most sticker jobs follow the same basic production path: artwork review, proofing, print, cutting, finishing, inspection, and shipping. The exact setup varies by vendor, but the quality risks are familiar. Wrong size, weak bleed, cut lines that drift, and files that looked acceptable on a screen but do not hold up in print are the problems that slow things down most often.
Digital printing is common for smaller and mid-sized orders because it avoids the plate setup required in traditional press work. That usually means faster turnaround and more flexibility when the artwork changes from one order to the next. For very large repeat runs, or jobs with strict color expectations, another production method may make sense, but the math depends on quantity, color coverage, and how much setup is needed.
For most buyers, the real question is not which process sounds more advanced. It is which process fits the order size, surface, and timeline. A 300-piece run for a seasonal promotion is not managed the same way as a 20,000-piece replenishment order for ongoing retail use.
Proofing is the checkpoint that saves the most expensive mistakes. A proper proof confirms the final dimensions, the trim area, the bleed, and the artwork placement before production starts. If something is off, that is the time to correct it. Once the run is in motion, even a small change can add cost and delay.
A useful proof does more than show the art. It shows how the sticker will trim, peel, and sit on the actual package.
For brands building a coordinated packaging set, the sticker should sit in the same visual system as the rest of the components. That means matching color intent, keeping finishes consistent where possible, and checking how the sticker feels next to cartons, labels, and inserts. Orders often make more sense when Custom Labels & Tags and other Custom Packaging Products are reviewed together instead of one at a time.
Key material and finish choices that change the result
Material changes how a sticker behaves in real use. Paper, vinyl, and specialty stocks each have a place, but they are not interchangeable. Paper is usually the better fit for dry indoor packaging, lighter-touch branding, and lower-cost runs. Vinyl is more durable when moisture, handling, or a longer service life matter. Specialty stocks can add texture or a premium feel, although they are not always the best choice for rough handling.
Adhesive selection matters just as much as the face stock. A sticker applied to a kraft mailer does not face the same conditions as one on a chilled bottle, a coated carton, or a glossy jar. Some adhesives are intended for permanent grip, while others are better for temporary promotions or removable use. If the package surface has texture, coating, or condensation risk, that needs to guide the material choice from the start.
Finish changes both appearance and performance. Matte lowers glare and often makes text easier to read under retail lighting. Gloss increases color depth and gives graphics more punch, although it can reflect light more aggressively. Lamination adds surface protection, especially on vinyl, and helps against scuffing during shipping and shelf handling. For product packaging, that extra protection can matter more than the design mockup suggests.
Corner shape is another small detail with a real effect. A square can look sharp and modern, but a slightly rounded corner often wears better during application and handling. If the sticker will be touched often, the corner treatment is worth discussing during proofing instead of leaving it until the last minute.
| Option | Best For | Typical Tradeoff | Approx. Use Case |
|---|---|---|---|
| Paper matte | Dry indoor packaging | Lower moisture resistance | Mailers, inserts, short promotions |
| Paper gloss | Bright branded presentation | More glare under lights | Retail packaging, promotional seals |
| Vinyl matte | Cleaner look with durability | Higher cost than paper | Jars, pouches, shipping packs |
| Vinyl with laminate | Handling, moisture, scuff resistance | Most expensive common option | Longer use, premium branding, retail |
If sustainability is part of the brief, ask early about substrate options and certifications. FSC-certified paper may fit some packaging programs, while broader packaging guidance from groups such as the Consumer Brands Association’s packaging resources or the FSC can help frame better material decisions. If the sticker will be shipped inside a larger packaging system, durability testing standards from the ISTA are also useful when transit stress is part of the equation.
4x4 stickers custom: cost, pricing, and quote factors
Pricing for 4x4 stickers custom usually comes down to a small set of variables, and quantity is the biggest one. Setup work, proofing, and file handling take time whether the order is 250 pieces or 5,000, so unit cost generally falls as volume rises. That is normal, and it explains why small reorders can look expensive even when the per-piece price is fair for the amount of production involved.
For planning purposes, a simple paper sticker run may sit around $0.18-$0.35 per piece at moderate quantities, while vinyl with laminate can move into a higher range depending on the design, cut style, and order size. Small runs with specialty finishes usually cost more per unit, and larger repeat orders tend to improve the numbers. The real quote can shift if the artwork is heavy in ink coverage, the job needs multiple versions, or the pack-out requires extra handling.
The main factors are straightforward:
- Quantity and how it affects unit cost
- Material, especially paper versus vinyl
- Finish, such as matte, gloss, or laminate
- Cut style, including die-cut or kiss-cut
- Color complexity and total ink coverage
- Packaging format, such as sheets or rolls
- Proof revisions and artwork corrections
Artwork complexity can add cost indirectly because it affects prepress time. A file that needs font conversion, bleed correction, line cleanup, or cut-line adjustment may not show a separate fee on the quote, but it still influences the schedule and the labor behind it. That is why a low number is not always the best number.
When comparing vendors, make sure the quotes are truly comparable. Same size, same material, same finish, same quantity, same cut, and same shipping method. If one quote omits those details, it may look cheaper only because it leaves out part of the order.
For teams running a wider branded packaging program, it is usually smarter to quote stickers alongside the rest of the packaging components. That keeps the visual system aligned and avoids a sticker that saves a few cents but clashes with the rest of the presentation.
Lead time and turnaround: what to expect from proof to delivery
Turnaround starts with artwork review, and that part can go quickly if the file arrives in good shape. A print-ready file usually moves through proofing faster than one that needs cleanup, new cut lines, or a second color check. After proof approval, the order moves into production, then finishing, inspection, and shipping.
A common turnaround often falls around 12-15 business days from proof approval for many custom sticker orders, although that can change with quantity, finish, and current workload. Rush service may be available, but rush production still depends on the artwork being ready on time. If the file is incomplete, the schedule still slips.
These are the issues that most often slow an order:
- Missing or too-small bleed
- Low-resolution artwork
- Unclear cut lines
- Late proof changes
- Unusual materials or finishing steps
Shipping deserves its own buffer. Ground transit may be fine for a reorder, but launch dates and event deadlines usually need more margin. If the stickers are part of a larger packaging delivery, one delayed carton can disrupt the whole schedule.
The most reliable timeline is the one that includes proofing, production, transit, and receiving as separate steps instead of one loose estimate. That is especially true for orders tied to retail launch dates, seasonal packaging, or a shipment that has to land with other branded materials.
Step-by-step prep checklist for a clean artwork file
A clean file removes a surprising amount of friction from the order. Start with the exact finished size. A 4x4 sticker should be built to the trim size, with bleed extended if the art touches the edge. Important text and logos should stay inside a safe margin so trimming does not clip anything critical.
Use the right file type whenever possible. Vector files such as AI, EPS, or PDF are ideal for logos and clean linework because they scale without softening. High-resolution PNG or PDF files can work for full-color art as long as the file is sized correctly and holds detail at final print size. If the image is blurry on screen, it will not improve in production.
Text size deserves more attention than people usually give it. Small type that looks fine in a mockup can become hard to read once it is printed, especially if the sticker is going onto a textured surface or a busy package. If the artwork includes ingredient notes, a short brand story, or a small URL, the layout should be simplified before approval.
- Set the artboard to the exact finished size.
- Add bleed where the artwork runs to the edge.
- Keep critical text inside a safe area.
- Convert fonts or outline type if requested.
- Check color setup and brand consistency.
- Export a print-ready file and request a proof.
Color consistency matters most when the sticker sits beside cartons, labels, or inserts that already define the brand. A red that looks right on a monitor can print differently on paper than on vinyl, and the difference becomes more visible when it is placed next to other packaging components. If the brand depends on a tight palette, compare the proof against existing printed references rather than trusting the screen alone.
A mockup can help before proof approval, especially if the design is new or the package surface is unfamiliar. It is not a substitute for a proof, but it does reveal proportion problems early. For package branding, that preview often saves a round of avoidable revisions.
Common sizing, design, and order mistakes to avoid
The most common mistake is trying to fit too much into the square. Thin lines, dense paragraphs, and highly detailed graphics can all soften or disappear once the sticker is printed and trimmed. A 4-inch format gives room, but not unlimited room. If the design needs more explanation than a quick glance can handle, the layout probably needs another pass.
Surface choice causes a lot of avoidable trouble. A sticker that looks perfect in a mockup may not adhere well to a powder-coated box, a chilled bottle, or a textured mailer. The adhesive and face stock should match the real surface, not the ideal version of it. That matters more than most people realize until the first test application fails.
Cut placement is another detail that becomes visible fast. If the cut line sits too close to the artwork or the bleed is too thin, the edge can feel cramped. On a square format, even a small drift is noticeable because the geometry is so clean. What seems minor on screen can stand out in hand.
A few other issues show up often:
- Ordering too few pieces for the real usage rate
- Forgetting how the stickers will be stored before application
- Choosing a finish that creates glare in retail lighting
- Ignoring moisture, abrasion, or handling during shipping
- Approving art without checking dimensions one last time
Quantity planning also deserves a second look. A small run may be fine for testing, but if the sticker is tied to a launch or recurring fulfillment, running out early creates reordering pressure. Ordering too many can be just as inconvenient if branding changes quickly. The right number is usually the one that matches the actual usage window, not the most optimistic forecast.
Next steps for a smoother custom sticker order
Before requesting a quote, measure the actual application area and think through how the sticker will be used. A jar lid, a folding carton panel, and a shipping mailer all have different constraints, even if the sticker stays at 4x4. That one habit prevents a lot of backtracking later.
Gather the basics first: logo files, brand colors, quantity, surface type, and finish preference. If you already know whether the application needs matte, gloss, or laminate, the printer can point you toward a better starting point. If the surface or use case is unclear, ask for the best fit instead of defaulting to the cheapest material.
Request a proof whenever the artwork is new, the cut is unusual, or the package surface is nonstandard. A proof is inexpensive compared with the cost of reprinting an entire run. For custom sticker work tied to broader branding, the cleanest orders usually come from treating the stickers as part of the full packaging system rather than as a separate afterthought.
Do the final preflight check, confirm the timeline, and make sure the order fits the launch or restock calendar. Done well, 4x4 stickers custom can improve package presentation, support brand recognition, and keep production moving without unnecessary delays.
FAQ
How many 4x4 stickers custom should I order for a first run?
Start with the quantity that covers your launch, test period, or monthly packaging needs rather than ordering blindly. Larger runs usually lower unit cost, but only if you will use the stickers before branding changes.
Are 4x4 custom stickers good for product packaging?
Yes, the size works well for jars, boxes, pouches, and mailers because it leaves room for branding and readable copy. It is especially useful when you want a strong visual without covering the entire package surface.
What file type is best for a 4x4 stickers custom order?
Vector files such as AI, EPS, or PDF are ideal for logos and sharp edges. High-resolution PNG or PDF can work for full-color artwork if the file is sized correctly and includes bleed.
How long does production usually take for custom 4x4 stickers?
Turnaround depends on quantity, finishing, proof approval speed, and the current production queue. Shipping time adds after production, so plan ahead if you need them for a launch or event.
What finish should I choose for durable packaging stickers?
Vinyl with laminate is a strong option when durability, moisture resistance, or scuff protection matters. Matte or gloss should be chosen based on the look you want and how much glare you can tolerate.

