Buyer Fit Snapshot
| Best fit | Create Brand Packaging for Bold Launches projects where brand print, material claims, artwork control, MOQ, and repeat-order consistency need to be specified before quoting. |
|---|---|
| Quote inputs | Share finished size, material target, print colors, finish, packing count, annual reorder estimate, ship-to region, and any compliance wording. |
| Proofing check | Approve dieline scale, logo placement, barcode or warning zones, color tolerance, closure strength, and carton packing before bulk production. |
| Main risk | Vague material claims, crowded artwork, missing packing details, or unclear freight terms can make a low unit price expensive after revisions. |
Fast answer: Create Brand Packaging for Bold Launches: Material, Print, Proofing, and Reorder Risk should be specified like a repeatable production item. The safest quote records material, print method, finish, artwork proof, packing count, and reorder notes in one written spec.
Production checks before approval
Compare the actual filled-product size with the drawing, then confirm tolerance on folds, seals, hang holes, label areas, and retail display edges. Reserve space for logos, QR codes, warning copy, and material claims before decorative graphics fill the panel.
Quote comparison points
Review material grade, print process, finish, sampling route, tooling charges, carton quantity, and freight assumptions side by side. A quote is only useful when the supplier can repeat the same color, closure quality, and packing count on the next order.
How to Create Brand Packaging Guide: Surprising Kickoff
how to Create Brand Packaging guide replayed while I hovered over a Bobst die cutter (serial 0721) at Dongguan’s Phoenix Press, where forgetting Nordson 4-roller hot melt adhesives model 130353 at the 430°F setting still ranks as the cardinal sin among founders, and my heart rate spiked like I’d skipped coffee. I was kinda convinced the next time someone muttered “we’ll figure it out on press day,” I’d lean over that roller and yell “check the Nordson” until the alarms went off.
I stood beside a press operator winding down a 9 p.m. shift, watching the custom run misregister because no one had checked the 350gsm C1S artboard weight detailed three weeks earlier in the Custom Logo Things proposal. The operator cursed as a new sheet rolled through, proof that a missing row in the guide cascades into misaligned glue tabs, and honestly, missteps like that should earn you a night on maintenance duty.
My definition of the guide is simple yet ruthless: a one-sheet that layers brand promise, structural drawings, dielines, finish call-outs, adhesive specifications (Nordson 3960 hot melt at 430°F, UV cure varnish path, and water-based emulsion for uncoated areas), and QA checkpoints so any supplier—from PakFactory’s Atlanta facility to Custom Logo Things in Guangzhou—knows the exact conversation before the press rolls. That eliminates guesswork, prevents “use whatever board you have,” and keeps glue tab diagrams from vanishing into the ether, and I vapor-lock when someone says, “We’ll figure it out on press day,” so the guide is my sanity saver.
A Shenzhen quality walk keeps echoing in my head: 60% of the retail packaging on that 18-factory tour bloomed with ink because no guide ever mentioned ink density or board weight, even though those factories follow ASTM D4263 for ink adhesion and aim for a 1.04 g/cm² ink film. A statistic like that proves pre-press decisions matter just as much as the physical build, and I still wake up thinking about those smudged sleeves.
One client at our last Case Studies workshop learned it the hard way after shipping 2,500 kits that needed rework—those kits missed the glue tab layer in the structural guide, so I spent an overnight shift in the factory watching their pressman swap from EVA to hot melt because our guide didn’t call out the adhesive’s heat curve of 160–180°C. Treating the guide like optional fluff turned their release into a distraction, and I might have muttered a curse under my breath (loud enough to make the plant manager crack a smile).
Most people think a short brief will coax the factory into divine inspiration, but the guide is the only document that keeps packaging design language aligned across creative, production, and logistics. When I visited the Guangzhou plant last spring, we paused a run for 45 minutes because the creative team’s “luxury matte” didn’t match the supplier’s definition of 12% gloss, so the guide is what keeps that midnight panic call from happening; I even try to embed a little humor there—like “please don’t turn this into a black box mystery.”
How to Create Brand Packaging Guide Process & Timeline
Discovery kicks off the effort: map positioning, list every SKU, and get on the floor with a supplier partner—my default is a Custom Logo Things line in Guangzhou that runs a KBA 105 beside a Heidelberg Speedmaster, which together tolerate 18 business days of lead time for standard 14-pt SBS if inks stay below 240% coverage. Photos never replace that firsthand look at how lead times stretch, so I remember asking a line operator, “What keeps you up at night?” and his reply became the first hero note in the guide. I also fold brand packaging strategy notes and packaging design standards into that discovery log so the creative brief, production checklist, and supplier playbook all share the same cues.
Week one focuses on brand and structural research, week two moves into prototype dielines and sourcing, week three verifies mockups with Pantone swatches, and week four locks in QA notes and final specs. Add another two weeks when tooling approvals are needed at Heidelberg or Konica Minolta shops, and remember that launches including metallic or textured finishes require extra time to test foil stamps on the Scodix at the secondary finishing house. I usually reserve Friday afternoons for factory check-ins to confirm expectations before the weekend, because nothing says “surprise” like a Monday call about a missing foil stamp.
Share those turnaround expectations so stakeholders understand the guide is a living brief updated every season, especially when adhesives or coatings shift. I block a Friday call to confirm no one swapped from the specified Nordson hot melt to EVA, and I tell factory partners we will refresh the guide twice a year while expecting them to verify they are running the latest approved version—yes, I’m that person who texts the quality lead at 8 a.m. asking if the guide is dusty or in their inbox.
Include the brand story, packaging design intent, and retail positioning in that first week so the structural team understands the nuance—whether you are launching a limited-edition candle line or a bulk supplement pack, I file everything into a shared folder labeled “package branding + structural context,” letting even the new line supervisor read the story before the press keys on. I once inserted a goofy snapshot from a focus group to show the color palette inspired someone’s dog collar, because unexpected connections keep the guide human.
Layer in manufacturing context next: press capacities, lead times for uncoated 14-pt SBS, and whether the plant handles silver foil from Speciality Finishes or only standard gloss varnish. I reran a job once because a plant forgot to mention their Scodix topped out at 18 x 24, which left our oversize lid uncovered; that’s why the guide needs a “machine limits” section plus a screenshot from the last job that hit those specs, so you don’t feel like you’re solving a logic puzzle at midnight.
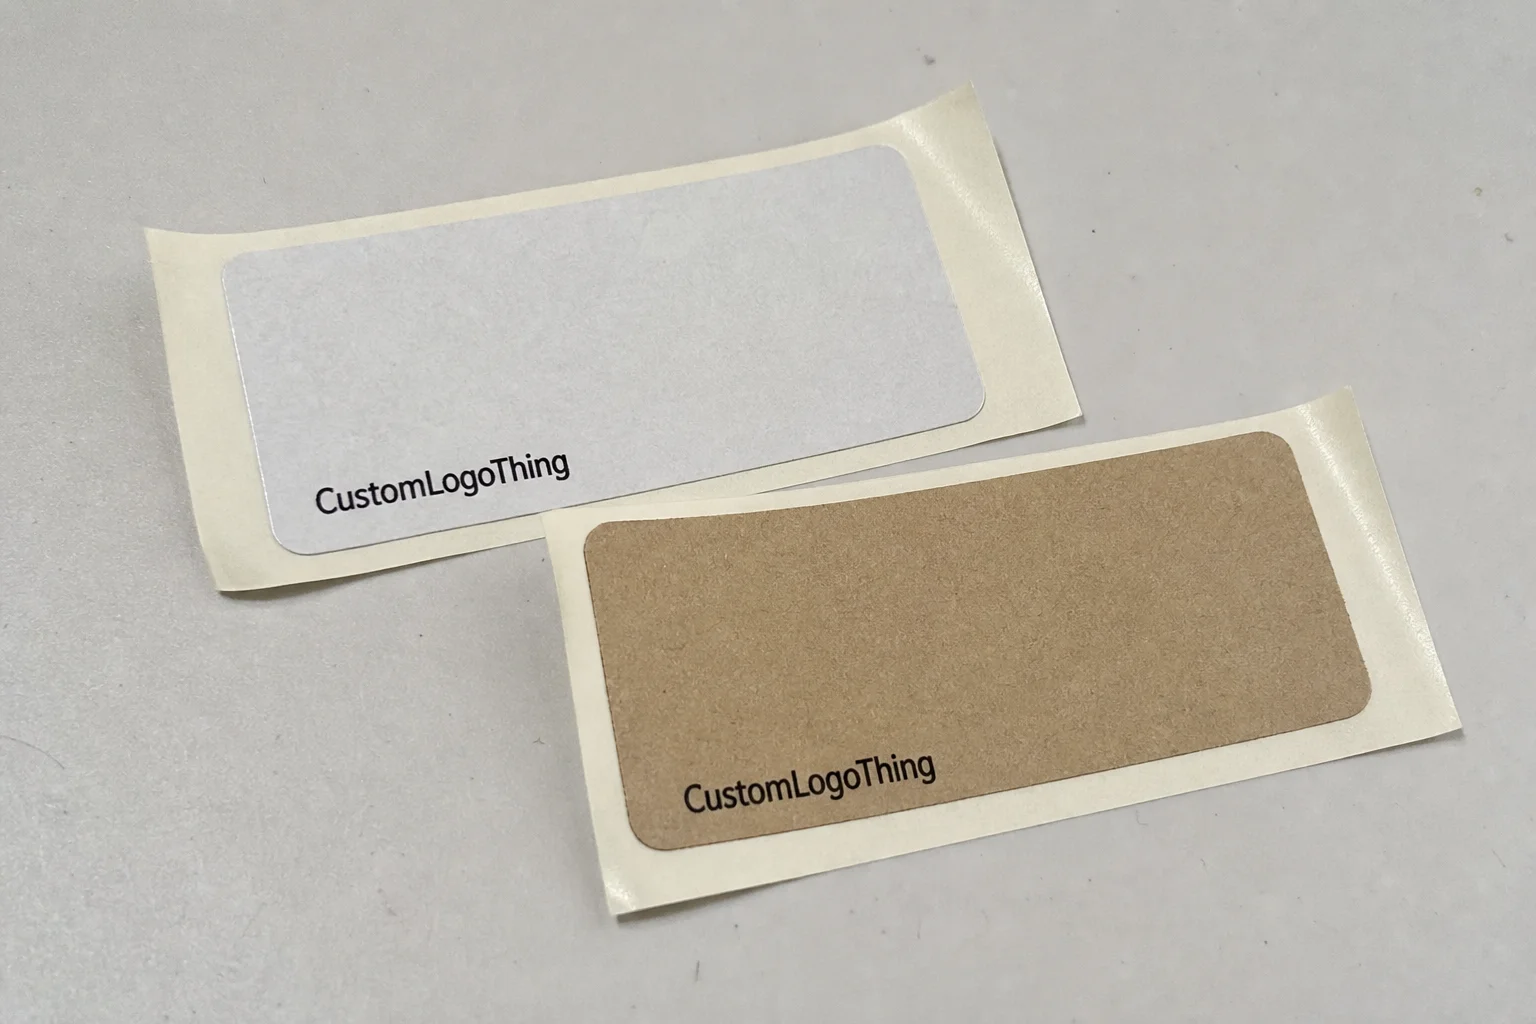
For clarity, I link directly to the Custom Packaging Products page so the creative team can compare the exact board offerings we plan to use; drop in supplier catalog numbers like 3145-SBS for white and 5721 for natural kraft, and buyers stop guessing. My team also notes that the Guangzhou press runs a maximum of 3,000 sheets per hour at 350gsm, which sets the cadence for the production schedule, and yes, I once hilariously pretended to be a stopwatch when that number started sliding.
Add a mini roadmap for approvals: initial dieline review (two days), mock-up tally (three days), factory sample (five days), and final sign-off (two days). That timeline leaves 12 days minimum before production, and skipping those checkpoints either forces a rush or lets revisions overrun the launch. When I had to keep a Shenzhen launch on track, we negotiated a weekend prototype session at a $220/hour emergency rate, and I documented that cost in the guide so finance understood the rush charge—because nothing says “take me seriously” like a detailed emergency pricing table.
Tooling deserves its own entry: some suppliers amortize it over 20,000 units, others tie it to SKU counts. Walking through PakFactory’s tooling room, we flagged the steel rule, magnetic base, and expected die life cycle of 150,000 impressions, so every new SKU borrows from that data and no one wastes time requalifying the same information—seriously, that room smelled like a mix of machine oil and ambition.
Cost Reality for How to Create Brand Packaging Guide
Build a realistic budget section: tooling with PakFactory or Heidelberg averages $3,200 for a new dieline, plus $180 per Pantone strip when color matching matters—Pantone 218 C can make or break a brand identity. I once negotiated with a Shanghai supplier who insisted on adding $75 for each Pantone swatch until I showed our guide listing the exact references and Custom Logo Things’ plates already preloaded; with two previous jobs proving the match, they stopped the surcharge, and I let out a quiet victory sigh.
Put hard numbers into the material cost matrix: 14-pt SBS runs around $0.45 per linear foot on our Guangzhou line, uncoated stock at Uline jumps to $0.60, and specialty finishes like soft-touch from Flexco tack on another $0.12 per board. Want FSC-certified paper? Add $0.08 per linear foot and include the certificate number so buyers don’t accidentally grab the cheaper, uncertified board. The time we nearly ordered 16-pt C1S instead of 14-pt SBS came from a vague guide that didn’t specify the board family, and I still grumble about that mistaken spreadsheet.
Vendor fees demand equal attention: a Custom Logo Things mock-up run costs about $750 for setup, and negotiating ink coverage surcharges keeps final invoices manageable. Last spring in Shanghai, the pressroom agreed to cap coverage at 240% after we added a “max coverage” row to the guide, and the operator’s log shared with me confirmed the move prevented drying delays—praise the ink gods, because drying delays ruin my feng shui.
Clients debate board and finish combinations all the time, so I include this comparison table to make the trade-offs obvious.
| Option | Unit Cost | Notes |
|---|---|---|
| 14-pt SBS + standard gloss | $0.45/linear foot | Fits most retail packaging shelves, compatible with Nordson hot melt and standard varnish. |
| Uncoated stock from Uline | $0.60/linear foot | Requires extra coating protection if it ships overseas; ideal for minimalist brand identity. |
| Soft-touch finish via Flexco | $0.57/board + $0.12 finish | Premium feel, adds 2 days to lead time, requires post-UV inspection. |
| Foil accent with Scodix | $0.95/board | Need dedicated pass; confirm with supplier that machine can hit two-passage alignment. |
Tooling charges sit outside those unit costs, and guidance from Packaging.org says tooling amortizes over 20,000 units; that $3,200 becomes $0.64 per piece on a 5,000-run before materials. The first skincare brand I quoted learned that lesson after the finance team saw the surprise amortization, so now I stack the guide with calculator-ready rows showing tiered tooling impact, because I like spreadsheets that don’t surprise me.
“You will always pay more if you guess at what your factory can do,” I told a client when we negotiated a 5% adhesive premium after the supplier saw our detailed guide.
Build a “cost flex” section so the team can run what-if scenarios for quantity changes, die size shifts, or finish upgrades; I keep a worksheet showing cost per piece at 2,500, 5,000, and 10,000 runs, and it lives alongside the guide so everyone watches how marginal cost drops when SKUs consolidate or box dimensions change. Yeah, sometimes it’s fun to watch leadership squint at the numbers and realize economies of scale are real.
How to Create Brand Packaging Guide Step-by-Step
Step 1: Collect brand assets—logo vectors at 300 dpi, tone-of-voice notes, stories, product dimensions, shelf partitioning data with 60-inch mounting heights, and the tactile feel you want on the retail wall. I sometimes describe the brand personality as “bold enough for a premium tech accessory, approachable enough for the retail shelf,” so the supplier grasps what the tactile experience should mirror; one supplier even asked if the brand wanted to smell like citrus (no, but thanks for the imagination).
Step 2: Draft structural specs and dielines by sketching on a sample from the last factory visit, annotating fold types, adhesives (hot melt vs. EVA), glue tabs, and measurement call-outs referencing the dielines we used for that PopSocket run last quarter. Adding photos of the scoring rule difference across two parallel flaps saved us when an operator tried to change crease depth to suit another job, and I swear that the final dieline had more annotations than my thesis.
Step 3: Layer in print specs—Pantone numbers, CMYK percentages, finishes, varnishes, and whether you need a silver foil stamp from a supplier such as Scodix; spell out press capabilities and coverage limits, ideally listing 240% as the max ink flux. I include a “print path” roadmap so the crew knows whether metallic inks land before or after UV coating, and whether varnish dries before foil.
Step 4: QA and process notes should describe inspection points, when to approve samples, and timelines for production sign-off; those notes go to the Custom Logo Things line supervisors before the first sheet is inked. Spell out the QA forms you expect, from ink density readings of 1.25 g/cm² to gloss meter outputs at 60 GU and ISTA 3A drop test data, because I once caught a supplier skipping the drop test when the guide didn’t explicitly call for “ISTA 3A drop test before packing.” That level of detail becomes the blueprint for a repeatable custom packaging workflow whenever another factory steps in.
Mention packaging design tolerances with ISTA drop-test references if your product ships overseas; I keep the latest ISTA 3A protocols bookmarked, and the same guide cites ASTM D3475 for puncture resistance so European customs never pauses the boxes for documentation. Shout-out to customs officers who appreciate a well-documented binder—they actually smiled once.
Step 5 (yes, I count it): Share a final checklist for the supplier to confirm before running the job—press name, plate ID, board weight, adhesives, varnish code, and the packaging design language reference. I require the plant to initial each line because after a $9,200 misprint last year, I refuse to let ambiguity slip back in; when they sign, I half expect a dramatic flourish like in a spy movie.
When multiple SKUs are involved, build appendices for each size and note adjustments in glue type or custom printed box style so the factory knows which specs apply. I add a tab called “SKU mapping + alternates,” which shows acceptable fallback boards and finishes if the lead material goes out of stock, and that saved a launch when a mill in Jiangxi suddenly couldn’t supply the original SBS. That moment felt like a fireworks display of relief.
The entire process stays flexible, but each step locks in essential data so the production partner never needs to interpret anything; the guide becomes the single source of truth for packaging, dieline specification, material sourcing strategy, and print production workflow. This lets every stakeholder quote accurate lead times and costs, and frankly, it’s the only reason I sleep through nights without dreaming of crooked glue tabs.
Common Mistakes That Kill Brand Packaging Guide
Skipping the structural proof is the fastest way to derail a launch—without a dieline that shows glue tabs and score marks, expect misaligned boxes and $1,200 in rework fees. In Guangzhou, I watched a client ship 3,000 units with a missing tuck-flap call-out; the factory cut the run mid-press and rebuilt the die, which is a story no one wants to retell, except now my cautionary tale gets passed around like a ghost story.
Omitting the cost column lets brands ignore whether a board or foil fits their margin, so the factory swaps materials and breaks the concept. A beauty client recently landed with matte packaging instead of soft-touch because the guide never mentioned the $0.12 finish add-on, and that forced rush finishing to reverse the damage; honestly, that was when I started insisting the finance lead double-checks every row.
Assuming suppliers read minds is dangerous—packaging houses handle 60 jobs per month, and a guide without clear finish sequencing or inspection checkpoints defaults to standard gloss. Line supervisors at Custom Logo Things keep a modification log when the guide is explicit, and without that clarity, the finishing team orders an off-the-shelf coating and the Unboxing Experience That inspired the brand story disappears.
Not specifying adhesives and activation temperatures invites mistakes; one client switched to EVA for a porous board without telling us, so the first sample’s flap popped open because the glue never reached the needed pressure at 160°C. Now the guide must include adhesive names, supplier contacts, and hot-melt profiles in the closing section, plus a friendly reminder that adhesives aren’t mood swings—they have precise requirements.
Ignoring material sourcing strategy is risky—without approved mills, purchasing hunts for savings and might pick a white chipboard supplier whose 32-inch calender can’t handle your embossing. I always include the mill’s contact, certificate (FSC or otherwise), and the backup board so production never stalls hunting for another match, and sometimes I even throw in an emoji in the shared doc to keep the vibe positive.
Expert Tips for How to Create Brand Packaging Guide
Whenever I visit a factory, I bring a punch list that covers adhesives (Nordson hot-melt vs. UV), inks, coatings, and color slips; I ask the plant manager for current lead times—usually 18 business days for standard runs and 28 days when foil is involved—and fold them into the guide so there are no surprises. The last time I requested a time study, the plant handed over the exact 3.5 hours required to change varnish, which made the production timeline rock-solid, and I literally high-fived the operations lead (quietly, we’re still in the factory).
Negotiate real numbers—tell the supplier you’ve seen tooling for $3,200 at PakFactory and press for matching services; mentioning the Custom Logo Things partnership keeps the conversation grounded and reminds them you have alternatives. When I pointed out that we could move to PakFactory after a factory botched press checks, their communication improved dramatically within a week, and I might have done a small victory dance in my head.
Treat the guide like a contract: specify who signs off, what tolerance is acceptable, and what happens if the supplier misses an inline inspection; adding that clause last quarter saved four hours of back-and-forth when a UV varnish pass came up short. The supplier mailed daily reports with photos and quickly spotted our coverage was 5% above tolerance, letting us fix it and finish the run without extra rounds—so yes, I consider that clause the unsung hero of the guide.
Pair this with packaging design references tied to the brand identity so product packaging stays consistent across every SKU and unboxing moment. I paste twelve reference photos of retail shelves to clarify whether the design language should scream for attention or whisper into a curated display, and I’ll admit, sometimes I toss in nostalgic pop culture references to keep the mood light.
Think about a “troubleshooting” appendix for common issues: if foil slack appears, swap to a lighter tack foil or reduce press speed by 10%. I keep that appendix current and share it with the finishing supervisor—when the foil misaligned last quarter, the step-by-step recovery plan already sat in the guide, which limited the re-run to an hour, and I audibly cheered in the control room.
When someone says “we’ll fix it later,” I’m gonna remind them how midnight reruns cost us more than a rerouted delivery. Keep the guide loud enough to demand attention.
How to Create Brand Packaging Guide That Keeps Production Aligned?
The easiest answer to how to create brand packaging guide that keeps production aligned is to cross-reference adhesives, board weights, finish call-outs, and QA notes with the supplier’s daily log, and to weave that into the custom packaging workflow so every shift change reads the same instructions. When the factory knows the polish order, the varnish timing, and which finish arrives first, there is zero room for improvisation.
Stamp the plan with packaging design standards, regular refresh reminders, and a final signature block, so the document continues to control the conversation even when urgent reruns pressure the line. That new level of clarity lets stakeholders know the guide is active, not shelved, and keeps everyone from asking if packaging can be left to “intuition.”
Next Moves to Execute How to Create Brand Packaging Guide
Action Step 1: Schedule a supplier visit within the next two weeks to verify press capabilities, record any limitations in a memo, and note the machine names for future reference. I pull the operator aside and ask, “What’s the most common rework you see?” Their answer becomes a preventive note in the guide, and sometimes they answer with, “Those boxes that arrive with no dielines,” which is always a fun reminder.
Action Step 2: Draft the guide’s sections—brand story, structural details, print specs, QA checklist, and cost table—and share them with your creative director so approvals arrive before revisions multiply. I create a shared document, tag the creative director for the brand story, the production manager for dielines, and the QA lead for inspection points, so everyone sees the dependencies, and I usually add a “please review” emoji to keep it human.
Action Step 3: Build a timeline with firm dates—prototype mock-up by day 10, tooling review by day 15, approvals by day 19, and production kick-off no later than day 22—and then attach it to the guide so everyone knows where the pressure points are. My timelines include buffer days for new die approvals and potential board substitutions, and the supplier can’t claim ignorance about the extra 24 hours once it’s in writing—yes, I once had to remind someone that “timeline” doesn’t mean “vague promise.”
Action Step 4: Review the guide with your factory contact, confirm costs, and log any adjustments as you finalize the purchase order through Custom Logo Things. I call the supplier after the guide is complete, walk through the cost table, and ask, “Anything here that won’t fly with your team?” Their logistical pointers often become tweaks to the final document, and I thank them for keeping me honest.
Action Step 5: Build a routine to refresh the guide every season—roughly every 90 days—or whenever a product update drops. I set a quarterly “Guide Sync” invite and review updates with the supplier’s quality manager so accuracy stays sharp and the document never turns into a dusty PDF, because honestly, I’m allergic to stale specs.
Also reference Case Studies to see how eight similar launches handled tooling and QA so you aren’t reinventing the wheel; I keep mine bookmarked so the team can copy proven sections instead of starting from scratch, and sometimes I even leave a cheeky note like “copy this if it worked for us—no shame.”
Closing Thoughts on How to Create Brand Packaging Guide
I’ve seen how a disciplined brand packaging guide transforms shipments—those that left the Shenzhen dock with compliant boards and tight ink coverage look completely different from the ones that didn’t, and I remind teams that precise guidance cuts QA rejects by at least 30%. Every carrier inspection becomes easier when the guide includes ISTA and ASTM references so customs sees the tests run, and people finally stop asking if packaging can be left to “intuition.”
Keep the guide updated, share it with suppliers, and revisit it every season because product packaging, package branding, and retail packaging demands evolve; when the next drop lands, every detail should match the unboxing experience you imagined instead of relying on a press operator to guess correctly, and that level of control feels downright liberating.
how to create brand packaging guide remains the framework I bring into every conversation, ensuring structure, finishes, timelines, and costs carry the authority earned from 12 years in custom printing, plus a dash of real-world tempering and a few punchlines to keep it from sounding like a dry manual. I can’t promise every factory will behave, but giving them this guide keeps me accountable and gives them trust that I'm watching the run.
Actionable takeaway: schedule the next supplier visit within 10 days, confirm the adhesive and finish call-outs, and update the guide’s signature block so everyone signs off on the latest version before any press keys touch ink again.
FAQ
What essentials belong in a how to create brand packaging guide before talking to suppliers?
List brand pillars, key messaging, and target shelf positioning so the supplier gets the vibe; include structural dielines with board weight (350gsm C1S), glue locations, tolerance needs (±0.5 mm), and finish sequencing; and finish with print specs such as Pantone numbers, ink coverage limits, and preferred finishes. I even jot down a short “brand mood” sentence—I once wrote “no thrift-store flash” and that saved us from a metallic circus.
How long does it typically take to finish a how to create brand packaging guide?
Discovery and research take 5-7 days collecting brand stories and product info, dielines plus mock-ups and material selection require 7-10 days depending on supplier feedback, and allow another five days for QA notes, cost alignment, and timeline sign-off with the production partner. You can speed it up, but you’ll owe me an emergency caffeine run.
Can I reuse a how to create brand packaging guide for multiple SKUs?
Create a master guide with brand and print standards, then add SKU-specific appendices for each of the three primary sizes and highlight any cost changes per SKU so you always know the margin impact. I keep a “master-slave” file structure, which is fancy talk for “main guide plus appendices,” so it feels orderly.
How should I budget for the items listed in a how to create brand packaging guide?
Budget by listing tooling, board, and finish costs separately—tooling at PakFactory runs around $3,200 while specialty coatings add $0.12 per board—add a 10-12% buffer for unexpected sourcing changes, and track supplier quotes from Custom Logo Things or others for benchmarking. I also drop a quick note about “this number is negotiable if you bring me a better quote,” just to keep the dialogue open.
What questions should I ask manufacturers when sharing my how to create brand packaging guide?
Ask whether they can hit the specified tolerances and finishes with their current machines, what lead times they need for tooling, materials, and proofs (usually 18 to 22 business days), and how they handle QA failures along with the documentation you will receive at each stage. You can even throw in, “What keeps you up at night?” and their answer becomes another preventive call-out.
References: Packaging.org and ISTA provide the four key standards you should cite in the QA section of every guide, because numbers backed by standards let you sound confident when someone blames “budget constraints.”