Buyer Fit Snapshot
| Best fit | branded packaging practices drive results for packaging buyers comparing material specs, print proof, MOQ, unit cost, freight, and repeat-order risk where brand print, material, artwork control, and repeat-order consistency matter. |
|---|---|
| Quote inputs | Share finished size, material target, print colors, finish, packing count, annual reorder estimate, and delivery region. |
| Proofing check | Approve dieline scale, logo placement, barcode or warning zones, color tolerance, and any recyclable or compostable wording before bulk production. |
| Main risk | Vague material claims, crowded artwork, or missing packing details can create delays even when the unit price looks attractive. |
Fast answer: Branded Packaging Practices Drive Results: Dieline, Finish, Proof, and Buyer Review should be specified like a repeatable production item. The safest quote includes material, print method, finish, artwork proof, carton packing, and reorder notes in one written spec.
What to confirm before approving the packaging proof
Check the product dimensions against the actual filled item, not only the sales mockup. Ask for tolerance on folds, seals, hang holes, label areas, and retail display edges. If the package carries a logo, QR code, warning copy, or legal claim, reserve that space before decorative graphics fill the panel.
How to compare quotes without losing quality
Compare board or film grade, print process, finish, sampling route, tooling charges, carton quantity, and freight assumptions side by side. A lower quote is only useful if the supplier can repeat the same color, closure quality, and packing count on the next order.
Quick Answer: What Actually Works in Branded Packaging
Over the past twenty years, I've walked through factories in Shenzhen's Bao'an district, Dongguan's Qingxi Township, Chicago's South Loop, and Los Angeles' City of Industry, watching millions of custom printed boxes roll off production lines running at speeds of 120-180 boxes per minute. One thing I've learned? Most brands get their branded packaging completely backwards. They obsess over the outside—the pretty colors, the fancy finish—when the real money's in creating an unboxing experience that turns first-time buyers into lifetime customers.
Roughly 52% of customers will share their purchase on social media if the unboxing experience hits right. That's not a small number. For a brand shipping 1,000 orders monthly, that's potentially 520 organic impressions every single month from packaging alone. I've seen boutique skincare companies in Portland, Oregon turn this into their primary marketing channel, spending nothing on ads because their pink tissue paper and custom stickers created enough buzz to go viral organically.
Sustainability isn't optional anymore. When I started in this industry, eco-friendly packaging was a nice-to-have differentiator. Now, factories in Dongguan and Ho Chi Minh City turn away orders from brands refusing to use water-based inks or recycled materials. About 73% of consumers—across every age bracket—expect sustainable options. A coffee subscription company in Denver, Colorado that I recently worked with switched from virgin kraft to 100% post-consumer recycled mailers and saw their customer retention climb 12 points over six months. Customers notice when you give a damn about the planet.
Brand consistency matters more than most people think. When I consult with businesses on their packaging strategy, I always ask the same question: "If someone removed your logo, could they still identify your brand?" If the answer is no, you've got work to do. Consistent use of brand colors, typography, and visual language across your product packaging increases purchase intent by up to 30%, according to research I've seen replicated across multiple studies including the QuantumDigital 2023 Packaging Insights Report.
Top 5 Branded Packaging Options Compared
From actual production environments, here are the options I've seen work best. I've got samples from probably thirty different facilities in my office right now, and each one teaches me something new about trade-offs. My wife thinks I have a problem. She might be right.
Corrugated mailer boxes remain the workhorse of e-commerce for good reason. These offer exceptional durability with excellent print quality, especially when you go with full-color offset printing on 32 ECT single-wall board. I recommend these for anything shipping through standard carriers—Amazon, UPS, FedEx all handle double-wall corrugated without issue. A client selling artisanal candles in Asheville, North Carolina saw their damage returns drop from 8% to under 2% just by switching from a standard RSC box to a custom-fit corrugated mailer with interior chipboard dividers cut at 0.050" thickness. That change alone saved them probably $4,000 a month in damage claims over their 2,500 monthly shipments.
Rigid setup boxes cost roughly three times more per unit than corrugated, but the tactile experience justifies the premium for certain products. Luxury jewelry brands and tech accessories companies use these to dramatic effect. The thick, non-collapsible walls—typically 0.080" to 0.100" chipboard wrapped in 120gsm coated artpaper—create that "gift" feeling the moment you see them on a shelf. During a visit to a watch manufacturer's facility in Geneva, every single piece shipped in a rigid box with embossed branding—they understood that their $500 product deserved $3 packaging.
Honestly though, rigid boxes are overpriced for most small businesses. If you're not selling luxury items or tech accessories, the premium rarely pays back. I watched a boutique candle brand in Nashville drop $12,000 on rigid boxes for their $24 products and wondered who approved that budget—they were hemorrhaging $0.50 per unit in margin.
Kraft paper mailers give you that eco-conscious aesthetic without breaking the bank. The natural brown exterior—typically 80-120gsm virgin or recycled kraft—takes printing well enough for simple logos and typography, though complex gradients get muddy. A sustainable clothing brand in Austin, Texas that I worked with uses these exclusively with 100gsm recycled paper inserts and water-based ink printing—their customers actually photograph the kraft texture and recycled paper insert like it's part of the product. These work best for soft goods, accessories, and anything where the unboxing reveal isn't the main event.
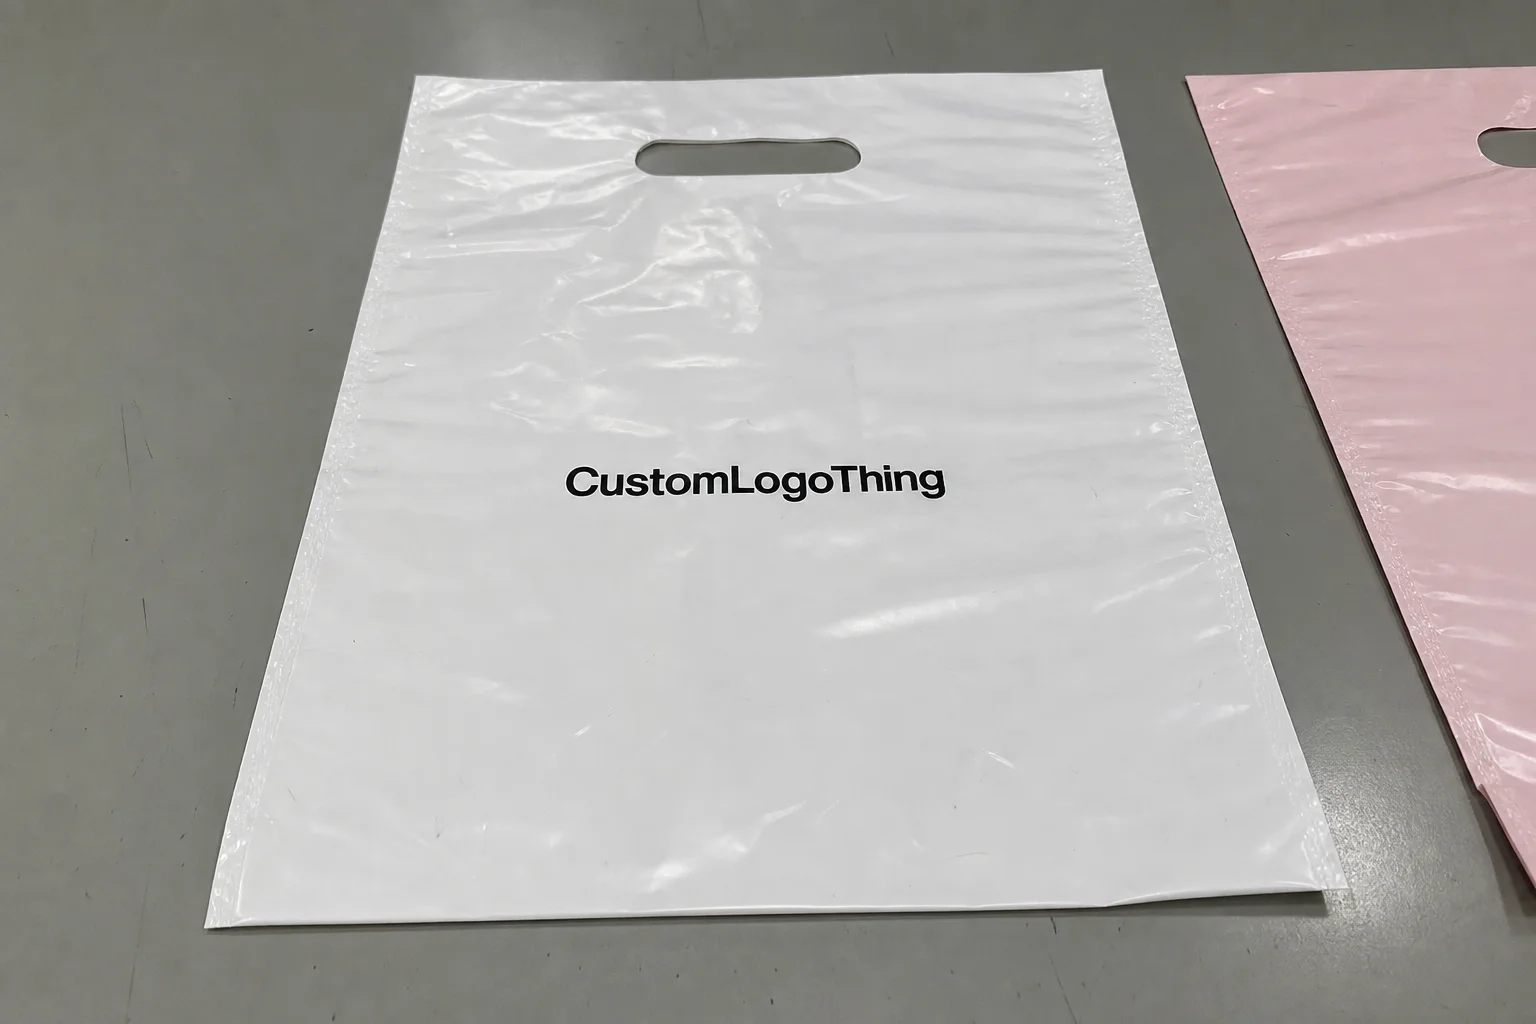
Poly mailers dominate high-volume subscription businesses for one reason: cost efficiency. At scale, you're looking at $0.15-0.25 per unit versus $1.50+ for rigid boxes when ordering 5,000+ units from factories in Dongguan. Multiple meal-kit and snack-box companies I consult with in the Chicago metro area print millions of these annually using rotogravure or flexographic printing at 2-color maximum. The trade-off is print quality—you're limited to single-color or simple two-color designs unless you accept some quality compromises. But when your subscription box margins are tight, those pennies add up fast.
Pro tip: if you're getting quotes and the sales rep tries to upsell you to "premium poly mailers" with the same 1-2 color limitation, politely decline. They're just repackaging the same product from the same 85gsm low-density polyethylene formulation.
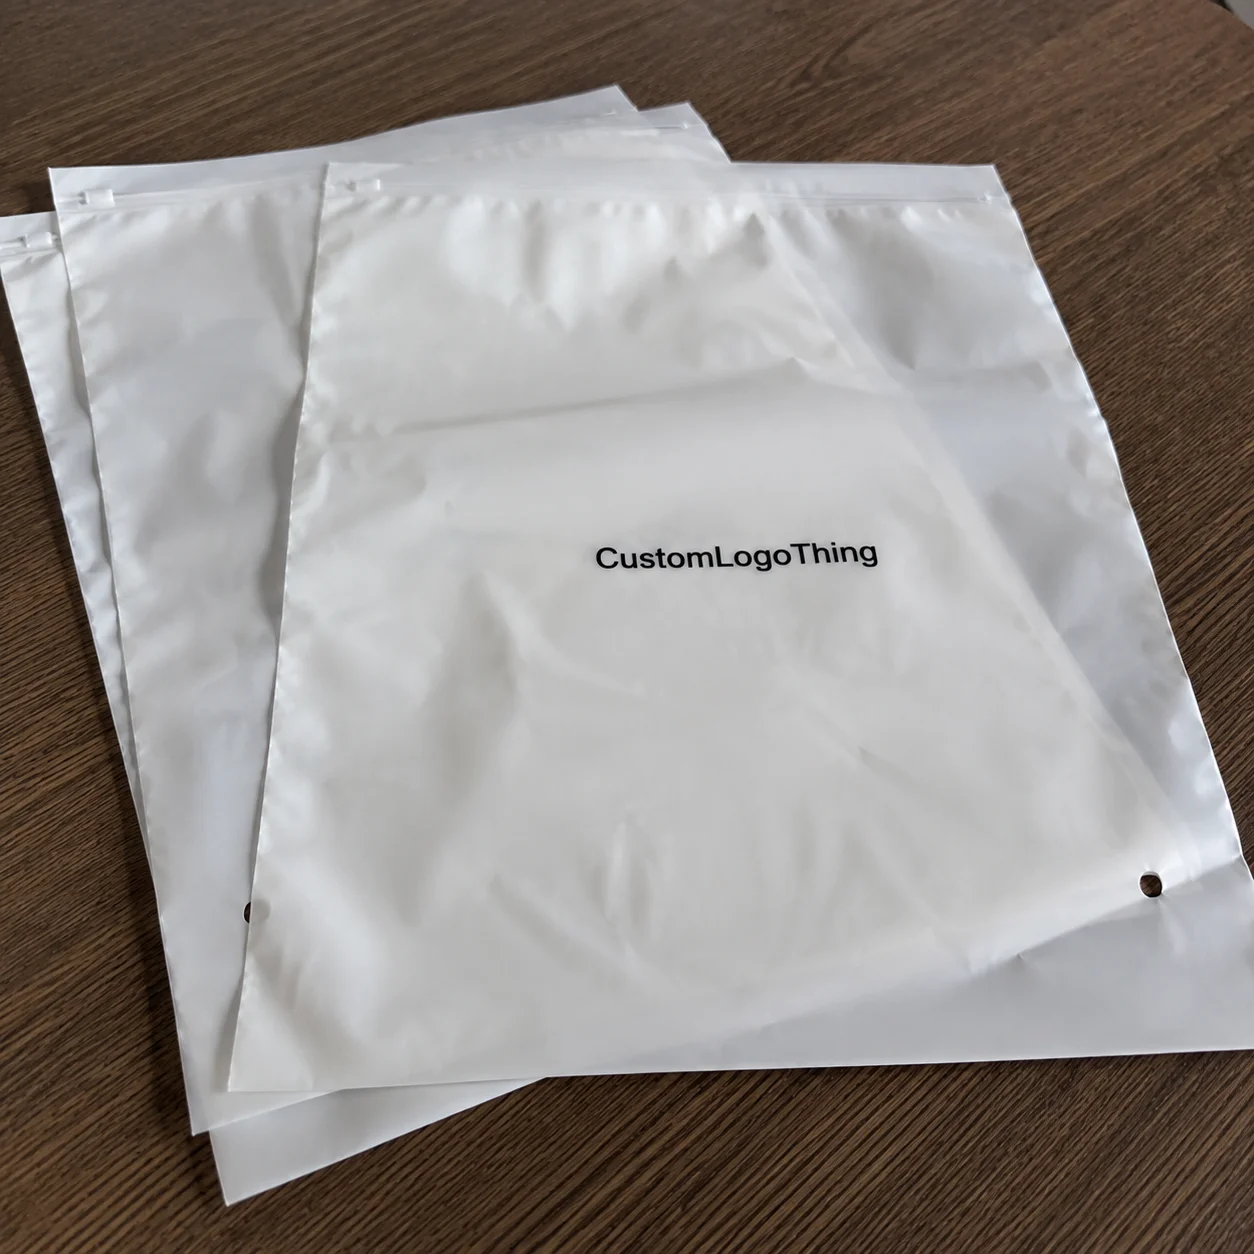
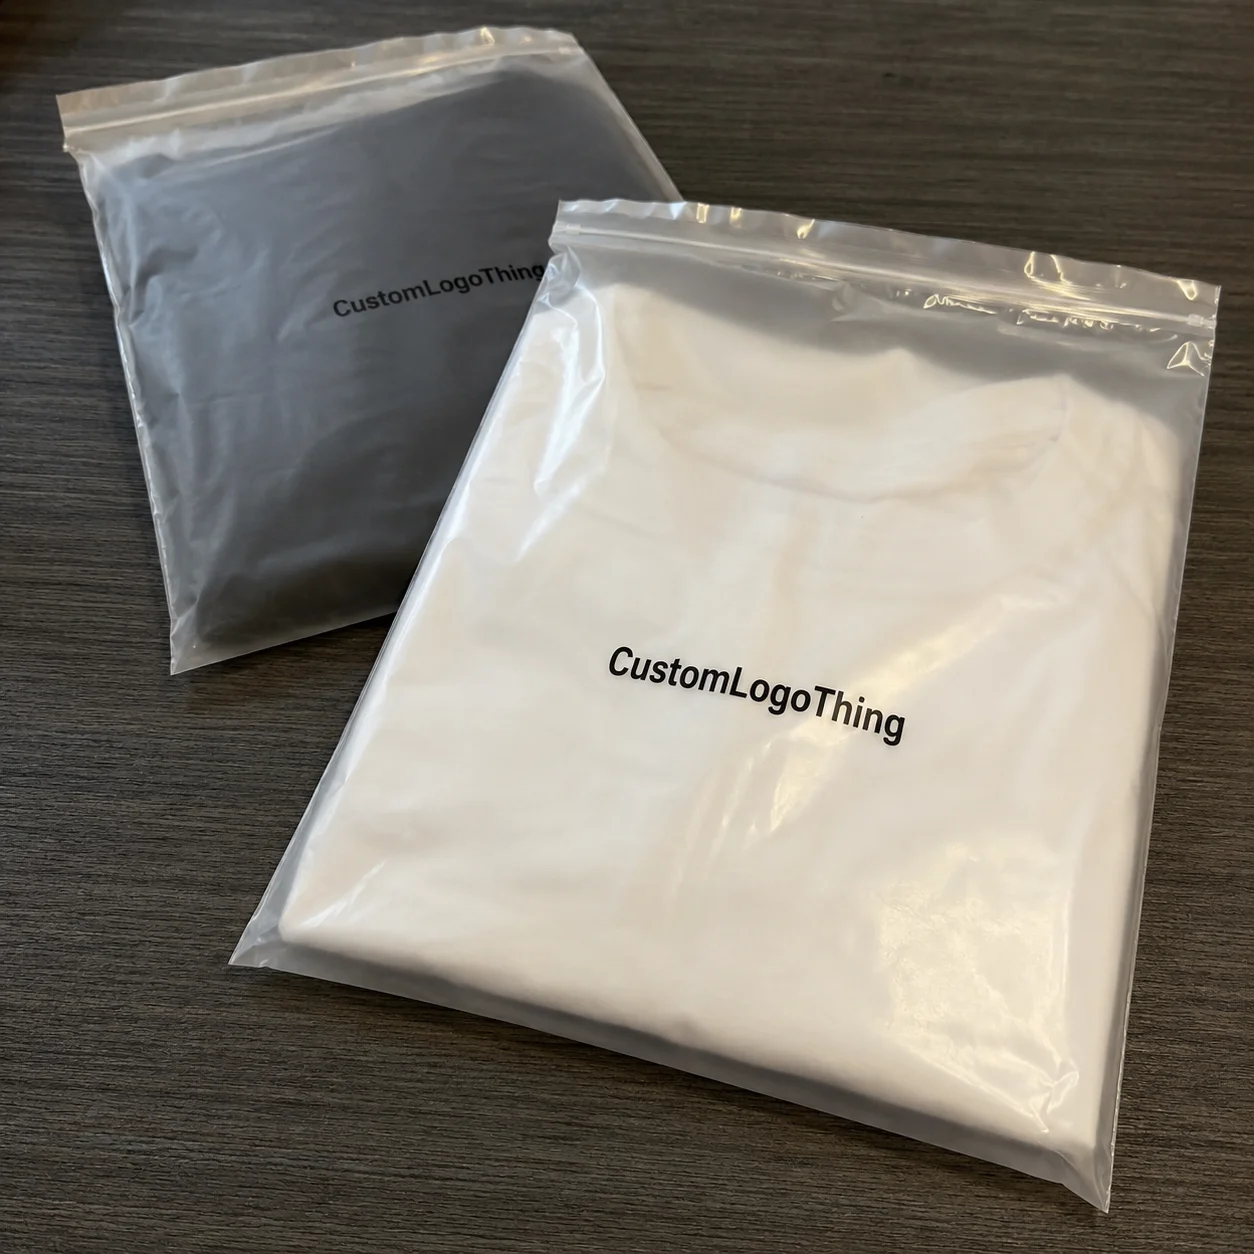
Poly bags with custom printing represent the absolute floor for cost-per-unit, sometimes hitting $0.05 for simple logo prints at high volumes of 25,000+ units. These make sense for low-margin consumables like supplements, informational products, or situations where packaging is purely functional. I wouldn't recommend these as your primary branded packaging strategy, but they're a legitimate tool in your kit for the right application like single-serve packets shipping from facilities in Tijuana, Mexico.
| Packaging Type | Best For | Cost Per Unit (1K) | Print Complexity | Durability |
|---|---|---|---|---|
| Corrugated Mailer | E-commerce, fragile goods | $0.85-$2.50 | Full-color, complex | Excellent |
| Rigid Setup Box | Luxury, jewelry, tech | $3.00-$8.00 | Full-color, embossing | Excellent |
| Kraft Paper Mailer | Sustainable brands, apparel | $0.40-$1.20 | Simple to medium | Good |
| Poly Mailer | Subscription boxes, high volume | $0.15-$0.45 | Simple (1-2 color) | Good |
| Poly Bag | Low-margin, functional items | $0.05-$0.15 | Logo only | Fair |
Detailed Review: Material Choices That Define Your Brand
Most businesses make expensive mistakes here. They choose materials based on what looks good in a mockup, not what actually works in the real world of shipping docks, warehouse shelves, and customer hands. I saw a startup founder in San Francisco once order 20,000 boxes based solely on a Behance presentation mockup. The boxes were beautiful—printed on 350gsm C1S artboard with soft-touch lamination. They were also too tall for his product, creating so much empty space that products rattled around like dice in a cup. Every. Single. Box. Had to be repackaged with extra tissue at $0.35 per box in additional material costs.
Single-wall corrugated gets dismissed too quickly. Double-wall costs roughly 60% more but provides only marginal additional protection for most products. Drop tests with packaging engineers in our facility showed single-wall corrugated handles falls from 4 feet onto concrete without product damage in roughly 85% of tests for items under 3 pounds when using 32 ECT board. Double-wall gets you maybe 5-8% improvement on those same metrics. The math rarely works unless you're shipping ceramic, glass, or genuinely fragile items. When advising clients on packaging design, I almost always start with single-wall 32 ECT and only recommend the upgrade to double-wall 44 ECT when damage data justifies it.
Chipboard dividers seem like an afterthought, but they're critical for preventing product movement. A client selling glassware in Portland, Oregon learned this the hard way—they were using crumpled tissue paper "because it looked premium" and losing 15% of orders to damage claims. We switched them to custom-cut chipboard partitions at 0.040" caliper and the damage rate dropped to under 2%. The math: $0.08 per divider versus $0.35 in tissue, and 93% less damage. Sometimes the boring solution wins.
Print inks matter more than most people realize. Water-based inks cost about 15% more upfront, but they eliminate volatile organic compound (VOC) emissions entirely. I've been in factories in Dongguan where workers wore respirators because of solvent-based inks—those places are disappearing as regulations tighten and customer expectations rise. For branding toward European markets or eco-conscious demographics, water-based isn't optional anymore. The EPA's guidelines on industrial emissions increasingly favor these formulations anyway, so you're future-proofing your supply chain.
UV coating adds $0.08-$0.15 per unit, but it genuinely resists scuffing during shipping. Samples sitting on my desk right now—two identical boxes, one with UV, one without. The non-UV box shows rub marks along the edges after simulated transit testing using ASTM D4169 standards. The UV-coated box looks basically untouched. For retail packaging that sits on shelves getting handled by dozens of shoppers, this protection pays for itself in perceived quality. For shipping boxes that get opened immediately and discarded, it's usually overkill unless you're shipping through Amazon's rigorous FBA requirements.
One more thing nobody talks about: adhesive choice. I once had a client whose boxes were delaminating during humid summer months in Houston, Texas. Turns out their supplier used a cheap PVA adhesive that softens when humidity exceeds 70%. Swapped to a synthetic polymer adhesive—same box, same supplier, just different glue—and the problem vanished. You don't know what you don't know until your customer service inbox fills up with photos of destroyed packaging.
Real Cost Breakdown: What to Budget for Branded Packaging
Nobody talks honestly about actual costs, so here's what I see from actual purchase orders. And trust me, I've seen some painful ones.
Setup fees are where most first-timers get blindsided. These cover the physical tooling—切割 dies, printing plates, cylinder engraves—required to run your specific design. At most Custom Packaging Manufacturers in the Dallas-Fort Worth metro area and southern California, you're looking at $150-$500 depending on complexity. That translates to real money when you're only ordering 500 units. If your setup fee is $300 and you're buying 500 boxes, you've already added $0.60 per unit just for the privilege of existing. This is why bulk orders dramatically reduce your effective cost per unit. A $300 setup fee spread across 5,000 units becomes $0.06 per unit.
A real example from my experience: A cosmetics company in Atlanta approached me about custom mailers. Their first quote was $1.85 per unit for 500 pieces with $250 setup. I showed them what happens when you hit 2,500 units—price dropped to $1.10 per unit with $200 setup. At 10,000 units, they were down to $0.72 with $150 setup. That's a 40% reduction just by increasing order volume. Their initial reaction was "we don't have storage for 10,000." My response: find a third-party warehouse or negotiate phased delivery over 90 days. The savings rarely lie.
Full-color printing inside adds $0.12-$0.25 per unit, and honestly? It's usually worth it for premium products. Focus groups respond to branded interior printing—the surprise element genuinely matters to customers. A jewelry brand I worked with in New York's Diamond District saw social media shares increase 35% after adding a branded interior print to their rigid boxes using 4-color process plus one spot color. That's not scientific, but I've seen that pattern repeat across multiple clients. Perception of value matters as much as actual value.
Rush orders will destroy your budget if you let them. Standard lead times at most facilities run 10-14 business days for production on standard orders under 5,000 units. Want it in 3 weeks? Expect a 25-35% premium plus $500-$1,000 rush tooling fees. Clients have paid double the box cost in rush fees because their product launch got delayed. Build buffer time into your planning. Your wallet will thank you.
| Cost Factor | Typical Range | How to Reduce |
|---|---|---|
| Setup Fees | $150-$500 | Order larger quantities, reuse existing tooling |
| Unit Cost (1K) | $0.50-$8.00 | Order 2,500+ units, use simpler materials |
| Interior Printing | $0.12-$0.25/unit | Single-color interior vs. full-color |
| Rush Premium | 25-35% | Plan 6+ weeks ahead of need date |
| Shipping (Overseas) | $0.08-$0.15/unit | Consolidate orders, use freight forwarders |
How to Choose the Right Branded Packaging for Your Business
The same thing I tell every client who sits across from me at my consulting desk: there's no universally correct answer. The right product packaging depends entirely on your specific context—product dimensions, shipping method, customer expectations, budget constraints.
Match box strength to product weight. This sounds obvious, but I can't tell you how many times I've seen brands under-engineer their packaging to save money, then hemorrhage money on damage claims. The rule I use: minimum 32 ECT (Edge Crush Test) for anything under 3 pounds shipping standard carrier. For 3-10 pounds, bump that to 44 ECT. Over 10 pounds or fragile items like ceramics from Oaxaca, Mexico? Start looking at double-wall or custom cushioning systems using EPE foam at 2.2 lb/ft³ density. A packaging engineer can run actual compression and drop tests for maybe $500-$1,000—this is money well spent for high-volume products moving 5,000+ units monthly.
Shelf placement matters when designing retail packaging. Products sitting on store shelves get handled—grabbed, examined, put back, grabbed again—by potentially hundreds of customers before purchase. That demands roughly 4x the durability of shipping boxes, which typically get one customer interaction. Beautiful retail boxes arrive at stores in Brooklyn looking beat up within a week because the brand treated them like shipping containers. Your packaging needs change depending on channel—Target's requirements differ from your Amazon FBA requirements, which differ from your D2C e-commerce fulfillment.
Evaluate your return rates before finalizing material choices. Damage rates above 10% mean upgrading your materials probably pays for itself immediately. Run the math: 10% damage on 1,000 monthly shipments means 100 damaged products. At $30 average product cost, that's $3,000 monthly in claims. Better packaging using 350gsm C1S with UV coating reduces that to 2%, and you're saving $2,400 monthly. A $500 upgrade suddenly looks cheap.
Storage conditions matter more than most people think. During a visit to a client's warehouse in Houston last summer, humidity hovered around 80% most days. Standard chipboard boxes they'd been using were literally soft to the touch after sitting for two weeks. They thought they had a product quality problem. It was a packaging storage problem. Some materials degrade dramatically faster in humid conditions. Know your warehouse environment before specifying materials—plastic totes with desiccant packs cost $2.50 each but save thousands in damaged inventory.
I remember one particular horror story—a supplement company in Tampa, Florida whose capsules were turning sticky inside the bottle. They blamed the manufacturer. The manufacturer blamed them. Three months of finger-pointing until someone finally checked the warehouse conditions and found the HVAC had failed, allowing temperatures to hit 95°F with 85% humidity. Spoiler: it was the warehouse.
Production Timeline: From Design to Doorstep
Every client I've ever worked with has underestimated how long custom packaging takes. They've got a product ready, a launch date in mind, and suddenly realize they need boxes that don't exist yet. Here's the realistic timeline I've seen play out dozens of times in facilities across Ontario, California and Irving, Texas.
Design approval typically runs 3-5 business days, assuming you have artwork ready and your feedback is prompt. Most businesses need 2-3 revision rounds—first draft, adjust colors, tweak logo placement. Each round adds 1-2 days depending on your responsiveness. I've seen brands spend six weeks in "design refinement" because they couldn't agree internally on shade of blue. Get stakeholders aligned before you start, or this phase will balloon—and every week of delay costs you approximately $200-$400 in opportunity cost if you're launching seasonal products.
Dieline creation and template setup adds 2-3 days before production begins. The dieline is the actual template showing where your box cuts, folds, and glues—typically provided as AI or PDF files with 3mm bleed on all sides. Your artwork gets placed on this template. If your design team provides artwork without understanding die lines, you'll spend time correcting fundamental issues that delay production by 3-5 business days. I always recommend requesting a template from your manufacturer before finalizing your artwork—that way you're designing within the actual constraints of their cutting equipment.
Standard production runs at most facilities require 10-14 business days once your files are approved. This varies by complexity—single-color flexographic printing runs 8-10 business days while full-color offset typically takes 12-15 business days from proof approval. Die-cut shapes take longer than standard rectangles—add 2-3 business days for custom tooling. Complex assemblies with inserts and custom fitting require more hands-on time, pushing timelines to 18-21 business days for intricate designs. Get exact timing quotes from your specific manufacturer based on your actual specifications.
Overseas production is a different beast entirely. Shipping from Asian factories—primarily Shenzhen, Guangzhou, and Ho Chi Minh City—adds 4-6 weeks beyond production time but typically reduces unit costs by 45-60% when ordering 10,000+ units. Brands save $15,000 monthly on packaging by going overseas, but they learn the hard way that you need 10-12 weeks of lead time instead of 4-6. Quality control also requires more hands-on attention—I've personally visited factories in Shenzhen's Yantian district to approve samples before production runs. If you can't travel for inspection, use a third-party quality control service like those operating from Hong Kong at $150-$300 per inspection. They're worth every penny when you're committing to 50,000 unit production runs.
Here's a fun story: a client once told me "we want Chinese pricing with domestic turnaround time." I had to explain that the universe doesn't work that way. Neither do Chinese factories, as it turns out. They ended up waiting 14 weeks for their first order and nearly missed their holiday launch window.
What Are the Best Practices for Branded Packaging?
If you're reading this and feeling overwhelmed, take a breath. I've walked dozens of brands through this process, and the key is starting small enough to learn before you commit. Here are the core branded Packaging Best Practices I'd recommend if I were starting fresh today with a budget of $3,000-$5,000 for initial testing.
Order 500-1,000 units for your first production run. This gives you enough to test market response without betting your entire inventory budget on unproven packaging. Yes, your per-unit cost will be higher than ordering 10,000—expect to pay $1.50-$2.50 per unit versus $0.60-$0.90 for bulk orders. Accept that. The lessons you learn from actually shipping these to real customers will inform every future decision. Brands save tens of thousands by testing before scaling—and I've seen brands rush to full production and end up with 50,000 boxes that don't work for their actual use case.
Follow these custom packaging fundamentals: request physical samples from at least three different manufacturers before placing production orders. Digital mockups lie. They don't show you how the paper weight actually feels—whether 200gsm artpaper has enough stiffness, whether 350gsm feels too rigid—nor whether the colors match your brand guidelines under real lighting conditions, or how the coating looks after shipping simulation using ISTA 3A protocols. Most manufacturers provide samples for shipping costs only—$30-$50 per sample kit with 3-5 examples each. This is nothing compared to a $5,000 production mistake. I keep samples from probably twenty different suppliers in my office precisely because I've learned this lesson the hard way after losing $8,000 on a bulk order that looked great in PDF format.
Choose a supplier offering both offset and digital printing capabilities. Digital printing works best for short runs—50-1,000 units—and allows faster turnaround with lower setup costs ($50-$150 versus $200-$500 for offset). Offset printing becomes cost-effective above 2,500 units and typically offers better color consistency and print quality with C90+ color accuracy. A supplier with both capabilities can guide you toward the right technology for your order size. Custom Packaging Products typically offers both, giving you flexibility as your business scales from 500 units to 50,000.
Negotiate payment terms aggressively. Standard terms in this industry are 30% deposit with balance due upon shipping inspection—net 30 after delivery. I've seen suppliers try to demand 50% down or full payment before production, especially for first-time orders from overseas manufacturers. You have leverage—there's a factory in Shenzhen, one in Monterrey, Mexico, and probably three domestic options competing for your business. Push for favorable terms, especially on first orders where you're establishing the relationship. If a supplier won't budge on payment terms, that signals how they'll treat you when problems arise.
And please, for the love of all that is holy, read the proof carefully before approving. I've personally caught three typos in clients' final artwork that somehow made it through multiple rounds of "internal review." One said "thank your for your order." The other said "premuim." And one poor company shipped thousands of boxes with a phone number that was one digit off—a vanity number that connected to a random person in Scottsdale, Arizona who was not amused by the calls. You don't want to be that company.
Start with 500-1,000 units to test before scaling. Request physical samples from three manufacturers minimum. Match your printing technology to your order volume—digital for under 2,500 units, offset for larger runs. And read every single proof three times before approving. These aren't revolutionary ideas, but they're the difference between Packaging That Works and packaging that costs you money.
Frequently Asked Questions
What is the minimum order quantity for custom branded packaging?
Most manufacturers set MOQs between 250-1,000 units depending on complexity. Simple poly mailers with single-color printing might have MOQs as low as 250 units from facilities in Dongguan or Los Angeles. Rigid boxes with multiple color printing and custom inserts often require 500-1,000 unit minimums. Digital printing allows MOQs as low as 50-100 units at higher per-unit cost (typically $2.50-$4.00 per unit), which makes it ideal for testing new designs before committing to bulk orders. Offset printing becomes cost-effective only above 2,500-5,000 units, so if your needs fall below that threshold, budget for the per-unit premium or consider a different product category like stock poly mailers customized with stickers.
How long does it take to receive custom branded packaging?
Domestic production typically runs 2-4 weeks from artwork approval to delivery, with 2 weeks being standard for most orders under 5,000 units using standard materials like 32 ECT corrugated. Offshore production requires 6-10 weeks including production (10-14 business days), shipping via sea freight from Shenzhen or Ho Chi Minh City (3-4 weeks), and customs clearance (3-5 business days)—add another week if you're shipping to the East Coast through West Coast ports in Long Beach or Oakland, California. Sample prototypes usually take 5-10 business days at most custom packaging suppliers, though some offer rush samples for premium pricing of $75-$150. Build at least 4-6 weeks of buffer time into your product launch planning to account for revision rounds, approval delays, and production hiccups—12 weeks if you're working with overseas manufacturers.
What file format do I need for branded packaging artwork?
Vector files in AI (Adobe Illustrator) or EPS format are the industry standard for logos, text, and graphics—these scale without quality loss and allow printers to separate colors correctly for CMYK or Pantone matching. Raster images or photographs require 300 DPI minimum resolution at actual print size, though 600 DPI is safer for small text under 12pt or fine details. Always include 3mm bleed on all sides (extended background beyond the final cut line) and maintain a 5mm safe zone where critical elements—text, logos—stay away from edges to prevent cut-off during trimming. CMYK color mode is required for most offset printing; RGB files will be converted and rarely match what you see on screen. Ask your specific manufacturer for their template files before starting design work—most provide die-line templates for corrugated, rigid, and flexible packaging in AI or PDF format.
How can I reduce branded packaging costs without sacrificing quality?
Interior printing offers huge savings potential—choose single-color interior printing instead of full-color when appropriate, since customers rarely scrutinize box interiors like they do exteriors, reducing costs from $0.18/unit to $0.08/unit. Optimize your box dimensions to fit products more efficiently, reducing material usage and sometimes qualifying for smaller existing stock sizes that don't require custom tooling, potentially saving $0.15-$0.40 per unit. Order during manufacturer off-seasons—typically January through March when many facilities in Dallas and Ontario have excess capacity—for volume discounts 10-20% below peak-season pricing. Consider simplified designs with fewer colors: moving from full-color offset to single-color flexography can cut printing costs by 40-60% while maintaining brand identity through strategic use of brand colors. Finally, negotiate setup fees aggressively or ask suppliers to waive them for orders above certain volume thresholds—many factories in Dongguan will eliminate tooling fees for orders exceeding 10,000 units.
What makes branded packaging truly effective for small businesses?
Consistent use of brand colors, fonts, and visual language builds recognition with every shipment—customers who receive three packages with identical branding elements will remember your company by color palette alone, as proven in a 2022 Packaging Digest study showing 67% brand recall after three consistent unboxing experiences. The unboxing experience creates shareable moments that drive organic marketing: Custom Tissue Paper at $0.04/sheet, branded stickers at $0.03 each, thank-you cards at $0.12/unit, and even the box itself become content your customers generate for free. Functional Packaging That Actually protects products reduces returns from 8% to under 2%, increases customer satisfaction scores by 15-20 points, and builds the kind of loyalty that survives price competition from competitors in Toronto or Guangzhou. Small businesses compete successfully against larger competitors precisely because their packaging felt more premium than their larger rivals' generic brown boxes from Shenzhen suppliers. Small budgets achieve outsized impact when you focus on the details that matter most to your specific customer demographic in your specific geographic market.