Custom bar code labels do one job badly if the spec is vague: they fail at the exact moment they are supposed to speed things up. In apparel, that failure shows up as a stalled receiving line, a mislabeled carton, a bundle that has to be reworked by hand, or a retail scan that takes three tries instead of one. The cost is not the label itself. The cost is the interruption.
That is why the first question is never design. It is use case. A hang tag label, a carton ID label, a polybag label, and an internal bundle label may share the same barcode structure, but they do not live under the same conditions. One may only need to survive a short shelf life. Another has to stay readable after shipping, humidity, abrasion, and repeated handling. A label spec that ignores those differences usually produces a clean-looking sample and a messy production run.
For buyers building packaging around apparel, labels also have to stay aligned with the broader system. If the carton art, insert, and barcode label are all developed separately, the program tends to drift. The package may look branded, but the scan logic, data structure, and production rules stop matching. That is the expensive version of inconsistency.
Useful starting points for broader packaging work include [Custom Labels & Tags](/product-detail.php?category=labels) and [Custom Packaging Products](/products.php), but the barcode itself still has to stand on its own. A pretty proof is not a scan test.
What custom bar code labels do for apparel
Most barcode problems are really label problems. The file can be correct and still fail if the facestock is too glossy, the adhesive does not match the surface, or the bars print with weak contrast. That is why custom bar code labels deserve the same attention as carton graphics or hang tag artwork. The difference is operational, not cosmetic.
In apparel, these labels usually support a few distinct functions:
- SKU tracking: identifying style, size, color, and variant at each checkpoint.
- Bundle control: keeping cut pieces, sewn units, or mixed-size packs sorted.
- Carton ID: linking boxes to destinations, channels, or purchase orders.
- Retail compliance: meeting scan requirements for receiving and replenishment.
- Internal traceability: reducing mix-ups on the line and during packing.
The label has to fit the workflow first. A code that works on a clean paper carton may fail on a polybag or a rough shipping sleeve. A label that stays put in a dry stockroom may curl when cold storage or humidity enters the picture. Those differences are boring until they trigger reprints.
There is also a practical hierarchy here. If the label is internal and short-lived, the material can be simpler. If it touches retail, warehouse receiving, or multi-stop distribution, the spec needs more discipline. Scan quality, adhesive performance, and print durability all become part of the buying decision. The cheapest option is rarely the cheapest outcome.
A barcode that scans in prepress but fails at the dock door is not a barcode problem. It is a spec problem.
That is usually the right diagnosis. The fix is often basic: more contrast, a better substrate, a different adhesive, or a larger code area. The expensive version is discovering the issue after the labels are boxed, counted, and scheduled for use.
How barcodes move through a clothing workflow
The data structure should be defined before the label layout is built. Apparel teams typically need style, size, color, batch, carton, and destination data to travel through different checkpoints. If one of those fields gets added late, the label often gets crowded, and crowded labels are harder to scan consistently.
Symbology matters as well. Code 128 is common for dense alphanumeric data and internal logistics. GS1-128 is often used when the label needs structured distribution data. UPC still matters for retail products. QR codes can hold more information in less space, but that does not make them the right answer by default. The correct format depends on scan distance, scanner type, and how much information must fit on the face of the label.
Quiet zones, bar width, and contrast are not minor design details. They are the core of scan reliability. A label can look balanced on screen and still be undersized in the real world. Shrinking the code by a few millimeters to make room for a logo often creates a label that is attractive and operationally weak. The scanner does not care about the layout. It cares about geometry.
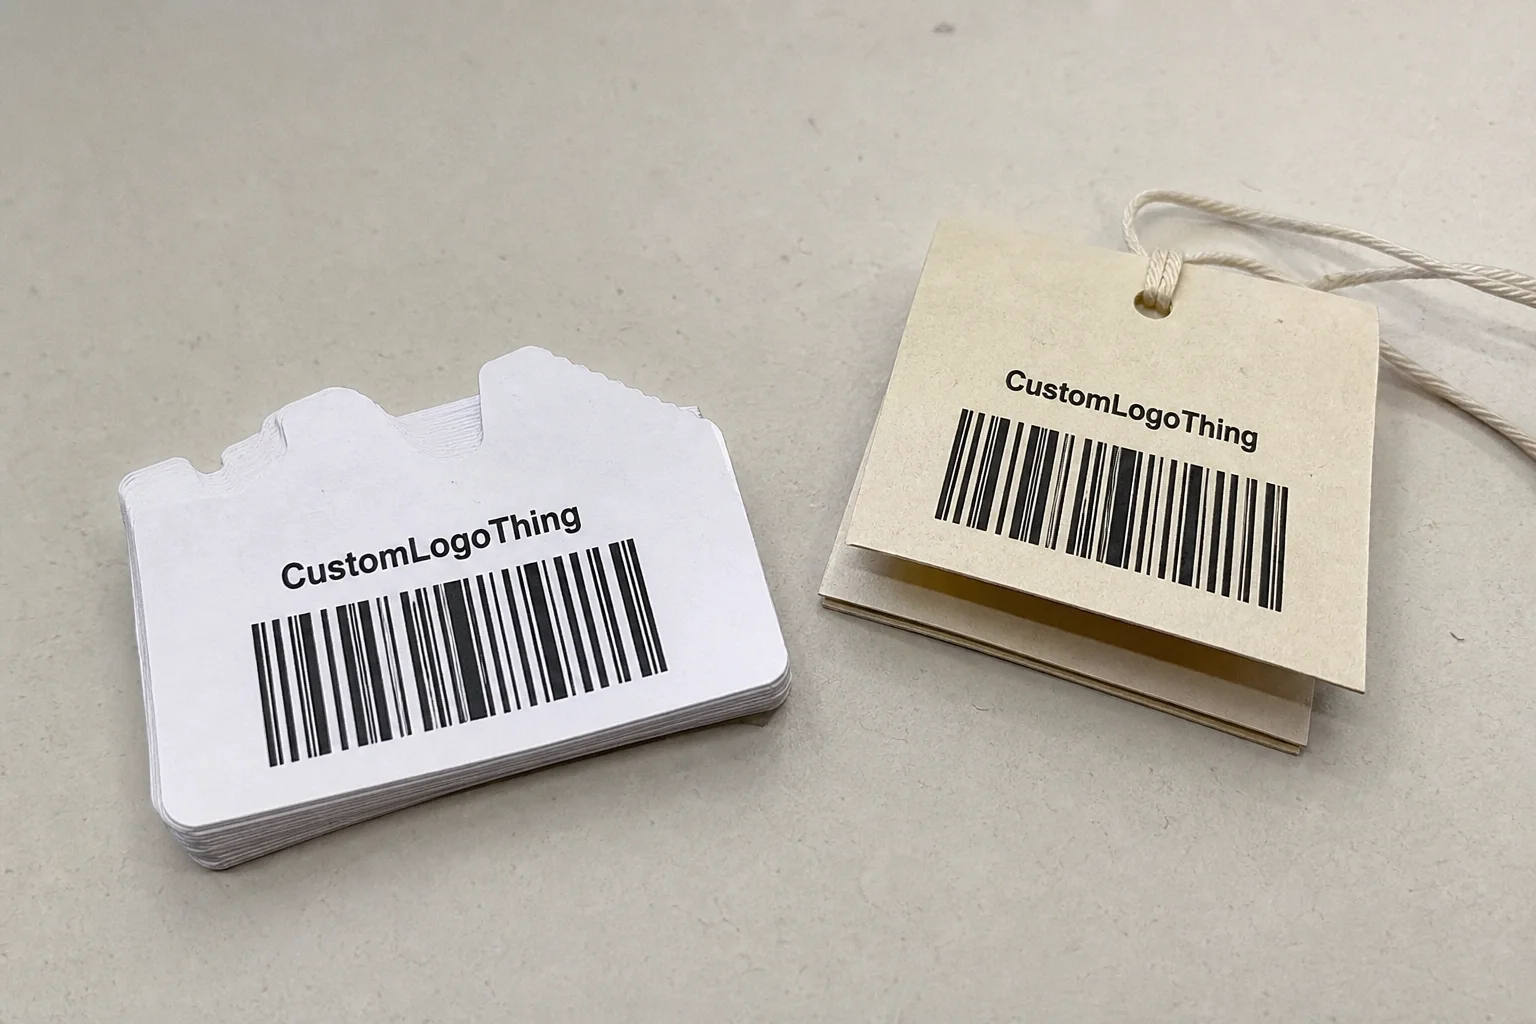
A human-readable line under the barcode is not decoration. It gives operators a fallback when a scan fails or the code is partly obscured. In warehouse intake, retail receiving, and carton verification, that line reduces avoidable errors. It also helps when a label is curved around a bag, marred by handling, or printed on a surface that reflects light.
A clean workflow usually looks something like this:
- Build the SKU and carton data structure.
- Choose the symbology and scan standard.
- Set the label size based on the actual application surface.
- Confirm the human-readable text and variable data fields.
- Test a printed sample with the real scanner and lighting conditions.
The last step is the one people try to skip. A barcode that scans inside a PDF proves almost nothing. The real test is a printed sample under the same handling, friction, and lighting the finished label will face. For packaging test references, ISTA publishes useful guidance at ISTA.
Materials, adhesive, and print choices that affect scan quality
Paper is usually the lowest-cost option. It works well for short-run, dry, low-handling applications. If the label is temporary, internal, or used on cartons that will not see much abrasion, paper can be perfectly adequate. The weakness is durability. Heat, moisture, and scuffing will expose it fast.
Synthetic stocks such as polypropylene or polyester hold up better. They resist abrasion, moisture, and repeated handling more effectively than paper. For apparel moving through humid stockrooms, cold storage, or busy fulfillment environments, synthetic stock is often the safer choice. The extra cost is usually easier to justify than a reprint.
Adhesive choice should be matched to the application surface. Permanent, removable, freezer, and fabric-safe adhesives all behave differently after application. A label can look fine on a sample carton and still peel from a coated box, curl on a polybag, or leave residue on packaging. That is not a print defect. It is an adhesive mismatch.
Print method affects durability too. Direct thermal is efficient for short-life labels, but the image can darken, fade, or react poorly to heat and friction. Thermal transfer generally holds up better because the ribbon deposits a tougher image. If the label needs to survive shipping, stacking, or storage, thermal transfer is often the practical default. Flexographic and digital print are also relevant, especially for larger runs or labels with variable data and brand color.
Finishes can help, but only if they do not interfere with readability. A topcoat or laminate can protect the label face, though heavy gloss may create glare that hurts scan performance. A finish should support the code, not fight it. Visual polish is useful; scan reliability is non-negotiable.
If sustainability is part of the brief, ask early for the exact material and construction, not just a broad claim. FSC-certified paper is a useful reference point for paper sourcing at FSC. That said, the environmental profile depends on the full build: facestock, adhesive, ink, ribbon, and the way the label is used. Vague green language is cheap. Verified specs are the point.
These ranges are common enough to guide budgeting, but they are not universal quotes:
| Option | Best For | Typical Unit Cost | Durability | Notes |
|---|---|---|---|---|
| Paper, direct thermal | Short-run internal labels, dry storage | $0.03-$0.08 | Low to moderate | Lowest upfront cost, but weaker against heat and abrasion |
| Paper, thermal transfer | Cartons, short-to-mid life shipping use | $0.04-$0.10 | Moderate | Better image stability than direct thermal |
| Synthetic, thermal transfer | Polybags, cold storage, heavy handling | $0.08-$0.18 | High | Usually the safer choice for apparel operations |
| Variable-data digital print | Frequent SKU changes, serialized cartons | $0.10-$0.28 | Moderate to high | Flexible for changing data, but price moves with quantity and coverage |
The range shifts with size, quantity, print coverage, die shape, and whether proofing or setup is bundled into the quote. A small, simple run can be disproportionately expensive. A larger run with stable artwork often lands much lower on a per-label basis. That is the difference between a price sheet and the real cost of production.
Custom bar code labels pricing: what drives unit cost
The main cost drivers are size, material, adhesive, color count, variable data, and finishing. A plain rectangular label with a single black barcode is the easiest to produce. Add a brand panel, sequential numbering, a laminated finish, and a custom die, and the economics change immediately.
Minimum order quantity matters a lot. Small orders carry a higher unit cost because setup is spread across fewer labels. That is why a 1,000-piece order can look expensive next to a 10,000-piece order even if the artwork barely changes. Prepress, verification, cutting, and packing all have fixed costs that do not shrink just because the run is short.
Digital print tends to make sense for lower volumes or frequent artwork changes. Flexo becomes more efficient once the run size grows and the design stays stable. If you are ordering labels alongside Custom Packaging Products, consolidating the purchasing cycle can help, but one process does not solve every label need. Internal, retail-facing, and shipping-critical labels should still be priced and tested separately.
Ask for pricing that clearly separates setup, proofs, labels, and freight. Otherwise the quotes are not really comparable. One vendor may show a low unit number and then add charges for artwork cleanup, first proof, special adhesive, or fulfillment. Another may spread some of those costs across the line items. The lower quote is not always the cheaper order.
A useful quote request includes these details:
- Label dimensions and shape.
- Barcode type and whether the data is static or variable.
- Material and adhesive preference.
- Quantity by SKU, color, or carton.
- Print finish, if any.
- Application surface and expected handling.
If the choice is between two materials and the difference is not obvious, request both. In many production programs, the cost gap is smaller than the cost of one failed run. That is the tradeoff that matters: not the lowest number on the quote, but the lowest total risk to the schedule and the inventory.
Production steps and turnaround: from files to delivery
Production starts with a proper spec sheet: dimensions, material, adhesive, barcode type, data fields, quantity, and application surface. Guessing slows everything down. A designer can make artwork look right quickly, but production needs information that a mockup cannot carry by itself. The cleaner the spec, the fewer revisions later.
The proof should show the actual barcode, not just the layout. If the proof is only a pretty image, it is incomplete. The human-readable line, crop marks where relevant, and any variable fields should all be obvious. Catching a failure here is good. Catching it after print is wasteful.
Lead time depends on file readiness, proof approval, print method, and whether the order includes serialized data or special finishing. Simple jobs can move from proof approval to production in a few business days. More complex runs take longer, especially if a new die is needed or the data has to be merged across multiple SKUs. The schedule changes again if the labels need to coordinate with garment packaging, carton marks, or retail packaging requirements.
In practice, the delay is often revision, not printing. An old barcode file, a late SKU change, or a mismatch between carton count and packing list will slow the order more than press time ever does. Rush work compresses margin and raises the chance of error. That is not a mystery; it is the predictable cost of urgency.
A simple approval chain helps keep the job under control:
- Final spec sheet signed off by operations and packaging.
- Barcode data checked against the SKU list.
- Printed proof scanned on the actual device.
- Artwork approval after the proof passes.
- Production release with no open revisions.
If the labels have to fit into a wider branded packaging program, keep those approvals in the same loop. Labels, cartons, and inserts should not drift into separate tracks. That is how the system ends up looking polished in pieces but inconsistent as a whole.
Common mistakes that cause scan failures and reprints
One common mistake is shrinking the code to fit the design instead of designing around the required scan size. That is how you end up with a label that looks tidy and performs poorly. The barcode needs enough room, enough contrast, and enough quiet zone for the scanner to read it reliably. If the label is small, the barcode format needs to be chosen for that constraint, not forced into it.
Skipping quiet zones or trimming too close to the bars causes another avoidable failure. The artwork may look neat to the eye, but the scanner does not care about symmetry. It cares about white space around the code. That border is part of the system, not a design preference.
Wrong adhesive selection creates a different kind of damage. Coated cartons, plastic bags, and fabric-backed labels all behave differently. A label that sticks well to kraft board may peel from slick film or curl after cold storage. If one adhesive is used for every surface, the result is usually lifting, waste, and operator frustration.
Teams also skip real-world testing. A proof that scans on a desk under perfect light does not tell you much. The label needs to be tested on the actual substrate, under the lighting the warehouse or store will use, with the scanner that will be in service. If that sounds obvious, it is. It still gets missed often enough to matter.
Check these points before release:
- Barcode size is appropriate for the chosen symbology.
- Quiet zone is intact.
- Contrast is strong enough for the scan environment.
- Adhesive matches the application surface.
- Proof has been scanned in real conditions.
A well-run label program treats verification as part of production. If you are already paying for custom printed boxes or other retail packaging components, the barcode label should not be the weak link. The label is part of the same system.
Specs before you request a quote
Gather the basics first: label dimensions, barcode symbology, quantity, adhesive type, variable data fields, and the exact application surface. If a supplier has to pull this out of you one question at a time, the quote gets slower and less accurate. Clear input produces clearer pricing.
Ask for a printed sample or test proof on the stock you plan to use. One good scan test saves more money than a short conversation about price ever will. If the label has to pass through receiving, sorting, and retail handoff, test each point. A label that succeeds in one stage and fails in the next still costs time and labor.
If the choice is between two materials, quote both. The difference in unit price is often smaller than the cost of a bad call once reprints, labor, and delay are counted. That kind of tradeoff is easy to miss on paper and hard to ignore after the first production error.
Before sending artwork, confirm the data file structure and recheck every SKU. A strong order starts with operational clarity, not a polished mockup of custom bar code labels. The label should fit the way the team actually works. If it only looks finished, it is not finished.
For broader packaging programs, keep the barcode spec aligned with the carton, insert, and workflow. That consistency matters more than decorative detail. The best label is the one that keeps moving without drawing attention to itself.
What size should custom bar code labels be for clothing tags?
Size depends on the barcode type, scan distance, and how much human-readable text you need. Leave enough quiet zone around the code and test the final printed size, not just the design file. If the label is compact, use a barcode format that tolerates tighter spacing and verify it on the actual scanner.
Do custom bar code labels need sequential numbers for apparel?
Not always. Static SKU labels are fine for simple retail tracking, while sequential numbers help with lot control, returns, and traceability. If cartons or bundles must be unique, variable data is worth the extra setup. Use sequential numbering only when it solves an operational problem.
Which material works best for bar code labels on clothing?
For short-life, dry applications, paper can be the lowest-cost option. For moisture, abrasion, cold storage, or long handling cycles, synthetic materials like polypropylene or polyester are more reliable. Match the adhesive to the surface first, because a durable facestock with the wrong adhesive still fails.
How long does production usually take for custom bar code labels?
Simple orders can move from proof approval to production in a few business days. Complex variable-data runs, special materials, or rush scheduling usually extend the timeline. The fastest way to lose time is changing artwork after proof approval, so lock the file before production starts.
What is the MOQ for custom bar code labels?
MOQ depends on print method and supplier setup. Digital runs can start lower, while flexo often makes more sense at higher quantities. The more useful question is unit cost at your target volume, not just the lowest entry quantity. Ask for tiered pricing so you can see where the cost drops enough to justify a larger order.


