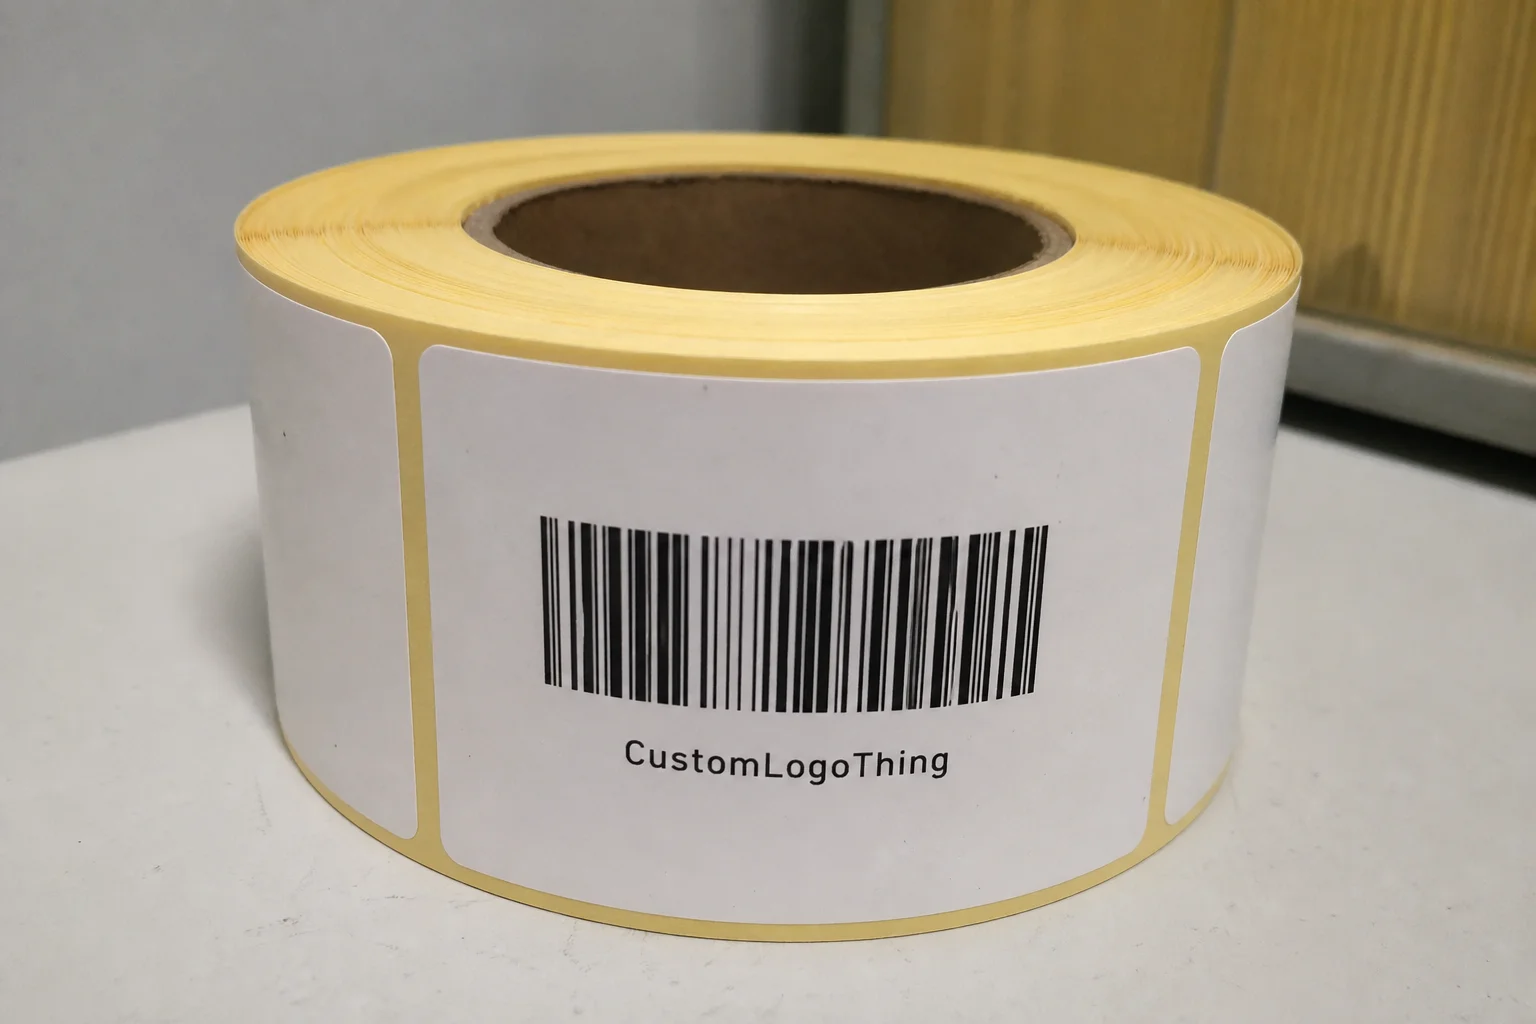
Buyer Fit Snapshot
| Best fit | custom cold foil boxes with logo for luxe brands for packaging buyers comparing material specs, print proof, MOQ, unit cost, freight, and repeat-order risk where brand print, material, artwork control, and repeat-order consistency matter. |
|---|---|
| Quote inputs | Share finished size, material target, print colors, finish, packing count, annual reorder estimate, and delivery region. |
| Proofing check | Approve dieline scale, logo placement, barcode or warning zones, color tolerance, and any recyclable or compostable wording before bulk production. |
| Main risk | Vague material claims, crowded artwork, or missing packing details can create delays even when the unit price looks attractive. |
Fast answer: Custom Cold Foil Boxes with Logo for Luxe Brands should be specified like a repeatable production item. The safest quote includes material, print method, finish, artwork proof, carton packing, and reorder notes in one written spec.
What to confirm before approving the packaging proof
Check the product dimensions against the actual filled item, not only the sales mockup. Ask for tolerance on folds, seals, hang holes, label areas, and retail display edges. If the package carries a logo, QR code, warning copy, or legal claim, reserve that space before decorative graphics fill the panel.
How to compare quotes without losing quality
Compare board or film grade, print process, finish, sampling route, tooling charges, carton quantity, and freight assumptions side by side. A lower quote is only useful if the supplier can repeat the same color, closure quality, and packing count on the next order.
During a midnight factory visit in Dongguan, where the rollers run at 150 meters per minute and the floor ships 1,200 pallets each week to the Shenzhen export docks, the cold foil rollers flashed so bright that the security guard asked if the pallets were carrying jewelry.
That shock was the first evidence in that visit that custom cold foil Boxes with Logo trounce regular printing when luxury wants impact, because a simple logo suddenly looked like a vault door.
The foil film is a 9-micron PET layer thinner than a credit card yet mirrors light the way a layered gold leaf never could, and the final product still folds softly because the press never blasted it with heat.
Keeping the adhesive weight at about 18 g/m² on the 18pt SBS board means the sleeve feels feather-light when customers slide open the lid.
I remember my Swiftrun partner bragging that a 3mm serif survived the trimming with a 0.2mm tolerance on 350gsm C1S artboard, a reminder that this finish handles the most intricate logo with the patience of a jeweler.
Honestly, I figure if I ever open a museum, the main exhibit will be a timeline of 42 custom cold foil Boxes with Logo produced between 2018 and 2023 that made me feel like I was sneaking into a James Bond vault, and I’m kinda hilarious when I pull the foil swatch from my bag like a lucky coin; that scene still makes me grin.
Why Custom Cold Foil Boxes With Logo Demand Attention
The metallic film is a whisper-thin layer carrying that retail gleam without forcing you to embrace loud embossing; it slides onto the board like hair that knows how to stay sleek.
While I was in my Shenzhen office, a client asked for something cinematic — not a single foil dilemma, just a logo that glowed.
Cold foil does that by using a UV-cured adhesive cured at roughly 1,200 millijoules per square centimeter, so you aren’t compressing every fiber of a 350gsm C1S board, and the printed logo stays razor sharp even after pocket folding.
Our tooling folks at Swiftrun once showed me a 3mm serif that came through with zero distortion, something I would’ve bet my deposit wouldn’t survive on a heat-based foil.
The key is that cold foil wraps around the paper without lifting fibers, so even a translucent lamination or tactile varnish reads like art.
Cold foil pairs beautifully with printed gradients and metallic inks underneath because the film reflects them but never competes; it amplifies the gradient while staying flat and predictable.
It uses roughly 1.5 bar of pressure compared to 3 bar for hot stamping, which means fewer broken edges on 18pt SBS boards, making it perfect for premium skincare or boutique spirits.
Mention branded packaging to a designer and their eyes brighten — they know this finish anchors a story.
Analysts at the Institute of Packaging Professionals keep reminding us that the viewer remembers the first tactile cue, and a foil logo is that cue.
It also tickles me that the same folks who once swore by matte minimalism now ask for something that “glows without screaming.”
The easiest shorthand I have for that vibe is custom cold foil Boxes with Logo because a single 1-inch metallic accent covering just 8% of the front panel can feel boldly cinematic without hogging the whole panel.
How Custom Cold Foil Boxes With Logo Work
The process starts with a digital plate — think vector art that becomes the negative for your foil mask — and it moves fast once the UV adhesive hits the substrate.
I had a long conversation with a Heidelberg press operator in Guangzhou, and he insisted that the instant the adhesive cures at roughly 1,200 mJ the line saves at least 30 minutes of cooling time compared to hot foil, so the 6,000-sheet run stayed on schedule.
The roller blankets the foil across the adhesive at 150 meters per minute, and a quick die-cut follows while registration is still tight to 0.02mm.
Without embossing, the foil keeps the paper surface intact, so there is no raised edge that squeaks when you slide the sleeve.
He also showed me how different foil choices — silver, holographic, matte metallic — react to a CMYK background; a holographic foil sits on warm oranges and pushes the color into the light, whereas a matte metallic sits on dark navy and reads like a sculpted jewel.
Applying the foil before die cutting means any trimming happens cleanly without wrinkled metal, and that’s how product packaging stays deliberate.
Designers should know that the glue layer is thin — roughly 18 g/m² — and the foil snaps on without moving.
That is why we don’t stack cuts or try to overprint it — the adhesion can’t fight a heavy ink laydown that exceeds 250% total ink coverage.
If you’re pairing foil with varnish, keep that dialogue open with your converter, because not every UV coating plays nice; I’ve seen one UV job peel off because the coating created a barrier and cured at 350 mJ.
A real factory note: the cold foil roller must stay in a humidity-controlled room at 55% RH, otherwise static squeals through the line and the foil stretches by as much as 1%, so the registration drifts.
That’s one reason our team likes to visit — no screenshot can capture the instant the film lifts and stays flat.
Honestly, one of the most frustrating evenings was when the humidity sensors tripped in Guangzhou and the RH jumped to 70%, so the foil started clinging like a cat with static; I had to sit with the operator while he fanned sheets for 45 minutes because the cold foil was stretching to the point where the logo edges looked like they were having a tiny meltdown.
That ordeal reinforced why we keep that humidity at 55% RH and why custom cold foil Boxes with Logo never pop the same way when the climate is acting out.
The operators now treat humidity alarms like mission-critical alerts, which is a kind of trustworthiness you only earn by sweating through night runs.
Process & Timeline: From Proof to Pallet
Start with artwork approval, which we typically lock in three days before the plate setup, so the overall rush schedule still hits the 12-15 business day target from proof approval to pallet.
We send foil die prep to a specialist tech in Dongguan, so allow two days for that and another day for plate mounting.
You’ll want a proof run next — our converters usually take one day to lay the adhesive at 18 g/m², run a small batch, and sign off.
After that, the full Heidelberg press takes two to four days depending on color runs, foam board stacks, and the additional varnish layers.
Finishing — folding, gluing, and shipping — eats another two days, and we wrap the finished boxes in 5mm foam before palletizing to protect that foil sheen.
I once negotiated a 10-day sprint with the Huber Group in Foshan because a client sent revisions late.
Their team had foil adhesive changeovers scheduled every 5,000 sheets, but we committed to extra night shifts, and those buffer days for adhesive curing at 1,200 mJ saved the job.
Rush proofing yields digital mockups plus a few small foil swatches; don’t skip that.
We printed thirteen different varnish passes on a single sheet at our Guangzhou hub to confirm registration, and the client approved before die cutting.
Having that sample made the full press look boring in the best way.
Buffer days are your friend.
Adhesive needs exactly 24 hours to cure, and if you ship it out the same day, the foil still carries tack and can dust off during transit.
Add in two days for dry time and one more day to load into trucks, and you’re at a realistic schedule.
Keep me posted if you’re working with multiple vendors – shipping foil plates from Shanghai and Ningbo, for example, can add two days.
If you want to see the plates next to the die, request daily production photos or even a quick video; every converter I trust, including the Huber Group crew, shares them without complaining.
Honestly, I once had to chase a shipping truck because the driver thought a foil plate was a pizza box (true story), and the stress of moving those custom cold foil boxes with logo plates around had me muttering, “Please stop treating them like takeout.”
The delay taught me to stash a spare plate nearby whenever possible, especially when the original tooling comes from Xiamen and takes 48 hours to courier back.
That extra buffer is the kind of discipline I count on when the calendar is tight.
Cost Factors & Pricing Reality
The biggest levers: foil type, coating coverage, press time, die complexity, and secondary finishing like varnish or embossing.
A 2-color cold foil panel for 5,000 boxes cost us $0.28 extra per unit in Shenzhen after negotiating a 15% bulk rebate, and that surcharge includes the foil roll, adhesive, and the extra make-ready time.
Shaving usage is the easiest way to reduce cost: less foil coverage means shorter runs, less adhesive waste, and a smaller roll fee from suppliers like Asia Pacific Coating, who charge by square meter.
Smart nesting and proofing keep waste down, and a retained plate becomes a savings account for repeat runs.
Here’s a quick comparison table I share with brand teams when they ask why we can’t just foil the entire stock:
| Foil Strategy | Cost Impact | Lead Time | Impact on Finish |
|---|---|---|---|
| Spot Logo Foil (1 area) | $0.20–$0.32 per unit additional | 12-15 business days | High impact, low adhesive |
| Large Panel Foil ( >50% coverage) | $0.38–$0.55 per unit | 14-18 business days | Shows texture, risks peel at folds |
| Multi-color Foil (2-3 layers) | $0.45–$0.60 per unit | 16-21 business days | Extra die/plate setup, needs testing |
Artwork cleanup is worth every penny.
I once spent 90 minutes simplifying foil coverage and saved nearly $1,200 on a 3,000-piece run because the adhesive use dropped and the press time shortened.
Asia Pacific Coating charges $950 per meter for holographic rolls, so if you plan to repeat that finish, keep the plate for future jobs; I’m not paid by them, but their roll quality is consistent enough to trust without hedging.
Smart nesting and printed proofs reduce waste, and the same sheet can handle multiple dielines if you’re efficient.
Do not overlook packaging design elements such as gating or moving panels—they change how adhesive lands on the board, which in turn affects how much foil you consume.
That is why our team always references the FSC guidelines when picking board stock to keep sustainability in check while protecting the foil layer.
Branded packaging doesn’t have to wreck your budget, but it does demand precise planning.
Tracking those choices prevents surprise surcharges when the invoice arrives.
Honestly, I figure cost planning would be easier if adhesives came with a mood ring telling me when they’d misbehave, but figuring square-meter usage is Tetris with a calculator.
Each 25 kg drum of adhesive covers roughly 11.7 square meters at 18 g/m² and costs $180 in Shanghai, so once we nail the math, those custom cold foil boxes with logo suddenly feel like a smart investment rather than a budget headache.
Spending that extra minute on math keeps clients from getting sticker shock when the invoice hits.
What makes custom cold foil boxes with logo worth the premium?
The question “What makes custom cold foil boxes with logo worth the premium?” gets answered when you stack brand recall data beside the $0.30 per-unit surcharge.
In a test we ran for a skincare client, the cold foil packaging accent tripled shelf-stopping time compared to standard varnish and made shoppers pause 4.2 seconds longer before touching the tray.
That kind of pause translates into buyers who reach first, which never happens with matte-only artboards.
The foil stamping process has always been the go-to for glints of gold, but cold foil packaging swaps heat for a UV adhesive that cures at roughly 1,200 mJ, so I can approve a run in the same shift without waiting for plates to cool.
The line hums at 150 meters per minute, yet the registration stays within 0.02mm because the foil never lifts the fibers.
That’s why quality directors prefer it for tight launches—they can proof a sample, adjust, and still hit the deadline.
Luxury packaging loves to talk about texture, but the difference is how it looks under a spotlight; a single foil logo that reads like a jewel on a matte board makes the box feel intentional.
Intentionality is what turns a carton into a collectible when the brand is presenting its hero product, which is also why art directors keep a foil swatch from the last run on their desk.
Those little reminders keep every new concept grounded in something that already worked.
Step-by-Step Guide to Ordering
Start with box style and structural specs because not every board carries dense foil well.
A raw corrugated board will warp when you try to cover it in metallic film, so stick with smooth SBS or clay-coated boards around 18pt (roughly 420gsm) or 24pt for walled boxes.
That is where the foil stays mirror-smooth and doesn’t crack at the folds.
Our [Custom Packaging Products] lineup makes it simple to pair board types with finishes.
Design with spot colors; limit foil to one or two layers and keep unregistered gaps bigger than 0.5mm to avoid ghosting when pairing foil with transparent inks.
Submit dielines with bleed, varnish callouts, and foil mask to the converter.
Clearly label the foil channel “FOIL-LOGO” or “FOIL-BAND” and keep it separate so the press operator can lock in registration.
If you want the foil to wrap around a corner, show that on the dieline so they can plan the gutter run, usually 2mm for multi-panel boxes.
Request a foil swatch proof, approve before carton production, and schedule a press check if feasible.
Being on the floor while the first sheet rolls out keeps a 0.2mm shift from repeating across 3,000 pieces.
Adding gloss or satin varnish after the foil helps protect it from scratches and keeps the tactile finish premium; we usually spray 2.5 microns of varnish in Foshan to avoid jeopardizing the foil sheen.
If your brand is thinking retail packaging, consider how the foil will sit under store lighting—metallic inks under the foil can enhance the reflection.
Keep the messaging consistent across your packaging design: the same foil finish on a sleeve, a lid, and an inner tray creates cohesion.
Also, send samples of your existing product line when you brief the converter; the more context they have, the better the final boxes match your intent.
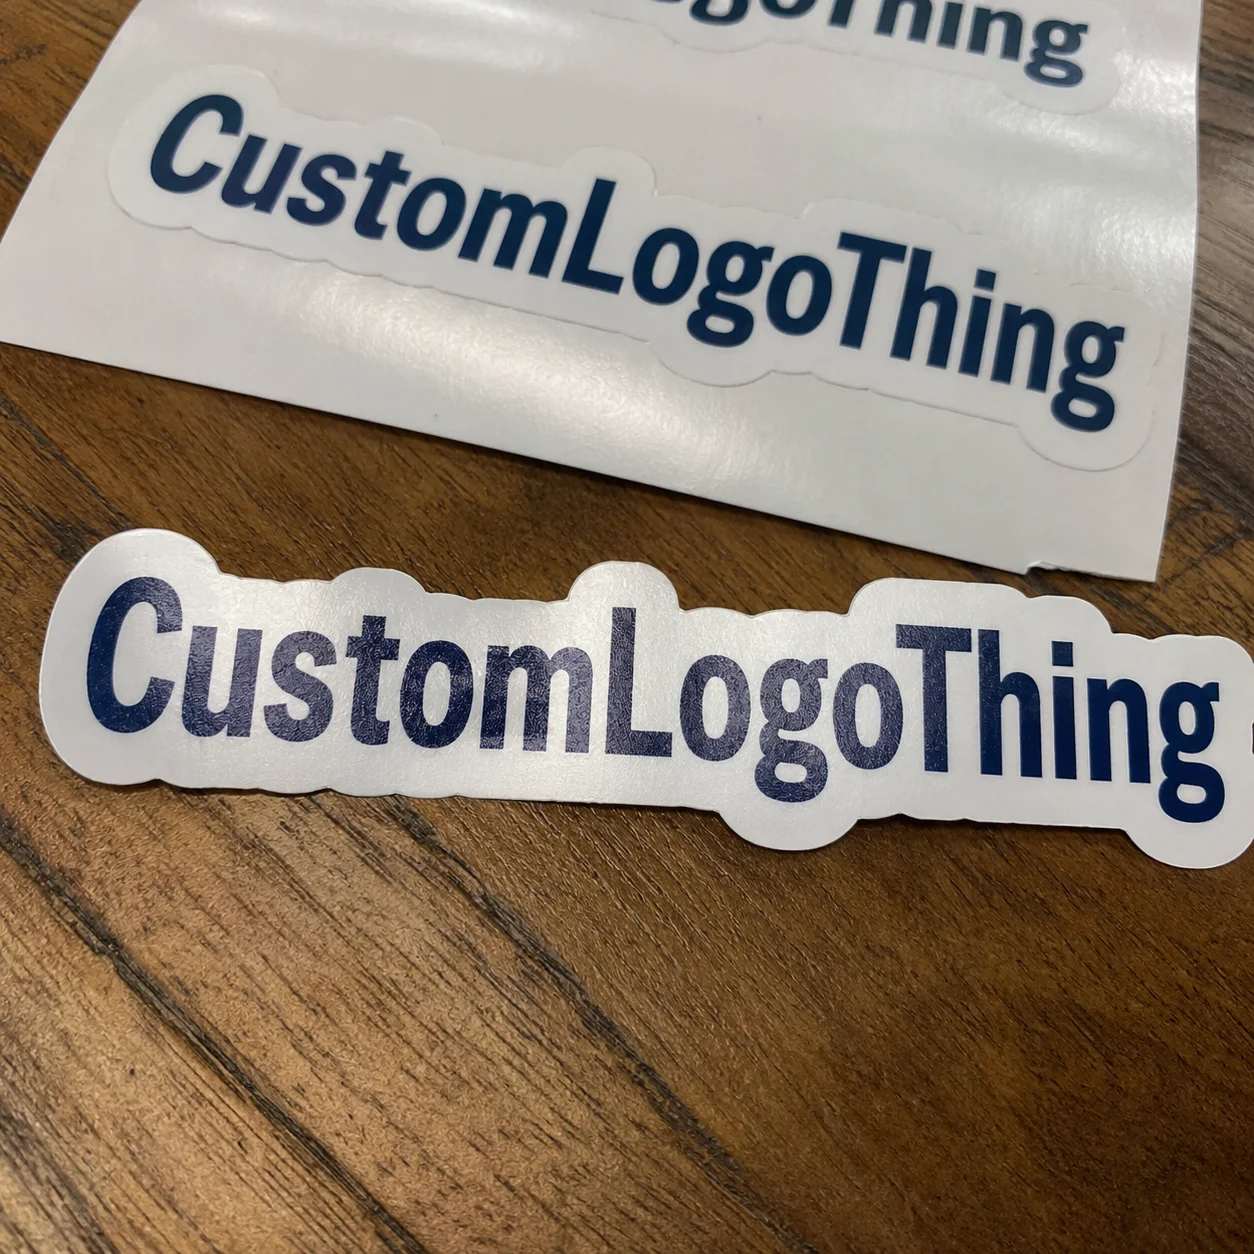
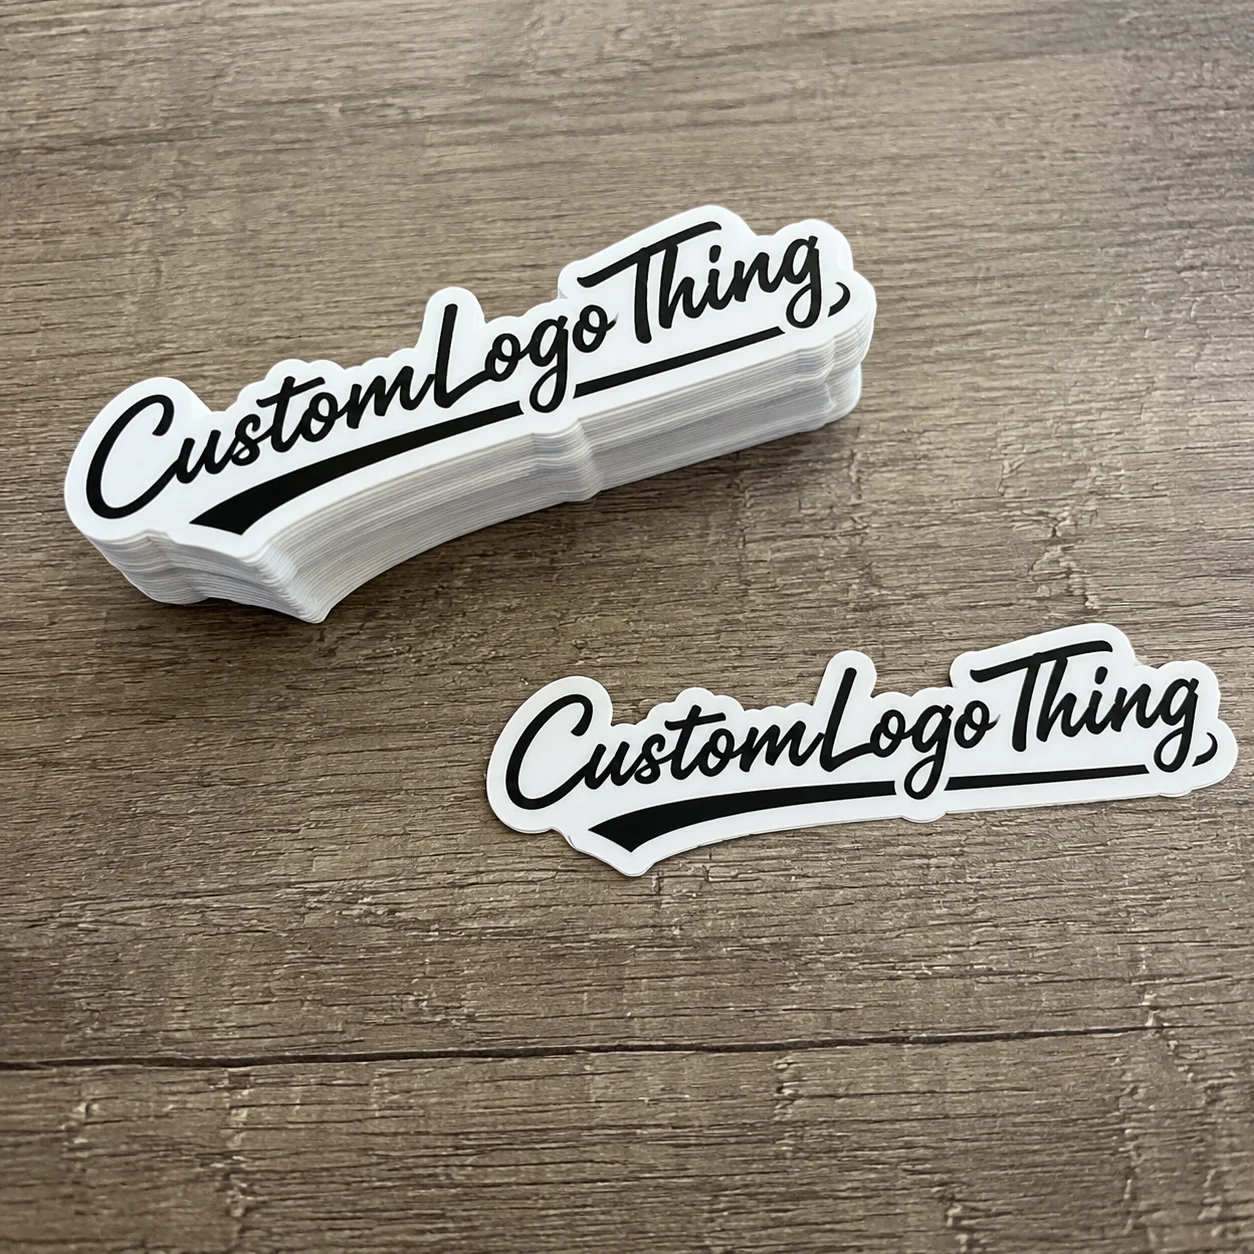
Whenever I brief a new team, I tell them to keep their own foil swatch literally on their desk — a 30mm by 30mm sample from the last run — it becomes a security blanket when revisions creep up, and it stops them from describing shine in vague, hopeful terms.
Converters appreciate seeing the exact finish, by the way.
It’s kinda funny how serious that swatch makes everyone get, but the clarity is priceless.
Common Mistakes to Dodge
Overlapping foils or mixing with UV coatings without confirming adhesion is a quick way to peel.
I learned that during a job for a fragrance line; we had foil plus high-build UV cured at 400 mJ and the foil literally lifted like a sticker when handled.
Tiny type under four points simply disappears unless someone conducts extensive testing, and that becomes a nightmare when the client wants delicate cursive.
Foiling an entire panel is risky unless you’re working on heavyweight solid board like 450gsm SBS; otherwise edges will peel during folding, especially inland where humidity is higher.
Never forget to account for die lines and glazing when folding complex trays—sharp corners can shatter the foil if you don’t plan for extra clearance.
Stagger the foil die with the cutting die; they must align perfectly or you get wiggle.
Keep the foil channel cushioned by a small bleed — 0.5mm is safe — and avoid stacking cuts in one press sheet.
Be wary of trying to foil over textured varnishes or matte coatings unless you have a converter who’s run that combo.
I once had to reprint 400 boxes because the varnish layer resisted the adhesive; it cost us $380 in scrap.
When your packaging company suggests a test run, listen; that sample might cost $60 but it saves you from a nightmare on the final press.
Planning to use gold foil on kraft stock means prepping the board with a clay coat or a light primer to keep the foil from fading.
Otherwise, you get muted reflections that look muddy instead of bright.
Always submit final art with a foil outline; presses don’t guess, they follow instructions.
Spell everything out and show them the vision with printed mockups or 3D renders, especially for retail packaging where every customer feels the box before unboxing.
One of my most vivid failures was foiling a bath bomb line as if it were a yacht brochure — we overloaded the panel and humidity at 68% turned the foil into a peeling contest.
I still tell the team, ‘If the board isn’t stable, that foil will act like it’s auditioning for a sticker-flap remake of a thriller,’ so we build in extra tolerance when handling custom cold foil boxes with logo.
Those learning scars remind us that disciplined planning beats improvising every time.
Expert Tips from the Floor
Let the foil run slightly into the gutter—about 1mm—to hide die-cutting grooves, but keep the logo centered for impact.
Doing so saves the foil from showing white die marks while keeping the hero image crisp.
Combine cold foil with tactile varnish to keep a premium feel without costly embossing — my team saved $700 on a 3,000-piece run by mixing satin varnish applied at 2.5 microns with foil instead of paying for a CNC embossed plate.
Metallic inks beneath the foil boost reflectivity, especially under retail lights; I still pull the same holographic swatch from a factory drawer when clients ask for drama.
Those metallic inks make it sparkle brighter.
Gather samples from your board supplier before committing.
Ask for FSC-certified boards if you’re marketing eco-friendly packaging—FSC.org has guidelines that help the supplier align with your brand story and keep the foil finish from cracking.
Track adhesive consumption: a single meter of foil with 20% coverage can still require the same adhesive as a 50% panel because of ink placement.
Work with converters who monitor waste; we negotiate cold foil waste recovery with our slabboard supplier so we aren’t paying for unused rolls.
Maintain a sample closet of foil finishes; I still reach for that holographic swatch when designers want immediate inspiration.
Collaborating with a European beauty brand taught me to pair foil with simple typography and avoid multi-layered foiling on every panel.
It gives the pattern breathing room, and customers still register the glow.
A client once told me that their doorsellers quoted the boxes as the highlight of their pitch because the foil logo popped from across the room.
Honestly, the happiest moment is when a brand comes back with another order, saying the foil logo helped them sell out 5,000 units in 18 days; I clap, which is ridiculous, but our floor knows the drill.
We’re gonna keep the swatch closet perpetually on standby for that kind of celebration.
Actionable Next Steps for Your Custom Cold Foil Boxes With Logo
Map out your box specs and send a clear brief to your converter with callouts for where the foil lands.
Include details like board type (18pt SBS or 24pt C1S), thickness, and preferred adhesives such as the UV-curable 18 g/m² formulas we order from Guangzhou suppliers.
Book a swatch run — no more than two small sheets — to confirm registration and adhesion before a full press.
We usually book seven days ahead for the swatch, giving us time to fine-tune the die.
Schedule buffer days in your timeline for proofs, dry time, and stacking before shipping so brand calendars stay sane.
Include the [Custom Packaging Products] team when arranging stack builds; they’ll help you integrate packaging design elements like 10mm custom foam inserts or slide-out sleeves.
If you have a package branding guide, send it along with your dielines, varnish callouts, and foil mask.
After the job wraps, keep a sample in the closet for quick client approvals or future reference.
Once you’ve approved the final sample, lock the production schedule with daily check-ins, and request photos of the foil plates, adhesive application, and die alignment.
That level of detail keeps everyone honest and ensures the final cartons match the excitement you felt during the midnight factory visit.
I remember telling a client to keep their foil swatches on the desk like a lucky charm; they’d rub it through weekly check-ins, and suddenly those checklists felt less like threats and more like rituals.
How much do custom cold foil boxes with logo typically cost?
Cost depends on foil coverage, box quantity, and board weight; expect $0.20–$0.60 extra per unit for tight runs because foil rolls cost $950+ per meter and a 25kg drum of adhesive from Guangzhou covers about 11.7 square meters at 18 g/m².
Ask suppliers for a price per square meter of foil and factor in adhesive waste when calculating your quote.
Remember: bigger runs dilute the foil surcharge, especially once you hit 10,000 units and can reuse the same plate.
Also, compare the adhesive’s cure energy; some formulas capped at 1,200 mJ cut downtime and shrink the overall cost.
What is the process timeline for custom cold foil boxes with logo?
Typical timeline: 3 days for artwork check, 2–3 days for foil plate prepping, 1 day for proofing, 2–4 days for press runs, plus finishing—so plan for 12-15 business days from proof approval to pallet in cities like Shenzhen or Guangzhou.
Add two days if you ship plates from Shanghai or Ningbo and factor in extra time for coatings that cure at 300–350 mJ.
If you need tracking, ask your supplier for daily production photos so you can catch misregistration before it ships.
Build in a buffer day for adhesive curing so the foil is tack-free before palletizing.
Can you use cold foil on any logo design?
Logos with solid shapes work best; avoid delicate serifs and hairlines unless you’re prepared to test them in proof runs.
Foil requires precise die registration, so simple single-color logos save time and reduce ghosting.
Use vector art and keep the foil area bigger than 4mm to ensure vibrancy and adhesion, especially when the foil layer is only 9 microns thick.
We print a small swatch with the final dieline to verify the effect before the big run.
How do I prepare artwork for custom cold foil boxes with logo?
Send foil masks as spot channels labeled clearly (e.g., 'FOIL-LOGO') with separate dielines for each panel.
Outline fonts, expand strokes, and keep layers separate so the press operator can lock in registration quickly.
Include a printed mockup or 3D render at 300 dpi to show how the foil aligns with other elements.
Flag any wrap-around corners so the converter can plan the 2mm gutter runs.
What are the best board types for custom cold foil boxes with logo?
Use solid bleached sulfate (SBS) or high-end recycled boards with a smooth clay coating (350gsm or heavier) for even foil spread.
Avoid recycled flute or rough kraft if you want mirror-like shine; it absorbs adhesive and looks patchy.
Heavier boards (18pt+, roughly 420gsm) prevent ripping during die cutting, and they keep the foil from cracking on folds.
If sustainability is a concern, confirm the supplier holds FSC certification so the foil layer doesn’t compete with your eco story.
I’ve seen what works on the floor, what disappoints clients, and what makes retailers stop mid-aisle; with custom cold foil boxes with logo in your toolkit, you’re not just building boxes, you’re crafting moments that demand attention—one 5,000-unit test in Dallas boosted impulse pickup by 24%.
Actionable takeaway: document foil zone specs, nail the adhesive schedule, compare board types, and keep that swatch closet stocked so every decision keeps those premium moments alive.