Why custom fire stickers get noticed fast
Custom fire stickers stand out because the visual theme carries instant energy, but that is only part of the appeal. Buyers usually want a sticker that feels bold, reads clearly, and survives the real environment it will live in. Heat-themed artwork gets attention quickly, yet the practical decisions behind it matter more than the artwork itself.
These stickers show up on branded packaging, safety kits, event giveaways, merch, toolboxes, coolers, helmets, and outdoor gear. A sticker on a flat indoor carton can be simple. A sticker on a curved, textured, or frequently handled surface needs better stock, better adhesive, and cleaner production discipline. That difference is where many orders succeed or fail.
The most common buyer goal is straightforward: get a durable sticker that looks sharp without inflating the budget. That usually means balancing size, shape, finish, and order quantity instead of chasing the flashiest option. A good spec tends to be the one that fits the actual use case, not the mockup.
Before ordering, define where the sticker will be used, how long it needs to last, whether it faces moisture or abrasion, and how much visibility it needs from a distance. Those four points eliminate a lot of unnecessary guessing. They also keep the final product from looking impressive for a week and disappointing for the rest of its life.
How the sticker build and production process works
Sticker production follows a simple sequence: artwork setup, file review, proofing, printing, cutting, finishing, inspection, and packing. The process is straightforward, but the quality of the input file drives most of the outcome. A clean vector file, a defined cut line, and accurate sizing remove a lot of risk before production even starts.
For short runs and designs with gradients or multiple colors, digital printing is usually the most practical choice. It handles small quantities well and makes revisions less painful. Larger orders with simple graphics can be more cost-efficient at scale, especially when the artwork does not require specialty effects. That is where unit pricing begins to drop in a meaningful way.
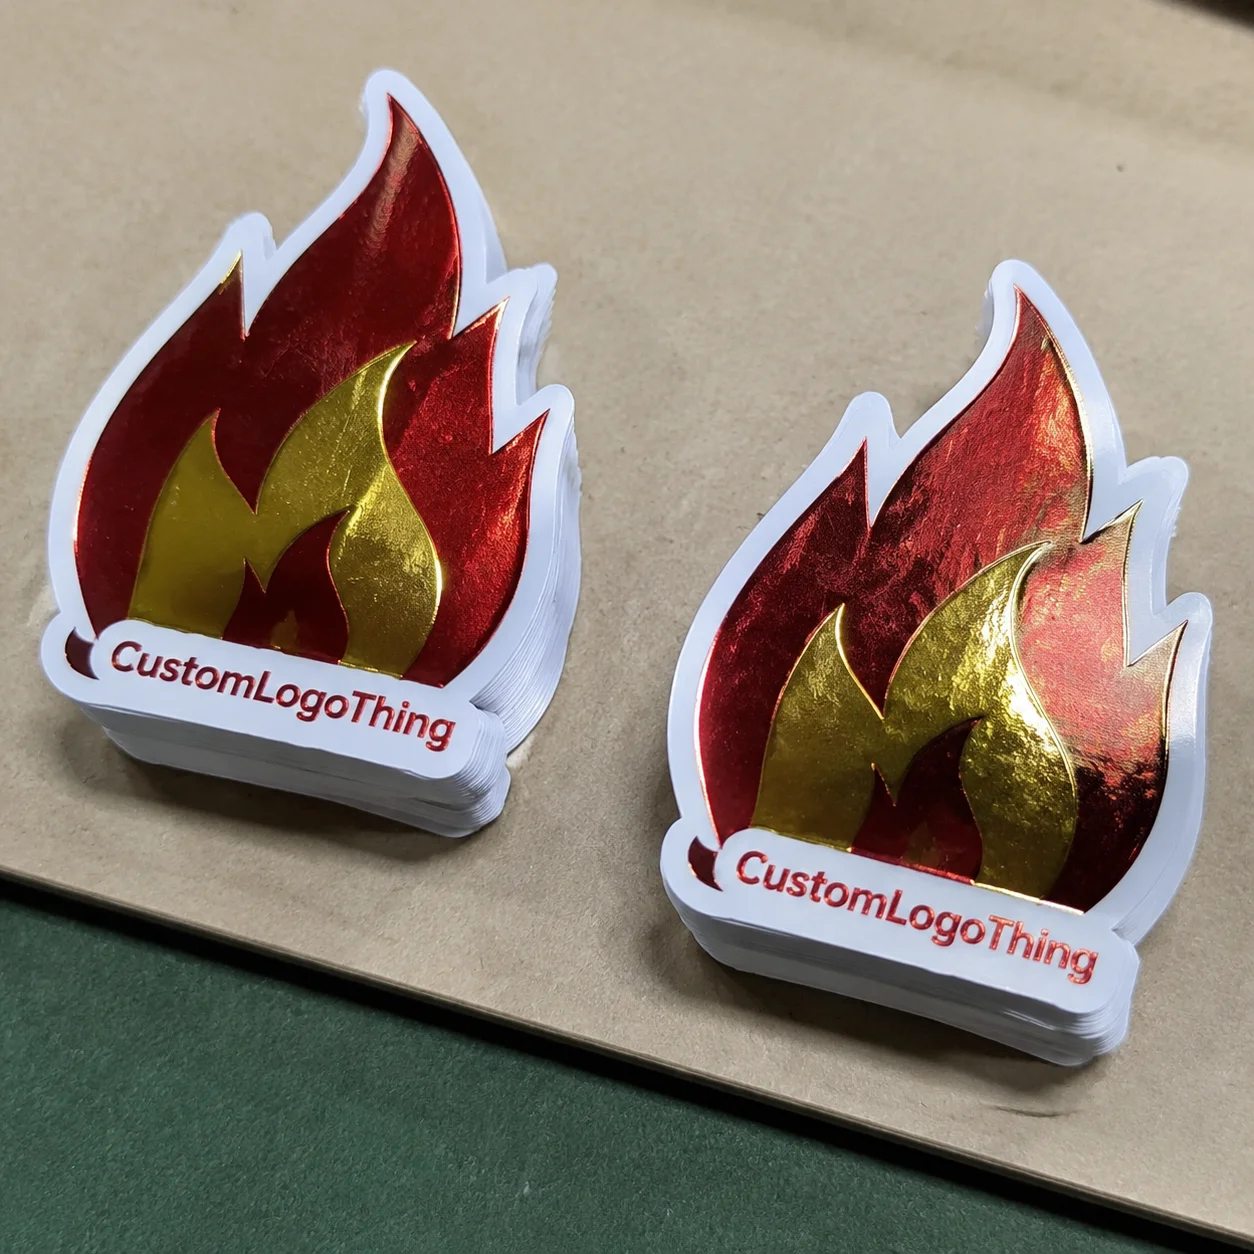
Cut format affects both appearance and usability. Die-cut stickers are trimmed to the shape of the artwork, which makes them look finished and easy to resell. Kiss-cut stickers remain on a backing sheet, making them easier to peel and better for sets, kits, or packaging inserts. Sheet format works well when multiple designs need to ship together or when the sticker is part of a broader label system.
Here is a quick comparison buyers can actually use:
| Format | Best Use | Typical Benefits | Tradeoff |
|---|---|---|---|
| Die-cut | Retail merch, giveaways, branded packaging | Clean silhouette, polished presentation, easy to hand out | Less backing space for notes or instructions |
| Kiss-cut | Sheets, kits, multiple small stickers | Easy peel, more usable backing area, flexible layouts | Can look less refined if the sheet is crowded |
| Sheet format | Label sets, promos, product packaging | Efficient for multiple designs, easier storage and sorting | Less impact as a single merchandising piece |
Proofing is where avoidable mistakes get caught. A proper proof should confirm size, cut line, color intent, adhesive choice, and whether text stays readable at the finished scale. If the sticker needs to sit on a textured surface or curve around a container, ask for a sample or a short run before committing to volume. Standard production commonly falls in the 5-10 business day range after proof approval, while revisions, specialty materials, or rush handling can change that window quickly.
If the stickers need to match packaging, it helps to align them with Custom Packaging Products or pair them with Custom Labels & Tags. Consistency matters more than most people think. A package looks more intentional when the sticker, box, and label language all belong to the same system.
Material, finish, and adhesive factors that affect performance
Material selection is the biggest durability decision. Paper, vinyl, and weather-resistant films each serve a different purpose. Paper is the lowest-cost option and can work for indoor packaging or short-life promotional use. Vinyl is usually the safer default for custom fire stickers because it holds up better to moisture, handling, and repeated contact. Weather-resistant films add another layer of protection when the sticker needs to live outdoors or on gear that gets exposed to changing conditions.
Finish changes both appearance and readability. Gloss boosts color and gives fire graphics a brighter, sharper look, which works well on retail packaging and promotional items. Matte softens reflection and can make the artwork feel more controlled or premium. Soft-touch finishes are less common for stickers, but they can be useful in limited-run packaging where texture is part of the brand story. The caveat is simple: the more texture you add, the more careful you need to be about contrast.
Adhesive choice often gets under-specified. Removable adhesive works for temporary labeling or short-term promotions. Permanent adhesive is the safer choice for most packaging and product applications. High-tack adhesive is better for rough, curved, or heavily handled surfaces. Freezer-safe adhesive matters when the sticker must survive cold storage or chilled packaging. A sticker that performs well on one surface can fail on another if the adhesive is not matched correctly.
The main failure points are usually moisture, abrasion, heat, and surface texture. A sticker that looks crisp in a mockup may lift, wrinkle, or lose grip on powder-coated metal, curved plastic, or a surface with residue. The right spec comes from the actual use environment, not from the design file alone.
For buyers who need an outside reference point, organizations like the ISTA publish transit-testing guidance for packaged goods, and the EPA provides labeling and packaging information that matters in regulated settings. Different documents, same underlying lesson: match the material to the condition it will face.
Cost, pricing, MOQ, and unit cost basics
Sticker pricing is mostly driven by quantity, size, shape complexity, material, finish, and any extra production steps. A standard circle on paper costs less than a custom-shaped vinyl sticker with lamination and upgraded adhesive. That is not a flaw in the pricing; it is the cost of adding more work and more durability.
Low minimum order quantities usually raise the unit price because setup costs are spread across fewer pieces. Larger runs lower per-sticker cost, sometimes by a wide margin. A small order might land around $0.40-$0.80 per unit depending on size and finish, while higher-volume runs can move closer to $0.10-$0.30 per unit. Those are broad ranges, not a promise, but they reflect how the math usually behaves.
Special die lines, white ink, lamination, specialty coatings, and custom packaging can all affect the quote. Shipping also matters, especially on smaller orders where freight is a bigger share of the total. If you are comparing vendors, ask for pricing at two or three quantities. That reveals the break point where the larger run starts paying for itself.
Here is a practical way to compare orders:
| Order Factor | Lower Spec | Higher Spec | Cost Impact |
|---|---|---|---|
| Quantity | Low MOQ | Bulk run | Higher unit price at low volume, lower unit price at scale |
| Material | Paper stock | Vinyl or weather-resistant film | Durability rises, price rises with it |
| Shape | Standard circle/rectangle | Custom die-cut | More cutting complexity, more setup time |
| Finish | Uncoated or basic gloss | Matte, lamination, specialty coating | Better appearance and protection, higher quote |
Hidden costs are usually tied to revision time and surface mismatch, not the sticker itself. A reorder because the adhesive was wrong costs more than choosing the right spec on the first pass. That is why buyers who know the application usually spend less in the long run.
Step-by-step ordering flow and turnaround expectations
Start with the use case. Is the sticker for packaging, safety identification, retail merch, or an event giveaway? A sticker meant for product packaging does not need the same resilience as one going onto outdoor gear. The application should shape the material and adhesive choice before anything else.
Next, prepare the artwork carefully. Vector files are best because they stay sharp at different sizes. Include bleed if the art runs to the edge, and keep key text inside a safe zone so trimming does not clip important details. Fire graphics can become visually crowded very quickly, so thin type, tiny flames, and overcomplicated backgrounds tend to lose clarity at sticker size.
Then review the proof. Check spelling, dimensions, cut line, finish, and quantity. Confirm that the adhesive and stock match the intended surface. If the sticker is going on a curved, cold, or rough substrate, a sample run is smart even when the design looks good on screen. That small check often prevents the larger failure later.
Production generally follows this order:
- File check and proof creation
- Client review and approval
- Printing and curing if required
- Cutting and finishing
- Inspection and packing
- Shipment and receiving
From approval to ship date, simple runs are often completed in about one to two weeks. Rush work can shorten that depending on queue and stock availability, while revisions, specialty materials, or last-minute art edits will usually slow things down. If the stickers are tied to a launch, event, or seasonal packaging run, build in buffer time instead of gambling on a tight deadline.
Once the order arrives, inspect the count, check the cut quality, and confirm print sharpness before the stickers go into storage or circulation. Keep them flat, dry, and away from heat. Curling, adhesive stress, and edge lift often come from storage conditions as much as from production.
Common mistakes buyers make with fire-themed stickers
The first mistake is designing for the screen instead of the actual sticker size. Artwork that feels dramatic on a laptop can become cluttered and hard to read at two or three inches wide. Thin lines, dense flame details, and tiny type are the first things to disappear. If the message matters, simplify the layout before print.
The second mistake is choosing paper when the application needs moisture resistance. Paper can be fine for short-life indoor use, but it is usually the wrong choice for kits, outdoor gear, and surfaces that may get wet or wiped down. Vinyl or weather-resistant film is usually the more practical answer.
The third mistake is ignoring the surface. Textured plastic, curved bottles, powder-coated metal, and cold surfaces all affect adhesion differently. A sticker that works on a box may fail on a helmet or toolbox. That is not a print issue; it is a surface issue.
The fourth mistake is picking a custom shape just because it feels more exciting. A complex die cut can raise cost and complicate production without improving the design. If a simpler silhouette communicates the theme just as well, it usually gives better value.
Proof skipping is still one of the most expensive habits in sticker ordering. A bad cut line, a spelling error, or a low-contrast graphic is much harder to forgive after production than on a proof file. Proofs are the cheapest place to fix a mistake.
Expert tips for a better finished sticker
Start with contrast. Strong type, one clear focal point, and a clean silhouette usually beat a crowded composition. Fire-themed art already brings motion and urgency, so the design does not need extra decoration to feel energetic. A sticker that reads fast is usually the one people keep.
Use the theme with restraint. Flames, heat gradients, and smoke cues work best when they support the brand instead of swallowing it. The strongest pieces feel deliberate, not overloaded. If the sticker is part of broader packaging, keep the icon style and color logic consistent across the set.
Match the finish to the brand position. Matte often feels more controlled and premium. Gloss tends to push harder on shelf and gives fire graphics a brighter edge. If the sticker is being paired with custom boxes or labels, keep the surface treatment aligned so the package looks coordinated rather than patched together.
Test the substrate whenever the application is unusual. Curved surfaces, cold storage, repeated handling, and textured materials all justify a sample or short run. A small test costs less than a full reprint and tells you more than a proof ever can.
For small-format stickers, it helps to keep a simplified backup version of the art. Fine detail can collapse quickly below a certain size, and a cleaner alternate version gives you a better fallback if the original design gets too busy.
“A good sticker does three jobs at once: it sticks, it reads, and it survives the surface it was printed for.”
What to check before you place the order
Before sending a quote request, lock down the size, quantity, material, finish, and adhesive. Those five choices shape most of the price and a good share of the performance. If they stay vague, the quote will stay vague too.
Confirm whether you want sheets or individual pieces, and make sure the artwork file includes the correct cut line and bleed. If the stickers support a deadline, compare production time with the launch schedule and leave room for proof edits. Tight calendars have a way of exposing every missing detail.
Ask for pricing at more than one quantity. Sometimes the middle quantity offers the best value because the per-unit savings finally justify the extra spend. Sometimes the smaller order is the better move because shipping and storage offset the bulk discount. The best choice is the one that fits the actual use timeline.
If you are ordering custom fire stickers for packaging, merch, or label use, send the artwork and spec notes together. Clear input keeps the order moving and reduces back-and-forth. The cleanest jobs are usually the ones with the fewest surprises.
What are custom fire stickers used for?
They are used for branded packaging, merch, event giveaways, safety kits, and product labeling. The right spec depends on whether the sticker is decorative, informational, or expected to withstand wear.
Which material is best for custom fire stickers?
Vinyl is usually the most practical default because it handles moisture and handling better than paper. Weather-resistant films make more sense when the sticker will face outdoor exposure or rough use.
How much do custom fire stickers cost per unit?
Price depends on quantity, size, material, finish, and cut complexity. Smaller runs cost more per piece, while larger quantities usually bring the unit price down.
How long does production usually take?
Simple orders often move in about 5-10 business days after proof approval, though revisions and specialty materials can extend that. Rush timelines are possible in some cases, but the queue and stock matter.
What file should I send for the best print result?
A vector file with bleed and a clear cut line is the best starting point. High-resolution artwork also helps if the design includes detailed elements or small text.
For custom fire stickers that need to work on packaging, merch, or safety-related labeling, the best approach is usually the simplest one: match the material to the surface, confirm the adhesive, and keep the art readable at the final size. That is how you end up with a sticker that looks right, ships cleanly, and holds up where it matters.


