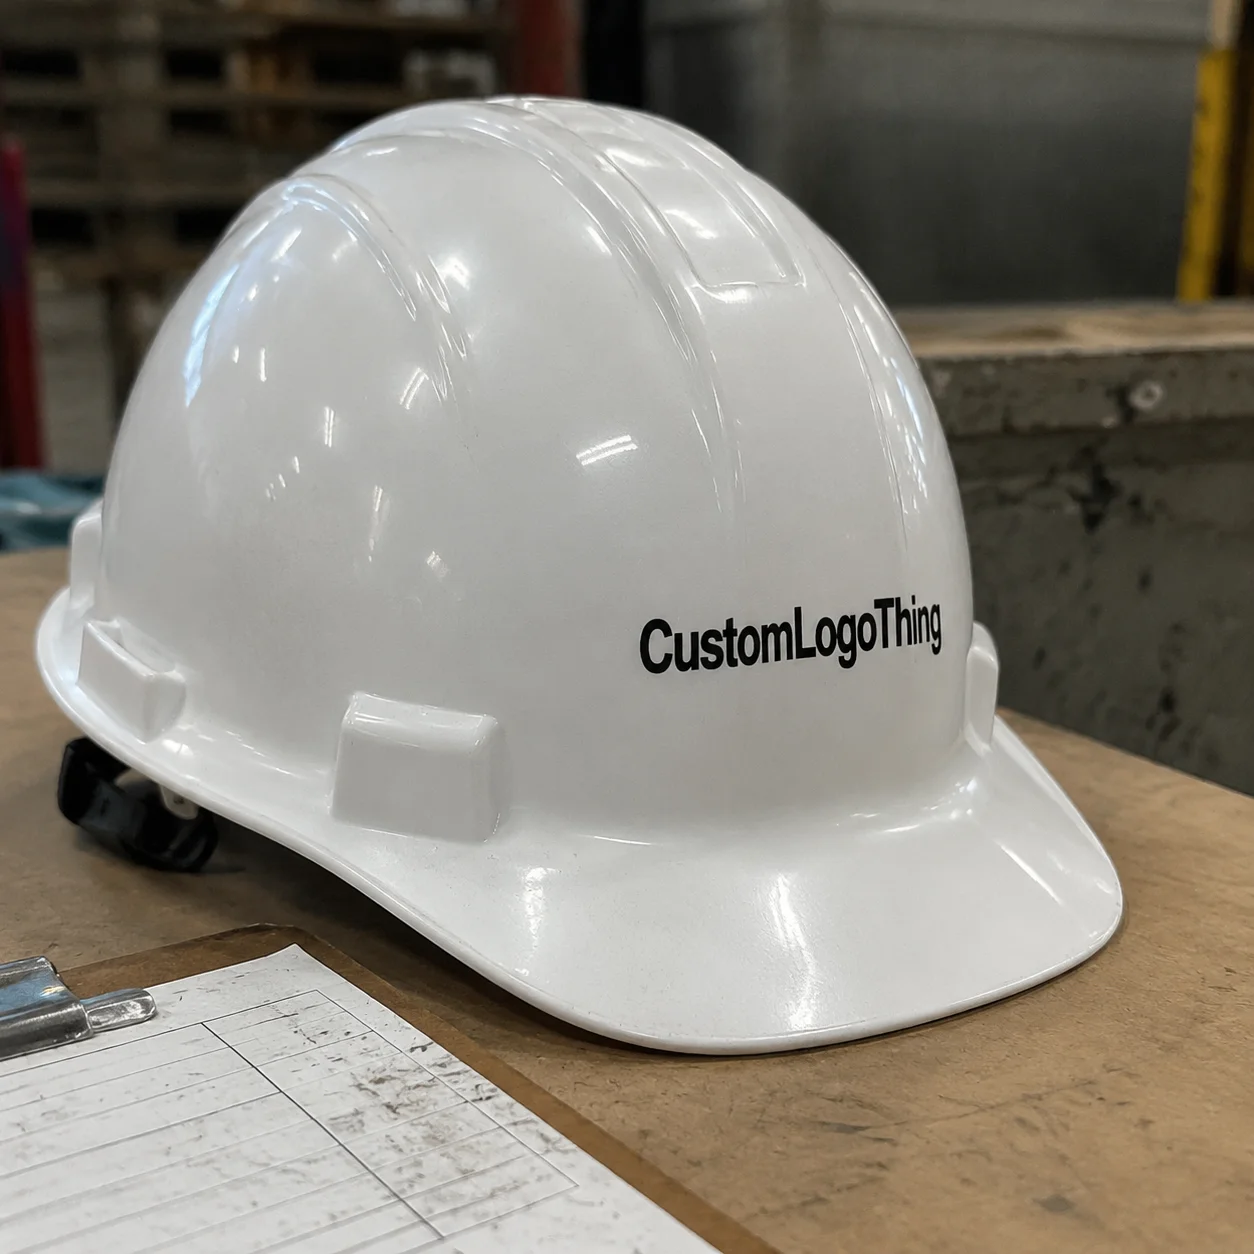
Custom Hardhat Stickers look simple from a distance. Up close, they have a harder job than most labels in the building products or packaging space. They need to hold through sweat, dust, sun, cleaning, stacking, transport, and the everyday handling that turns a weak adhesive into a curled edge by the end of the week. If a label is meant to identify a crew, reinforce a brand, or keep a site organized, it has to survive the way people actually use hardhats, not the way a mockup suggests they will.
That is why the best buying decisions start with material, adhesive, finish, and fit, not with artwork alone. For companies ordering custom hardhat stickers, the real goal is usually a mix of visibility, consistency, and durability. Crew ID, asset control, and safety messaging all benefit from the same thing: a label that stays readable and stays put. That same focus on practical presentation carries over to Custom Packaging Products and Custom Labels & Tags, where surface performance matters as much as the design.
Good hardhat labeling also saves time. A clear sticker makes helmets easier to sort, helps supervisors identify roles faster, and cuts down on the daily confusion of figuring out which hat belongs to which person. Those are small gains, but on a busy site they add up.
Why custom hardhat stickers matter on real job sites
Hardhats do not live easy lives. They get tossed into trucks, set down on rough surfaces, wiped with whatever cloth is nearby, and left in sunlight long enough to bake both the shell and the adhesive. If a sticker cannot handle abrasion and moisture, it fails early. Usually it fails at the exact moment someone starts relying on it.
Custom hardhat stickers are used for branding, crew assignment, employee names, department colors, safety reminders, and site-specific identification. In some operations they also support internal control by marking training status, trade, or equipment ownership. The point is not decoration. The point is clarity.
That clarity has practical value. A visible label helps people sort helmets faster, keeps teams visually aligned, and makes it easier to spot the right hardhat in a crowded staging area. For buyers, that is where the sticker earns its place. You are not buying ink on a carrier. You are buying fewer interruptions during the day.
A hardhat sticker only works if it still looks intentional after the first week of wear.
There is also a presentation angle that buyers sometimes underestimate. If a company cares about the finish on branded cartons, printed inserts, or other packaging components, the same standard should apply to the labels that end up on equipment. Consistency signals that the brand is managed, not assembled at random.
How the sticker materials and adhesives actually work
Material choice matters more than most buyers expect. A bad label usually fails because one part of the spec was too light for the job. The stock, adhesive, and finish all have specific jobs, and when one of them is underbuilt, the problem shows up quickly on the helmet.
Vinyl is common because it flexes well and conforms to curved shells without fighting the surface too much. It is a practical choice for general use and short to medium wear cycles. Polyester is stiffer and often better for abrasion resistance and dimensional stability, which helps when a label needs to stay crisp under heavier handling. Laminated constructions add a protective layer over the print, which improves scratch resistance and makes cleaning easier.
Adhesive choice is just as important. Permanent adhesives grip better on curved or slightly textured shells, but they give you less forgiveness if a label needs to be repositioned. Removable adhesives are useful for temporary crews, pilot programs, or internal testing. The tradeoff is straightforward: easier removal generally means lower long-term hold. There is no adhesive that escapes physics, no matter how nice the sample looks.
Finish changes both appearance and performance. Matte reduces glare and can improve readability under hard site lighting. Gloss can make colors pop, though it may show scuffs more readily. An overlaminate adds another barrier against UV fading, dirt, and everyday abrasion. For outdoor jobs or helmets that get wiped often, lamination usually pays for itself in fewer replacements.
Typical specs buyers compare include:
| Option | Best use | Durability | Typical cost impact |
|---|---|---|---|
| Vinyl, no laminate | Short runs, indoor use | Moderate | Lowest |
| Vinyl with laminate | General job-site branding | Good | Low to moderate |
| Polyester with laminate | Rough handling, outdoor exposure | High | Moderate to higher |
| Removable adhesive | Temporary crews, pilot programs | Lower hold | Usually similar |
Buyers who compare packaging components and labels often check recognized durability references too. For distribution-related testing, the ISTA test methods are a useful reference point. For broader material and environmental guidance, the EPA is another place many procurement teams look. Different category, same habit: verify the claim before you trust the sample.
Custom hardhat stickers: cost, MOQ, and quote factors
Pricing gets messy when quotes mix together setup, proofing, finishing, and shipping without much explanation. A low unit price can look attractive until the rest of the order lands. Then the total cost tells a different story.
For custom hardhat stickers, the biggest price drivers are size, quantity, color count, shape, finish, and turnaround speed. A simple rectangle with one or two colors costs less than a complex contour-cut design with full coverage and laminate. Faster lead times usually add cost because the schedule has less room for normal production flow.
Minimum order quantity matters too. Small runs carry a higher per-piece cost because the setup and finishing work are spread over fewer pieces. Larger runs lower the unit price, but they also increase upfront spend and inventory risk. That matters if the artwork may change or if crews rotate often enough that old stock becomes waste.
What buyers should compare is the full order, not the headline line item:
- Unit price shows only part of the total.
- Proof and setup fees can change the real cost quickly.
- Shipping matters more on small or urgent orders.
- Reprint risk matters if artwork is untested at actual size.
Typical pricing often lands around $0.18 to $0.45 per label on larger runs, depending on size, material, and finishing. Small quantities can climb well above $1.00 each once setup and handling are included. Those numbers are not a promise; they are a realistic range for customized work with normal print and finishing variables.
For procurement teams that already compare printed cartons, inserts, and other branded items, the best way to evaluate these orders is total landed cost. Ask every supplier for the same information: quantity, size, material, finish, proof charges, lead time, and shipping. That makes the quote useful instead of just pretty.
Production steps and turnaround timeline
The production flow is usually simple on paper: design review, proofing, print production, finishing, quality check, and packing. The delays usually come from weak inputs rather than complicated machinery.
Artwork is the most common bottleneck. Low-resolution logos, missing fonts, tiny text, or vague color instructions create back-and-forth that slows the order down. Custom shapes add another layer because contour cutting or die-cutting needs clean setup. Special adhesives or extra lamination can extend lead time if the material has to be sourced for that specific spec.
Clean reorders on standard stock are often the fastest. If the artwork is approved and the specification is already on file, a repeat order may finish in about 7 to 10 business days after proof approval. Fully custom runs with new shapes or specialized construction more often land in the 10 to 15 business day range, and larger jobs can run longer. Rush service has a place when a project start depends on it. It is less useful when the only reason for the rush is that the order was left too late.
Quality control should happen before packing, not after the shipment arrives. Good checks include print registration, cut accuracy, adhesive consistency, and count verification. A label can be printed correctly and still be a problem if the box is short, the cut is off, or the adhesive batch is inconsistent across the run.
Step-by-step ordering process for job-ready stickers
Start with the use case. That sounds basic, but it is the place where bad orders usually begin. A sticker for branding does not need the same layout as a sticker for crew ID or equipment tagging. Safety messaging brings another set of priorities, especially if readability matters from a distance or in low light.
- Define the label’s role.
- Measure the available flat and curved space on the hardhat.
- Prepare artwork in vector format if possible.
- Specify size, quantity, shape, finish, and color expectations.
- Choose removable or permanent adhesive based on use.
- Request a digital proof at actual size.
- Check readability, contrast, and cut line before approving.
- Confirm shipping, storage, and installation details.
The proof review deserves real attention. Check the edge quality, the spacing between elements, and whether the text still works at the actual size, not just zoomed in on a monitor. A design that looks balanced on screen can become crowded once it wraps around a helmet.
If the environment is tough or the design is new, a small sample run is usually worth it. Testing 25 or 50 pieces is cheaper than replacing a larger batch after the first round of peeling or edge lift. That is especially true for outdoor crews, helmets with textured shells, or operations that clean equipment often.
Surface prep also matters more than many buyers assume. Helmets should be clean, dry, and free of dust, oil, wax, or residue before application. Even a strong adhesive underperforms on a contaminated surface. A careful install is part of the product, not an extra step someone can skip and still expect good results.
Common mistakes that make hardhat labels fail
The failures are usually unremarkable, which is why they keep happening. Paper-like stocks and weak adhesives are the obvious problems. They lift at the corners, scuff quickly, and start looking worn long before the hardhat itself reaches end of life. Curved shells make those weaknesses show up even faster.
Small text is another common issue. Once a helmet is worn, dusty, and seen from a distance, thin lines and tiny type disappear. A design can look clean in a proof and become visual clutter on site. In most cases, a stronger hierarchy and simpler layout work better than trying to fit every detail into one label.
Surface prep causes a lot of avoidable trouble. Dust, oil, wax, and old adhesive residue all interfere with adhesion. Pressure during application matters too. A label pressed on too quickly, without proper contact across the full surface, is more likely to lift early at the edges.
Some buyers also forget the label’s actual purpose. They order every hardhat sticker as if it were a logo decal, then realize later that the design needed to support role identification, safety information, or visibility requirements. The right spec should fit the job, not just the brand colors.
- Use label stock designed for curved surfaces.
- Keep critical text large enough to read at arm’s length.
- Apply only to clean, dry shells.
- Match the finish to the environment, not to a mockup.
Expert tips for better durability and cleaner installation
Rounded corners help more than people expect. Sharp corners catch first, and once one edge lifts, the rest often follows. It is a small design adjustment with a real durability benefit. Size matters too. Slightly larger formats usually hold up better because they spread stress more evenly and leave more room for readable type.
If the crew works outdoors, lamination is usually worth the extra cost. UV exposure, dirt, and constant handling are hard on ink and topcoats. Laminate is not a cure-all, but it does improve scratch resistance and makes wiping down the label easier. For gear that gets cleaned often, that is a practical upgrade, not a luxury.
Placement deserves the same attention as construction. Avoid extreme curves, vented areas, and spots that get constant hand contact or strap friction. Good placement often does more for longevity than a small material upgrade. That is not a flashy recommendation, but it saves a lot of reorders.
Simple, high-contrast layouts tend to perform best on dusty sites. White on dark, or dark on light, reads quickly. Busy graphics can look strong in a presentation and weak in the field. If the purpose is visibility, restraint usually wins.
For buyers paying attention to sourcing and material standards, ask whether the supplier can explain the substrate and adhesive clearly, including any recycling or disposal limitations. Not every application needs specialty sustainability claims, but the supplier should be able to discuss the tradeoffs honestly instead of glossing over them.
Next steps for ordering the right sticker spec
Put together a simple spec sheet before requesting quotes. Include size, quantity, shape, artwork format, finish, adhesive preference, application surface, and expected environment. That one page removes a surprising amount of confusion later.
Then compare two or three suppliers against the same details. If one quote comes in lower, check whether it excludes proofing, setup, shipping, or a finishing upgrade. Durability and total landed cost need to be reviewed together. A cheap label that peels early is not cheap; it is just delayed waste.
Ask for a digital proof and a realistic lead time. Review the proof at actual size instead of zoomed in on a monitor where everything appears cleaner than it will on a helmet. If the site conditions are harsh, a small test batch is usually smarter than guessing. That is especially true when the label has to stay readable and presentable through a long project.
For repeat orders, keep the approved spec on file so future batches stay consistent across crews and sites. That consistency matters for custom hardhat stickers, and it matters just as much for broader branded packaging programs. Boring consistency prevents expensive mistakes.
What are custom hardhat stickers made from?
Most are made from vinyl or polyester with a pressure-sensitive adhesive. A laminate may be added for abrasion, UV, and moisture resistance. The best choice depends on how rough the site conditions are and how long the label needs to last.
How long do custom hardhat stickers last?
Lifespan depends on material, adhesive, surface prep, and exposure. Indoor use usually lasts longer than outdoor use in sun, sweat, and dust. Laminated labels that are applied correctly generally hold up better than basic decal stock.
What size works best for hardhat stickers?
Mid-size labels are easier to read and less likely to feel crowded on curved shells. Larger formats help with logos and ID text, but they need enough flat area to sit cleanly. Match the size to the actual hardhat shape instead of the artwork file.
Can custom hardhat stickers be removed without damage?
Removable adhesives are safer for short-term use or rotating crews. Permanent adhesives hold better but can leave residue or require cleanup. Test removal on a sample hardhat first if paint or surface finish matters.
How do I get an accurate quote for custom hardhat stickers?
Share quantity, size, shape, color count, finish, and usage environment. Ask whether the quote includes proofs, shipping, and any setup or die-cut charges. Compare unit cost and durability together, because low-cost labels that fail are still expensive.

