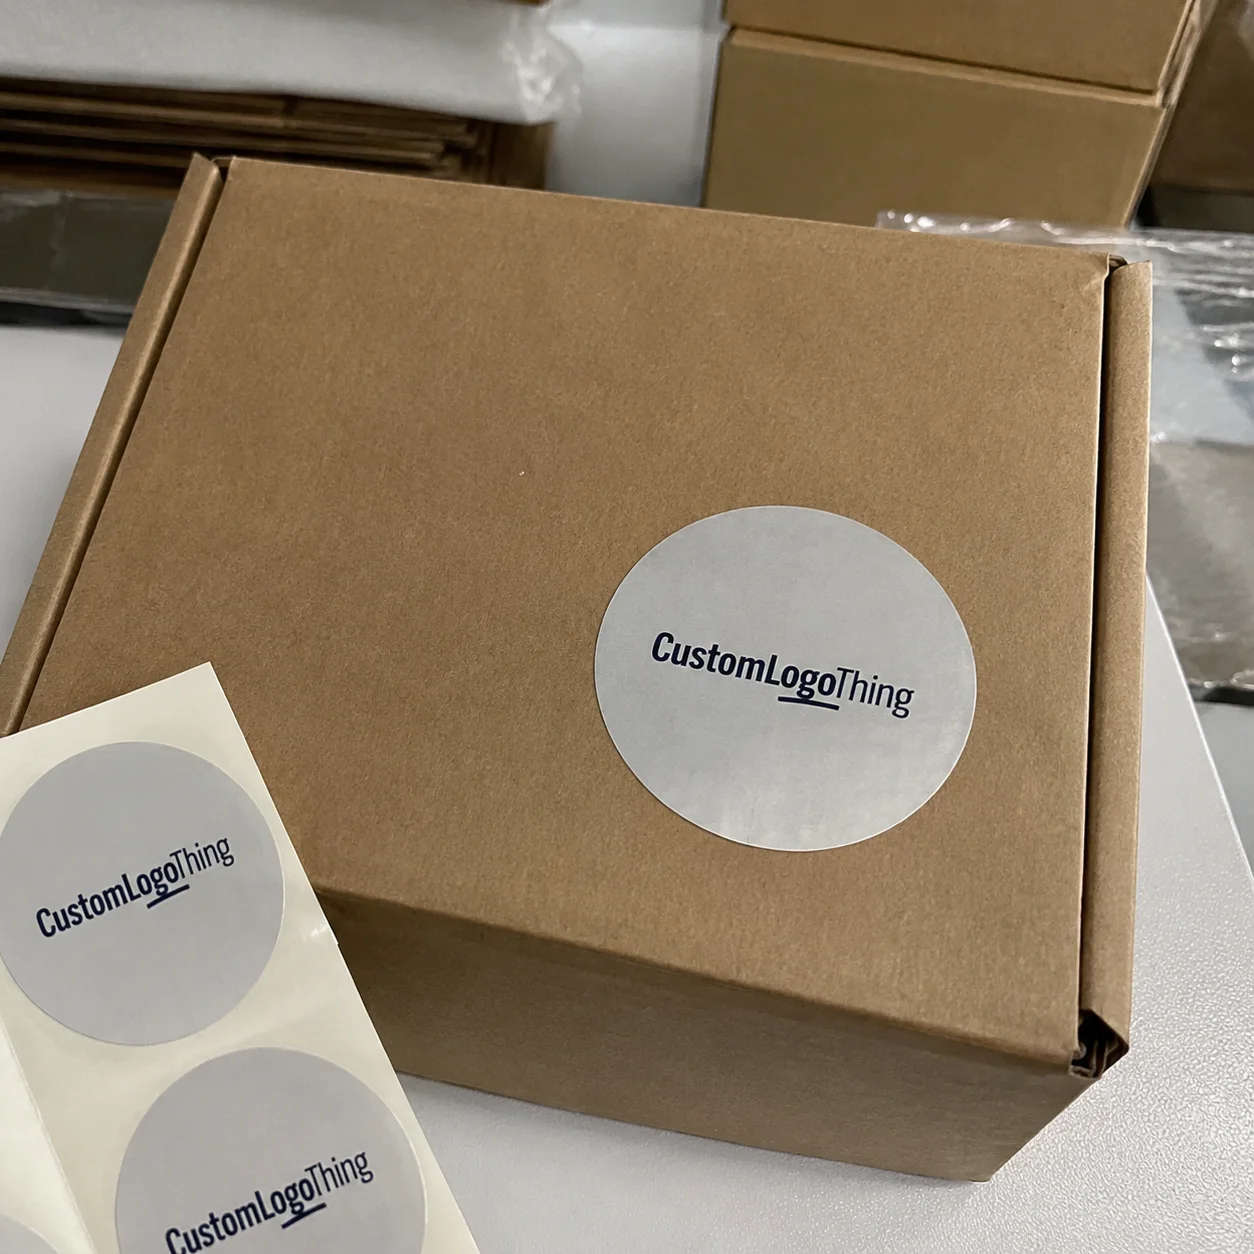
Custom logo design stickers do a surprising amount of work for such a small printed piece. One well-made sticker can sharpen a first impression, make a plain mailer feel finished, and help a product package look intentional without changing the carton, jar, or pouch itself. That is why they show up so often in packaging programs, retail promotions, and shipping workflows: they are compact, flexible, and usually far less expensive than a full custom print run on the package substrate.
At the practical level, these are printed adhesive pieces built around a logo, brand color set, icon, or short message. The format may be simple, but the spec is not. A paper sticker for indoor use, a BOPP label for moisture exposure, a clear film sticker for a minimal look, and a vinyl decal for tougher handling all solve different problems. If the wrong material or adhesive is chosen, even strong artwork can look weak in use.
For brands building a package system step by step, stickers also sit neatly alongside other Custom Packaging Products and Custom Labels & Tags. That makes it easier to keep branding consistent across shipping, shelf presentation, and event materials without redesigning every surface from scratch.
What custom logo design stickers are and why they matter
A sticker becomes useful when it fits the job. A small logo mark on a kraft mailer has different needs than a pressure-sensitive label on a chilled bottle or a promotional decal on a glossy insert card. Surface texture, temperature, moisture, and handling all affect how the sticker performs. That is why the most expensive-looking option is not always the most effective one.
In packaging work, stickers often solve three problems at once. They add branding, they help sort product versions or seasonal campaigns, and they give a package a more finished look with very little setup compared with custom printed cartons. For a growing brand, that flexibility matters. You can test a visual direction, support a limited run, or create a quick packaging refresh without locking yourself into a major print commitment.
From a buyer’s perspective, the best sticker is the one that applies cleanly, holds up in the real environment, and supports the package without creating waste or rework.
That last point is easy to overlook. A sticker that looks great in a mockup can still fail if the adhesive is too weak for the surface, the face stock scuffs too easily, or the finish reflects too much light under retail fixtures. The work is in matching the spec to the use case, not just the logo.
How the sticker production process works from file to finish
The production path starts with artwork preparation and proofing. A good printer checks whether the file is vector-based, whether small text will remain legible at the final size, and whether color values are set up in a way that can actually be reproduced. A tiny web image may be fine for a screen, but it will not hold up when a 1-inch sticker needs crisp edges and clean detail.
Next comes the print method. Digital printing is common for short runs, variable artwork, and faster turnaround because setup is lighter. Flexographic printing is usually better when quantities climb and the design stays consistent, since unit cost can drop once the run is long enough. Screen printing is still used for certain special effects, heavier ink laydown, and strong spot colors, although it is less common for standard sticker orders.
After printing, the job moves into conversion and finishing. Stickers may be kiss-cut on sheets, cut individually, or wound on rolls for easier application at higher volume. Finishing options include gloss, matte, soft-touch lamination, and UV coatings. Each one changes more than appearance. Gloss tends to intensify color. Matte softens reflection and can improve legibility. Soft-touch adds a more tactile feel but usually costs more. Lamination helps with abrasion and moisture resistance, which is useful when the sticker will be handled repeatedly.
Adhesive selection matters just as much as the printed face stock. Permanent adhesive is the default for most branded packaging because it resists peeling and stays where it is placed. Removable adhesive is more appropriate for temporary campaigns, reusable containers, or applications where clean removal matters. If the stickers are being applied by hand, sheets may be easier to manage. If a fulfillment team needs speed, rolls are usually the better format.
Material sourcing also enters the conversation, especially when buyers want paper options with recycled content or FSC-related sourcing. The FSC site is useful for understanding paper sourcing claims, and the EPA recycling guidance can help frame end-of-life questions. Those details matter more when the package is part of a larger sustainability story, though it is still worth being precise about what is and is not recyclable in the real world.
Cost and pricing factors that move the quote
Sticker pricing is shaped by a few predictable variables: material, size, shape, print coverage, quantity, and finishing. A plain 2-inch round paper sticker with one-color print will usually be much cheaper than a custom die-cut clear BOPP piece with full coverage, laminate, and specialty handling. Outdoor-rated construction, tamper-evident builds, or unusual adhesives push the number up again.
Quantity has a major effect on unit price. The first part of the run pays for setup, proofing, and conversion, so short runs carry a higher per-piece cost. Larger quantities spread those costs more efficiently. That is not a penalty; it is the basic structure of print production. For launches, samples, and limited editions, a short run may still be the right move even when the unit cost is higher.
Format also affects the total bill. Sheets are often easier for small orders and office use, while rolls can be the better choice for packing lines or faster manual application. Individually cut pieces add more handling and finishing, which can change labor cost. In practice, buyers should compare the quoted unit price with the real cost of application, waste, and rework. A lower sticker price is not much help if the format slows fulfillment or creates adhesion problems.
| Option | Typical use | Cost tendency | Notes |
|---|---|---|---|
| Paper sticker | Indoor branding, giveaways, light-duty packaging | Lowest | Best for dry environments and short campaigns |
| BOPP / polypropylene | Retail packaging, bottles, mailers, moisture exposure | Moderate | Better durability and a cleaner surface finish |
| Clear film | Minimalist branding on glass or plastic | Moderate to higher | Works best with strong contrast and clean artwork |
| Vinyl with laminate | Outdoor use, abrasion, harsher handling | Higher | Built for tougher conditions and longer wear |
For rough planning, a short-run order can land anywhere from a few cents to a few tenths of a dollar per unit depending on size, finish, and quantity, while specialty builds can move well above that. Exact pricing depends heavily on the run length and the amount of ink coverage, so the most useful comparison is not just unit price but the combination of durability, application speed, and final appearance.
Choosing materials, adhesives, and finishes for the right application
Material choice should begin with the environment, not the mood board. Paper works well for dry indoor use, envelopes, inserts, and simple retail packaging. BOPP or polypropylene is the more practical choice for jars, pouches, mailers, and products that may face moisture or light abrasion. Vinyl is the tougher option when a sticker needs to survive rougher handling or outdoor exposure. Clear film can look sharp and quiet on a package, but only if the artwork has enough contrast to stay readable.
Adhesive selection needs to match the surface as closely as the material does. Permanent adhesive is common for product packaging because it stays in place and resists edge lift. Removable adhesive is useful for temporary campaigns or reusable containers where clean removal matters. Refrigerated and chilled applications deserve extra attention because condensation and low temperatures change adhesive behavior quickly. On textured kraft or slightly rough paperboard, a test sample is often the fastest way to find out whether the bond is strong enough.
Finish affects both appearance and handling. Gloss gives brighter color and a more noticeable shelf presence. Matte reduces glare and can make type easier to read under store lighting. Soft-touch reads as more premium, though it can be more sensitive to scuffing depending on the build. Spot UV, embossing, and other specialty effects are available in some programs, but they add cost and setup complexity, so they make the most sense for premium packaging rather than everyday reorder work.
For branded packaging, the best spec is the one that fits the container and the use pattern. A tin, a carton, a pouch, and a glass bottle all behave differently in transit and on the shelf. Matching the sticker to the surface is a better buying decision than chasing the flashiest finish.
Process, timeline, and turnaround: what to expect after artwork approval
Once artwork is approved, a standard sticker order often takes about 12 to 15 business days. Simple jobs on stocked materials can move faster. Specialty laminates, custom dies, unusual adhesives, or very detailed artwork can add days, especially if the job needs another proof round before production starts.
The most common delays happen before printing begins. Artwork revisions take time when the file is not truly print-ready. Color questions can slow the job if brand standards are vague or if the client expects screen colors to match printed output exactly. Material sourcing can add lead time if the chosen face stock or adhesive is not already available. Good quality control catches problems before shipment, which is far less costly than discovering a registration issue after boxes are packed.
Rush orders are possible, but they usually narrow the available options. You may have fewer materials to choose from, a smaller finish selection, or less time for proof review. That can be fine for a repeat order, but if the stickers are tied to a retail launch, trade show, or seasonal packaging change, buffer time is the safer move. A tight deadline is often the difference between a clean result and a costly reprint.
Packaging buyers who think in terms of shipment stress usually make better sticker decisions too. Even though a sticker is not a shipping carton, the package still moves through packing, transit, handling, and shelf display. The ISTA resources are useful if the sticker spec sits inside a broader package-performance conversation.
Common ordering mistakes that hurt quality or budget
One of the biggest mistakes is sending artwork that is not ready for production. Low-resolution files, flattened images with no editable layers, and logos pulled from a website can all produce soft edges or awkward cleanup. Vector files in AI, EPS, or PDF format are usually the safest starting point. If the only available file is a PNG, it should be high resolution and sized correctly for the final print dimensions.
Color is another frequent trouble spot. Brand colors can look fine on screen and still print differently on paper, film, or coated stock. That does not automatically mean the printer made a mistake. Screen color and print color follow different systems. If exact color matching matters, ask about the proof method, target values, and whether the job will use CMYK or spot color.
Design complexity can work against the final result. Tiny type, thin outlines, and crowded layouts may read well on a monitor but lose clarity once the sticker is reduced to 1 inch or 1.5 inches wide. Shapes with too many sharp points can also be more prone to lifting or creasing. In most packaging settings, a cleaner layout with enough breathing room performs better than a crowded design trying to fit too much into too little space.
Skipping samples is another expensive habit. If the sticker will go on a high-visibility package, it is worth testing adhesion, color, and finish on the actual surface before the full run starts. That small step can prevent waste when the container is slick, curved, dusty, or slightly textured in ways that were not obvious during design review.
Practical tips for ordering stickers that perform
Start with the use case. Indoor handouts, product labels, shipping seals, and outdoor decals each need a different build. Once the environment is clear, it becomes much easier to choose a material and adhesive without paying for features you do not need.
Keep the master logo file in vector format and ask for a proof at the exact sticker size. A design that looks sharp at 4 inches may lose important detail at 1.25 inches, especially if it uses fine linework or small text. Good custom logo design stickers should stay readable at arm’s length and still look crisp up close.
Test on the actual package surface whenever possible. Kraft, coated paperboard, glass, powder-coated metal, and plastic all behave differently. Color, grip, and edge lift can vary more than many buyers expect. A quick real-world test usually reveals more than a spec sheet.
Finish should support the brand rather than overpower it. Matte creates a quieter, more restrained look, while gloss gives stronger color and more shelf contrast. Neither is automatically better. The right choice depends on whether the package needs subtlety or visual punch. If the sticker sits alongside custom printed boxes, the finishes should feel coordinated, not competing.
If you need multiple sizes or product versions, keep the system consistent. A coordinated family of sticker sizes and layouts reduces confusion in production and makes the line feel more deliberate even when the SKUs vary.
Next steps for a cleaner quote and better final result
To get a cleaner quote, gather the essential details before asking for pricing: logo file, final size, quantity, shape preference, finish, application surface, and target timeline. That cuts down on back-and-forth and helps the printer recommend the right build instead of guessing.
It also helps to compare two or three material options side by side. Paper, BOPP, and clear film are a useful starting set because they cover the most common tradeoffs between cost, durability, and appearance. That kind of comparison gives a much clearer picture than one line item alone.
Ask about proofing details early. Bleed, cut line, color expectations, sheet versus roll format, and any special adhesive conditions should all be settled before production starts. If the stickers support a launch, trade show, or retail reset, build in extra time for shipping and possible rework.
Handled this way, custom logo design stickers become much easier to buy well. The strongest results usually come from clear files, honest surface testing, and a spec that matches the actual job instead of the flashiest option. That is what makes the finished piece feel useful in the package system, not just decorative.
FAQ
What file type is best for custom logo design stickers?
Vector files like AI, EPS, or PDF are usually best because they scale cleanly without pixelation. High-resolution PNG or SVG files can work for simpler artwork if the logo is sharp and sized correctly. Before sending files, outline fonts and embed linked images so proofing does not slow down the order.
Are custom logo design stickers better on rolls or sheets?
Rolls are usually better for faster hand application or machine dispensing. Sheets are often easier for small runs, office use, or giveaway packs. The better format depends on how many pieces you need to apply and how quickly you need to apply them.
How do I choose the right adhesive for branded stickers?
Use permanent adhesive when the sticker needs to stay on packaging and hold the brand mark in place. Choose removable adhesive when clean removal matters, such as on reusable containers or temporary promotions. Always check the package surface and environment first, because moisture, texture, and cold storage can affect performance.
What affects the price of custom logo design stickers the most?
Quantity, size, material, finish, and shape are the main pricing drivers. Specialty options like clear film, outdoor durability, or custom dies can raise the quote. Complex artwork or multiple versions may add setup time and cost as well.
How long does production usually take for custom logo design stickers?
Standard turnaround depends on artwork approval, material availability, and finishing complexity. Simple specs usually move faster than specialty materials or custom-cut shapes. If the stickers support a launch date, build in extra time for proofing and shipping.


