Custom Made Drawer Boxes: What They Are and Why They Matter
Custom Made Drawer boxes are a strong choice when packaging needs to do more than hold a product. The sliding action adds a deliberate reveal, which makes the unboxing feel more considered and helps the product feel more premium before it is even touched.
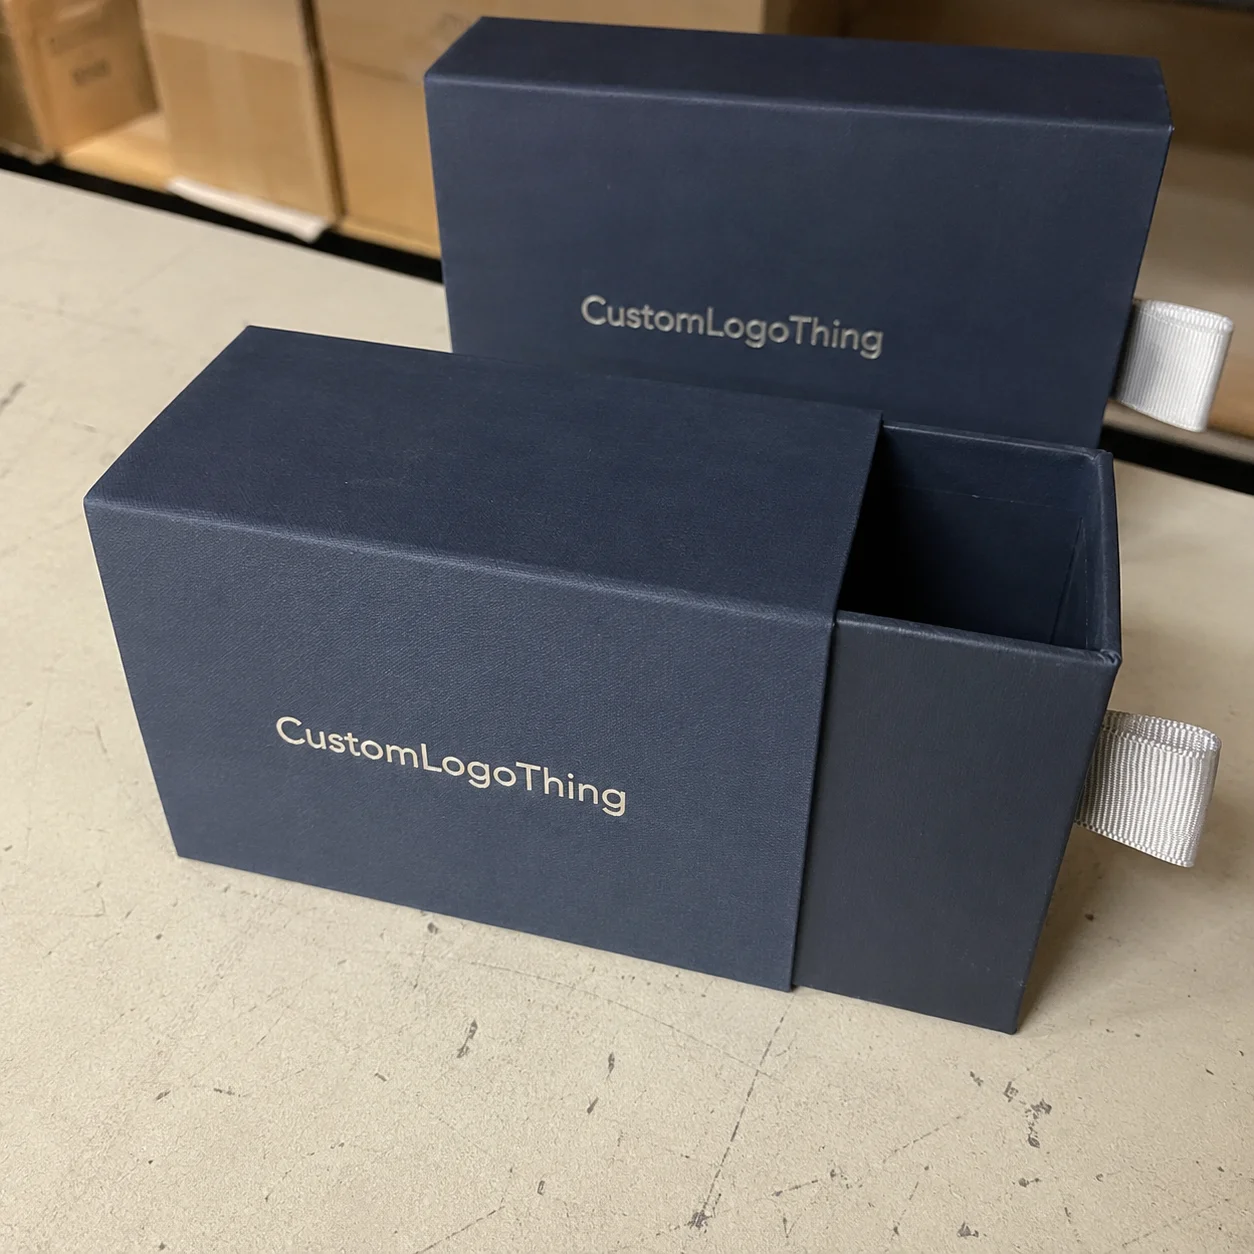
Most drawer-style boxes use a rigid outer sleeve with an inner tray that slides in and out. Buyers may also call them slide-out boxes or matchbox-style rigid boxes. The construction is simple, but the experience is not: the format creates structure, control, and a cleaner presentation than a standard folding carton.
This is why the format appears so often in cosmetics, candles, jewelry, gift sets, specialty food, apparel accessories, and compact electronics. It works well when the packaging is part of the product experience, not just the shipping layer. If the box needs to communicate quality on shelf or during unboxing, this structure does a lot of that work.
The main mistake is starting with decoration before the structure is settled. Foil, embossing, and other finishes can improve the look, but they will not fix a tray that drags, a sleeve that bows, or an insert that lets the product shift. Fit, board strength, and wrap quality usually matter more than surface treatment.
For buyer decisions, the real question is simple: will the box protect the item, open smoothly, and support the brand without making the user fight the packaging? If the answer is yes, the format is doing its job. If not, the finish choices are likely being asked to carry too much weight.
How the Drawer Box Structure Works
At its core, the format has two parts: the outer rigid shell and the inner tray. The shell creates the visible frame, while the tray holds the product and slides in and out. Most are built from gray chipboard wrapped in printed paper, specialty paper, or laminated stock depending on the desired finish and budget.
The tray can be plain or fitted with an insert. Ribbon pulls, thumb cuts, and pull tabs are common options, and each one changes the feel of the box. Ribbon pulls create a more gift-like experience. Thumb cuts are usually simpler and more durable. Pull tabs add grip without much extra decoration.
Some premium versions include magnetic closures or extra retaining features, but those should be chosen for function, not just for appearance. The right choice depends on product weight, how often the box will be opened, and whether the box is intended for retail display, gifting, or storage after purchase.
Drawer motion is where the structure succeeds or fails. Too tight, and the box feels stiff or poorly made. Too loose, and the product shifts and the structure feels imprecise. The fit depends on tray dimensions, wrap thickness, board tolerance, and how much the finish adds to the wall build-up.
Common wrap and finish options include:
- Paper-wrapped chipboard for a rigid, upscale feel.
- Soft-touch lamination for a matte surface with a smooth hand feel.
- Foil stamping for metallic branding accents and logos.
- Embossing or debossing for tactile detail and depth.
- Spot UV for selective shine on a matte base.
Insert choice should follow the product, not the packaging trend. Foam suits fragile or irregular items when protection matters more than recyclability. Molded pulp is better when sustainability matters and the shape is predictable. Cardboard partitions work for sets and bundles. In some cases, no insert is the right answer, especially for lightweight items that already have their own primary packaging.
There is also a practical reason buyers like this format: it performs well on shelf and is often kept after the first use. A rigid drawer box can become storage, gift packaging, or presentation packaging long after purchase, which increases its perceived value.
Key Factors That Affect Cost and Pricing
Pricing for custom made drawer boxes comes down to a few variables that add up quickly: size, board thickness, print coverage, finish level, insert complexity, and order quantity. Larger boxes use more material. More complex finishes take more labor. Extra components add both cost and assembly time.
For budgeting, ranges are more useful than exact numbers. A basic rigid drawer box at moderate volume can often land around $1.10 to $2.10 per unit, depending on dimensions, board, and print coverage. Once specialty paper, foil, embossing, or a custom insert is added, pricing can move into the $2.50 to $5.00+ range quickly. Small runs are usually more expensive per piece because setup costs do not shrink much with lower quantities.
That is why unit price and total project price are not the same issue. Lower minimums help with launches, but the per-box cost is usually higher. Larger quantities often improve efficiency, but only if the inventory can move. Ordering 5,000 boxes for a 500-unit test run may look efficient on paper, but it creates storage costs and cash tied up in unused packaging.
Premium upgrades are usually the fastest way to raise the quote:
- Foil stamping adds press setup and finishing time.
- Embossing or debossing requires tooling and accurate registration.
- Custom drawer pulls add parts and assembly labor.
- Textured or specialty wrap papers cost more than standard coated papers.
- Multi-location print or interior features adds artwork and production complexity.
There are smaller costs buyers sometimes miss. Sampling costs money, especially if there is more than one revision. Freight can be significant because rigid packaging is bulky. Warehousing matters if the cartons arrive palletized. Hand assembly, kitting, or product loading can also change the real cost, even if it does not appear directly in the box quote.
If sustainability is part of the brief, ask about FSC-certified board and paper rather than relying on vague claims. The FSC site explains certification standards, while packaging.org is useful for general packaging education. If shipping performance matters, ISTA provides test protocol references for fragile or high-value items.
| Box Type | Typical Build | Typical Price Pressure | Best For |
|---|---|---|---|
| Basic drawer box | Standard rigid board, printed wrap, simple tray | Lowest | Launches, retail packaging, simple gifting |
| Mid-range drawer box | Soft-touch finish, ribbon pull, printed interior | Moderate | Cosmetics, candles, branded product packaging |
| Premium drawer box | Specialty paper, foil, embossing, custom insert | High | Luxury sets, jewelry, high-value promotions |
Process and Lead Time: From Brief to Delivery
The production path for drawer packaging usually follows the same sequence: quoting, dieline review, artwork prep, sampling, approval, production, finishing, packing, and shipping. The order matters. If dimensions, finish expectations, or insert details are still changing, the schedule stops being reliable.
Most delays come from recurring issues. Late artwork changes are common. Missing measurements are another. Insert specs are often the source of trouble because a product that looks simple may need more retention than expected. Sample revisions can also slow a project, though that step is usually worth it if it avoids a full production mistake.
A simple sample may take about 5 to 10 business days once artwork and dimensions are set. Full production for standard drawer boxes often runs 12 to 20 business days after proof approval, though specialty paper, heavier finishing, or larger quantities can extend that. Shipping time is separate and should be counted separately.
One practical rule helps more than most: confirm final dimensions before asking for a firm lead time. If the size is still changing, the timeline is not real. It also helps to raise shipping-performance needs early. Not every drawer box needs full ISTA testing, but fragile products, glass containers, or high-value items deserve that conversation before production starts.
Prototype time and production time also serve different purposes. Prototypes are for fit, motion, and presentation. Production is for repeatability at scale. Treating them as the same step is one of the easiest ways to delay a launch.
Step-by-Step Guide to Ordering the Right Box
Start with the product, not the trend. Measure length, width, height, and weight. Note fragile corners, glossy surfaces, closures, or shapes that need extra clearance. If the product can shift even a little, the tray and insert dimensions need to account for that movement.
Then define what the box has to do. Is it presentation packaging, shelf packaging, shipping packaging, or a launch box that has to do a bit of everything? A display-first box can be built differently from one that needs to survive repeated handling or distribution stress. That decision affects board strength, finish choice, and whether the insert carries more of the load.
Branding should come after structure, not before it. Logo placement matters, but restraint matters too. A clean drawer face with one strong mark often feels more expensive than busy full-surface graphics. The same applies inside the box: a controlled reveal usually works better than covering every panel with visual noise.
Useful functional questions are easy to overlook, but they matter:
- What type of drawer pull will users actually prefer?
- Which direction should the drawer open?
- Is an insert needed, and if so, what kind?
- How snug should the product fit?
- How will the box be packed for shipping or assembly?
Samples should be treated as part of the job, not as optional extras. Check tray movement. Check product clearance. Check how the finish looks in actual light, not only on a screen. A box that scrapes, catches, or arrives slightly warped does not feel premium, even if the print looks good.
For brands coordinating a wider packaging system, it helps to keep drawer boxes visually aligned with other custom printed boxes in the line. That makes the packaging family feel intentional across SKUs, which is useful for retail and e-commerce brands that want consistency. If you need to compare formats, browse Custom Packaging Products before locking the final spec.
The cleanest ordering sequence is straightforward: final dimensions, final quantity, finish level, insert requirements, artwork files, and sample approval. When those steps are clear, the quote is tighter, the timeline is more believable, and production risk drops.
Common Mistakes Buyers Make With Drawer Packaging
The first mistake is inaccurate internal sizing. If the product rattles, the insert is wrong or too loose. If the tray binds, the wrap thickness was not included in the dimension callout or the fit tolerance is too tight. If the fix requires rebuilding the insert later, the order was not priced correctly from the start.
The second mistake is treating finishes as decoration instead of production variables. A textured paper may look excellent but scuff more easily during fulfillment. High-gloss detail can look sharp in a photo and still show fingerprints in hand. The box has to survive handling, not just a product shoot.
The third mistake is forgetting that drawer motion is part of the user experience. If the slide feels stiff, the box feels awkward. If it opens too freely, the structure feels loose. Good drawer packaging should feel controlled, not fussy.
Skipping samples is another familiar error. Buyers do it to save time, then spend more time fixing issues that could have been caught early. That trade rarely works in their favor. If the box is meant for a launch or a premium retail presentation, sampling is usually worth it.
There is also a tendency to assume all custom made drawer boxes are built to the same standard. They are not. Board thickness varies. Paper quality varies. Glue application varies. Corner finishing varies. Insert fit varies. The difference between acceptable and polished often lives in the details nobody notices until they are wrong.
Expert Tips for Better Results and Next Steps
Keep the design focused if premium perception is the goal. A strong structure, a good wrap paper, and one clear brand mark usually outperform a crowded layout. That approach works well for luxury items, gifting programs, and products where the packaging should feel restrained rather than loud.
If you want a stronger opening moment, place the logo where the hand naturally lands or where the eye meets the box first. Use the drawer face, the first reveal panel, or a single interior panel rather than trying to decorate every surface. The best details are often the ones that show restraint.
Ask for both structural samples and finish samples if the product will be handled often or shipped at scale. A finish sample shows how the paper, coating, and printing behave. A structure sample shows how the drawer opens, closes, and holds the product. Those are different checks, and both matter.
Quantity planning matters too. MOQ and unit cost usually improve together, but only if the order size is realistic. Over-ordering rigid packaging just to get a slightly better price can create storage problems and tie up cash that would be more useful elsewhere.
For brands building stronger retail packaging and a broader branding packaging design system, this format can become a signature. It works well for gifts, premium display, and repeat use. It is not the only path to polished presentation, but it is one of the more dependable ones when structure and appearance both matter.
The practical next step is simple: gather exact product dimensions, decide whether the box is presentation-first or shipping-first, define the insert requirement, and Request a Quote with final artwork or a clean placeholder layout.
FAQ
What are custom made drawer boxes used for?
They are used for premium product presentation, gifting, retail display, and protective packaging where the opening experience matters. They work especially well for cosmetics, jewelry, candles, apparel accessories, and small electronics.
How much do custom made drawer boxes usually cost?
Pricing depends on size, board thickness, print coverage, finish, and insert type. Simple versions cost less per unit at higher quantities, while specialty papers and custom inserts raise the price quickly.
What is the typical turnaround for custom drawer boxes?
Turnaround depends on artwork readiness, sample approval, finish complexity, and order quantity. Straightforward orders move faster; highly customized boxes with specialty materials need more production time.
Do custom made drawer boxes need inserts?
Not always, but inserts help with fit, protection, and presentation. Foam, cardboard, and molded pulp inserts are common when the product is fragile, small, or needs exact positioning.
What should I prepare before requesting a quote?
Have product dimensions, target quantity, branding files, finish preferences, and insert needs ready. The clearer the spec, the faster you get an accurate quote and the fewer revisions you will need later.

