Custom Magnetic Labels for Apparel and Packaging
Custom magnetic labels solve a narrow but important problem: how to brand, organize, or identify a product without stitching, adhesive residue, or visible damage. That matters most on premium apparel, sample sets, and retail packaging where the presentation has to stay clean through repeated handling. A label that can be removed and reused without fraying a fabric edge or leaving a sticky patch has real operational value, not just visual appeal.
The best versions do more than cling to a surface. They sit flat, hold through movement, and still look deliberate under store lighting or a camera lens. The wrong version creates the opposite effect. It slips, curls, or looks oversized relative to the garment or box. That failure is small on paper and obvious in the room.
For teams weighing packaging design decisions or broader package branding systems, magnetic labels are rarely the first thing discussed. They often become the solution after adhesive tabs fail, sewn tags limit reuse, or the product itself is too delicate for permanent attachment. The real question is whether the label needs to move, be photographed, or be reused often enough to justify the extra spec work.
For packaging references and handling standards, the resources at packaging.org and ista.org are useful starting points. Even though magnetic labels are not shipping cartons, the same thinking applies: protection, presentation, and predictable handling.
Custom Magnetic Labels: What They Are and Why Brands Use Them
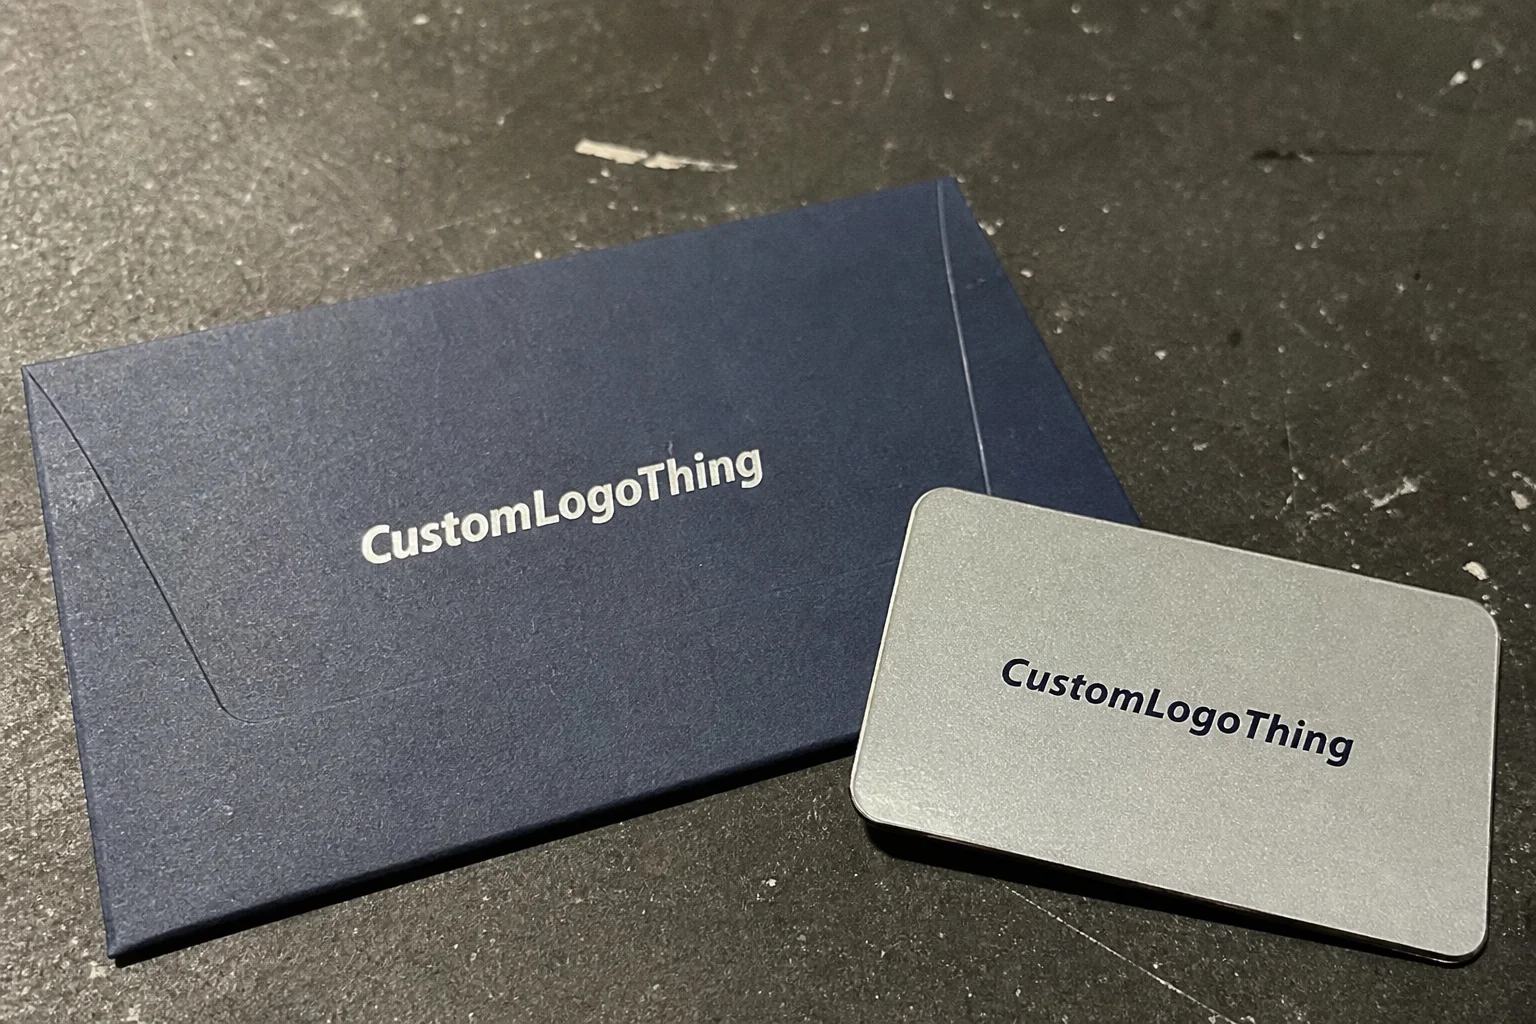
At a practical level, custom magnetic labels are reusable identification or presentation pieces that rely on magnetic force rather than glue, staples, or sewn attachment. Depending on the build, the magnet may sit behind the printed face, form part of a closure, or secure a label to a hanger card, insert, carton, or folded fabric edge. The goal stays the same: hold securely, release cleanly, and preserve the surface underneath.
That makes them useful across a few different workflows. Apparel teams use them to identify samples, mark sizes, separate colorways, or manage showroom pieces. Merchandising teams use them on display boards, boxed sets, and fixtures where a neat finish matters more than permanence. Packaging teams use them where a label must be removable, repeated, or repositioned without looking temporary.
The interesting part is that “stronger” is not always the right answer. A label that feels very secure on a rigid card can be too aggressive for a lightweight knit. A softer hold with more surface area often performs better than a concentrated high-pull setup, because the force spreads out instead of biting into one spot. That is one reason buyers usually need a sample, not just a quote.
There is also a difference between display use and wear use. A label that works on a flat box top may not behave the same way on a jacket lapel, a curved seam, or a folded piece that gets touched constantly. Magnetic labels are most useful where the piece will be handled, removed, and returned to position. If the label has to survive movement, photography, and repeated inspection, the construction matters as much as the artwork.
From a buyer’s perspective, the appeal is consistency. The same label can move between samples, be reused during fitting, and stay visually clean across a season. That reduces rework and keeps the presentation aligned with the rest of the branded packaging system. A label should feel like part of the system, not a separate object bolted onto it.
In many programs, magnetic labels sit beside hang tags, inserts, sleeves, and Custom Labels & Tags. They do not replace every other labeling method. They fill the gap where flexibility, reuse, and a polished look matter more than permanent attachment.
How Magnetic Attachment Works on Fabric, Trim, and Packaging
The mechanism is simple enough. Two magnetic elements, or a magnet and a compatible receiver, create force across a material. On apparel, that force may pass through a folded edge, a narrow stack of fabric, or a tag stock panel. On packaging, it may hold to a carton, sleeve, or insert without tape or adhesive. The physics are simple. The results are not, because the surface changes everything.
Magnet grade matters, but it is only one variable. Contact area, thickness of the material between the magnetic parts, and the amount of movement the item will experience all affect the final hold. A small strong magnet can behave very differently from a wider moderate-strength build. The broader contact area often makes the attachment feel more stable, even if the raw pull number is lower.
Fabric thickness and weave deserve attention. A structured wool coat is not the same as a silk blouse. A heavy jersey tee is not the same as a brushed knit sample. The same label can sit perfectly on one and shift on another. That is why production teams usually test against the actual garment instead of assuming a specification sheet is enough.
Packaging surfaces bring their own issues. A magnetic label may look excellent on rigid stock, then feel awkward on a soft mailer or a curved insert. The label still works, but the visual alignment suffers. Buyers usually notice this during proofing or sample review, not in the drawing stage. That gap between the mockup and the real object is where bad decisions hide.
There is a practical upside to this attachment method. Labels can be removed and reapplied without tearing fibers or leaving residue. That helps sample rooms, retail teams, and photography setups move faster. It also reduces the kind of small damage that accumulates across a season and quietly drains time from the team.
- For presentation: the label stays aligned and readable.
- For handling: it can be moved without residue or tearing.
- For reuse: the same unit can move between sample pieces or displays.
- For packaging design: it can match the rest of the visual system instead of fighting it.
That last point is easy to underestimate. Strong package branding is rarely about one visible piece. It depends on the whole stack, from carton graphics to inserts to the small label detail people touch first.
Cost, Pricing, and MOQ: What Drives the Quote
Pricing for custom magnetic labels usually comes down to size, magnet type, print complexity, finish, attachment method, and whether the build uses standard components or custom parts. A simple single-color label with a standard finish is easier to price than one with specialty coating, tight registration, or multiple versions. Once the project adds custom tooling or extra finishing steps, the cost moves fast.
MOQ, or minimum order quantity, is mostly a function of setup economics. Prepress work, magnet sourcing, print setup, finishing, and inspection all take time whether the order is for 500 units or 50,000. Smaller runs therefore carry more overhead per unit. That is not a markup trick. It is a production reality.
For buyers planning a launch or a packaging refresh, simplification often saves more money than chasing a marginal material discount. Reducing the number of sizes, versions, and finish combinations can lower both price and lead time. The same pattern shows up in retail packaging and custom printed boxes: standardization is usually the most reliable cost control once the concept is fixed.
| Option | Typical Use | Approx. Unit Cost at 5,000 Pieces | What Drives the Price |
|---|---|---|---|
| Standard magnetic label | Sample rooms, basic garment ID, simple display use | $0.18-$0.32 | Single-color print, standard size, straightforward finish |
| Mid-range presentation label | Retail display, styled apparel sets, reusable merchandising | $0.32-$0.58 | Higher ink coverage, cleaner edge finish, stronger attachment components |
| Premium custom build | Luxury garments, repeated handling, refined package branding | $0.58-$0.95+ | Special finishes, tighter tolerances, multiple versions, custom tooling |
Those figures are directional, not fixed. A small label with dense coverage can cost more than a larger label with simpler artwork if the finishing steps are more demanding. Rush timing, split shipments, protective packing, and extra proof rounds can also change the total.
To get a useful quote, a supplier usually needs dimensions, intended surface, quantity, artwork files, target turnaround, and sample requirements. The better the spec sheet, the fewer assumptions get made. If you are sourcing broader Custom Packaging Products, it helps to share the full system so the label can match the rest of the line.
Typical cost drivers, in order:
- Size and shape.
- Magnet strength and construction.
- Print coverage and color count.
- Finish and surface treatment.
- MOQ and setup complexity.
Process, Timeline, and Production Steps From Artwork to Delivery
Most orders follow a familiar sequence: inquiry, spec review, artwork prep, proofing, sample approval, production, and packing. The sequence is simple. The handoffs are where projects slow down. If the spec is vague at the start, proofing takes longer. If the artwork is not sized to the actual label dimensions, revisions multiply. If the finish is still undecided, the sample stage stalls.
A good project starts with a decision on the essentials. Size. Material or surface. Artwork. Intended use case. A label made for a showroom rack should not be judged the same way as a label built for a fitting room or a presentation board. The use context changes the right technical choice.
Timelines usually stretch in predictable places. Late artwork changes are one. Specialty finishes are another. Magnet sourcing can add lead time if the build is unusual or the order is small. Multiple proof rounds can turn a straightforward run into a longer one, especially if the team is still choosing between two visual directions.
A pre-production sample is usually worth the extra step. It lets the buyer check hold strength, edge finish, print balance, and the way the label sits on the real fabric or packaging. A file can look fine on screen and still feel wrong in the hand. That mismatch is common enough that skipping the sample is usually more expensive than producing it.
Typical timeline pattern:
- Proof approval and final file signoff: 1-3 business days if artwork is ready.
- Sample or prototype: often 3-7 business days, depending on complexity.
- Production: commonly 10-15 business days after approval on standard builds.
- Shipping and packing: depends on destination and carton protection requirements.
If the labels are part of a larger launch, think about the full package early. Color accuracy on the label should sit comfortably beside inserts, sleeves, and the rest of the product packaging system. A mismatch here can make a good garment presentation feel unfinished.
Choosing Size, Strength, Finish, and Reuse Cycle
Size should match the garment or package scale. Too large, and the label feels pasted on. Too small, and the branding disappears into seams, trims, or shelf graphics. The best choice usually looks intentional, as if the label belongs to the object rather than sitting on top of it.
Strength needs the same restraint. Stronger is not automatically better. On delicate fabrics, a softer hold with a wider footprint is usually easier to live with than a concentrated, high-pull setup. On thicker materials or structured displays, more force can help keep the label flat and readable. The right answer depends on movement, fabric weight, and how often the label will be removed.
Finish is where a lot of teams underestimate the final effect. Matte tends to read calmer under store lighting and often photographs cleanly. Gloss gives sharper contrast and can suit bolder retail packaging. Soft-touch can feel premium, but it needs testing for scuffing and fingerprints. Coated surfaces usually clean up better and help protect the print during reuse. If the label will be handled often, that protection is worth more than it looks on the spec sheet.
The reuse cycle is the real test. If the label will move between SKUs, be stored in a sample closet, or be reused across seasonal changes, durability matters almost as much as appearance. A label that starts to wear after a handful of moves may still be acceptable, but it is not the right answer for a team expecting repeated use.
“The best spec is usually the one that survives ordinary handling, not just the one that looks clean in a mockup.”
That is a useful filter. Mockups help, but the real test is how the label behaves after a few removals, some storage wear, and a bit of friction during day-to-day use. If the finish scuffs too easily or the label shifts under motion, the job is not finished.
For buyers comparing options, it helps to score each candidate against four questions:
- Does the size fit the garment or package cleanly?
- Is the hold strong enough without stressing the material?
- Does the finish match the rest of the branded packaging?
- Will the label still look good after multiple uses?
Common Mistakes That Cause Weak Hold or Poor Presentation
The most common mistake is choosing the wrong hold for the fabric thickness or the amount of movement the label will see. A label that feels fine on a flat sample may fail once it sits on a curved seam, a heavier weave, or a garment that gets handled every few minutes. That issue shows up quickly in apparel, and it is even more visible in retail packaging displays where every edge is exposed.
Another frequent error is treating all artwork sizes as interchangeable. Fine type, thin outlines, and dense product details do not always scale down well. A logo that reads perfectly on a larger mockup may blur or crowd itself on a smaller piece. The same problem appears in custom printed boxes and other package branding work: artwork has to respect the physical dimensions, not just the screen file.
Skipping samples is the shortcut that usually costs more later. Without a prototype, buyers can miss edge lift, awkward placement, or a label that simply feels too heavy for the garment. The first time the team notices the issue should not be during a live shoot or a store setup. That is exactly the point where a sample would have paid for itself.
Presentation mistakes are just as common. A matte garment tag next to a glossy label can look accidental. Inconsistent placement across a collection makes the system feel unfinished. Lighting matters too. A finish that looks balanced in an office can glare under showroom fixtures or flatten under camera flash.
Watch for these red flags:
- Spec sheets that do not name the exact fabric or surface.
- Artwork files that have not been checked at final size.
- Multiple version changes after proofing starts.
- No sample test on the actual garment or insert.
- Finish choices that ignore store lighting and photography.
These are not dramatic problems, but they accumulate. A label can be technically functional and still miss the mark visually. That is a problem for any brand that cares about the total package experience, not just the logo on the front.
Expert Tips and Next Steps Before You Request Samples
Start with the attachment zone. Measure the exact area where the label will sit, then identify the fabric, trim, insert, or carton surface it will touch. That one step removes a lot of uncertainty. If the piece is going on premium fabric, the hold should be gentler. If it is going on a merchandising board or boxed set, visibility and repeat use can take priority.
Next, build a short spec sheet before asking for a quote. Keep it simple and specific: size, quantity, intended surface, finish preference, artwork status, and target turnaround. If you need multiple versions for SKUs or size runs, list them clearly so the supplier can price the project correctly. If the label sits inside a broader packaging design refresh, share that system too. The label should support the same visual language as the rest of the line.
For premium garments, ask for a sample or prototype every time. If the label will be reused often, sample it. If it will touch a delicate textile, sample it. If it has to look right in a customer-facing display, sample it. That extra check is far cheaper than replacing damaged fabric or rebuilding a display after the fact.
Here is the decision path that usually works best:
- Compare one standard option and one higher-performance option.
- Test both on the real garment or packaging surface.
- Check appearance under the same lighting used in store or photo shoots.
- Confirm the final version before full production.
That approach keeps the process disciplined without turning it into an endless approval cycle. It also helps teams line up magnetic labels with the rest of their branded packaging, whether they are building a premium sample set or refining a broader retail presentation.
For teams buying custom magnetic labels, the best choice is usually the one that fits the product, the handling pattern, and the visual standard all at once. Get those three things right, and the label feels built into the system rather than added on later.
Are custom magnetic labels safe for delicate clothing fabrics?
Yes, if the magnet strength and contact surface are matched to the fabric weight and finish. Delicate garments usually need a softer hold and a wider contact area so pressure is spread more evenly. A sample test on the actual fabric is the safest way to confirm there is no marking, puckering, or shifting.
What affects the price of custom magnetic labels the most?
Size, magnet strength, finish, and print complexity are usually the biggest drivers. MOQ and setup requirements matter too, because smaller runs often carry more per-unit overhead. Special packaging, rush timing, or multiple versions can also raise the total cost.
How long does the process usually take for custom magnetic labels?
Timeline depends on artwork readiness, proof approvals, sample needs, and material availability. Simple jobs move faster when specs are locked early and revisions are limited. Projects with custom finishes or multiple versions usually need more lead time.
Can custom magnetic labels be reused on different garments?
Often yes, if the design is built for removal and repeated handling. Reuse depends on magnet durability, finish quality, and how often the label is attached and removed. If the label will move between SKUs or sample pieces, confirm that the strength and size stay consistent across uses.
What information should I have ready before ordering custom magnetic labels?
Have dimensions, quantity, artwork, intended fabric or packaging surface, and target turnaround ready. It also helps to know whether you need a sample, a premium finish, or a specific strength level. The clearer the spec sheet, the faster the quote and production process usually move.


