Custom Metal Adhesive Labels for Clothing Brand Buyers
Custom metal adhesive labels add a premium, hard-edged brand detail without sewing, riveting, or adding much bulk. They are used on jacket panels, denim waistbands, leather goods, rigid inserts, and presentation boxes where a metal-looking badge creates a stronger first impression than print alone.
The value is not just visual. A brushed face, debossed mark, or plated edge can raise perceived quality quickly, especially on products buyers handle before they read any copy. That is why these labels should be chosen as part of the broader packaging and labeling system, not as an isolated finishing touch. For brands building out Custom Labels & Tags and Custom Packaging Products, consistency across those touchpoints matters.
This guide focuses on the decisions that affect the order: where the labels work, what the adhesive needs to do, what drives price, how production usually runs, and which specs determine whether the finished label performs as expected.
What custom metal adhesive labels are and where they fit
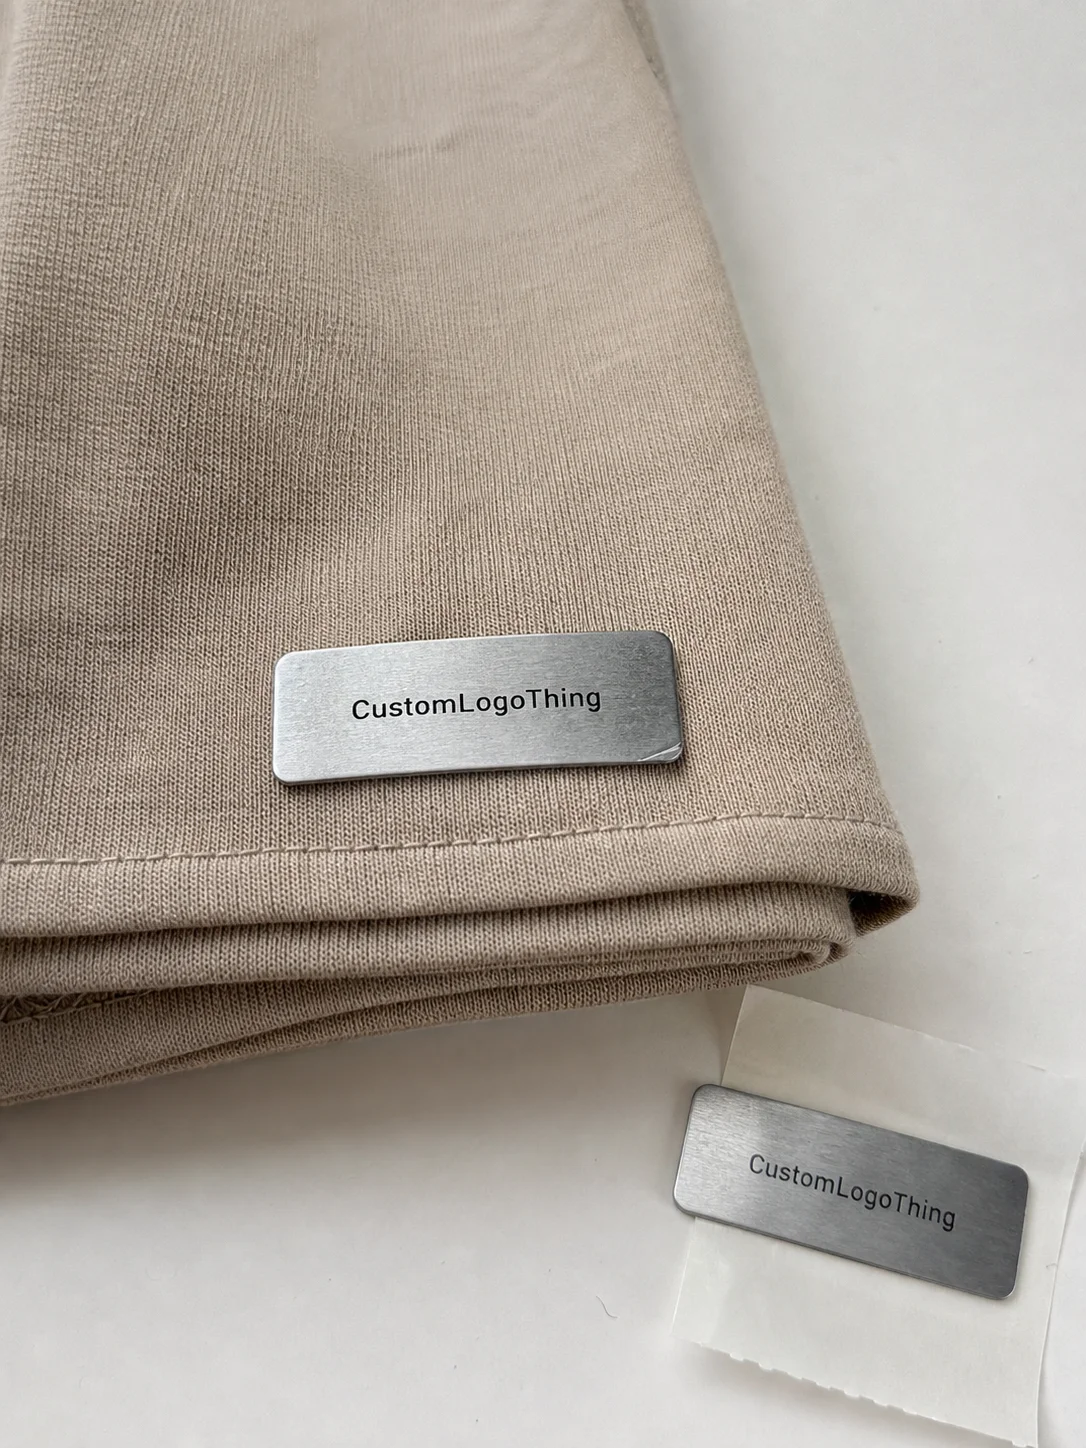
At a basic level, custom metal adhesive labels are decorative brand elements with a metal or metal-effect face and a pressure-sensitive adhesive backing. Instead of being sewn or riveted in place, they are applied to a prepared surface. That changes both the production method and the range of applications.
They are not a replacement for sewn labels, woven tags, or care labels. Those formats still handle compliance and long-term garment identification. A metal adhesive label serves a different job: it creates a premium point of emphasis.
Common uses include denim waistbands, outerwear panels, bags, leather goods, presentation sleeves, rigid cartons, and sample kits. They are especially useful when the same brand language needs to carry from product to packaging.
Choice of format matters. A woven label reads soft and familiar. A heat-transfer mark feels integrated. A metal adhesive label reads crisp and deliberate. None is universally better. The right choice depends on the surface, the amount of flex, and how often the item will be handled.
A metal adhesive label should look like a design decision, not a patch added at the end of the process.
How the metal face and adhesive backing work
The structure is simple: a face layer, an adhesive layer, and a liner. In practice, the interaction between those layers determines whether the label stays cleanly attached or starts lifting at the edges. The face may be brushed aluminum, plated metal, metal-coated film, or another decorative substrate chosen for appearance and thickness.
The adhesive is the part that tends to decide success or failure. Pressure-sensitive adhesive depends on contact, cleanliness, and surface chemistry. Smooth coated board, polished packaging stock, and stable textile panels usually perform better than soft fleece, rib knits, or heavily textured fabrics. Stretch is a problem because the substrate and adhesive move differently over time.
A label that works on a rigid presentation card may fail on a sweatshirt. The artwork can be identical, but the adhesive cannot. A supplier should ask where the label will be applied before recommending a build. That question is often more valuable than a quick unit-price quote.
Face finish also matters. Embossing adds depth. Debossing can improve legibility by reducing glare. Matte finishes usually look more controlled. Gloss can photograph well but show fingerprints sooner. If the label is small, fine type and thin borders become risky, so the design should rely more on shape than on micro-detail.
Surface prep is another frequent issue. Dust, oil, release agents, and fabric finishes all reduce adhesion. Even the correct adhesive can underperform if the receiving surface was not cleaned or if the item is handled too soon after application. Samples should be approved on the actual target material, not only on a generic card.
For packaging programs with sustainability requirements, the adhesive label should be evaluated separately from the carton or insert stock. An FSC-certified box does not guarantee bond performance. Sourcing and adhesion solve different problems.
Cost, pricing, and MOQ: what drives the quote
Pricing is usually driven by size, shape, finish, adhesive type, and run quantity. A square or rectangle is easier to cut than a custom silhouette with tight corners. A flat brushed face costs less than an embossed badge with plating or specialty coating. Permanent, removable, and fabric-safe adhesives each affect both price and performance.
Quantity matters because setup work does not scale linearly. Proofing, tooling, and prepress may take nearly the same effort on a 300-piece order as on a 5,000-piece order, so the smaller run carries more overhead. Buyers should ask for tiered pricing rather than a single number. A useful comparison is often 500, 1,000, 3,000, and 5,000 units.
Directional pricing for common clothing and packaging builds often falls into these bands:
| Build | Typical use | Relative cost | Notes |
|---|---|---|---|
| Flat brushed metal face with permanent adhesive | Denim waistbands, outerwear panels, rigid inserts | $0.18-$0.35 per unit at 5,000 pieces | Usually the best balance of cost and premium appearance |
| Embossed or debossed custom shape | Limited drops, higher-end retail packaging | $0.30-$0.70 per unit at 5,000 pieces | Tooling and shape complexity raise the setup burden |
| Plated face with specialty adhesive | Accessories, presentation packs, gift sets | $0.45-$1.10 per unit at 5,000 pieces | Better for display value, less forgiving on soft or stretchy fabrics |
| Small-run custom shape with sample-first approval | Capsule launches, test orders | Higher unit price at low volume | Useful when the design is still being validated |
These numbers are directional only. A 20 mm matte badge will not price the same as a 45 mm polished emblem with a custom adhesive spec. Finish, shape, border thickness, and receiving surface all move the quote.
MOQ follows the same logic. Smaller minimums are possible, but they usually trade flexibility for unit cost. For a seasonal launch or market test, paying more per piece may be cheaper than committing to the wrong construction. The real question is whether the order is meant to validate a design or scale a proven one.
Production process and turnaround
The usual sequence is artwork review, material selection, proofing, sample approval, production, finishing, packing, and shipment. Delays usually come from missing information at the start: no dieline, low-resolution logos, unconfirmed size, or unclear adhesive requirements.
Artwork should be supplied as vector whenever possible. That matters more here than on a large printed surface because small type, narrow strokes, and multiple line weights can lose clarity once the badge is cut, plated, embossed, or reduced in size. If the logo depends on fine detail, test it at the actual production dimensions.
Turnaround depends on complexity and approval speed. For straightforward orders, 12-15 business days from final proof approval to shipment is a reasonable expectation. Specialty plating, new tooling, multi-step finishing, or sample revisions can extend that. If the label is part of a larger packaging program, the schedule should also account for boxes, inserts, and any printed components tied to the release.
Quality control should be visible. Relevant checks include dimensional verification, finish inspection, adhesive consistency, edge quality, and bond testing on the target substrate. ASTM D3330 is a common reference for peel adhesion testing. For packaged goods in distribution, ISTA methods are useful for vibration, handling, and transit checks.
The important point is simple: a label can pass a photo approval and still fail in use. Testing on the actual surface before production is usually cheaper than replacing bad labels after launch.
Specs that actually change performance
Four specs decide most of the real-world performance: substrate compatibility, adhesive strength, thickness, and edge finish. Buyers often start with appearance because it is easiest to judge from a mockup, but a label that looks right can still behave badly if the build does not match the application.
Substrate compatibility comes first. A label on a rigid carton has a much easier job than one on a stretch panel. A smooth coated jacket panel is friendlier than fleece. A bag tab is usually more forgiving than a seam area that bends constantly. The more movement in the substrate, the more carefully the adhesive has to be chosen.
Thickness affects both feel and durability. A thin label sits neatly but may lose presence. A thicker label can look more substantial, but it may catch on fabric, feel sharp at the edge, or interfere with folding and packing. There is no single ideal thickness. The right choice depends on placement and handling.
Edge finish is often underestimated. Poor edge treatment makes a label feel cheap even when the face is attractive. Smooth edges are easier on the hand and usually better in retail. On apparel, that detail matters more than on a carton because the consumer touches the surface directly.
Artwork sizing has its own traps. Fine lines disappear sooner than bold geometry. Script logos are harder to reproduce than block shapes. Tiny copy is a liability. Negative space can help because it gives the mark room to breathe once the metal effect is applied.
Placement should be planned before approval. A chest badge, hem accent, collar detail, pocket marker, or packaging label each behaves differently. Some positions stay flatter. Others flex more. A label that looks stable on a box sleeve may struggle on a garment panel that folds repeatedly.
When labels are part of a broader packaging system, the badge should be checked against the box finish, insert stock, and pack-out method. A strong label on a weak package system still looks inconsistent.
Common failure points
The most common mistake is choosing the style before confirming the surface. A premium metal face does not compensate for the wrong adhesive. If the substrate stretches too much, the bond loses support. If the surface is dusty or oily, adhesion drops. If the label sits too close to a seam, the edge can lift sooner than expected.
Another error is overcrowding the design. A metal label works best when it is restrained. Too much copy, too many line weights, and too many tiny details turn a premium accent into a hard-to-read miniature sign. The finish already brings visual interest.
Skipping sample testing is where budget leaks usually start. A proof can look perfect on a flat white card and still fail once it is exposed to flex, heat, or repeated handling. If the label is for apparel, test it on the actual garment material. If it is for packaging, test it on the real board. If it is part of a box-and-garment set, test the full presentation together.
Late approval changes also create avoidable drag. Switching from matte to gloss after proof, changing size, or adding copy after alignment is locked can force rework. Those changes are small to the buyer and not small to production. They affect tooling, finish, and schedule.
There is a softer failure point too: the label may be correct for the brand but wrong for the program. A luxury badge can make sense on a limited packaging run and still be too expensive for a mass-market basics line. That is a planning mismatch, not a quality defect.
How to spec an order cleanly
The cleanest spec sheet removes guesswork. Include the target size, quantity range, receiving surface, finish, and whether the adhesive should be permanent or removable. If the label is part of a broader product launch, add the garment type, packaging format, and target ship date. That gives the supplier enough context to recommend a construction instead of only quoting a shape.
Artwork should be sent as vector, and the smallest intended size should be checked before approval. If the logo includes narrow typography, a tight outline, or a multi-step border, test the reduced-size version early. What looks balanced on screen may not survive production unchanged.
Ask for a proof path that matches the application. A coated jacket panel should be tested on coated material. A box label should be tested on the board it will actually touch. A flat mockup is still useful for layout, but it should not be treated as the final adhesion test.
For seasonal drops, the best decision is often the one that fits the inventory plan, not just the aesthetic brief. A lower MOQ supports a test run. A larger run lowers unit cost on a proven design. Both can be correct. The right choice depends on whether the goal is to learn or to scale.
Used with care, custom metal adhesive labels become a compact marker of brand intent, especially when they are tied into a consistent packaging and labeling system. For apparel brands that want a sharper finish without adding sewing complexity, they are often the practical compromise between premium appearance and production reality.
Frequently asked questions
Are custom metal adhesive labels suitable for most clothing fabrics?
They work best on smooth, stable surfaces that do not flex heavily. Dense woven panels, coated fabrics, rigid inserts, and packaging boards are usually safer bets than stretch knits, brushed fleece, or highly textured textiles. Testing on the real substrate is the only reliable way to confirm performance.
How long do custom metal adhesive labels stay attached?
That depends on the fabric, the adhesive type, the placement, and the amount of movement the label sees. A label on a low-flex area can last a long time. One placed across a seam or stretch panel has a harder job and may fail sooner. Washing, heat, and abrasion all shorten service life if the build was not chosen for that use.
What artwork works best for metal adhesive labels?
Bold logos, simple silhouettes, and clean line work usually reproduce better than very fine detail. Small typography is risky, especially when the label is reduced in size or finished with embossing or plating. The more restrained the design, the more legible it tends to be after production.
What drives the MOQ for custom metal adhesive labels?
MOQ is usually tied to tooling, finish complexity, and production setup. A straightforward shape with standard finishing can support smaller quantities more easily than a custom silhouette with multiple finishing steps. Lower minimums are possible, but the unit cost usually rises as the run gets smaller.
Do custom metal adhesive labels need longer lead times than sewn labels?
Not always, but they can if the project needs custom tooling, special plating, or sample revisions. Straightforward orders move faster when the artwork is final and the target surface is clearly defined. Most delays happen before production, not during it.
What should a buyer ask before approving a sample?
Ask what substrate the sample was tested on, what adhesive was used, how the edge was finished, and whether the sample was checked for peel or bond stability. If the label will be applied to apparel, ask whether the test surface matches the actual fabric. A sample that only looks right is not enough.


