Custom name tag stickers solve a problem that looks small until the check-in line starts moving. Names change, titles get updated, speakers arrive late, and volunteers need labels that can be issued quickly without turning registration into a bottleneck. A sticker sounds plain. That is the point. It works because it removes friction.
They are adhesive labels built to identify a person, not to impress a design jury. Used well, they carry a name, title, pronouns, QR code, or sponsor mark in a format that is easy to distribute, easy to read, and easy to discard after the event. For conferences, retail onboarding, pop-up activations, and welcome kits, that combination is hard to beat. Especially when the attendee list is not stable.
There is a second reason buyers keep coming back to them: they are easier to adapt than rigid badges. If a late registration comes in or an executive title changes the morning of the event, a variable-data sticker can absorb the change without wasting a full batch of printed cards. That is not glamorous, but it saves money, time, and a fair amount of embarrassment.
What Custom Name Tag Stickers Are and When They Beat Badges
A good name tag sticker is not trying to be a lanyard badge with better marketing. It is trying to be legible, fast to produce, and inexpensive to update. Those are different goals. Once you accept that, the format starts to make sense in places where printed cards or reusable holders become unnecessarily heavy.
At events, the comparison is simple. Badges need inventory, holders, inserts, hardware, and a degree of certainty about who is attending. Custom name tag stickers need a good layout and a reliable adhesive. The first option is better when names are fixed well in advance. The second is better when the guest list keeps shifting, or when the buyer wants a lighter, flatter, lower-waste system.
The same logic shows up outside events. These labels are used on onboarding packets, retail kits, packaging inserts, and product launch materials when the brand needs a person-specific identifier. If the application already relies on printed components, the workflow usually feels familiar. The challenge is less about the label itself and more about matching the label to the surface and the use case.
One practical advantage is version control. A team can keep the core design locked while changing the variable fields for departments, pronouns, roles, or QR codes. That matters more than it sounds. If your event has ten sponsors, three speaking tracks, and a dozen volunteer roles, consistency is what stops the whole system from looking improvised.
A name tag has one job: readable at a glance. If people need to lean in, the layout is already failing.
That rule sounds obvious until someone shrinks the title field to make room for another logo. The label becomes prettier in a mockup and worse in real life. Buyers tend to notice the problem only after a hundred pieces are printed.
For teams that already order Custom Labels & Tags or manage Custom Packaging Products, the decision is usually about where the person-specific information belongs in the broader brand system. The sticker is small, but it still has to carry the same visual discipline as the rest of the packaging stack.
How the Label and Adhesive Setup Actually Works
The production process is straightforward on paper. Stock, print method, cut style, adhesive, and variable data all need to align. In practice, one weak choice can ruin the whole job. The print may be sharp, but if the adhesive is wrong for the surface, the label still fails.
For the format itself, buyers usually choose between sheeted labels, kiss-cut sheets, and individual die-cut pieces. Kiss-cut sheets are efficient when staff need to hand out multiple labels quickly. Die-cut pieces feel cleaner for single distribution. Sheet format is also easier to store and ship flat, which matters on larger programs where packing volume becomes a real cost.
Print method is usually driven by quantity and variation. Digital printing is the common choice for shorter runs and personalized names because it handles variable data without expensive setup overhead. Flexographic printing becomes more competitive at higher quantities when the artwork is stable and the buyer wants lower unit cost. The exact break point depends on the shop, but the pattern is predictable: the more variation you need, the more digital makes sense.
Adhesive choice deserves more attention than it usually gets. A removable adhesive is the safer option for apparel, temporary wear, and any application where the label should come off cleanly. Permanent adhesive is better for packaging, folders, inserts, and long-term display. If the piece needs to survive repeated handling, a weak tack is a false saving.
That decision gets even more important when the label touches fabric or textured surfaces. A sticker that performs well on a flat, coated card can behave badly on woven material, curved packaging, or rough board. Buyers sometimes blame print quality for the failure, when the real issue is adhesion. The substrate and the surface matter as much as the artwork.
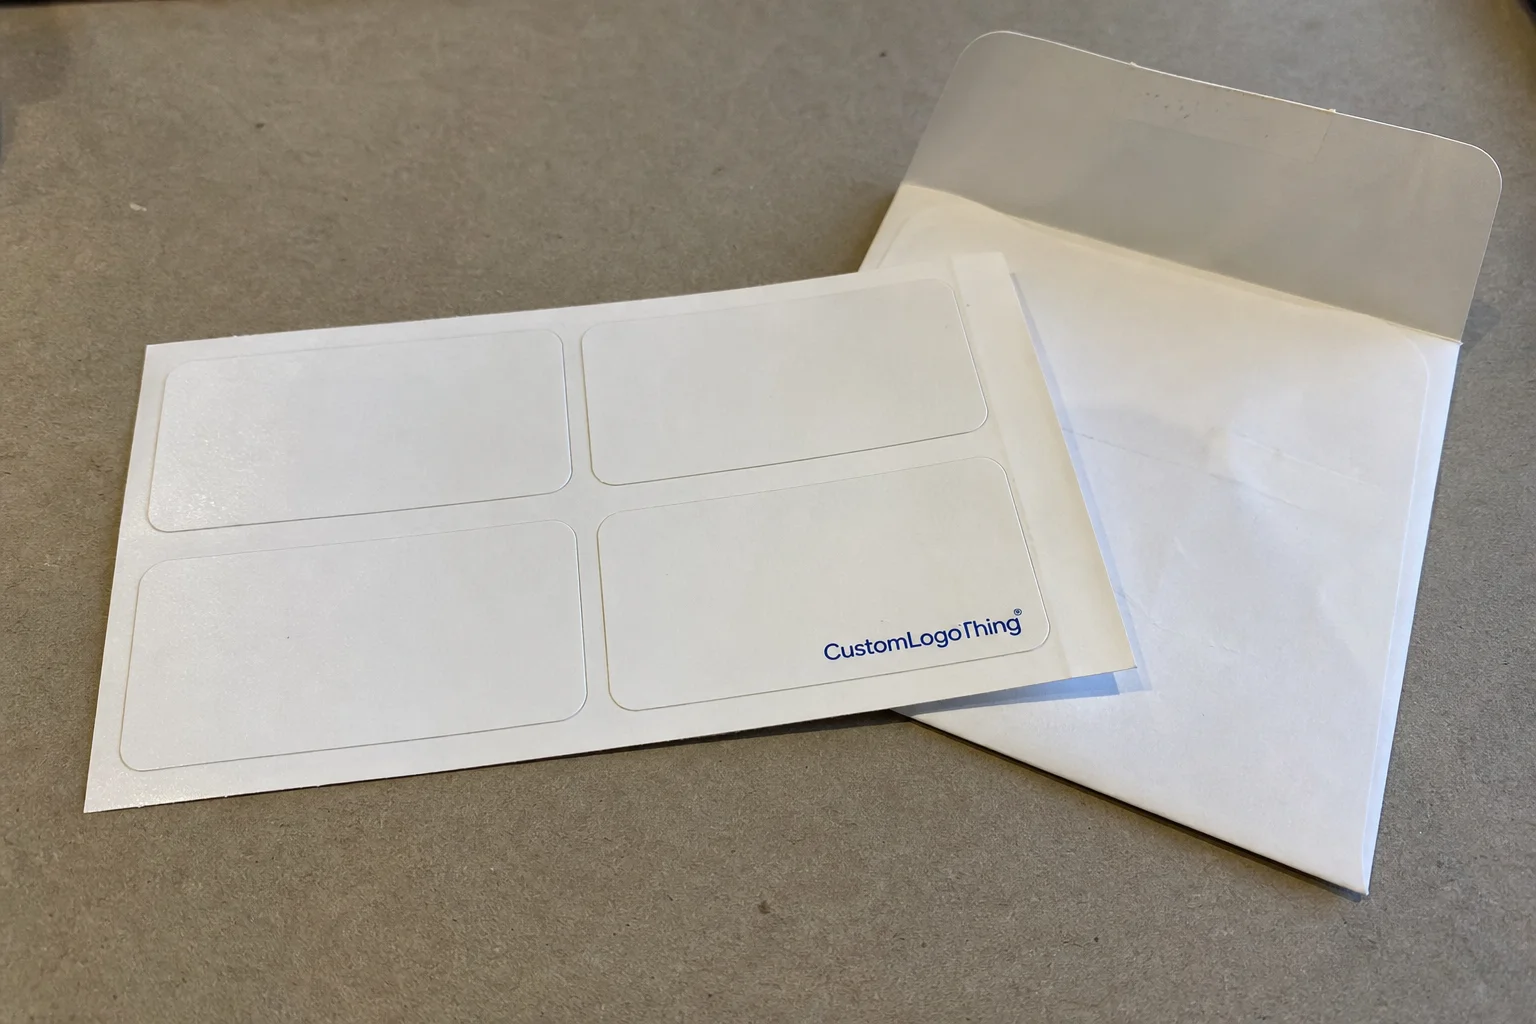
Size affects usability more than decoration does. A common working size sits around 3 x 2 inches or 4 x 2 inches because it gives enough room for the person’s name, title, and a small brand mark without turning the tag into a billboard. If the text has to fit several languages, longer titles, or a QR code, the layout needs to be planned from the start. Shrinking font size to force everything in usually makes the tag worse.
A practical hierarchy helps:
- Name first, with the strongest type treatment.
- Title, department, or role second.
- Brand mark or event logo as support, not the centerpiece.
- QR code only if it has a real function and enough white space.
If durability is part of the brief, ask whether the supplier has tested adhesive performance against relevant peel or tack standards, such as ASTM methods used for label adhesion. For broader packaging validation, teams often refer to transportation testing frameworks like ISTA, especially when the stickers are packed with event kits or shipped in larger branded orders. That is less about the label itself and more about whether the system arrives intact.
Cost, Pricing, and MOQ for Custom Orders
Price is shaped by quantity, size, stock, finish, number of versions, and whether the order includes variable names or other personalized fields. The sticker is only one line in the cost structure. Setup, proofing, cutting, and packing can matter just as much, especially on short runs. A 200-piece order with 200 unique names is not comparable to a 200-piece order with one repeated layout.
MOQ exists because print setup is not free. Plates, file prep, proofing, and finishing all have a baseline cost. That is why small runs often carry a higher unit price. It is not a penalty. It is arithmetic. Once the run gets larger, the unit cost usually drops, but only if the artwork stays simple enough to keep the production line moving.
Here is a useful comparison:
| Option | Best For | Typical Pricing Signal | Notes |
|---|---|---|---|
| Simple digital run | Small events, variable names, quick revisions | Higher unit cost at low quantity | Best when names or roles change often |
| Medium-volume sheeted labels | Conference check-in, staff kits, pop-up teams | Balanced setup and unit cost | Works well when the layout is fixed |
| High-volume custom print | Recurring events, large brand programs | Lower unit cost at scale | Requires tighter file control and planning |
| Premium stock with specialty finish | Retail packaging, polished brand presentation | Higher total cost | Only worth it if the finish supports the use case |
For a rough buying frame, modest custom jobs can land in the low hundreds before shipping, while larger runs can bring the price per label down enough that the economics change quickly. Exact numbers depend on coverage, size, shape, and how many unique records need to be merged into the file. If a quote looks inexpensive, check whether it includes artwork checks, revisions, overage, and shipping. Those details are where the real difference usually appears.
A quote that excludes proofing is not a clean quote. Neither is one that hides shipping until the end. Time-sensitive orders should be compared on landed cost, not on print price alone. That is usually where buyers discover the spread between the first number and the real number.
Process and Turnaround: From Proof to Delivery
The best production flow is dull. That is a compliment. Request the specs, send the artwork, review the proof, approve corrections, print, cut, pack, and ship. Problems usually begin when one of those steps is vague. A rushed order with unclear copy or missing dimensions can add days without improving the final piece.
Simple jobs move faster. If the design is standard, the file is clean, and the quantities are straightforward, production can start quickly after approval. Personalized names, custom die-cuts, specialty laminates, and complex variable data add time because each step requires more checking. The turn time is not just about machine speed. It is about how many decisions need human confirmation.
The most common delay points are boring and predictable:
- Missing artwork or low-resolution files.
- Unclear copy for names, titles, or pronouns.
- No confirmed size, bleed, or safe area.
- Address changes after the job is already queued.
- Too many proof revisions after the first round.
If the stickers are part of a larger event kit or packaging program, the approval chain should include whoever owns the wider brand system. A label can be technically correct and still look wrong next to the rest of the materials. Teams that already manage custom printed boxes usually understand that the small components matter just as much as the larger ones. Visual consistency is rarely won at the end. It is won in the file setup.
For simple orders, a 5 to 10 business day window after proof approval is common. More complex runs, especially those with variable data or specialty finishes, often need 12 to 15 business days or more. Rush service exists, but it reduces room for correction. If the event date is fixed, buffer time is cheaper than panic.
Materials, Finishes, and Adhesives That Change Performance
Material choice affects how the label looks, how it handles light, how it survives contact, and how much it costs. Paper stock is the budget-friendly option and works well for short indoor use. Synthetic stock costs more, but it tends to handle moisture, rubbing, and bending better. That matters if the label will be handled all day or packed into kits that get moved around a lot.
Finish changes the visual result more than many buyers expect. Matte reduces glare and usually improves readability under bright lights. Gloss gives stronger color and a more polished surface, though it can reflect light in a way that makes small text harder to read. Specialty coatings can look premium, but they are not automatically useful. If the piece is going to be handled repeatedly, a durable overlaminate may do more than a decorative finish ever will.
Adhesive selection should track the surface, not the mood board. Fabric, coated paperboard, laminate, polypropylene, and textured cartons all behave differently. Cold environments, curved surfaces, and rough materials can reduce performance. A label that performs well on a flat sample can fail on an actual package seam. That is ordinary packaging behavior, not a defect in the printer.
A simple fit guide:
- Paper stock: one-day use, lower cost, controlled indoor environments.
- Synthetic stock: moisture resistance, longer handling, retail and kit use.
- Matte finish: readability, less glare, clean typography.
- Gloss finish: richer color, stronger visual impact, more sheen.
- Removable adhesive: apparel, temporary badges, short-term deployment.
- Permanent adhesive: packaging, inserts, displays, longer wear.
If sustainability claims matter, ask whether the paper stock carries FSC certification through FSC. That is a material-selection issue, not a magic quality upgrade. It still matters when the label sits inside a broader sourcing policy. For teams comparing environmental claims across formats, EPA guidance on materials and packaging waste is a sensible reference point.
The mistake is not choosing premium stock. The mistake is choosing it for the wrong job. A one-hour registration desk does not need an expensive finish. A retail activation that will be touched all day may need it. The right spec is the one that matches real handling, not the one that sounds best in a quote.
Common Mistakes That Make Name Tags Look Cheap
The most common failure is overcrowding. Too many lines, tiny type, weak contrast, and multiple logos create a label that looks busy before anyone even puts it on. A name tag is not a poster. If the attendee has to inspect it, the event has already lost the advantage of using a tag at all.
Adhesive mistakes are just as common. Too aggressive on delicate material, too weak on fabric, or poorly matched to a curved surface, and the sticker starts failing in the field. Buyers often assume the print was the issue because the label looks fine on the proof. In reality, the surface was never part of the test.
Proofing errors are another easy way to make the whole batch look careless. Misspelled names, awkward line breaks, inconsistent capitalization, and the wrong title are avoidable mistakes that become highly visible on event day. One bad tag travels farther than ten good ones because people notice what is wrong first.
The biggest red flags are predictable:
- Using a font size that reads well on a laptop and poorly at arm’s length.
- Placing the logo above the person’s name.
- Skipping a test on the actual surface.
- Approving artwork before checking every variable field.
- Ordering no buffer for walk-ins or replacements.
For brands that care about packaging presentation, this is familiar territory. A small label can undermine a carefully built booth or a polished insert system. The same applies to product packaging: tiny details are rarely tiny in effect. Clean execution is visible. So is sloppiness.
Actionable Next Steps Before You Place the Order
Start with a one-page spec sheet. Size, quantity, stock, finish, adhesive, variable fields, delivery date, shipping address, and the surface the label will touch. That single document removes most of the ambiguity that slows jobs down. If the supplier has to infer the use case, the job gets more expensive and less predictable.
Always ask for a proof or sample. Better still, test it on the actual surface before approving the full run. A sample on coated card tells you almost nothing if the final application is fabric, textured board, or a laminated insert. Real-world testing is faster than correcting a whole order after the fact.
Add overage. Not too much, but enough. Walk-ins happen. Titles change. A sheet gets damaged. Someone spills coffee on the registration table. A small buffer prevents a late rush reorder, and a late rush reorder is usually the most expensive way to solve a small problem. Ten percent extra is a reasonable starting point for many event programs, though the right buffer depends on how volatile the guest list is.
If the stickers are part of a larger packaging or event kit, keep the workflow repeatable. Use the same naming convention, the same file structure, and the same approval chain each time. Teams lose time when every project is treated like a first-time order. Consistency is not glamorous, but it keeps print production under control.
A practical order sequence looks like this:
- Define the use case and the surface.
- Choose stock, finish, and adhesive.
- Lock the layout and variable fields.
- Review a proof or sample on the real material.
- Order with buffer quantity and a realistic ship date.
Custom name tag stickers reward precision. They do not need a grand concept. They need the right size, the right adhesive, and a layout that people can read in three seconds. If those elements are in place, the label does its job without creating more work for the team using it.
What are custom name tag stickers used for at events?
They speed up check-in when guests arrive at different times or when names and titles need last-minute changes. They can carry names, roles, pronouns, or QR codes without the cost and bulk of rigid badges. They are common at conferences, open houses, retail training sessions, and pop-up activations.
Are custom name tag stickers better than reusable badges?
For one-day events, changing guest lists, or teams that do not want badge inventory, yes. Reusable badges make more sense for recurring staff or programs with stable attendance. The better option depends on how often names change, how much prep time is available, and whether the event needs a disposable system.
What size works best for custom name tag stickers?
A common working range is about 3 x 2 inches to 4 x 2 inches. That usually gives enough room for the name, title, and branding without overcrowding the layout. Long names or multilingual fields may need more space, so test the design at full size before ordering.
How much do custom name tag stickers usually cost?
Cost depends on quantity, size, material, finish, and whether the job includes variable names or specialty setup. Small runs usually have a higher unit cost, while larger runs bring that down. Ask for a quote that separates setup, proofing, printing, and shipping so comparisons are meaningful.
How fast can custom name tag stickers be produced?
Simple orders can move quickly once the artwork is approved and the layout is standard. Personalized names, custom cuts, and specialty finishes usually add time. A straightforward order may take around 5 to 10 business days after proof approval, while more complex runs often need 12 to 15 business days or more.


