Custom Party Stickers look harmless. Tiny circles on a sheet. A roll of labels in a box. Then they land on dessert boxes, drink bottles, envelopes, favor bags, and welcome kits, and suddenly they are doing half the visual work of the event.
That is the part buyers underestimate. A sticker is often the first printed piece a guest touches. It can make a favor look planned, not patched together the night before with whatever was left in the craft drawer. It can also do the opposite. Crooked placement, muddy color, weak adhesive, or a blurry logo will cheapen good packaging faster than anyone wants to admit.
The best results come from treating party stickers as small-format packaging, not decoration slapped on at the end. Design matters, sure. So do material, finish, adhesive, size, application surface, production time, and the number of people who will be hand-applying them under deadline pressure. Romantic? Not really. Useful? Very.
Why Custom Party Stickers Do More Than Decorate
Store-bought stickers can fill space. Custom work does something more specific: it connects the event details. Names, dates, colors, logos, patterns, and messaging can carry across invitations, favors, drink labels, boxes, bags, and mailers without making everything look identical. There is a difference between coordinated and aggressively matchy-matchy. One looks polished. The other looks like a theme pack exploded.
For weddings and showers, stickers often act as seals, favor labels, jar labels, candle labels, or envelope closures. For birthdays, they show up on candy bags, cupcake boxes, party cups, and thank-you packs. For corporate parties and product launches, they help tie branded packaging to a one-day event without requiring a full redesign of every box, insert, or label.
That flexibility is the point. If you already use Custom Labels & Tags or other Custom Packaging Products, event stickers fill the gap between general packaging and time-specific presentation. A logo label on a standard box can become a launch kit. A date seal on a plain kraft envelope can become part of a wedding suite. Small move. Big visual payoff.
They also photograph well when the basics are handled correctly. Guests may not remember the exact ribbon width on a favor box, but close-up photos will show whether the sticker is centered, the type is sharp, and the finish makes sense under event lighting. Social media is unforgiving in that specific way. It loves tiny details and punishes sloppy ones.
Common uses include:
- Birthday favor bags, dessert boxes, candy jars, and party cups
- Wedding envelope seals, welcome bags, candle labels, and favor boxes
- Baby shower jars, snack packs, thank-you gifts, and table favors
- Corporate party labels, launch kits, mailers, and branded giveaways
- Graduation packaging, holiday gifts, VIP packs, and influencer inserts
The job is not to cover every surface with a sticker. Please don’t. The job is to make the right surfaces feel intentional.
“A good event sticker looks like it was always meant to be there. A bad one announces itself immediately.”
How Party Sticker Printing Works From File to Finished Roll
The production path is simple on paper: artwork intake, file review, proofing, printing, finishing, cutting, quality control, packing, and shipping. Simple does not mean foolproof. Small-format print leaves very little room for messy files or vague instructions.
Digital printing is the usual choice for short runs, mixed artwork, quick changes, and event jobs with names, dates, or versions. Setup time is lower, so it works well for smaller quantities. Flexographic printing can make sense at higher volumes, especially when the same design runs across thousands of pieces and the setup cost gets spread out. For a 100-piece shower label job, digital usually wins. For a large brand event with repeated artwork, flexo may be worth quoting.
Format affects both cost and application. Rolls are efficient if labels will be applied quickly to bottles, bags, boxes, or jars. They keep the workflow moving and are easier to manage at volume. Sheets are practical for smaller events or mixed designs, especially when a few people are applying labels by hand. Individually cut stickers work best for inserts, handouts, party packs, or any use where each sticker is given away rather than applied to packaging.
Cut style changes the experience too:
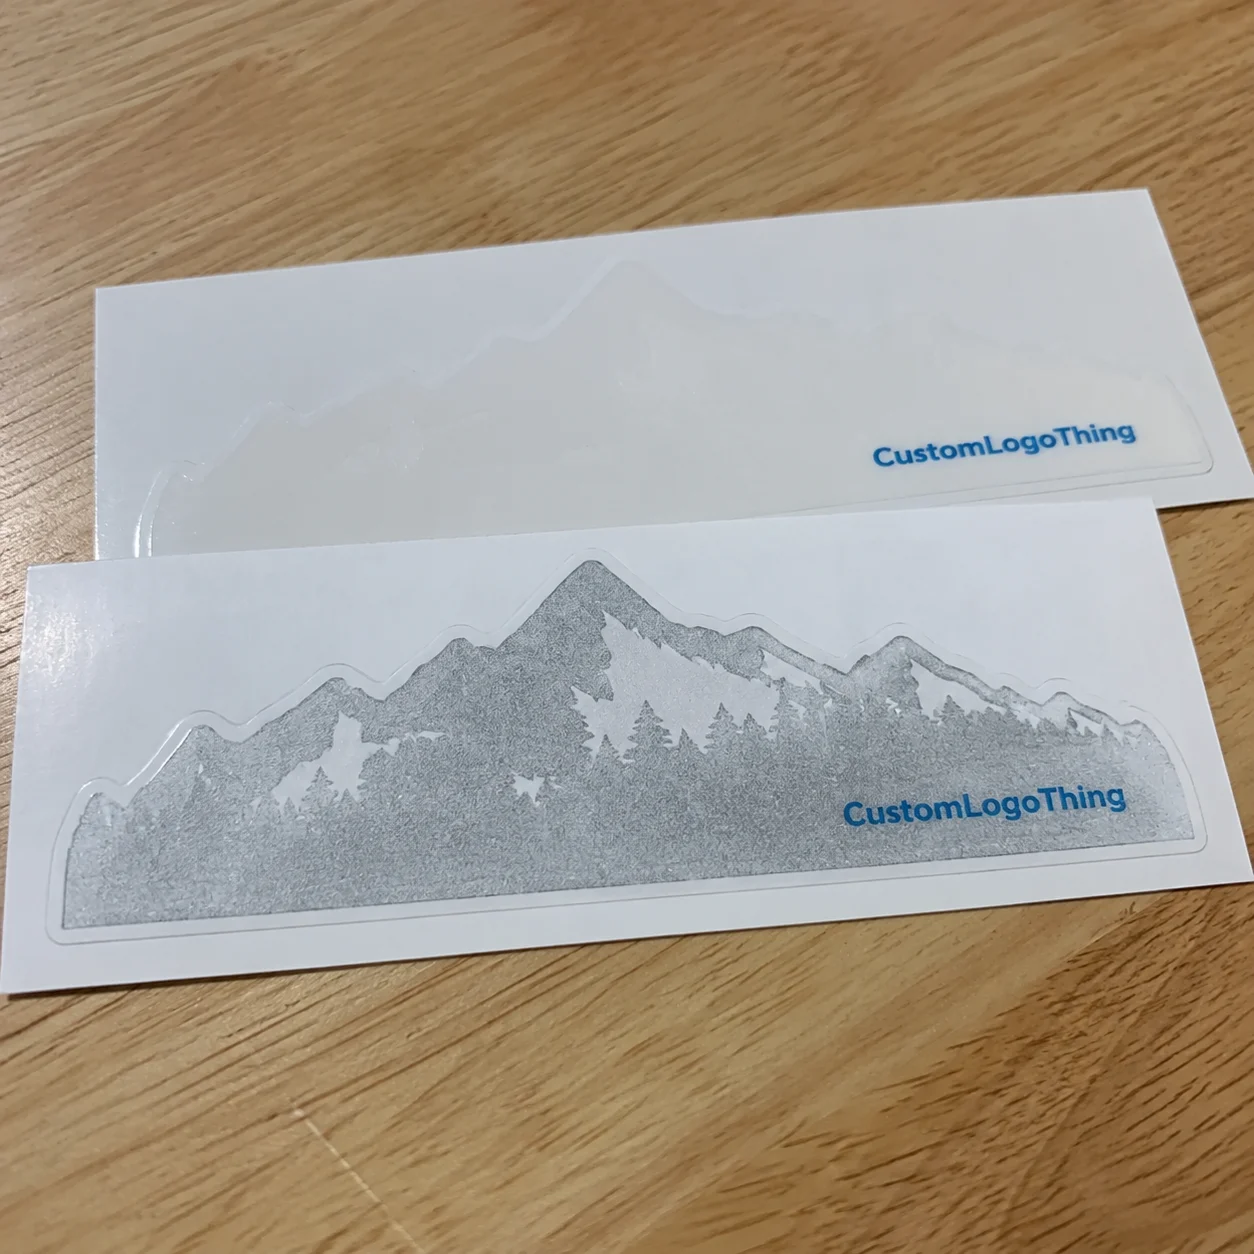
- Die-cut stickers follow the outer shape of the artwork and feel more custom.
- Kiss-cut stickers stay on a backing sheet, which makes peeling easier.
- Circle and square labels are economical and work for most event packaging.
- Oval and rectangle labels handle names, dates, ingredients, or QR codes better.
- Custom shapes fit mascots, logos, initials, icons, or themed artwork.
Proofing is where preventable problems get caught. A digital proof should show the layout, spelling, trim line, bleed, safe area, and cut path. It will not perfectly predict how ink looks on every material. That matters. Pale colors can wash out on matte paper. Clear labels may need white ink. Metallic stock can make thin type harder to read. A proof is a checkpoint, not a magic shield.
Good files keep the job moving. Vector logos are best. Fonts should be outlined or embedded. Raster images should be at least 300 DPI at final print size. Color should be built for CMYK print rather than whatever looked cute on a phone screen at midnight. Screenshots, social media downloads, and tiny JPEGs with delicate script fonts are where the trouble starts.
Quality control should check more than “does it look nice.” The practical checks are cut registration, color consistency, adhesive performance, surface defects, label count, roll direction if needed, and packing method. If labels are going onto bottles with a front-facing design, roll orientation can matter for fast application. If a team has to rotate every label before placing it, someone will be annoyed. Fairly.
Small errors scale quickly. One misspelled name on 300 favors is not a charming handmade quirk. It is a reprint.
Materials, Adhesives, and Finishes That Change the Result
Material choice decides how the sticker looks, feels, and survives handling. Paper is usually the most economical option and can look excellent for dry indoor use. It suits favor boxes, envelopes, bags, and flat packaging where moisture is not part of the plan. Film materials such as BOPP, vinyl, and polyester are stronger choices for bottles, coolers, candles, oily surfaces, or items that will be handled repeatedly.
BOPP is common because it balances print quality, moisture resistance, and cost. Vinyl is flexible and useful for some curved or outdoor-facing applications, though not every event job needs it. Polyester is durable and dimensionally stable, but it can be more than necessary for basic party favors. The right answer depends on the surface and environment, not the fanciest material name in the catalog.
Adhesive deserves the same attention. Standard permanent adhesive works for many paper boxes, smooth bags, and envelopes. Stronger adhesives may be needed for textured kraft, curved bottles, or plastic containers. Removable adhesive can be useful for temporary event signage or items where guests may peel the sticker off later. Freezer-grade or cold-temperature adhesive may be required for refrigerated drinks or cooler packs. Paper label with standard adhesive on a wet bottle? Bold choice. Usually a bad one.
Surfaces behave differently. Glass jars, PET bottles, kraft boxes, metallic tins, candle vessels, coated paper bags, and textured envelopes all create different adhesion conditions. A label that sticks perfectly to a flat paper box can lift at the edge on a narrow bottle neck. A beautiful clear sticker can disappear on dark glass if white ink is not used behind the design.
Finishes set the tone:
- Matte feels soft and refined, especially for weddings, showers, and minimalist packaging.
- Gloss boosts color and works well for bright birthdays, candy packaging, and drink labels.
- Soft-touch feels premium, though it can show scuffs depending on handling.
- Clear creates a minimal look on glass or plastic but often needs white ink for legibility.
- Metallic or holographic adds impact, while also raising cost and sometimes hurting readability.
A quick comparison helps:
| Material / Finish | Best Use | Main Strength | Tradeoff |
|---|---|---|---|
| Paper matte | Wedding favors, shower boxes, envelopes | Classic look, lower cost | Poor moisture resistance |
| BOPP gloss | Bottles, snack bags, chilled drinks | Moisture resistance and bright color | Less natural-looking than paper |
| Clear film | Glass jars, bottles, premium favors | Clean, minimal appearance | Needs contrast or white ink |
| Metallic film | VIP kits, luxury favors, launch packaging | Strong visual impact | Higher cost and readability risk |
| Vinyl | Curved items, durable giveaways | Flexible and durable | May be unnecessary for simple indoor use |
Coating or lamination can reduce scuffing, smearing, and water damage during packing and handling. It is worth considering if labels will be stacked, shipped, carried in coolers, or touched by a lot of guests. The file on screen is not the final product. The final product is the sticker after shipping, unpacking, application, transport, setup, and two hours of people grabbing things from a table.
Color is another trap. Pale gold on white stock may look elegant on a monitor and nearly invisible in person. Blush on kraft can turn muddy. Fine script on metallic material may lose definition. If readability matters, test contrast at actual size before approving the artwork.
Cost, Pricing, and MOQ Factors Buyers Should Check
Sticker pricing depends on quantity, size, material, finish, shape, adhesive, number of designs, proofing needs, packing format, and shipping speed. Unit price alone tells a thin story. A 50-piece wedding seal order and a 5,000-piece brand event run are not comparable, even if both use the same two-inch circle.
At low quantities, setup and handling take up a larger share of the price. Someone still has to review the file, set up the job, print it, cut it, check it, pack it, and ship it. At higher quantities, those costs spread across more pieces, so the unit price usually drops. That is why minimum order quantities exist. Not because printers enjoy saying no. Because press setup, roll length, sheet layout, die use, waste, and labor have real costs.
For planning, broad ranges are more helpful than vague “budget-friendly” promises. A simple short-run label at higher quantities may land around $0.18-$0.28 per unit at about 5,000 pieces, depending on size, coverage, material, and format. Small custom batches can cost far more per piece because setup is not spread across many labels. Premium finishes, custom shapes, specialty adhesives, clear stock with white ink, metallic film, and rush shipping all push the price upward.
Buyers should ask what the quote includes before comparing numbers. Proofing may be included, or it may be separate. File cleanup may cost extra. Tooling, plate, or die charges may apply for some production methods and shapes. Shipping, taxes, sorting, and special packing can change the total quickly. The cheapest headline price is not useful if it excludes the pieces needed to finish the job.
Cost drivers to watch:
- Standard shapes and common materials usually cost less.
- Custom dies, metallic effects, lamination, and waterproof films add cost.
- Multiple names, dates, or artwork versions increase prep time.
- Rush production and expedited freight can exceed the print savings.
- Roll direction, sorting, or individual packing may add labor.
Quote requests are smoother when the spec is clear. Include quantity, size, shape, material preference, finish, roll or sheet format, delivery ZIP code, event date, and application surface. If the label will go on a curved bottle, say that. If it will sit in an ice bucket, absolutely say that. Printers cannot solve problems they do not know exist.
A cheaper sticker that curls, smears, lifts, or arrives late is not cheaper. It is just a more dramatic way to spend the same money twice.
Process and Timeline: What to Do Before the Event Date
Work backward from the event date. Start with the day labels must be in hand, not the day the party happens. Then allow time for shipping, production, proofing, artwork correction, approval delays, and application. If stickers need to be applied to hundreds of items before the event, build that labor into the schedule. Labels do not magically jump onto bottles while everyone sleeps. Rude, but true.
A practical sequence looks like this:
- Choose the container, favor, or package first.
- Measure the usable sticker area on the real item.
- Confirm the quantity, plus waste allowance.
- Finalize artwork with names, dates, logos, and colors checked.
- Review the proof for spelling, size, bleed, cut line, and readability.
- Approve production only after the final details are locked.
- Inspect the order when it arrives.
- Apply labels in a clean, dry, controlled area.
Most delays do not come from the press. They come from decisions. Waiting on a final guest count, brand approval, family sign-off, revised monogram, menu detail, QR code, or spelling confirmation can chew through the schedule. For weddings and corporate events, those delays are common enough that they should be expected.
Many short-run event sticker jobs need roughly 12-15 business days from proof approval to shipping, depending on quantity, material, finish, workload, and shipping method. Some orders move faster. Specialty materials, custom dies, complex finishing, or large quantities take longer. Rush production may be available, but it narrows the safety margin and usually costs more.
Order samples or a small test batch when the surface is unusual. Chilled bottles, oily packaging, candles, curved jars, textured kraft, coated bags, and reusable drinkware all deserve a test if timing allows. A 10-piece test is boring until it prevents a 500-piece failure. Then it becomes everyone’s favorite line item.
Build in extra quantity for hand application. Ten to fifteen percent overage is a sensible starting point for most events. Labels get dropped, misaligned, wrinkled, stuck to themselves, or sacrificed during setup. If several helpers are applying them, waste goes up. People mean well. That is not the same as applying 300 labels perfectly.
Common Mistakes That Make Event Stickers Look Cheap
The first mistake is choosing size from a screen mockup. Mockups lie politely. The actual bottle, box, jar, or envelope tells the truth. Measure the flat or usable area, then leave breathing room around the design so it does not look crammed into place.
The second mistake is overloading the layout. A small sticker cannot carry a full speech, three fonts, a border, a monogram, a date, a quote, a QR code, and decorative icons without looking like a tiny bulletin board. For party labels, clarity usually beats ornament. Name, date, logo, or short message. Pick the priority.
Low-resolution artwork is another regular offender. A phone screenshot may look fine until it is printed at size. Edges soften. Thin lines break. Script fonts blur. Logos lose authority. If the artwork is important, rebuild it properly instead of hoping the printer can perform digital surgery on a fuzzy image.
Contrast gets ignored more than it should. Pale ink on pale stock, clear labels on dark glass, gold script on kraft, and tiny gray text on matte paper can all fail in normal lighting. Event spaces are not design studios. They have dim corners, warm bulbs, colored uplighting, outdoor glare, and people looking quickly while holding a drink.
Material mismatch causes the most visible failures. Paper labels on wet bottles wrinkle. Weak adhesive lifts from textured bags. Uncoated stickers scuff on high-touch favors. Clear labels without white ink disappear. The design may be lovely, but the wrong construction makes it look amateur.
Application can ruin a good print job too. Dust, oil, lotion, cold surfaces, condensation, and rushed placement all interfere with adhesion. Apply labels at room temperature when possible. Keep surfaces clean and dry. Use a guide line for bottles or rows of boxes. If placement needs to be consistent, do not rely on five different helpers freehanding everything while the clock is screaming.
If a sticker has to survive transport, condensation, and guest handling, design it for that environment instead of the prettiest mockup.
The fix list is plain: measure first, simplify the design, use proper artwork, check contrast, match the material to the surface, review the proof carefully, and apply labels under decent conditions. None of that is glamorous. It works anyway.
Build a Sticker Spec Before You Request a Quote
A clear spec saves time, money, and rework. Start with the event type, the item being labeled, and the exact purpose of the sticker. Is it sealing an envelope? Branding a favor bag? Labeling a drink? Decorating a box? Sending guests to a QR code? One sentence can keep the whole job from drifting.
Next, count the items that need labels and add waste. Photograph the application surface if it is not a standard flat box or envelope. A photo helps the supplier judge whether the job may need stronger adhesive, film material, a different shape, or a smaller size. It also exposes details that get missed in email, like ridges, curves, coatings, seams, and tight placement areas.
A useful spec sheet includes:
- Event type and date
- Sticker purpose
- Application surface
- Size and shape
- Quantity plus overage
- Material and finish preference
- Adhesive requirements
- Roll, sheet, or individual format
- Artwork status and file type
- Delivery location and deadline
Ask three blunt questions before ordering: Will the sticker touch moisture? Will guests handle it repeatedly? Is the surface smooth, curved, textured, cold, or oily? Those answers narrow the material choice faster than a long debate about “premium feel.” Premium does not mean much if the label lifts before dessert.
For curved containers, expect a little trial and error. For high-touch items, prioritize durability over the finish name. For clear labels, confirm whether white ink is needed. For dark packaging, check contrast at actual size. For tight deadlines, avoid fussy specialty finishes unless there is enough time to proof and produce them correctly.
Custom party stickers work best when design, material, cost, and timing are decided together. Treat them as part of the packaging system, not an afterthought. The final result looks cleaner, applies faster, survives the event better, and avoids the kind of last-minute reprint nobody invited.
FAQ
What size custom party labels should I order for favor boxes?
Measure the flat printable area first, then leave at least 0.125 inches of visual breathing room near the edge. For small favor boxes, 1.5 to 2.5 inch stickers often work well, but the right size depends on the panel, text amount, shape, and viewing distance. If the sticker seals a flap, test whether it bridges the opening without wrinkling or lifting.
Are custom party stickers waterproof for drink bottles and coolers?
Paper stickers are usually not the right choice for condensation, coolers, or ice buckets. For chilled bottles, use film materials such as BOPP, vinyl, or polyester with a coating or lamination suited to wet handling. Tell the printer if the labels will be refrigerated, handled wet, or applied to curved containers so the material and adhesive match the job.
How early should I order personalized party stickers before an event?
Order once the container, artwork, quantity, and delivery location are confirmed. Many short-run jobs need about 12-15 business days from proof approval to shipping, though timelines vary by material, finish, quantity, and workload. Add time for proof review, shipping, inspection, and hand application, especially for weddings, corporate events, and large guest counts.
What artwork file is best for custom event stickers?
Vector files such as AI, EPS, or print-ready PDF are best for logos, text, borders, and cut lines. High-resolution PNG or TIFF files can work for photo-based designs if they are at least 300 DPI at final print size. Avoid screenshots, social media downloads, and low-resolution phone images for detailed artwork or small type.
Do custom party stickers cost less on rolls or sheets?
Rolls are often more efficient for larger quantities and faster application on bottles, bags, jars, and boxes. Sheets can be better for small events, mixed designs, or manual application by a small team. The lower-cost format depends on quantity, size, material, finish, packing needs, and how the labels will be applied.


