A basic rectangle can make a strong logo look like it was trapped in a spreadsheet. Custom shaped stickers let the artwork define the product instead of forcing a badge, mascot, seal, or illustration into a box it never asked for.
That shape decision carries more weight than most buyers expect. A sticker on retail packaging may be the first branded detail a customer touches. A laptop giveaway sticker might live on a water bottle for two years. A packaging seal can make a plain mailer feel intentional instead of “we had tape and hope.” Shape is not decoration only. It affects perception, usability, cost, waste, and production risk.
What Custom Shaped Stickers Are and Where They Win
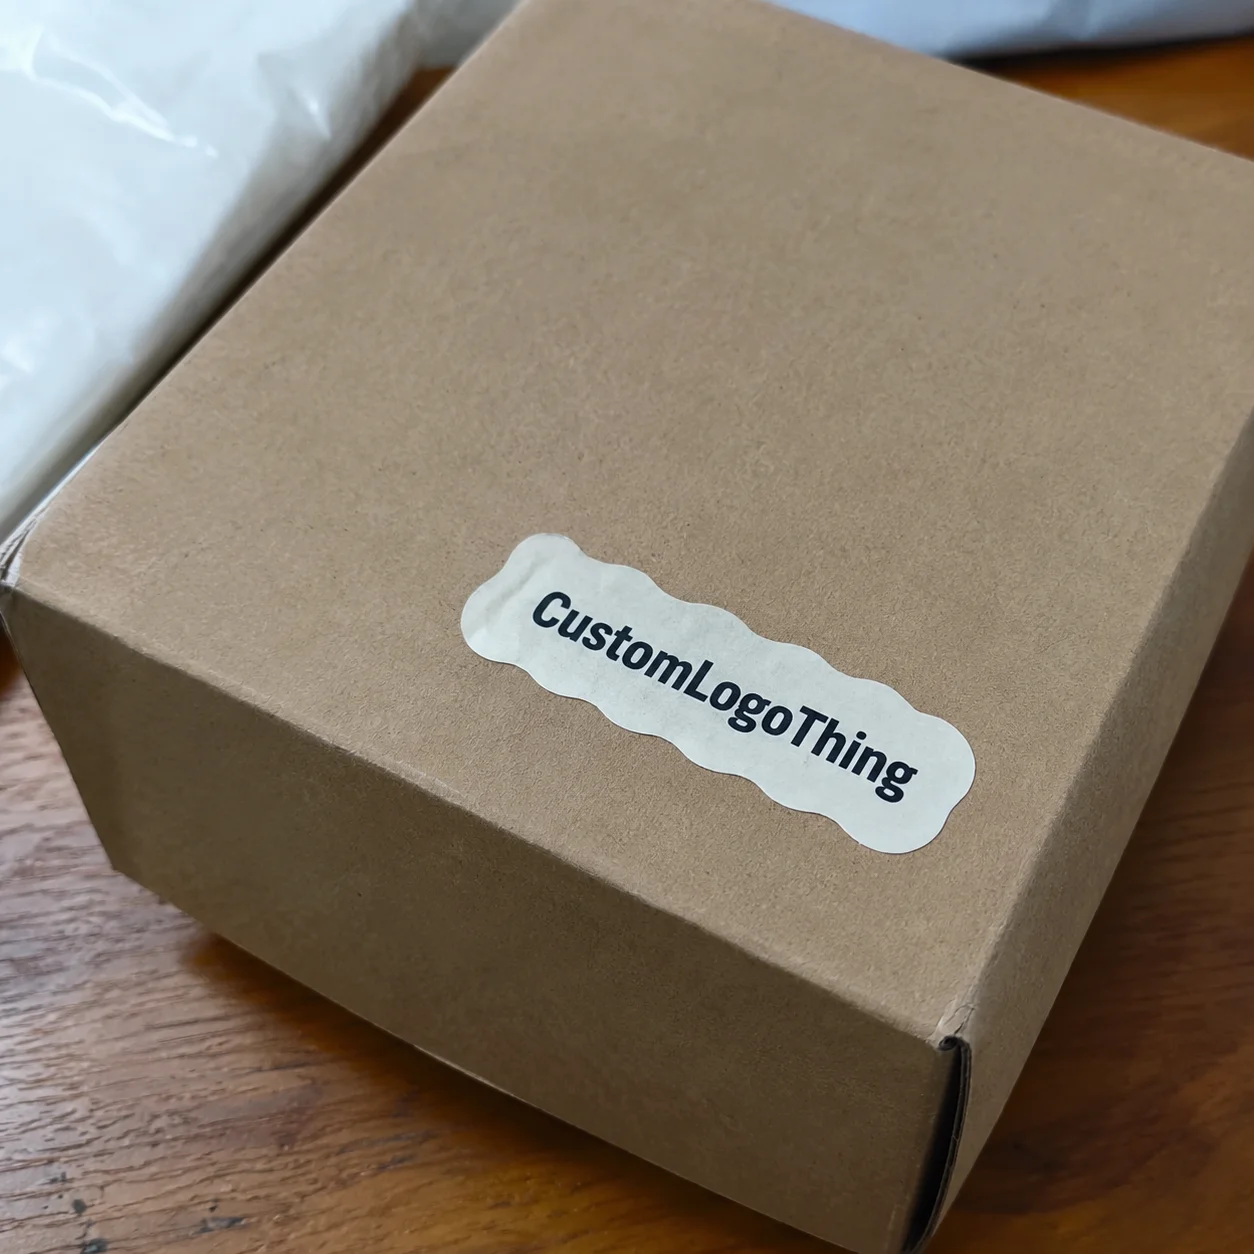
Custom shaped stickers are trimmed around a specific logo, illustration, product outline, mascot, badge, icon, or irregular design. The cut can follow the exact artwork edge, sit as a simplified contour around the design, or use a custom silhouette created for easier peeling and cleaner application.
Buyers often use several terms as if they mean the same thing. Close enough for casual conversation. Not close enough for ordering.
- Standard shape: A circle, square, rectangle, oval, or catalog shape with predictable setup and efficient sheet layout.
- Custom shape: Any outline made for your artwork or packaging design rather than pulled from a standard template.
- Die-cut: The sticker and backing are cut through into the final shape, usually supplied as individual pieces.
- Kiss-cut: The sticker layer is cut, but the backing remains larger, often square or rectangular, so the sticker is easier to peel.
- Contour-cut: A digital cut follows a vector outline around the artwork, common for short runs and irregular designs.
They work well for packaging seals, product labels, event giveaways, laptop stickers, jar labels, boutique retail branding, subscription box inserts, and branded merch. If you already use Custom Labels & Tags, a shaped sticker can add a flexible branding layer without forcing a redesign of your full packaging system.
The shape earns its cost when it makes the design more memorable, improves shelf presence, or adds polish to the unboxing moment. A cloud shape around a skincare logo, a coffee cup contour for a café promotion, or a badge outline for a craft brand can feel more considered than a square slapped onto a pouch. Customers notice lazy. They may not describe it that way, but they notice.
Skip the custom outline when it adds no buyer-facing value. Tiny warning labels, barcode stickers, ingredient panels, compliance notes, and warehouse labels usually do not need drama. Spend the money on better adhesive, clearer print, or faster application instead.
Practical rule: If the sticker helps sell, gift, seal, or display the brand, shape can matter. If it only carries required information, keep it simple and spend carefully.
Still, shape is only one piece of the result. Material, adhesive, finish, artwork quality, and cut tolerance matter just as much. A beautiful outline on the wrong adhesive is not premium. It is a peeling complaint waiting for a customer photo.
How Shape Cutting Works From Artwork to Finished Sticker
The sticker shape starts with a cut path: usually a vector line telling the cutting equipment where to trim. It may sit on a separate layer named “cut,” “die line,” or “kiss cut,” depending on the supplier’s setup. If the file is clean, production is boring. Boring is excellent here.
Vector artwork usually gives the cleanest result. AI, EPS, SVG, or press-ready PDF files provide scalable edges and editable paths. High-resolution PNG or TIFF files can work for the printed image, but the cut line often has to be recreated. Low-resolution screenshots and copied web logos remain a classic buyer mistake. They look fine at two inches on a phone. Then they print fuzzy, and everyone acts surprised.
Good artwork includes bleed and a safe zone. Bleed means the printed color or image extends beyond the cut line, often about 0.0625 inch to 0.125 inch depending on the supplier. The safe zone keeps text, borders, and small details inside the cut line, commonly by at least 0.0625 inch. On stickers under 2 inches, that margin stops being theoretical.
Die-cut and kiss-cut formats change the user experience. Die-cut singles look polished as handouts because the backing matches the sticker shape. Kiss-cut stickers are easier to peel because the backing stays larger. For event giveaways, die-cut pieces look better. For staff applying hundreds of seals to boxes, kiss-cut sheets or rolls can save time and fingernails.
Digital contour cutting is common for short or mixed runs because it does not always require hard tooling. Traditional dies can still make sense for high-volume production or specific finishing lines, but the economics depend on size, quantity, material, and equipment. Not every “die-cut” sticker uses a traditional metal die anymore. The language got messy. Production usually does.
Cut tolerance is the part buyers underestimate. Even good equipment can shift slightly during printing, lamination, and cutting. A common tolerance range might be plus or minus 1/32 inch, although suppliers vary. Thin borders around complex shapes invite trouble because any movement becomes visible. A 1 mm white outline around a wavy logo sounds sleek until the cut drifts and one side looks shaved.
Tight corners, tiny notches, delicate antennae, thin steam lines, and hairline shapes can tear, lift, or look rough after cutting. If a coffee brand wants a mascot sticker with steam curls above the cup, those curls may need to be simplified or thickened. A cleaner outline usually beats a fragile shape that peels like wet tissue.
Material, Adhesive, and Finish Choices That Affect Performance
Material decides how the sticker survives real use. White vinyl is the usual durability pick for moisture, handling, and outdoor exposure. Clear film works well on glass, clear jars, and minimalist product packaging, but it needs planning. Paper is fine for short-term indoor labeling, especially on dry boxes, inserts, and promotional sheets. Textured paper, metallic film, holographic film, and kraft paper can make a premium campaign feel more deliberate.
Vinyl generally handles moisture, abrasion, and outdoor use better than paper. It also costs more. Shocking, I know: better materials are not free. For packaging that faces refrigeration, condensation, shipping scuffs, or repeated handling, vinyl or laminated film is usually the safer choice.
Adhesive matters just as much as the face material. Permanent adhesive is best for labels, seals, and retail packaging that should stay put. Removable adhesive works for temporary promos, reusable containers, or surfaces where residue would annoy customers. Repositionable adhesive helps during application, though it may not grip aggressively on textured, dusty, curved, or low-energy surfaces.
Surface compatibility is never automatic. Glass is usually friendly. Smooth plastic can be fine, but low-energy plastics may need a stronger adhesive. Cardboard varies wildly depending on coating, fiber, dust, and texture. Kraft paper and textured mailers can be stubborn. Metal is usually stable, but cold temperatures or condensation can interfere with bonding. Curved containers create edge tension, especially on larger stickers.
Finish changes both appearance and durability. Gloss makes color pop and often suits bright retail campaigns. Matte feels softer, especially for wellness, beauty, and boutique products. Soft-touch can feel upscale, though it may show oils and fingerprints depending on handling. Lamination adds scratch resistance and can extend the life of shaped vinyl stickers used outdoors or on frequently handled products.
Clear stickers need one extra decision: white ink. Without a white ink layer, colors can look transparent, weak, or muddy on dark bottles and clear containers. If the design must stay opaque, ask for white ink underprint. If the sticker is meant to blend into glass, skip white ink in selected areas. That choice should appear on the proof, not live inside someone’s vague email memory.
| Material or Finish | Best Use | Typical Tradeoff |
|---|---|---|
| White vinyl | Outdoor promos, bottles, laptop stickers, handled packaging | Higher unit cost than paper, better moisture resistance |
| Clear film | Glass jars, transparent bottles, minimalist labels | May need white ink for opacity |
| Paper stock | Indoor boxes, inserts, dry retail packaging | Lower durability around moisture and abrasion |
| Matte lamination | Premium branding, beauty, wellness, boutique campaigns | Softer look, slightly muted color pop |
| Gloss lamination | Bright logos, promo stickers, retail displays | More shine, can show glare under lighting |
For outdoor use, ask about UV-resistant inks, lamination, and adhesive rated for the environment. For packaging shipped through parcel networks, review handling expectations against testing frameworks such as ISTA. If paper-based materials or sustainability claims matter, check whether FSC-certified paper options are available through FSC supply chains.
Samples are not a luxury. Test the sticker on the actual box, jar, pouch, mailer, or lid before buying thousands. A sticker that bonds beautifully to coated paperboard may lift on textured kraft. Same logo. Different surface. Different headache.
Cost and Pricing Factors Buyers Should Check Before Ordering
The price of custom shaped stickers is driven by size, material, quantity, number of designs, print method, finish, cut complexity, and final packing format. That is the dull sentence. The useful part is knowing which knobs move the quote fastest.
Size is one of them. A 2-inch sticker and a 4-inch sticker do not feel wildly different on a screen, but the 4-inch version can use roughly four times the material area if both dimensions double. Material usage, sheet yield, print coverage, and shipping weight all start moving.
Quantity changes unit cost because setup time gets spread across more pieces. A small batch of 100 to 250 pieces may cost several times more per unit than a 1,000 or 2,500 piece run. For basic digitally printed vinyl stickers, rough buyer-side ranges might look like $0.40 to $1.50 each for small runs, $0.18 to $0.55 each around 1,000 pieces, and lower on larger simple jobs. Complex shapes, premium films, white ink, lamination, or individual packaging can push those numbers up. Quotes vary. Anyone pretending otherwise is selling fairy dust.
Intricate outlines can raise cost because the sheet layout may waste more material. Simple circles, rectangles, and rounded badges nest efficiently. A spiky mascot with uneven edges may leave awkward gaps between stickers. More waste means more substrate, more cutting time, and sometimes more rejects.
Minimum order quantities depend on production method. Digital production may support lower minimums, sometimes 50 to 250 pieces. Specialty materials, roll labels, metallic films, spot finishes, or tooling may require 500, 1,000, or more. If you need multiple designs, ask whether they can be ganged together on one run or quoted separately.
Hidden quote details cause pain later. Ask whether proofing rounds are included. Confirm white ink, lamination, split designs, roll format, sheet format, individual cutting, backing cards, shrink wrapping, and shipping. If your sticker goes into launch kits or with Custom Packaging Products, packing format may matter as much as print quality.
| Quote Factor | Lower-Cost Choice | Higher-Cost Choice | Buyer Advice |
|---|---|---|---|
| Size | 2 to 3 inch sticker | 4 inch and larger sticker | Mock up on the real package before pricing big sizes |
| Material | Paper for indoor dry use | Vinyl, clear film, metallic, specialty stock | Match material to moisture, handling, and lifespan |
| Finish | No lamination or basic gloss | Matte, soft-touch, heavy-duty lamination | Use lamination when scratches or water matter |
| Shape | Simple contour with smooth curves | Fine points, holes, notches, fragile details | Simplify the cut line before quoting |
| Format | Sheets or rolls | Individually cut singles or backing cards | Choose based on application speed or giveaway value |
Ask for quantity breaks at 250, 500, 1,000, and 2,500 units. The best value is often not the largest number. It is the point where unit cost drops enough without leaving you with six boxes of outdated campaign stickers.
Do not choose only the cheapest quote if the adhesive, material thickness, or finish specs are vague. Cheap mystery stickers are still mystery stickers. They just arrive with an invoice.
Process, Timeline, and Proofing Before Production Starts
The basic order flow is simple: submit artwork, confirm size and material, create a proof, approve the cut line, print, cut, inspect, pack, and ship. The problems begin when buyers treat the proof like decorative paperwork.
The proof is where you catch cut path issues, spelling errors, scale problems, missing white ink layers, bad borders, and wrong backing formats. A useful proof should show final dimensions, cut line, bleed, safe zone, material, finish, quantity, and any special production notes. If any of that is missing, ask. Polite is fine. Specific is better.
Simple digital jobs can often move quickly after proof approval, sometimes in a few business days for production depending on workload and quantity. More typical custom work may land around 5 to 12 business days after approval. Specialty films, higher quantities, lamination, white ink, or complex finishing can add several more days. Shipping is separate. Rush fees exist because schedules do not bend for free.
Lead time usually starts after final proof approval, not when the first email is sent. This is where many timelines magically become late. If you spend four days revising artwork, those four days count against your launch schedule, not the supplier’s production clock.
Revision rounds also affect turnaround. Artwork cleanup, redrawn vector edges, simplified cut paths, and color adjustments all take time. If you are building a product launch, trade show kit, subscription box, or seasonal retail packaging set, build in buffer time. Late stickers are basically very tiny regrets.
Approve production specs in writing. Include final size, material, adhesive, finish, quantity, packing format, delivery address, and deadline. If the sticker is part of a larger package branding system, keep the file names and specs consistent with the rest of your packaging design files. Future you will appreciate not hunting through “final_FINAL_v7_actual.pdf.”
Proofing habit: Print the proof at actual size before approval. Hold it against the package. If the sticker looks too small, crowded, or awkward on paper, production will not magically improve it.
Step-by-Step Ordering Guide for Clean, Accurate Results
- Decide the sticker’s job first. Is it sealing a box, decorating merch, labeling a jar, promoting a campaign, or adding an unboxing detail? The purpose affects size, material, adhesive, and format.
- Pick the size from the real surface. Do not judge from a monitor alone. Print a paper mockup at 100% scale, cut it out, and place it on the product, box, pouch, or insert.
- Choose material and adhesive for the environment. Think about handling, moisture, refrigeration, sunlight, shipping abrasion, and expected lifespan. A sticker for a dry insert does not need the same spec as one for a chilled drink bottle.
- Prepare clean artwork. Use vector elements where possible, keep raster images at adequate resolution, add bleed, protect the safe zone, and include a separate cut path if your supplier accepts it.
- Simplify fragile details. Thicken tiny points, smooth sharp corners, and remove cutouts that will tear during peeling. A clean contour usually looks more professional than an over-detailed outline.
- Request a complete quote. Include quantity breaks, finish options, delivery location, and special requirements such as rolls, sheets, individual pieces, backing cards, or split designs.
- Review the proof slowly. Check spelling, dimensions, color expectations, cut line placement, white ink, bleed, safe zone, and backing format. Do not approve while half-reading on a phone.
- Test before scaling. For larger orders, test a sample or first batch on actual packaging before committing to a larger production run.
This process sounds basic because it is. Most sticker problems are not exotic. They come from rushed file prep, vague specs, skipped samples, or approvals made by someone who did not know the sticker had to wrap around a curved jar.
Common Mistakes That Make Shaped Stickers Look Cheap
The fastest way to ruin custom shaped stickers is using artwork pulled from a website, social profile, or screenshot, then expecting crisp printed edges. That is not optimism; that is production roulette. Start with the original logo file whenever possible.
Thin borders are another trap. A narrow outline around an irregular shape makes even minor cut movement look obvious. If you want a border, make it generous enough to survive tolerance. For many small stickers, that means using a visibly intentional border rather than a delicate hairline.
Wrong adhesive choices cause quiet failures. Textured cardboard, oily containers, flexible pouches, frozen products, and cold-fill bottles all behave differently. A sticker that performs on a flat coated box may curl on a flexible pouch. If the product bends, chills, sweats, or gets handled often, tell the supplier before quoting.
Small size can also cheapen the result. If the sticker is too small for the artwork, text and icons disappear. As a rough guide, avoid tiny text under 5 to 6 points unless the sticker is purely decorative and nobody needs to read it. Fine lines below about 0.25 point can also break up depending on print method and material.
Backing format gets ignored until application starts. Die-cut singles are excellent for giveaways, merch packs, and influencer mailers. Rolls are usually better for fast application on packaging lines. Sheets can work well for small-batch fulfillment or staff assembly. Pick the format based on use, not just how it looks in a photo.
Clear material without opacity planning is another classic. Colors can look weak on dark products or transparent containers unless white ink sits behind them. If the design includes white lettering, confirm that actual white ink is being printed. Clear stock is not magic. It is clear.
Finally, order extras. If you need exactly 500 finished kits, ordering exactly 500 stickers is tight. Allow extras for setup testing, damaged applications, retail samples, sales kits, and the inevitable “can you send five more?” request. A 5% to 10% overage is often cheaper than a tiny emergency reorder.
Next Steps Before You Request a Quote
Create a simple spec list before contacting a supplier. Include final size, quantity, material preference, adhesive type, finish, shape description, use environment, and whether the sticker goes on a flat box, curved bottle, pouch, jar lid, mailer, or product insert.
Prepare the best artwork file you have. Vector files are ideal, but if you only have raster art, send the highest-resolution version available and be honest about it. Include brand color references, logo rules, examples of the intended cut shape, and any package branding files that affect placement.
Decide how the stickers should arrive. Rolls are practical for speed. Sheets work for small-batch packing tables. Individually cut stickers are better for giveaways, inserts, and branded merch. Backing cards can make a promo sticker feel more retail-ready, but they add cost and packing time.
Ask for quantity breaks and confirm what is included in the quote: proofing, lamination, white ink, split designs, packing, and shipping. If timing allows and the order is large, request a physical sample or short test run. Digital proofs catch layout problems. Physical samples catch surface, adhesive, and finish problems.
Before ordering, test the size on the real package, simplify the cut line, confirm the adhesive, and approve the proof like money depends on it—because it does.
FAQ
What is the difference between custom shaped stickers and die-cut stickers?
Custom shaped stickers is the broader buyer-friendly term for stickers cut to a specific outline. Die-cut stickers usually mean the sticker and backing are both cut into the final shape. Kiss-cut stickers are also custom shaped, but only the sticker layer is cut while the backing stays as a larger sheet or square.
Are custom contour stickers more expensive than regular shapes?
Usually, yes, especially when the shape is complex or the quantity is low. Simple custom outlines may price close to standard circles or rectangles, while detailed cuts can increase setup time, material waste, or production handling. Ask for quantity breaks so you can see where the unit cost becomes reasonable.
What file type is best for custom shaped sticker printing?
Vector files such as AI, EPS, SVG, or press-ready PDF are usually best because they give clean edges and editable cut paths. High-resolution PNG or TIFF files can work for some designs, but the cut path may still need to be recreated. Low-resolution JPGs, screenshots, and copied web logos often cause blurry print or rough cutting.
Can custom shaped vinyl stickers be used outdoors?
Yes, if they are printed on outdoor-friendly vinyl with the right adhesive and protective finish. For sunlight, rain, abrasion, or frequent handling, ask about UV-resistant inks and lamination. Paper stickers are usually a poor choice for outdoor or wet applications unless the use is very short term.
How long does it take to make custom shape stickers?
Simple jobs can move quickly after proof approval, but timing depends on quantity, material, finish, and artwork readiness. Proof revisions, specialty materials, white ink, lamination, and complex cutting can add time. Lead time normally starts after the final proof is approved, not when the quote request is submitted.


