What Custom Stickers and Patches Actually Do for a Brand
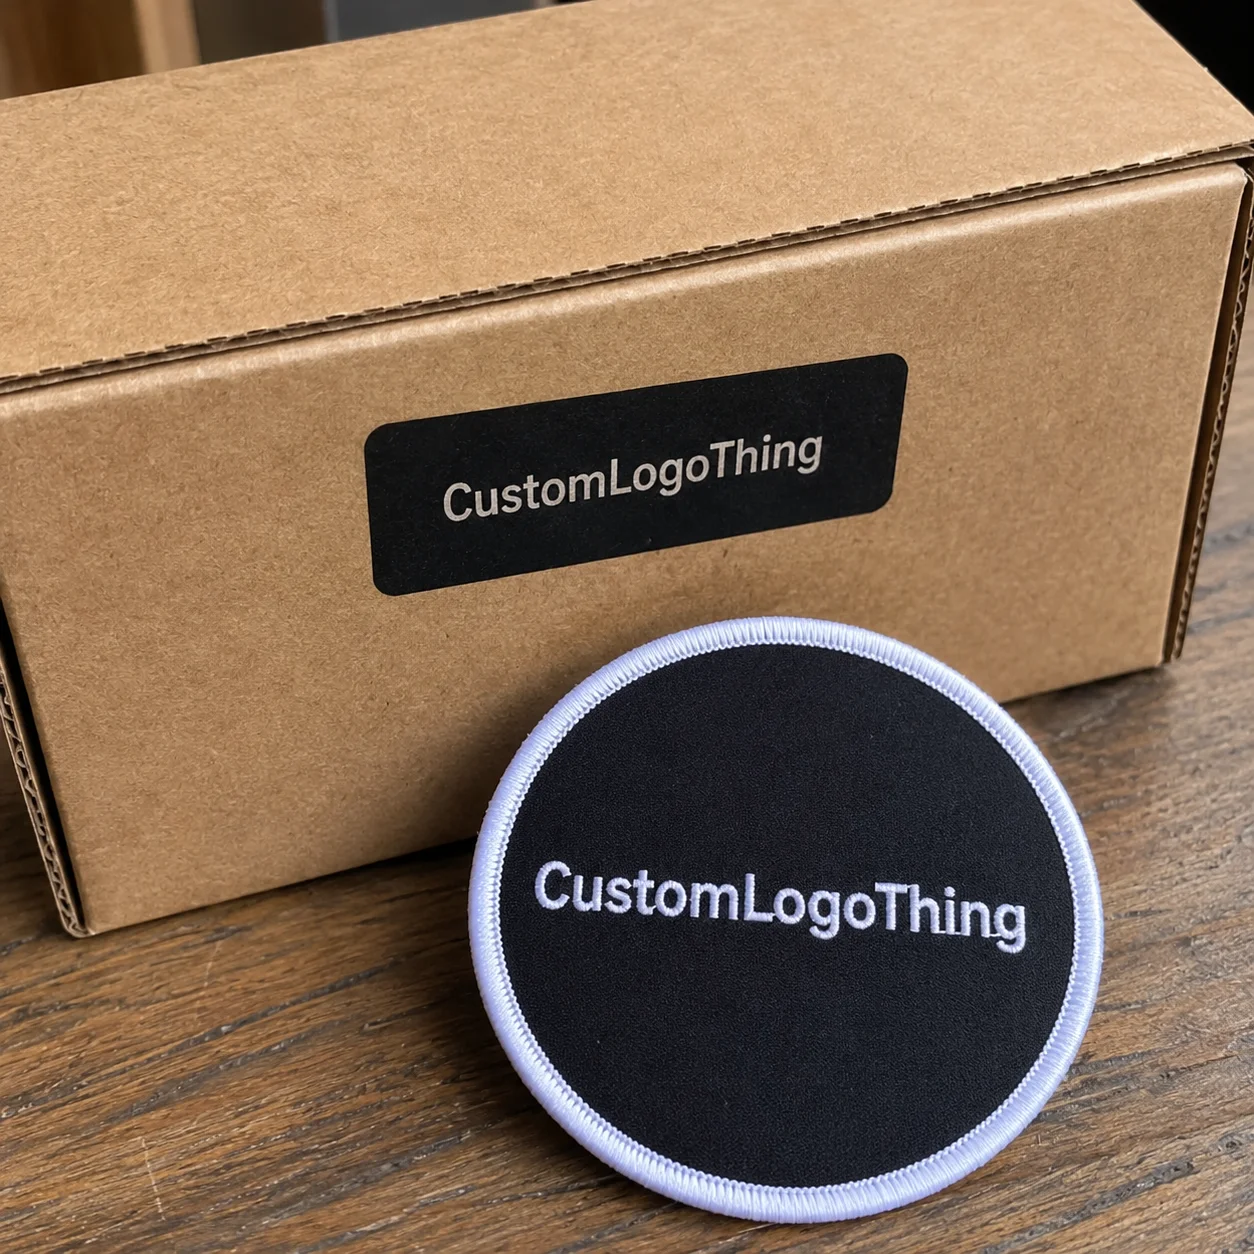
A cheap sticker can travel farther than a paid ad. A good patch can stay on a jacket for years. That is the quiet power of Custom Stickers and Patches: small-format branding tools used on packaging, apparel, merch, event kits, product inserts, employee gear, and retail displays.
Tiny branded items pull more weight than their square inches suggest. A 2-inch vinyl decal on a laptop can collect hundreds of impressions without paid placement. A woven patch on a cap can turn staff gear into something people wear after a shift. Imagine that. Brand visibility without begging for attention.
The difference is straightforward. Stickers are fast, flexible, and useful for packaging or giveaways. They seal tissue, decorate mailers, brand bottles, label samples, and add personality to product packaging. Patches feel more permanent, premium, and wearable. One is the quick handshake. The other is the club badge.
Buyers get into trouble when they choose by taste instead of use case. A candle brand sealing tissue paper needs a different spec than a brewery making denim jacket patches for a taproom launch. A skincare brand adding logo decals to retail packaging needs different adhesive performance than an outdoor brand making PVC patches for rain jackets.
Common sticker formats include paper labels, vinyl decals, holographic stickers, clear film labels, metallic stickers, roll labels, sheeted labels, and kiss-cut sticker sheets. Patch formats include embroidered patches, woven patches, PVC patches, leather patches, printed fabric patches, iron-on backing, sew-on backing, adhesive backing, and Velcro backing. Each one has a job. None of them solves every brand problem.
The best result comes from matching the artwork, material, adhesive or backing, size, finish, quantity, and timeline before asking for a quote. Guessing specs first and fixing them later is how budgets get burned. If you are also planning boxes, bags, or inserts, review the full range of Custom Packaging Products so the sticker or patch does not feel like an afterthought next to the rest of the brand system.
How Sticker and Patch Production Works From Artwork to Finish
Both products start with artwork cleanup. That usually means vector files, simplified line work, correct color values, and size adjustments so details do not disappear in print or thread. AI, EPS, SVG, and print-ready PDF files are the usual winners. A 600-pixel logo pulled from a website? That is not production artwork. That is a warning light.
Sticker production is fairly direct. Artwork is printed or cut on the selected material, then laminated or finished if the spec calls for it. After that, pieces are die-cut, kiss-cut, sheeted, or rolled depending on how they will be applied. Roll labels make sense for production lines and hand-labeling batches. Individually cut stickers are better for giveaways, event kits, product inserts, and merch packs.
Patch production has more moving parts. Artwork is converted into a stitch file, weave file, mold file, or print-ready production format. The supplier checks thread count, stitch direction, border type, backing, edge treatment, and whether tiny text will survive. For embroidered patches, lettering under about 0.25 inch high can get ugly fast. Woven patches can hold finer detail, but even they have limits.
A digital proof checks layout, size, colors, cut lines, borders, and placement on screen. A physical sample shows real texture, stitch density, adhesive feel, edge quality, laminate gloss, and finish. Screens lie. They also glow, which paper, vinyl, twill, thread, PVC, and leather do not.
Practical rule: use a digital proof for low-risk reorders and simple designs. Use a physical sample when the order is large, the deadline is public, the finish is unusual, or the brand color has to be close enough that someone from marketing will not start twitching.
Finishing choices change both appearance and performance. Stickers may use matte lamination, gloss lamination, UV coating, metallic ink, holographic film, clear film, white ink underprint, or a specific paper carrier. Patches may use merrowed borders, laser-cut edges, heat-seal backing, Velcro backing, adhesive backing, sew-on edges, or debossed leather details.
Production method shapes perception. A thin paper sticker can be perfect on a pastry box, especially for indoor use and short shelf life. That same sticker on a chilled bottle will look tired after condensation hits it. An embroidered patch gives a classic merch feel. A woven patch handles small type and fine lines better. PVC looks rugged and waterproof, but it may feel too tactical for soft lifestyle packaging.
Key Specs That Decide Quality, Durability, and Shelf Appeal
Material choice is the first quality fork in the road. Paper stickers are economical for indoor packaging, bakery boxes, candle cartons, shipping inserts, and seasonal promotions. Vinyl costs more, but it handles bottles, laptops, outdoor exposure, shipping abrasion, and rougher handling. Specialty films add shine, texture, novelty, or shelf appeal, which can help product Packaging Stand Out in a crowded display.
Adhesive matters more than buyers expect. Permanent adhesive is best for packaging seals, product labels, jar labels, and carton branding. Removable adhesive works for temporary promos, event signage, or products where residue would annoy customers. Freezer-grade, waterproof, or high-tack adhesives are better for cold, wet, oily, textured, or high-handling environments. A sticker that falls off in a fridge is not minimalism. It is failure with a logo.
Patch materials have their own tradeoffs. Embroidered patches give raised texture, dimension, and a classic merch look. Woven patches handle fine lines and smaller type because they use thinner threads and a flatter finish. PVC patches are waterproof, flexible, and rugged, making them common for outdoor gear, tactical gear, bags, and uniforms. Leather patches look premium on hats, denim, aprons, bags, and apparel, especially when the brand wants warm texture instead of bright color.
Size affects detail. Small stickers can hold crisp print because ink captures fine lines, gradients, and tiny shapes better than thread. Patches are less forgiving. Thread is not magic. It cannot embroider a legal disclaimer onto a one-inch patch. If the logo has thin script, micro text, gradients, shadows, or hairline outlines, simplify it before quoting.
Backing selection decides how the patch behaves after delivery. Sew-on backing lasts longest for garments and heavy-use apparel. Iron-on backing is easier for small merch drops and customer application, but heat, fabric type, pressure, and washing habits affect bond strength. Adhesive patch backing is better for short-term use, packaging decoration, or event badges. Velcro backing is useful for uniforms, clubs, tactical gear, employee gear, and interchangeable branding.
Color and finish need supervision. Pantone matching improves consistency, but some materials and thread libraries have limits. Matte finishes feel modern and reduce glare. Gloss finishes pop harder and make colors look more saturated. Metallic finishes catch attention, but they can make small type harder to read. For paper-based packaging, ask whether the stock is FSC-certified if sustainability claims matter; the Forest Stewardship Council is a useful reference for responsible paper sourcing.
| Option | Best Use | Typical Strength | Common Watchout |
|---|---|---|---|
| Paper sticker | Indoor branded packaging, box seals, inserts | Low cost, sharp print, easy ordering | Poor fit for wet, oily, or outdoor surfaces |
| Vinyl sticker | Bottles, laptops, shipping exposure, giveaways | Durable, flexible, better moisture resistance | Costs more than paper labels |
| Embroidered patch | Hats, jackets, uniforms, classic merch | Raised texture and premium feel | Small text and fine details can break down |
| Woven patch | Detailed logos, fine line art, apparel labels | Cleaner small details than embroidery | Flatter look with less raised texture |
| PVC patch | Outdoor gear, bags, uniforms, rugged promos | Waterproof and tough | Less soft and less traditional than fabric |
Cost, Pricing, MOQ, and Unit Cost Tradeoffs
Pricing depends on size, material, print method, number of colors, finishing, backing, shape complexity, packaging, proofing, sampling, and quantity. Anyone quoting custom stickers and patches blindly is either guessing or hiding the detail until later. Neither helps the buyer.
Simple paper stickers at higher quantities can land around $0.03 to $0.12 each, especially for small sizes on rolls or sheets. Standard vinyl stickers may run around $0.10 to $0.60 each depending on size, laminate, cut style, and order volume. Large decals, waterproof laminates, holographic film, metallic stock, custom backer cards, or individual bagging can push unit costs past $1.00 each.
Basic embroidered or woven patches often start around $1.25 to $3.50 each at modest quantities, with low-volume orders sitting higher. PVC patches, leather patches, oversized designs, Velcro backing, custom packaging, or complex shapes can move into the $4.00 to $8.00+ range per unit. Tiny quantities are expensive because setup labor does not shrink just because the order is small.
MOQ behavior is different by product. Stickers usually have lower minimums and scale efficiently because printing and cutting can be ganged, sheeted, or rolled. Patches often carry higher setup costs because digitizing, molds, thread setup, border finishing, or backing application take real labor before the first unit exists. That is why 50 patches may feel painfully expensive, while 500 can look much more reasonable per piece.
Cheap and useful are not the same thing. A bargain sticker that peels off a jar in refrigeration is not a bargain. A patch with unreadable lettering is not rustic. It is failed branding with thread. If the item touches retail packaging, uniforms, influencer kits, or launch merch, the lowest quote can become the most expensive option after reprints, rush freight, and awkward apologies.
Prepare quote inputs before contacting suppliers: artwork file, size, quantity, material preference, finish, adhesive or backing, indoor or outdoor use, packaging method, delivery deadline, and whether a pre-production sample is required. If your project includes labels, hang tags, or retail inserts, compare sticker specs against Custom Labels & Tags so the materials and finishes do not fight each other.
Process and Timeline: How to Order Without Delays
A clean order process saves money because it removes guessing. Start by defining the use case. Choose the product type. Finalize size and material. Send vector artwork. Approve a digital proof. Review a sample if needed. Approve production. Confirm shipping details. Boring, yes. Effective, absolutely.
Artwork review often takes 1 to 3 business days, depending on file quality and supplier workload. Sampling can add several days or more, especially for patches with embroidery digitizing, PVC molds, leather debossing, or specialty finishes. Full production and shipping depend on complexity, quantity, inspection requirements, destination, and freight method.
Sticker orders are usually faster because printing and cutting are straightforward. A simple repeat roll label order may move quickly after proof approval. A custom die-cut vinyl decal with laminate, back printing, or specialty film takes longer. Patch orders usually take more time because digitizing, stitching, weaving, molding, border work, trimming, and backing setup add production steps.
Common timeline killers are predictable: blurry PNG logos, last-minute size changes, unapproved proofs, missing delivery addresses, changed backing after sampling, and specialty finishes added after the quote is locked. The factory cannot read minds. Terrible business model, apparently.
If there is an event deadline, work backward. Add buffer for proof revisions, sampling, production, freight, customs if applicable, and internal kitting. The event date does not care that someone forgot to approve the proof. For shipments that must survive parcel handling or bulk transit, standards from groups like ISTA can help teams think about packaging performance and distribution testing, especially when decals, patches, cartons, and kits ship together.
- Confirm dimensions: width, height, and tolerance before proof approval.
- Check artwork: spelling, line weight, cut line, border, and color references.
- Verify construction: sticker adhesive or patch backing, edge finish, and material.
- Lock quantity: include extras for samples, sales reps, damages, and internal teams.
- Approve logistics: packaging method, ship method, delivery address, and in-hands date.
A practical timeline for many sticker jobs is roughly 5 to 12 business days after proof approval, not counting complex sampling or freight delays. Patch orders commonly need 10 to 20+ business days after proof or sample approval, depending on construction. Those are working ranges, not promises. Real lead time depends on the spec, the queue, and how fast approvals happen.
Common Mistakes That Make Branded Decals and Patches Look Cheap
The biggest mistake is using one design for every format. A logo that works beautifully on a 2-inch vinyl sticker may turn into fuzzy spaghetti on a small embroidered patch. Stickers and patches may share a visual identity, but they usually should not share the exact same production file without adjustment.
Another mistake is overloading small products with tiny text, gradients, QR codes, thin outlines, shadows, and complex illustrations. Stickers can handle more detail than patches, especially with digital printing, but both have limits once the size shrinks. If a customer needs to squint, the design is not clever. It is just small.
Poor material matching is just as common. Paper stickers on oily, wet, or refrigerated surfaces will fail. Thin patches on premium apparel can feel flimsy. Adhesive patch backing on heavy fabric may not hold as expected. A polished packaging design can be dragged down fast by one bad decal choice slapped on the outside.
Color mistakes usually come from assuming screen colors equal printed colors. They do not. Skipping Pantone guidance, using low-contrast type, placing dark thread on dark twill, or printing pale colors on clear film without a white underbase can all hurt readability. Contrast is not optional. It is how people read things.
Shape and cut line problems also add cost. Intricate die cuts look cool, but they can create weak points, slow application, and increase waste. Sometimes a clean circle, oval, square, or rounded rectangle beats a dramatic blob. If warehouse staff need 20 seconds to peel and place each sticker, congratulations, the design just became an operations problem.
Approval errors are the final villain: misspelled words, wrong size, ignored backing details, mismatched quantities, or skipped samples on high-stakes retail and event orders. A sample is not always necessary, but it is smart when the piece will be sold, worn publicly, packed into launch kits, or photographed for retail packaging and social content.
Next Steps: Build a Spec Sheet Before You Request Samples
Do not start by asking, “How much for stickers?” That question is too vague to price properly. Build a one-page spec sheet first so supplier quotes are faster, cleaner, and easier to compare. It does not need to be fancy. It needs to be complete.
Your spec sheet should include product type, intended use, size, shape, quantity, material, finish, adhesive or backing, artwork file type, color requirements, packaging preference, deadline, shipping location, and sample requirement. Add photos of similar products if you have them. Add brand standards if color or finish matters. Add the application surface too: glass jar, kraft mailer, coated carton, denim jacket, cotton hat, nylon bag, or painted metal bottle.
Choose one primary use case first. If the item needs to seal mailers, prioritize adhesive, liner format, material, and application speed. If it needs to sit on a hat, prioritize patch type, border, backing, curve comfort, and stitch or weave detail. If it goes into product packaging as a freebie, balance unit cost with perceived value. Nobody needs a $4 patch inside a $7 product unless the math has a reason.
Order a small sample or pre-production proof when the design has tiny details, specialty finishes, strict brand colors, retail placement, or a launch deadline. Samples cost time. Reprints cost more. For reorder programs, keep an approved spec record with the supplier, including material name, laminate, adhesive, thread colors, backing type, size, and packaging method.
Compare supplier quotes fairly. Make sure each quote uses the same specs, quantity, finish, backing, packaging, and freight terms. Otherwise, you are comparing apples to mystery fruit. One supplier may include sampling, one may exclude freight, and one may quote a thinner material that looks similar on paper but feels cheaper in hand.
With custom stickers and patches, the smart move is to lock the use case, simplify the artwork, confirm the specs, and request samples before committing to full production. Small brand gear can work hard. But only if you stop treating it like an impulse add-on and start treating it like part of the package branding system.
Frequently Asked Questions
What is the difference between custom stickers and custom patches?
Custom stickers are printed or cut adhesive pieces used on packaging, products, inserts, bottles, laptops, and giveaways. Custom patches are fabric, PVC, leather, woven, or embroidered pieces used on apparel, hats, bags, uniforms, and merch. Stickers are usually faster and cheaper; patches usually feel more durable, collectible, and premium.
How much do custom logo stickers and patches cost?
Sticker pricing can range from a few cents to under a dollar each at higher quantities, depending on size, material, finish, and adhesive. Patch pricing often starts in the low single-dollar range and increases with size, backing, material, complexity, and low quantities. Setup, sampling, packaging, and shipping affect the final landed cost, so compare quotes using the same specs.
What file type is best for ordering branded stickers or patches?
Vector files such as AI, EPS, SVG, or print-ready PDF are best because they can be resized cleanly. High-resolution PNG files may work for some stickers, but they are not ideal for patches that need digitizing or simplified artwork. Send brand color references, font details, and any cut line or border preferences with the artwork.
Are vinyl stickers or embroidered patches better for outdoor use?
Vinyl stickers with the right laminate and adhesive are better for outdoor decals, bottles, equipment, and weather exposure. Embroidered patches can handle wear on garments, but outdoor performance depends on thread, backing, fabric, and attachment method. PVC patches are often a better patch choice for rugged, waterproof, or tactical-style outdoor applications.
How long does it take to produce custom patches and stickers?
Sticker orders are usually faster because printing and cutting are relatively straightforward. Patch orders often take longer because they may require digitizing, weaving, embroidery setup, molding, border finishing, or backing application. Build in time for artwork review, proof approval, sampling, production, shipping, and any event deadline buffer.


