Why a custom stickers maker changes the order fast
A Custom Stickers Maker can look straightforward on the surface, but the spec sheet tells a different story. Size, adhesive, finish, cut style, and quantity all affect the final price and the way the sticker performs once it leaves the press.
That matters because a sticker is rarely just decoration. It may seal a carton, identify a product, carry a logo on retail packaging, or survive handling during shipping and display. A sticker that looks fine in a mockup can fail the job if the adhesive is wrong or the finish scratches too easily.
The most useful part of the buying process is not choosing the fanciest upgrade. It is choosing the right build for the application without paying for features that do nothing in practice. A good quote should reflect that balance instead of loading every order with premium options by default.
Lower cost usually means fewer extras, simpler materials, or faster standard production. That is not a downside by itself. It just means the sticker should be matched to the use case, not to a marketing pitch.
What follows is a practical look at sticker production, pricing, timelines, and the mistakes that quietly eat into budget. The goal is to make the next quote easier to read and easier to trust.
How the sticker production process works
Sticker production follows a fixed sequence: artwork review, proofing, printing, cutting, finishing, packing, and shipping. The order is simple. The details are where jobs get delayed or corrected.
Digital printing is common for shorter runs and quick turnaround because it avoids the heavier setup of traditional methods. Die-cut stickers are cut through the entire shape, while kiss-cut stickers are cut through the top layer and left on the liner for easier peeling. Sheet format is often used for label sets, small handouts, and packaging work where organization matters more than individual loose pieces.
Proofing is one of the most valuable steps in the process. A careful proof checks bleed, safe area, cut-line placement, font outlines, image resolution, and any special production notes. If the artwork is too close to the edge, that should be visible. If the image will print soft because the file is low-resolution, the proof should make that clear before production starts.
Finish changes both appearance and durability. Matte has a softer, less reflective look. Gloss tends to sharpen color and give the sticker a brighter retail presence. Lamination adds protection against scuffing, moisture, and repeated handling. Clear, metallic, and specialty stocks can be effective for packaging, but they usually raise cost and can extend production time.
File prep also affects speed. Print-ready vector art, outlined fonts, and correctly sized images reduce back-and-forth and help avoid preventable revisions. The cleaner the file, the less time the production team spends interpreting it.
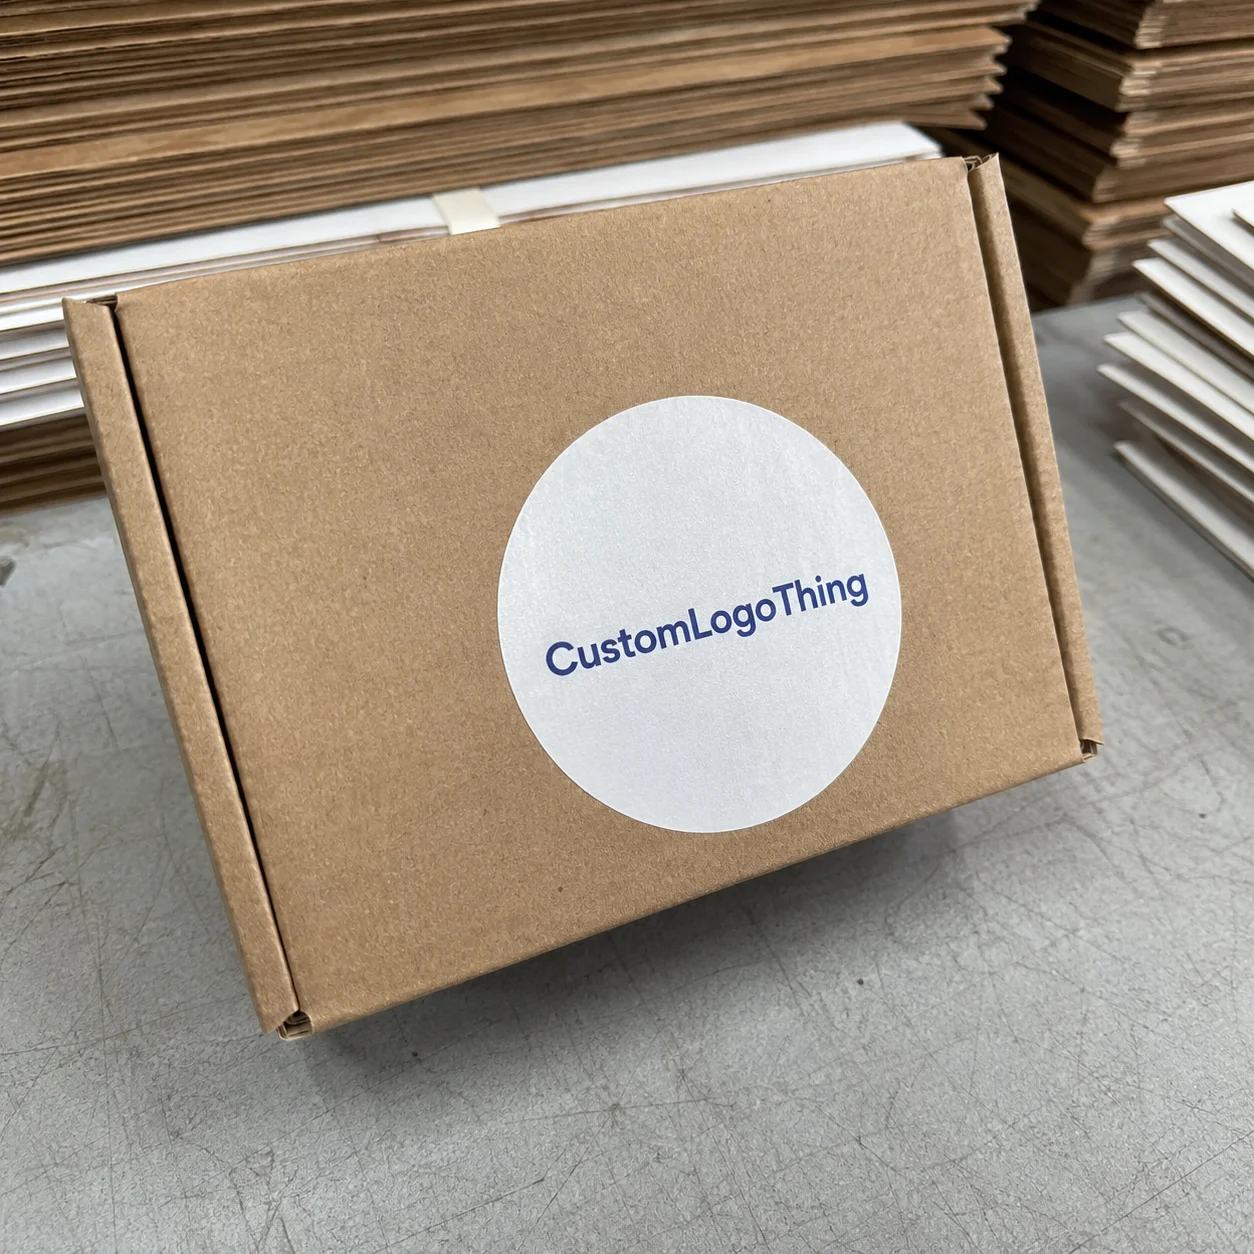
For packaging and label planning, the real question is always how the sticker will behave in use. A label on a bottle, a seal on a mailer, and a sticker on a kraft box each demand slightly different construction. If the project is moving beyond one-off decals, it helps to compare related formats in the Custom Packaging Products catalog or check Custom Labels & Tags for work that functions more like labeling than decoration.
Cost, pricing, MOQ, and unit cost factors
Sticker pricing usually moves with size, quantity, material, shape complexity, finish, and turnaround speed. Larger pieces use more material and ink. Custom shapes add cutting complexity. Specialty finishes add both cost and time. Rush orders often carry a premium because they interrupt normal scheduling.
MOQ, or minimum order quantity, matters because setup costs have to be absorbed across the run. Small orders tend to carry a higher unit price. Bigger orders spread the fixed work across more pieces and bring the price down. That is production math, not a sales trick.
| Order Size | Typical Unit Cost | What Usually Changes | Best For |
|---|---|---|---|
| 250–500 pieces | $0.35–$1.10 each | Higher setup cost per piece, fewer finishing options | Samples, launches, limited events |
| 1,000–2,500 pieces | $0.18–$0.45 each | Better spread on setup, more material choices | Small brands, recurring packaging use |
| 5,000+ pieces | $0.06–$0.22 each | Lower unit cost, stronger value from standard specs | Retail packaging, resale, busy product lines |
Those numbers are practical ranges, not fixed pricing. A small sticker with heavy ink coverage can cost more than a larger piece with minimal print. Clear stock with white ink may price differently from a standard opaque material. The useful comparison is always like-for-like: same size, same shape, same finish, same quantity.
Hidden costs show up when the quote includes multiple artwork versions, unusual die shapes, specialty liners, or expedited freight. If you are ordering several SKUs, ask whether combining them into one run saves money or creates waste. Sometimes the most efficient answer is to simplify the lineup before the order is placed.
Budgeting gets easier when the use case is clear. A mailer seal does not need the same spec as a retail sticker sold by itself. A sticker used on custom printed boxes or premium product packaging may justify better stock or a more durable finish, while a giveaway sticker for an event can often stay simpler.
Turnaround timeline and proof approval steps
Most sticker jobs move through five steps: artwork check, proof approval, production, finishing, and shipping. The schedule depends on job complexity, but it also depends on how quickly the buyer answers questions. That part is easy to underestimate.
Plain jobs move faster once the proof is approved. Complex jobs take longer, especially when they involve custom shapes, specialty finishes, or white ink on clear stock. If the artwork file is incomplete or needs rebuilding, production slows before it even starts.
Proof approval is where many schedules slip. A typo is found. The size needs a small adjustment. The team decides the border should be thicker. Those are normal changes, but they cost time. If a launch date is fixed, those choices should be made before the quote turns into a rush order.
Shipping time should be counted separately from production time. A job can leave the shop on schedule and still arrive late if the delivery window is tight or the route is long. Holiday volume, weather, and carrier delays can all affect arrival. A practical schedule leaves buffer time for reprints, corrections, or late approvals.
Clean files and quick feedback keep the order moving. Slow responses, unclear artwork, and repeated revisions add days. A good custom stickers maker should be transparent about that instead of promising a finish date that depends on perfect conditions.
Step-by-step ordering guide for first-time buyers
- Define the use case. Decide whether the sticker is for packaging seals, product labels, promo giveaways, retail sale, or internal branding.
- Choose material and finish. Indoor stickers can stay simple. Outdoor exposure, chilled products, and rough surfaces usually need stronger adhesive or lamination.
- Set size, shape, and quantity. The actual application should drive the dimensions, not the mockup alone. A logo that looks sharp on screen can become hard to read if it is too small in print.
- Prepare artwork correctly. Use the highest resolution available, add bleed where required, and keep text inside the safe area.
- Review the proof carefully. Check spelling, colors, cut-line placement, margins, and any special production notes.
- Inspect the first batch. Check the first pieces as soon as they arrive so any issue is caught before a reorder is placed.
For retail packaging and branded kits, the surface matters as much as the design. A glossy sticker on a matte box, a clear label on a colored bottle, or a kraft-friendly finish on a paper mailer all produce different results. The right choice depends on the material underneath and how the package will be handled.
If you are buying for the first time, it helps to prioritize one thing clearly: price, durability, or premium appearance. Trying to maximize all three usually pushes the spec into a middle ground that is acceptable but not especially strong at any one job.
Common sticker ordering mistakes that waste budget
Most budget waste comes from small mismatches that do not show up until the sticker is in hand. The design looks clean in a file preview, then performs badly on the actual packaging.
One frequent mistake is choosing a decorative finish when the real need is grip, abrasion resistance, or moisture protection. Another is using the wrong adhesive for textured surfaces, curved bottles, chilled storage, or long shipping cycles. A third is ordering a size that reads well on a monitor but disappears once it is placed on a carton or mailer.
Cut-line errors are another avoidable cost. If the trim sits too close to the artwork, the design can be clipped. If it sits too far out, the sticker looks padded and awkward. The difference is small on paper and obvious on the finished piece.
Color expectations need to be realistic. Screen color and print color do not behave the same way because monitors emit light while ink reflects it. If brand color accuracy matters, ask about targets and proof standards instead of assuming the first proof will match every digital reference exactly.
Skipping proof review is still one of the most expensive shortcuts in the process. It saves a few minutes and creates a much larger problem later if the error is embedded in the run. That is especially painful on larger quantities where the mistake repeats hundreds or thousands of times.
Expert tips for better sticker specs and resale value
Good sticker specs start with a simple question: what matters most in this order? Strong color, durability, low cost, or a premium look. The answer should guide the rest of the decisions. If everything is treated as equally important, the quote rises and the final result can lose focus.
Simpler shapes usually work better when quantity and cost control matter. Custom shapes make more sense when shelf impact or brand recognition matters more. A clean die-cut can give branded packaging a more finished look, while a standard round or square sticker can keep the run efficient and predictable.
If the stickers will be sold or bundled with merchandise, think about how they peel, stack, and hold color from run to run. Buyers notice curl, tearing, and inconsistent print immediately. Those flaws are small on a desk and obvious in a pack.
Finish should match the package surface. Gloss on gloss can create a crisp, bright look. Matte on kraft can feel more natural and less reflective. Clear stock works well when the package underneath should remain visible. Metallic and specialty effects can add presence, but they should support the design rather than compete with it.
One of the most useful habits is also the least glamorous: keep one master file with exact size, cut style, material, and finish notes. Reorders move faster, and the chance of a spec drift drops sharply. That kind of recordkeeping is boring, but it saves time and avoids preventable mistakes.
What to prepare before you request a quote
Before asking a custom stickers maker for pricing, gather the essentials: final artwork, target size, quantity, intended use, preferred finish, and delivery deadline. If the sticker will be applied to packaging, shipping materials, or retail display items, include that detail too. It changes the recommendation more than most buyers expect.
Be clear about the priority. Lowest price, fastest turnaround, or premium presentation. Those goals do not always point to the same spec, and the quote is easier to evaluate when the main objective is stated plainly.
Compare a few options side by side so the cost difference is visible. Matte versus gloss, standard shape versus custom die-cut, smaller quantity versus bulk pricing. That comparison makes the tradeoffs practical instead of abstract.
Ask for a proof before production and confirm the shipping schedule in writing. Send print-ready files whenever possible, and include any notes that affect the cut or finish. The less guessing involved, the cleaner the result tends to be.
For broader packaging programs, the sticker should support the box, label, or insert it accompanies. A sticker that fits the packaging system feels intentional; one that clashes with it can make the whole package feel improvised.
“The cheapest sticker is often the most expensive one if it peels, fades, or arrives wrong. Buy for the job, not for the quote line.”
For standards and sourcing context, the Packaging Machinery Manufacturers Institute and ISTA are useful references when evaluating handling and shipping performance. If your brand needs responsible fiber options, FSC explains certification and chain-of-custody basics for paper-based materials.
FAQ
What does a custom stickers maker actually do?
It turns artwork into printed stickers with the right shape, finish, and adhesive, then handles proofing, cutting, and packing. A good provider also helps match the sticker construction to the real use case, such as packaging, promotion, or resale.
How do I choose the right sticker material?
Match the stock to the environment. Indoor use can stay simple, while outdoor exposure, refrigeration, moisture, and textured surfaces usually need stronger adhesive or protective lamination. Ask for a recommendation based on where the sticker will be applied.
Why does my quote change with quantity?
Setup costs get spread across more units at higher quantities, so the unit price drops. Small orders usually cost more per piece because printing and cutting still require the same setup work. Special shapes and finishes can keep the price higher even when volume rises.
How long does custom sticker production usually take?
Simple jobs can move quickly after proof approval, while complex specs take longer. Proof delays are often the biggest reason schedules slip. Shipping time should be counted separately from production time so deadlines are realistic.
What file should I send to a custom stickers maker?
Send print-ready vector artwork when possible, with fonts outlined and images linked at the correct resolution. Include size, quantity, finish, and cut style so the quote is accurate. If bleed or cut lines are unclear, ask for proof review before approval.

