Custom transfer labels solve one of the smallest, most persistent problems in apparel production: how to keep branding and compliance information inside the garment without making the interior scratchy, bulky, or visually cluttered. A neck tag can irritate the wearer, a stitched label can add thickness in the wrong place, and a care label that shifts or bunches can make an otherwise well-made piece feel unfinished. A properly specified transfer keeps the inside cleaner while still giving the garment the information it needs.
That is why so many brands use custom transfer labels on tees, hoodies, activewear, kids’ apparel, and uniforms. The labels can carry a logo, size mark, care instructions, country of origin, or a small message in a way that feels integrated with the garment rather than attached as an afterthought. When the artwork, fabric, and application settings are matched correctly, the result is light, durable, and far less intrusive than many sewn alternatives.
The key is understanding the trade-offs. Not every transfer behaves the same, not every fabric likes heat, and not every artwork file is ready for production. Buyers who approach these labels as a technical component, not just a decoration, usually end up with better wear performance and fewer surprises after launch.
What custom transfer labels are—and why they often beat sewn tags
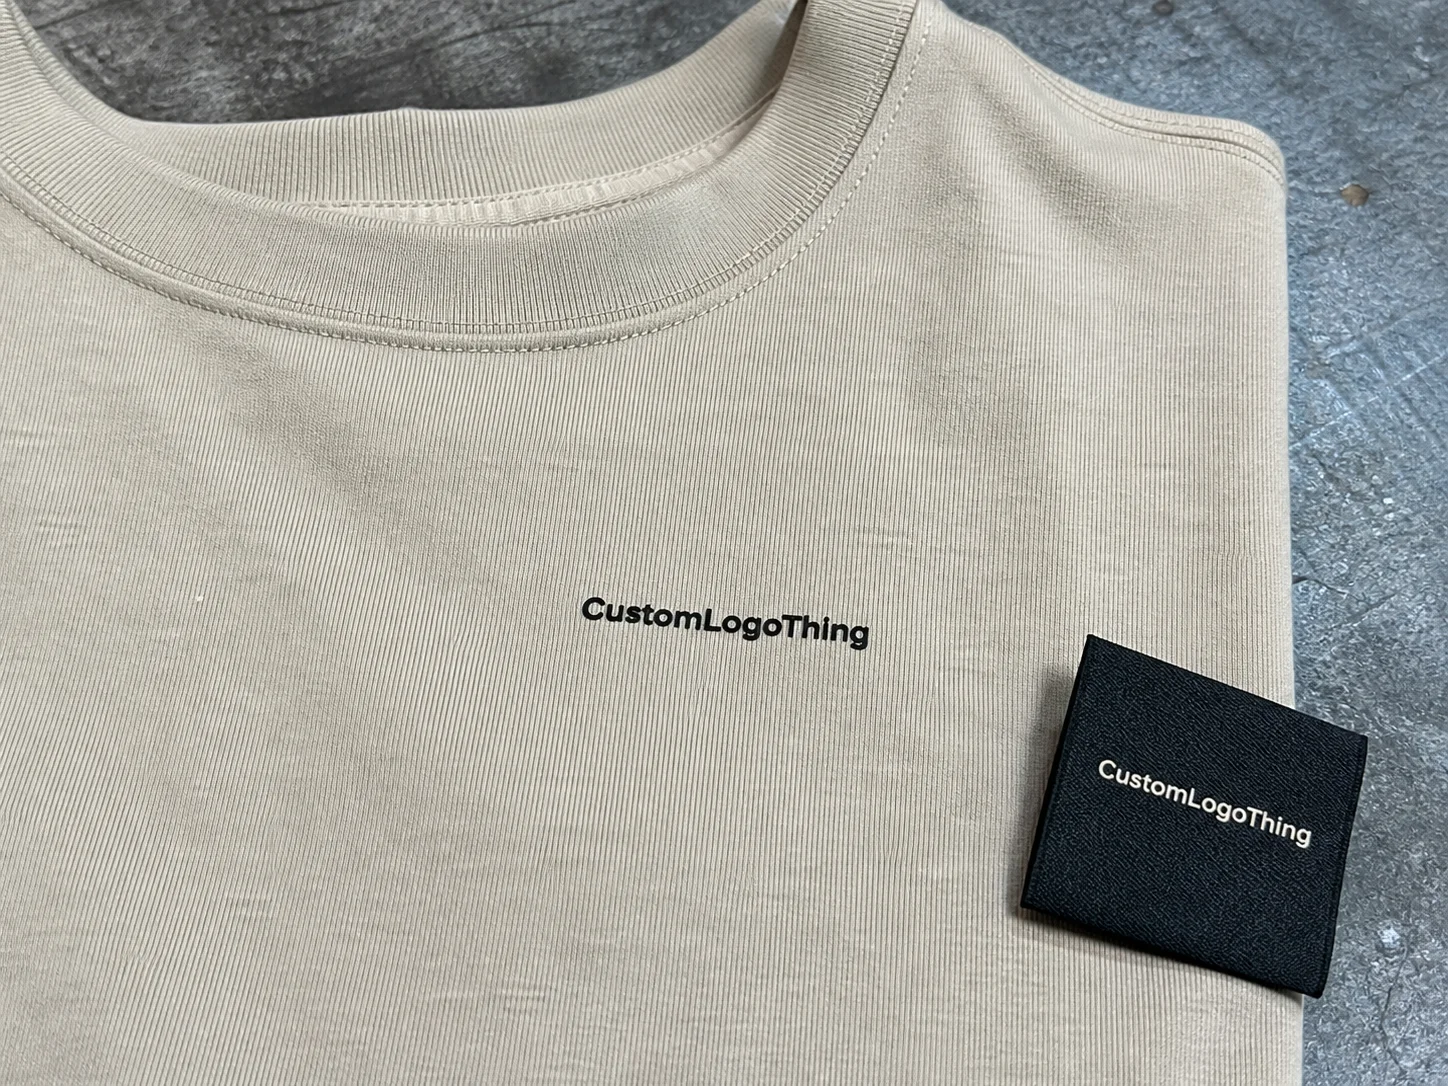
Custom transfer labels are heat-applied graphics that bond directly to fabric instead of being stitched into a seam. In practical terms, they can do the job of an internal label while removing the folded fabric edge, thread tension, and seam bulk that come with sewn tags. For garments meant to feel smooth against the skin, that difference is immediately noticeable.
The appeal is not only comfort. Transfers also support a cleaner presentation for brands that care about the inside of the garment as much as the outside. A tee may look simple on the rack, but the interior finish still shapes the customer’s impression once it is worn. If the brand is aiming for retail-ready quality, fewer rough edges usually help.
There are several constructions buyers run into. PU-based transfers are common because they can stay soft, handle detailed graphics well, and work on many everyday garments. Silicone transfers are often selected for performance wear because they offer a raised look, good stretch, and a more premium tactile feel. Specialty options may be built for matte or gloss effects, high opacity on dark fabrics, or extra flexibility for stretch garments.
The right choice depends on more than appearance. Fabric type, wash requirements, application method, and the size of the artwork all matter. A label that looks excellent in a proof can still fail if it is too rigid for the textile or too detailed for the available print resolution.
“A label should feel like part of the garment’s construction, not an extra piece fighting against it.”
For brands already coordinating Custom Labels & Tags with broader Custom Packaging Products, transfers fit best when they are treated as one piece of the full product system rather than a separate decision made in isolation.
How the transfer application process works
The process starts with artwork review. This is where line thickness, font size, spacing, color count, and overall layout are checked against the limitations of the chosen transfer type. Vector files are usually the most reliable because they scale cleanly and keep edges sharp. If the design includes care copy, country-of-origin text, or a size callout, it has to remain readable at actual label size, not just on a designer’s screen.
After artwork comes material selection. A label for a cotton tee may call for a different construction than one intended for a polyester compression top. Some garments need a softer hand feel; others need more stretch recovery or stronger opacity against a dark background. The transfer chosen for a basic brand mark is not always the right one for a small compliance label placed inside the neck.
Application depends on controlled heat, pressure, and dwell time. Too little heat or too short a press can leave a weak bond. Too much heat can distort the garment, flatten detail, or create shine where none was intended. Pressure also needs to be even across the full design, especially on larger pieces or garments with seams and textured panels nearby.
Fabric behavior changes the equation. Cotton is generally forgiving. Polyester blends can work well, but buyers need to watch for dye migration on darker garments. Nylon, spandex, fleece, and heavily textured textiles are more demanding because they respond differently to heat and pressure. If the garment has significant stretch, the transfer needs enough flexibility to move with it rather than crack or lift over time.
Quality checks that save money later
Good production does not stop once a label has been pressed successfully onto a sample garment. The real checks start there. Buyers should look for edge lift, opacity on dark fabrics, alignment consistency, and whether the label keeps its shape after washing. A short wash test after a pilot run often tells you more than a perfect-looking first sample.
That testing matters because failure is expensive in apparel. Replacing labels on finished garments or scrapping stock for a problem that could have been caught earlier adds cost quickly. For retail, uniform, or launch-driven programs, a sample approval process is usually cheaper than a last-minute correction.
Some brands also use broader material and transit standards as context when planning packaging and finished-goods handling. Organizations such as the International Safe Transit Association and EPA offer useful guidance on transport and materials considerations that can affect overall product quality and sustainability planning.
Cost, pricing, and MOQ factors that change the quote
Pricing for custom transfer labels is shaped by a few very practical variables. Size is one of the most obvious, because larger labels use more material and can require more time to produce or apply. Color count matters too, especially if the design uses multiple layers or needs exact registration. Specialty finishes, including raised silicone effects or high-opacity builds, generally increase cost because they require tighter process control.
Quantity has a major effect on unit price. Small runs almost always cost more per label because setup time has to be spread across fewer pieces. That setup can include file preparation, screen creation, press calibration, or other tooling steps depending on the transfer method. Those costs do not disappear just because the order is small.
Minimum order quantity, or MOQ, also shapes the quote. Some buyers want a low MOQ because they are testing a new garment or ordering a short seasonal run. That can be practical, but low-volume orders often carry less favorable pricing. For larger programs, the per-unit cost usually improves once setup is absorbed across more labels.
A realistic way to think about it is that simple labels for basic branding sit in a lower pricing range, while multi-color graphics, premium textures, or transfers with extra stretch and wash demands will cost more. The difference is not only decorative; it reflects how difficult the label is to manufacture consistently.
| Transfer type | Typical use | Relative cost | Notes |
|---|---|---|---|
| Simple one-color transfer | Size marks, small logos, care info | Lower | Best for basic branding and larger runs |
| Multi-color graphic transfer | Front logos, retail decoration | Medium | Needs tighter artwork prep and proofing |
| Silicone or specialty transfer | Performancewear, premium apparel | Higher | Chosen for texture, stretch, and durability |
| Multiple placement set | Neck, sleeve, and hem branding | Higher | More setup and more application time |
The total project cost can also include proofing, sample rounds, packaging format, and labor if the labels are being applied to finished garments rather than supplied loose. If a brand is also buying custom printed boxes, inserts, or other packaging components, the smarter approach is to budget the apparel presentation as one coordinated project instead of treating each item as separate.
Production steps and turnaround: what to expect from order to shipment
Lead time usually begins with artwork review and proof approval. Clean files move faster. Files that need cleanup, font adjustments, color correction, or a layout change for a specific garment take longer, and that delay often happens before production ever begins. Many timelines slip in proofing rather than in the press room.
Once the proof is approved, the transfer is produced, finished or cured depending on the construction, and then packed for shipment or application. Straightforward orders can move fairly quickly, while specialty-effect transfers need more time because the process is more exacting and the tolerances are tighter.
For planning purposes, a simple job may be ready in roughly 7 to 12 business days after approval, although that window can shift based on order size, supplier workload, and time of year. Complex orders, multi-placement sets, or jobs with several sample revisions can take longer. If the labels are tied to a seasonal release or retail deadline, extra buffer is wise.
Most delays are avoidable. Missing vector files slow down setup. Unclear color references lead to revision cycles. Unsure fabric content can hold the job while the buyer confirms the exact blend. Late approval from multiple stakeholders is another common bottleneck, especially when marketing, design, and production all need to sign off.
Shipping time matters too, but the bigger risk is usually not transit itself; it is underestimating how much time the artwork and proofing process will take. A good production calendar should account for sample approval, wash validation, and a small margin for unforeseen changes. That is especially true when the transfer has to align with retail packaging and product launch dates.
How to choose the right transfer for your fabric and brand goals
Start with the experience you want the wearer to have. Some brands want the branding to almost disappear into the garment. Others want the interior mark to feel premium and intentional, almost like a small design detail. A soft-touch transfer works well for elevated basics and athleisure. A more durable identification mark may be better for uniforms, kids’ apparel, or garments that will be washed often.
Fabric should guide the decision more than visual preference. Delicate textiles usually need lower heat so the garment does not distort or pick up unwanted shine. Stretch fabrics need a label with enough flexibility to move naturally. Fleece, rib knits, and highly textured materials often require more careful testing because the surface is less uniform and the adhesive has less consistent contact.
Artwork also matters more than many small brands expect. Fine lines can break up, tiny text can close in, and low-contrast graphics can lose clarity once they are pressed. If care information or sizing is part of the label, it should be set up with enough stroke weight and spacing to remain legible after application and later wear. If it is difficult to read at actual size on a screen, it is usually too delicate for fabric.
Brand system consistency matters as well. Transfers should not look disconnected from the rest of the product. If the hangtag, neck label, insert card, and packaging all use different tones or visual cues, the garment feels less intentional. A well-planned label should support the same identity as the rest of the branded packaging and presentation materials.
Good fit by garment type
- Activewear: flexible, low-profile transfers with good stretch recovery
- Basics and tees: soft-touch options that keep the inside clean and comfortable
- Uniforms: durable identification marks with reliable wash resistance
- Kids’ apparel: tag-free interiors and clear care information to reduce irritation
For many apparel programs, the main advantage of custom transfer labels is that they carry the required information without adding another stitched layer that can be felt against the skin. That simplicity is often what makes them feel more premium than sewn tags, not less.
Common mistakes that cause peeling, distortion, or unhappy customers
The most common mistake is pairing the wrong transfer with the wrong fabric. A construction that works well on cotton may fail on nylon, polyester, or a high-spandex blend. Heat-sensitive materials and textured surfaces need closer attention because they react differently during pressing and during repeated washing.
Artwork problems are just as common. Low-resolution files, tiny text, weak contrast, and overly intricate details can all make the final label appear softer or less precise than expected. Color assumptions create problems too, especially when a buyer expects the same shade across multiple fabrics or finishes.
Application errors can ruin an otherwise good product. Uneven pressure may leave weak spots. Incorrect heat settings can scorch the garment or under-bond the transfer. Rushing the cool-down can lift edges. Pressing over seams, zippers, or thick texture usually reduces consistency and makes the finished piece look less professional.
There is also a quieter failure mode: skipping documentation. If the press settings, placement measurements, and inspection criteria are not written down, the quality of the finished label depends too much on who happens to be operating the equipment that day. That leads to variation, and variation is expensive when the same garment style is produced across several runs.
The same principle applies to packaging and branded materials. If a brand already invests in custom printed boxes or other Custom Packaging Products, it makes little sense to leave the apparel label process undocumented. Repeatable quality comes from repeatable instructions.
“The label problem is usually a process problem first. The material gets blamed, but the settings were never locked down.”
Expert tips for cleaner results and a smoother rollout
Request a pilot sample whenever the fabric is new, the garment is expensive, or the order is tied to a launch. That one decision can prevent a lot of rework. A small test batch gives you a chance to check hand feel, wash behavior, color opacity, and placement on the actual garment size range instead of on a mockup alone.
Keep a simple spec sheet. Include label size, placement, artwork version, heat settings, pressure guidance, and inspection notes in one place. A one-page document is often enough to keep design, production, and operations aligned. It also helps when the same label needs to be reordered months later and no one wants to reconstruct the details from memory.
Do not treat the label as a standalone detail. A strong apparel program may use one transfer for the neck, another for size or care, and a small identity mark at the sleeve or hem. That creates a system that can be repeated across SKUs, colorways, and seasonal updates without reinventing the setup each time.
It also helps to coordinate the label with hangtags, inserts, and shipping presentation so the garment feels consistent from first touch to final unpacking. The inside label, the outer packaging, and the product information should all speak the same visual language. That is where branded packaging and presentation pieces do real work.
- Ask for proofing details in writing.
- Confirm wash-test expectations before production.
- Check MOQ and lead time early.
- Approve one sample style before scaling up.
If sustainability claims or packaging material sourcing are part of the buying brief, it can be useful to review general guidance from organizations like the Forest Stewardship Council when paper content or sourcing enters the picture. The transfer itself may be small, but it sits inside a larger material and compliance strategy.
Next steps for placing an order with confidence
Before requesting a quote, gather the basics: vector artwork, garment fabric content, intended placement, estimated quantity, and whether the transfer will be applied to finished garments or shipped loose. Those details answer most of the questions that slow down pricing. If you know the fabric blend and the use case, a supplier can usually narrow the right transfer construction much faster.
Ask direct questions about proofing, minimum order quantity, wash testing, and application guidance. If a supplier cannot explain the heat range, pressure requirements, or compatible fabrics, that is a warning sign. A useful quote is more than a price; it is a small technical plan that shows how the label will be made and how it will perform after it leaves the press.
If you are comparing several garments, start with one style first. That keeps the variables manageable. Once the first style is approved and the transfer behavior is understood, the rest of the range can move more efficiently because the process has already been validated on your chosen fabric family.
For brands that want cleaner interiors, better presentation, and a more polished finish, custom transfer labels are often the most practical choice once fabric, budget, and timing are all considered together. The strongest results usually come from careful setup, not from last-minute fixes, and that is what makes these labels so useful in a real production setting.
What are custom transfer labels used for on clothing?
They are used for brand identification, size marking, care instructions, and tag-free interior branding. They work well when you want a softer, cleaner finish than sewn-in labels. They are also common on performance wear, basics, uniforms, and children’s apparel.
Are custom transfer labels durable after washing?
Yes, when matched to the right fabric and applied with the correct heat, pressure, and dwell time. Durability improves with proper wash testing and accurate application settings. Poor application or incompatible fabrics can lead to peeling or cracking over time.
What affects the price of custom transfer labels most?
The biggest drivers are size, color count, design complexity, special effects, and quantity. MOQ and setup requirements can raise the per-unit cost on small orders. Artwork prep and proofing can also affect the total project price.
How long does production usually take for custom transfer labels?
Turnaround depends on artwork readiness, proof approval speed, and production complexity. Simple jobs are usually faster than multi-layer or specialty-effect transfers. Planning extra lead time is smart if the labels are needed for a launch or seasonal order.
What file type is best for ordering custom transfer labels?
Vector artwork is usually best because it preserves clean edges and scalable detail. Simple, high-contrast artwork with legible small text tends to produce the best result. If the artwork is not ready, it is better to fix it before production than after proofing.


