If you are buying Custom Vinyl Auto Stickers, you are choosing a small outdoor product that has to hold up under real vehicle conditions: heat, rain, road grit, wash chemicals, and repeated contact during daily use. The material spec matters because failure is rarely dramatic. More often, it shows up as lifted corners, faded print, adhesive residue, or a design that looks fine on paper but disappears once it is on a moving vehicle.
Buyers in packaging and print usually recognize the pattern quickly. The lowest unit price is not always the lowest landed cost once reprints, installation issues, and short service life are added in. A well-made decal can carry brand messaging, service details, or a time-sensitive promotion for months, sometimes longer, without peeling at the edges or turning brittle in the sun.
That is also why the conversation should start with use case rather than artwork. A short campaign sticker for a leased vehicle does not need the same structure as a permanent fleet identifier, and a rear-window logo has different demands than a door decal on a curved panel. The right build depends on where the graphic lives and how hard it will be used.
Why custom vinyl auto stickers stand out on vehicles
Fleet managers, service contractors, and Small Business Owners usually want the same thing from vehicle graphics: visibility without the cost of a full wrap. That is where custom vinyl auto stickers fit well. They turn a parked van, pickup, or sedan into moving signage at a fraction of the upfront cost of a wrap, and they are often faster to produce and easier to replace when a phone number, logo, or promotion changes.
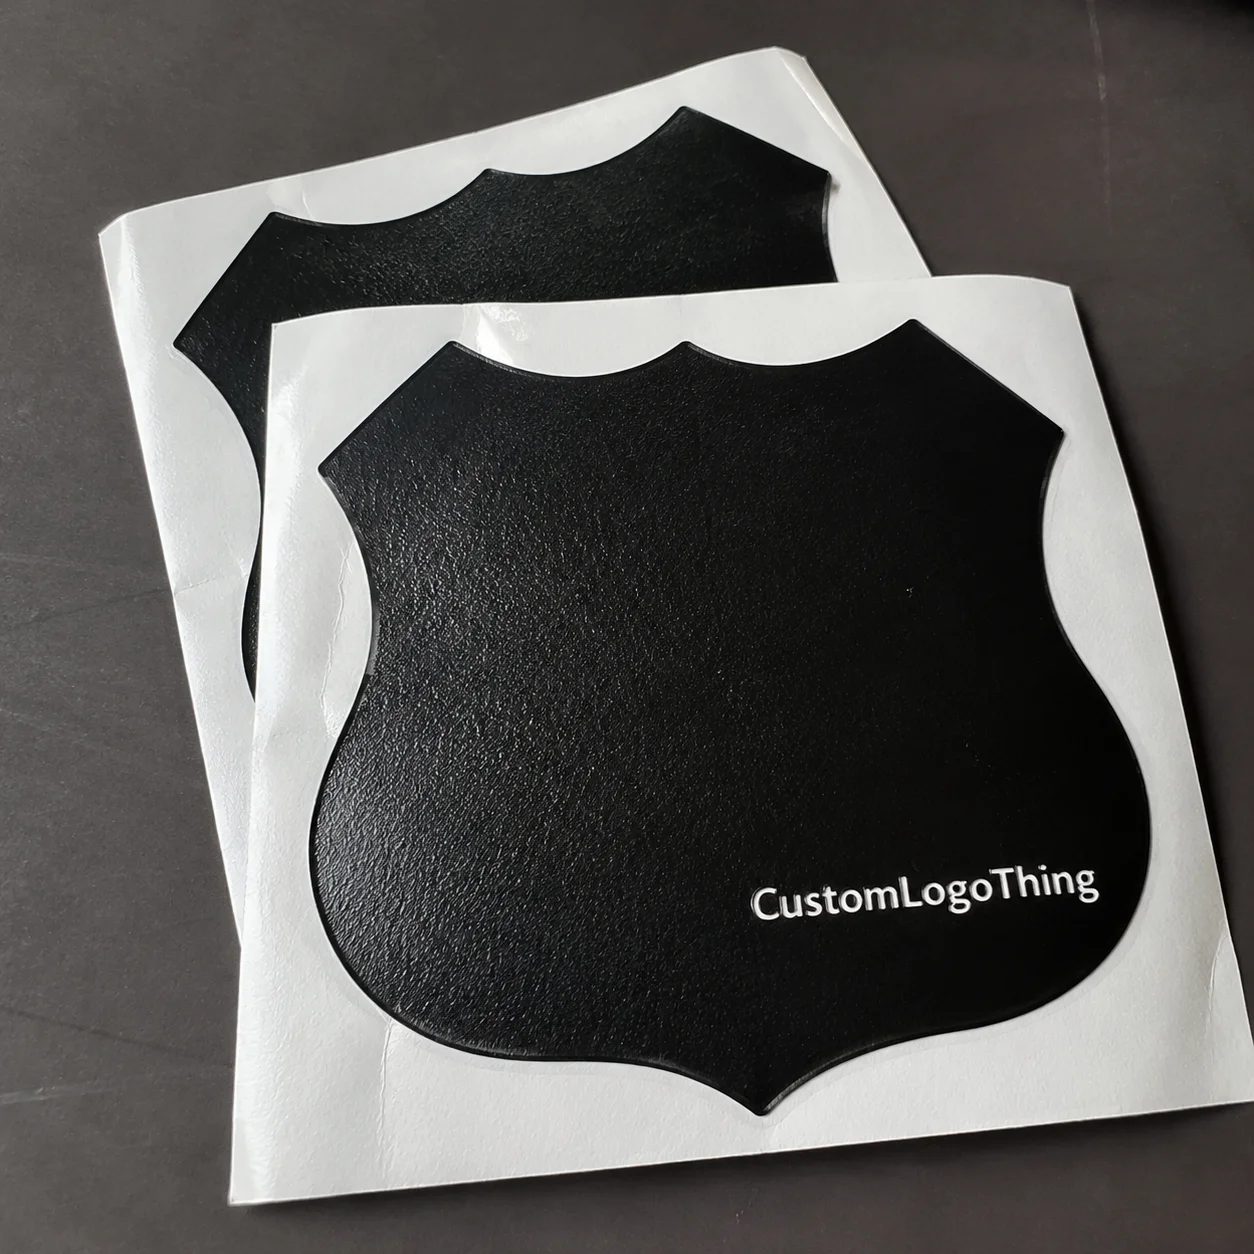
Technically, these are pressure-sensitive vinyl decals made for exterior or window application. The better versions use outdoor-rated vinyl, a vehicle-safe adhesive, and, for printed graphics, a laminate that adds scuff resistance and UV protection. Depending on the design, they may be cut vinyl lettering, kiss-cut logo decals, or digitally printed graphics with contour cutting.
Vinyl usually outperforms paper labels and static cling on vehicles because it flexes with the surface and bonds more reliably to painted panels and glass. It also handles temperature swings better. In practical terms, that means fewer edge lifts after a few wash cycles and less curling when the vehicle sits in direct sun or overnight cold.
There is a second benefit that often gets overlooked: one decal can work like a long-life advertising surface. A service truck in traffic or parked at a customer site becomes part of the brand system every day it is on the road. For a lot of buyers, that makes vehicle graphics less like decoration and more like functional Brand Packaging on wheels.
Durability still depends on the spec. A removable decal for a seasonal campaign will not behave like a permanent fleet mark, and neither will match the life of a full wrap. Even so, the right material can perform well on flat doors, rear windows, and many side panels if the surface is clean and the installation is done correctly.
“The biggest mistake buyers make is treating every vehicle decal as the same product. Adhesive, laminate, and surface prep change the outcome more than the artwork does.”
How the production process works from artwork to install
The production path is straightforward, but each step affects quality and cost. It usually begins with artwork review. Vector files give the cleanest result because they scale without soft edges. Raster files can work, but only when the resolution is high enough for the final size. Thin rules, small type, and fine details are where low-resolution art starts to fail.
After the artwork is checked, the supplier selects the material. Calendared vinyl is often used for simpler, shorter-life jobs. Cast vinyl is more flexible and better suited to demanding applications, tighter curves, and longer-term outdoor exposure. Once the film is chosen, the order moves to printing or cutting. Cut vinyl is the right approach for simple lettering and one- or two-color logos. Printed decals are better when the design includes gradients, photos, or multiple colors that would be difficult to build by cutting alone.
Many printed jobs also receive a laminate. Gloss laminate usually gives stronger color pop and better abrasion resistance. Matte laminate reduces glare and can be easier to read on sun-facing panels or windows. Clear laminate is common on outdoor graphics because it protects the print from UV exposure, cleaning chemicals, and day-to-day wear. Finishing then includes trimming, contour cutting, and packaging that keeps the decals flat and protected in transit.
What buyers should send with artwork
Suppliers usually prefer vector art such as AI, EPS, SVG, or a print-ready PDF. If the design uses transparency, that should be preserved so the proof reflects the final look. Final dimensions matter as much as file type. A sharp file at the wrong size still creates a problem.
Good proofs should show overall size, color expectations, cut line, and placement notes. That checkpoint saves money. A small proof correction is far cheaper than reprinting a fleet set after a logo has been scaled too small or a contact detail falls outside the visible area.
Installation prep matters more than people admit
Vehicle decals bond best to clean, dry, fully cured surfaces. Temperature matters too. Moderate conditions are usually easier to work with than extreme cold or heat. Surface prep typically means washing with a mild cleaner, removing wax or silicone residue, and waiting until all moisture has evaporated before applying the decal.
For larger pieces, a dry install is often preferred when the graphic is simple and the position is already known. A wet install can help with certain window decals or larger panels where light repositioning is useful. Placement tape, steady squeegee pressure, and slow application reduce trapped air and help the decal lay down cleanly. The right method depends on size, adhesive, and the installer’s working conditions.
Material, finish, and durability factors that affect performance
If the goal is long service life, start with the adhesive. Permanent adhesive is usually the better choice for long-term branding, compliance marks, and fleet identification. Removable adhesive works better for short campaigns, leased vehicles, and promotions that will eventually come off. Choosing the wrong adhesive can create early lifting on one hand or difficult residue on the other.
Finish changes both appearance and durability. Gloss often gives stronger visibility, especially on dark paint or when the graphic needs to be seen from a distance. Matte can look more restrained and reduce glare on windows or bright body panels. For printed graphics, the laminate often matters as much as the vinyl itself. It protects against scuffing around door edges, fuel caps, handles, and other contact points that see regular wear.
Outdoor exposure is the real test. Sun breaks down cheap inks. Road salt and grime attack edges. Pressure washing can lift weak adhesive. Heat softens lower-grade films. Frequent touchpoints around handles and trim create wear faster than most buyers expect. These are not abstract risks; they show up in replacement orders and complaints about early failure.
Vehicle surface type matters too. Flat painted panels are easier than compound curves, bumper corners, or textured plastic trim. Glass is usually more forgiving than a sharply curved body panel, though rear windows with defroster lines need care. If the decal is meant for a bumper, rear panel, or window, it should be specified for that location rather than assumed to work everywhere.
For buyers comparing options, the basic rule is simple: a temporary decal in a protected spot can use a lighter build, but anything exposed to the elements every day benefits from a heavier outdoor grade with a protective top layer. That usually costs more up front, but it is cheaper than replacing failed graphics early.
Quality control checks should reflect those conditions. A useful review includes color consistency, edge cleanliness after cutting, laminate alignment, adhesive uniformity, and packaging that prevents curl or abrasion in transit. A good decal that arrives bent or contaminated is still a bad buy until it is replaced.
For broader reference on material stewardship and environmental claims, see the EPA’s guidance on sustainable materials at epa.gov. For forest-based sourcing standards that influence buying decisions in adjacent packaging categories, FSC is another useful benchmark at fsc.org.
Cost, pricing, and MOQ factors buyers should compare
Pricing for custom vinyl auto stickers is easy to misunderstand because the same visual result can come from very different production methods. The main cost drivers are size, quantity, color count, print method, lamination, contour cutting, and packaging. A simple one-color die-cut logo and a full-color laminated decal may look similar from a distance, but they are not the same job behind the scenes.
Unit price usually drops as quantity rises because setup and artwork prep are spread across more pieces. A run of 25 decals can price very differently from a run of 500 even when the material cost per piece is not dramatically different. That is why minimum order quantity matters. Smaller buyers often want flexibility and lower risk. Larger fleet buyers care more about landed cost, consistency, and replacement availability.
| Option | Typical use | Relative cost | Notes |
|---|---|---|---|
| Cut vinyl lettering | Simple logos, phone numbers, fleet ID | Lower | Best for one- or two-color designs with clean shapes |
| Printed decal without laminate | Short-term promos, protected areas | Moderate | More color flexibility, less surface protection |
| Laminated printed decal | Outdoor branding, higher-wear use | Higher | Better scuff and UV resistance, often worth the upgrade |
| Contour-cut fleet set | Installed vehicle graphics program | Higher still | Precision cutting and more handling raise the cost |
Ask for quotes that separate material, production, and shipping. Otherwise you are comparing bundled numbers instead of actual economics. That is a common sourcing mistake in packaging and print buying alike. A quote that looks cheap can hide expensive freight, artwork revisions, or extra handling charges that appear later.
If your business also buys Custom Labels & Tags or broader Custom Packaging Products, the pricing logic will feel familiar. A small change in substrate, finish, or order quantity can shift the unit cost more than most buyers expect. Vehicle decals behave the same way.
For smaller runs, it also helps to compare the true replacement risk. A slightly higher-grade decal may reduce reorders, especially if the first batch will be installed on vehicles that sit outdoors or see frequent washing. In practice, the less expensive option is only cheaper if it survives long enough to justify the savings.
Timeline, proofing, and production steps to plan around
A realistic schedule starts with artwork submission and proof approval. If the files are clean and the dimensions are already set, the proof can move quickly. If the logo needs cleanup, the cut lines are unclear, or color matching needs discussion, that step takes longer. Production does not begin until the proof is approved, so delays there affect the entire order.
Typical lead times vary by complexity, but many custom decal runs land in the range of 12 to 15 business days from proof approval. Simple jobs can move faster, and urgent orders may be possible when the artwork is already finalized. Faster service usually costs more, and it is most useful when there are no open questions about size, material, or finish.
What slows an order down? Missing files, fuzzy logos, color corrections, and uncertainty about the final dimensions. Specialty adhesives, weather-resistant laminate, or large-volume sets may add time because they require more handling and, in some cases, additional cure or inspection steps.
Buyers often confuse proof turnaround with production lead time. They are not the same. A proof can be approved quickly and still need a full production cycle before the decals are packed and shipped. If the graphics need to support a launch, trade event, or fleet rollout, that gap should be built into the schedule from the start.
The same planning logic applies across branded print. Whether the job is vehicle graphics, retail packaging, or launch materials, the timing matters as much as the design. A delayed shipment can affect installation labor, event timing, and the public-facing value of the graphics once the vehicles are ready.
Common mistakes that shorten lifespan or inflate reprint costs
Low-resolution art is the first trap. A logo that looks acceptable on a screen can fall apart at print size, especially if it contains thin lines or tiny type. Raster files can work, but only when the resolution is high enough for the final dimensions and viewing distance.
Wrong adhesive is another costly error. A removable adhesive on a long-term fleet unit may lift too soon. A permanent adhesive on a textured or freshly painted surface may bond poorly or create removal problems later. Fresh paint deserves special caution because it can continue off-gassing for weeks after application. Even a good decal should wait until the finish has fully cured.
Sizing errors show up constantly. Too small, and the message disappears on a moving vehicle. Too large, and the decal runs into door seams, handles, trim, or window curvature. Buyers sometimes forget that a flat proof does not show the real geometry of a door, bumper, or rear panel.
Skipping a test placement is a small mistake with a large price tag. A sample on one vehicle can show whether the curve is too aggressive, whether contrast is weak, or whether the finish needs to change. That is much cheaper than scrapping a full run after the first installation reveals a problem.
Another misconception is expecting wrap-level lifespan from a basic decal. A good sticker is durable, but it is still a decal. If the goal is years of heavy exterior exposure, the spec has to reflect that. Otherwise the product gets blamed for doing exactly what it was built to do.
Expert tips for ordering custom vinyl auto stickers with confidence
Start with use case, not appearance. Ask whether the decal is for branding, compliance, promotion, or temporary campaign messaging. That answer should drive the material, adhesive, and finish. A short-term sales event sticker does not need the same build as a service vehicle identifier that will live outdoors year-round.
Request a sample swatch or a digital proof before placing a large order. The swatch helps you judge finish, thickness, and surface feel. The proof helps catch spacing problems, cut issues, and color mismatches before production starts. A careful proof review prevents more rework than any sales pitch ever could.
Match the sticker shape and contrast to the vehicle color. A white logo on a silver van may read poorly from a distance. A dark outline or higher-contrast version often solves that. For fleet use, legibility matters more than decoration, which is why packaging-style thinking translates well here: clear communication beats flashy detail.
Ask for care instructions. Some adhesives reach full bond after a short curing period. Some finishes should not be pressure washed immediately. Removal method matters too. Heat, patience, and a low-angle peel protect paint better than force. Those instructions are not optional if the order is meant to last.
Before ordering, use a simple checklist:
- Measure the exact install area.
- Confirm the file format and final size.
- Choose the finish and adhesive type.
- Verify quantity by vehicle and by placement.
- Request installation and care guidance.
For businesses that already manage retail packaging or custom printed boxes, the workflow will feel familiar. The clearer the spec, the fewer surprises. Vague orders invite interpretation, and interpretation is where costs rise.
Next steps for choosing the right sticker spec
The cleanest path is straightforward. Define the use case, decide whether the application is indoor or outdoor grade, set the size, choose the finish, and compare quotes that separate material and production costs. Then check the timeline against the actual deployment date.
Gather measurements, logos, and photos of the intended install area before requesting pricing. A picture of the door, bumper, or window often reveals more than a written description. If the design is new or the vehicle has unusual curves, a small pilot run is a smart way to reduce risk.
When reviewing vendor responses, look for clarity on materials, lead time, proofing, and installation guidance. A supplier that names the vinyl type, adhesive style, and finish is usually easier to work with than one that stays vague. Specific answers are a good sign that the order has been quoted as a real production job rather than a generic print item.
That is the real value of custom vinyl auto stickers: they are not just decoration, but a durable, visible, and cost-controlled brand surface when the spec is right. Get the material and installation details right, and the decal works quietly for a long time. Get them wrong, and the replacement cost usually shows up twice.
FAQ
What makes custom vinyl auto stickers different from regular car decals?
They are built for vehicle use with stronger adhesives and outdoor-rated vinyl. They can be cut, printed, or laminated depending on visibility and durability needs. They are made to handle sun, rain, washing, and daily road wear better than basic decals.
How long do custom vinyl auto stickers usually last?
Lifespan depends on vinyl grade, laminate, exposure, and installation quality. Protected placements last longer than full-sun exterior panels. Proper surface prep and careful washing can extend performance, while poor prep shortens it quickly.
Can custom vinyl auto stickers be removed without damaging paint?
Removability depends on the adhesive and how long the sticker has been installed. Professional-grade removables are easier to lift, especially on clean painted surfaces. Heat and slow peeling reduce residue and help protect the finish.
What file format is best for ordering custom vinyl auto stickers?
Vector files are preferred for crisp edges and scalable sizing. Transparent PNG or PDF files may work for some printed designs if the resolution is high enough. Suppliers also need final dimensions and color references to prepare an accurate proof.
How do I choose the right size for custom vinyl auto stickers?
Measure the exact install area on the door, window, bumper, or rear panel. Check visibility from a distance and from common viewing angles. Leave margin for curves, handles, seams, and other vehicle features that affect fit.

