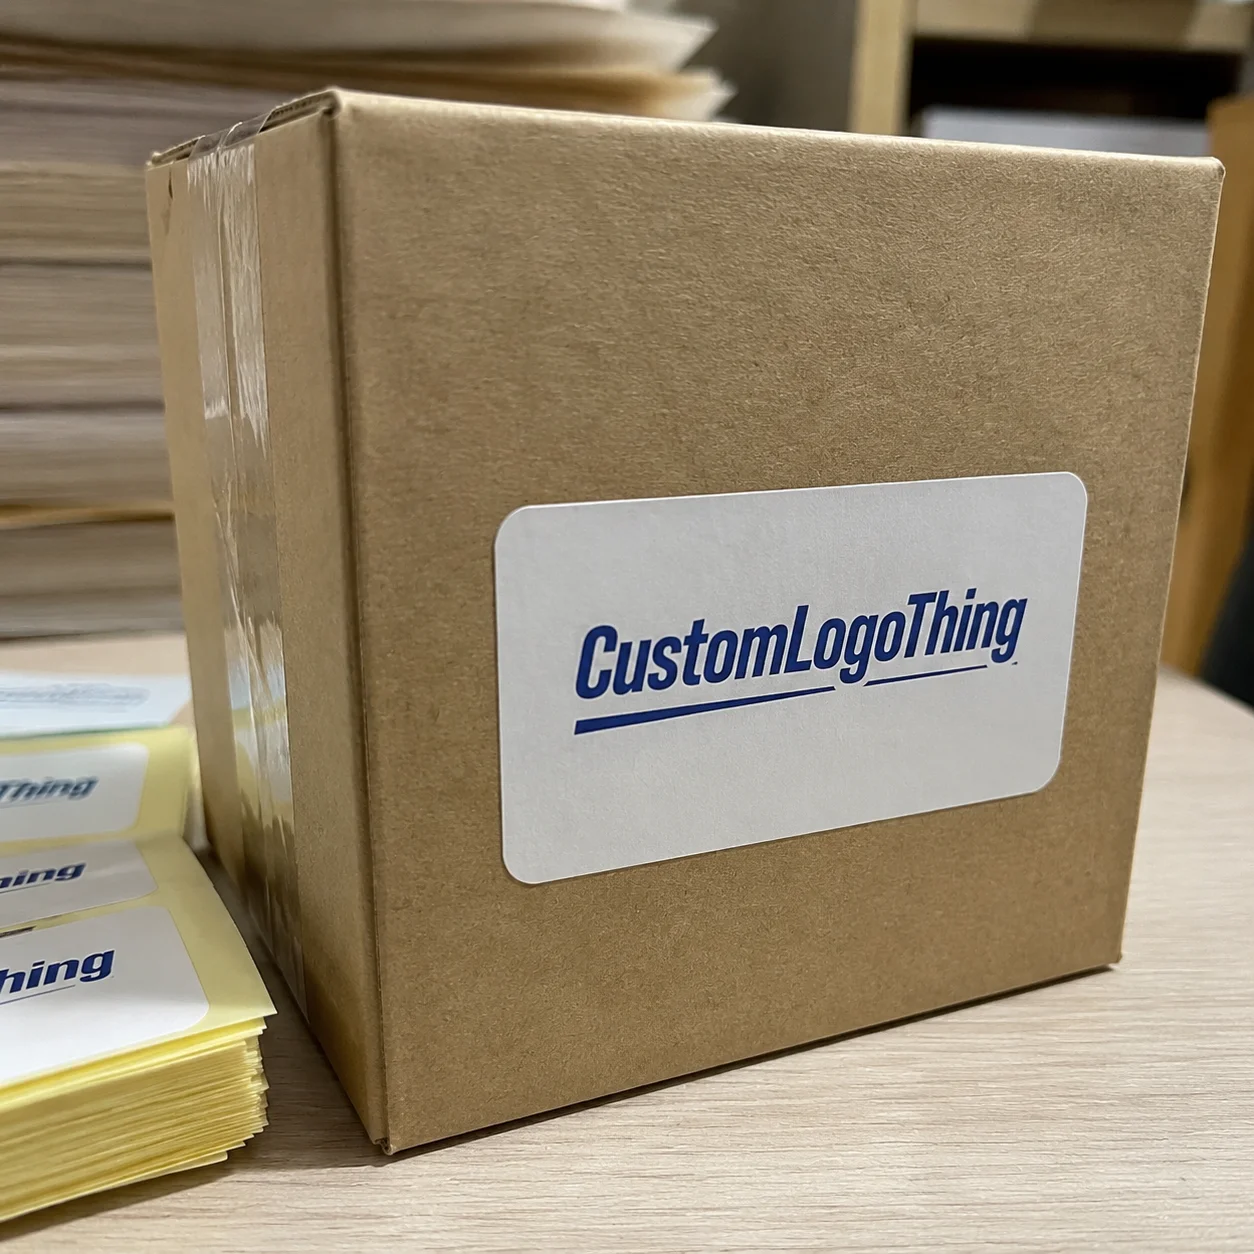
What Custom Vynal Stickers Are and Why They Last
The first time a label gets rubbed by a shipping sleeve, splashed with condensation, or scraped by a hand cart, it becomes clear whether it was chosen for appearance or for actual use. That is where Custom Vynal Stickers earn their place. They are built to handle moisture, repeated contact, and surface wear, not just to look good in a mockup.
In practical terms, these are printed stickers made from a flexible vinyl film with an adhesive backing and, in many cases, a protective laminate or topcoat. The vinyl carries the artwork, the adhesive keeps it in place, and the finish helps protect the print from scuffing, fading, and light cleaning chemicals. Buyers usually move to vinyl when paper no longer makes sense, especially for product packaging, retail applications, and branded materials that need to hold up through transit and display.
The most common mistake is starting with price instead of use. A label that only has to sit on a dry box in a controlled room can be specified very differently from one that will touch coolers, hand oils, warehouse shelving, or outdoor light. Vinyl is also more forgiving on curved or uneven surfaces, which matters on bottles, jars, tubes, cartons, and equipment housings.
Typical uses include product labels, promotional giveaways, laptop decals, tool identification, and packaging for launch kits or event mailers. Finish choices usually come down to gloss for stronger color pop, matte for a softer and more restrained look, clear for a minimal appearance, and custom shapes that make the logo feel more intentional. For teams building a broader packaging system, these stickers often sit alongside Custom Labels & Tags and other Custom Packaging Products to keep the visual language consistent.
How the Material, Adhesive, and Print Layers Work
A good vinyl sticker is a stack of decisions, and each layer affects how the final piece performs. The base film provides flexibility, the adhesive controls how it bonds, the print method determines visual quality, and the laminate or topcoat decides how long the design keeps its fresh look. If one layer is mismatched, the entire sticker feels compromised.
Most vinyl stickers start with a PVC or similar film, often in the 3 to 5 mil range, although exact constructions vary by supplier and use case. Digital printing is common for short and medium runs because it handles variable artwork efficiently. White ink can be used behind clear or colored films to improve opacity and make colors stand out. After printing, contour cutting gives the sticker its final shape, whether that is die-cut, kiss-cut, or sheeted for easier distribution.
Adhesive choice matters more than many buyers expect. Permanent adhesives work best when the sticker needs to stay put on packaging or equipment, while removable adhesives are better for short promotions, seasonal graphics, or surfaces where residue would be a problem. Smooth glass, coated cartons, powder-coated metal, and some plastics all behave differently, so surface energy affects the bond. Rough or textured substrates reduce grip, and curved packages may need a more flexible stock so the edges do not lift.
Lamination is where a lot of the day-to-day value shows up. A clear laminate can improve resistance to UV exposure, abrasion, fingerprints, and mild cleaning. On shop floors or on products that are stacked, packed, and moved around, that extra layer can be the difference between a sticker that looks fine for a week and one that still looks clean after real handling. The liner also matters, especially for manual application or machine dispensing, because release quality affects how easily the sticker peels and places.
“A proof can look excellent and still fail in the field if the adhesive or laminate does not fit the surface. Good sticker buying is mostly about matching construction to real handling.”
For buyers who want to think beyond appearance, performance testing is the more useful lens. Practical shipping and handling expectations are often discussed in relation to organizations like the ISTA, while material and recovery considerations are often tied to broader environmental guidance from the EPA.
Key Cost, Pricing, and MOQ Factors to Compare
Sticker pricing looks simple at first glance, but the real cost picture is shaped by size, quantity, shape, finish, and print complexity. A small one-color sticker in a standard shape may be efficient, while a full-color custom shape with laminate and white ink can cost noticeably more per piece.
Minimum order quantity, or MOQ, affects the budget more than first-time buyers usually expect. Small runs carry a higher unit cost because setup time, proofing, color management, and cutting preparation are spread over fewer pieces. As quantities rise, the unit price typically drops, although the shape of that curve depends on artwork coverage, print method, and whether the job is sheeted, die-cut, or roll-fed for quicker application.
For a practical reference point, larger vinyl sticker runs may land around $0.18 to $0.28 per unit for 5,000 pieces, depending on size, coverage, and finish. Smaller runs can sit much higher per piece, especially when the design is intricate or requires specialty lamination. That is why the better comparison is total value, not just sticker price. A slightly higher-cost sticker that applies cleanly and lasts longer often beats a cheaper print that curls, fades, or creates rework.
| Option | Typical Cost Driver | Best For | Tradeoff |
|---|---|---|---|
| Standard die-cut vinyl | Moderate setup, simple shape | Brand logos, product packaging, giveaways | Less dramatic shape impact |
| Custom shape with laminate | More cutting and finishing | Premium branding and handled packages | Higher unit cost |
| Clear vinyl with white ink | Additional print passes | Minimal looks on glass or plastic | Requires strong file prep |
| Sheeted application sets | Layout efficiency, fewer handling steps | Manual application and kitting | Less convenient for bulk dispensing |
Other cost drivers show up in the details. Proofing fees, revised artwork, rushed production, and specialty adhesives can all move the total. If the design has to be rebuilt, or if the order includes multiple SKUs, there is more labor on the front end. For packaging teams planning at scale, the smarter comparison is sticker performance against replacement risk, labor time, and brand consistency.
Process and Timeline: From Artwork to Delivery
The production path is straightforward, but every step affects quality and timing. File review comes first, and that is where resolution, bleed, cut lines, and general print readiness are checked. Proofing follows, which is where size, shape, and color expectations are confirmed before production starts. After approval, the order moves into print setup, cutting, finishing, inspection, and shipment.
For clean, print-ready files, standard timelines are often in the 12 to 15 business day range after proof approval, though order size and finishing requirements can stretch that. Rush jobs can move faster, but only if the files are already in good shape and the shop has open capacity. If artwork needs correction, the schedule slows immediately. A missing bleed, a low-resolution logo, or an unclear contour line can add days very quickly.
Sample requests also affect timing. A physical sample can be useful when the sticker will go onto a textured carton, a curved bottle, or an outdoor surface, but samples add a review loop and extend the path. Good buyers work backward from the real deadline, whether that is a trade show, product launch, shipping window, or retail reset. If the package must be on site by a certain date, time needs to be reserved for proof changes and, if necessary, a second round.
A practical way to manage lead time is to separate the project into three clocks: artwork readiness, production time, and transit time. That simple split helps avoid the common mistake of assuming the print timeline starts when the order is placed. In reality, it starts when the art is approved and the spec is locked.
How to Choose the Right Size, Shape, and Finish
Size should be driven by the application surface and the viewing distance, not by habit. A label on a handheld carton can usually be smaller than one on a shipping box, while a sticker on an event giveaway may need to read clearly from a few feet away. If the logo is crowded or the text is small, a larger format often improves legibility more than a decorative finish ever will.
Shape changes both the branding effect and the production cost. Die-cut stickers follow the artwork closely and give a polished look, kiss-cut stickers are easier to peel from a backing sheet, sheeted formats help with kitting or distribution, and roll formats suit higher-volume application. If the goal is a cleaner retail presentation, a die-cut sticker with matte laminate is a strong default. If speed matters more, kiss-cut sheets can be easier for staff to handle.
Finish should match the brand and the surface. Matte works well when readability, low glare, and a softer premium look matter most. Gloss is better when color vibrancy and shelf presence are the priority. Clear vinyl can work well for a minimal look, especially on transparent packaging or glass, but it depends on the artwork having enough contrast to remain legible.
Here is a quick way to narrow the decision:
- Use matte for softer reflections and better readability under bright light.
- Use gloss for stronger color saturation and a more eye-catching finish.
- Use clear when the brand wants a lighter border around the artwork.
- Use permanent adhesive for long-term packaging and equipment labeling.
- Use removable adhesive for short-term promotions or temporary graphics.
For packaging teams working across multiple lines, consistency matters. Standardizing a few sizes and finishes across custom printed boxes, labels, and stickers makes reorders faster and keeps the visual system cleaner. That kind of repeatability belongs in packaging planning, not just procurement.
Common Ordering Mistakes That Raise Reprint Risk
Most reprints come from preventable file and spec mistakes. The biggest ones are skipped bleed, incorrect cut paths, and logos that are too low in resolution to hold clean edges after printing. If the cutter follows a bad outline, the label can look off-center or clipped, which is a frustrating waste after the order is already in motion.
Adhesive mistakes are just as common. A buyer may choose a very aggressive adhesive for a carton that needs removable labeling, then deal with residue later. The opposite happens too: a lighter adhesive gets used on a rough, curved, or cold surface, and the edges lift. Surface type is not a footnote. It is part of the spec.
Color approvals can be misleading as well. A proof on one substrate may not match the final output once the sticker is printed on matte vinyl, gloss vinyl, or clear film. Black can read deeper, white can shift in tone, and saturated colors can look richer or flatter depending on the finish. If the sticker will sit next to other branded packaging elements, such as cartons or inserts, test the visual balance instead of judging the sticker on its own.
Curved or textured surfaces introduce another issue: size. A sticker that looks perfect on a flat mockup may buckle or bridge on a bottle shoulder, molded plastic, or corrugated texture. That is how a branding asset turns into a handling problem. A sample run or proof applied to the actual substrate can prevent that kind of expensive surprise.
Expert Tips for Better Results and Faster Reorders
The easiest way to make future orders smoother is to keep a clean master file in vector format. That means editable outlines for the logo, a locked cut line, and the final dimensions noted clearly. When the master is organized, reordering custom vynal stickers becomes a repeatable process instead of a fresh artwork rescue.
Testing helps too. A small pilot order can reveal whether the finish feels right, whether the adhesive suits the surface, and whether the sticker holds up to handling. That matters most for packaging that gets refrigerated, shipped, or displayed under store lighting. A short test run often costs less than discovering a problem after the full order is already deployed.
Standardization saves time quickly. If one company uses the same size and finish on multiple product lines, reorders move faster and the visual system stays consistent. Teams should also label jobs by application type, such as “glass jar,” “mailer box,” or “outdoor equipment,” so the next buyer does not have to guess at the right material. Small habits like that reduce spec drift and prevent repeat mistakes.
Keep notes on how the stickers perform in the real world. Did the edges stay down? Did the gloss show fingerprints? Did the matte finish hold up better under handling? Those observations make the next order more precise, and they usually improve both brand presentation and production efficiency. The best packaging programs get better because they document what worked, not because they assume every run is identical.
FAQ
Are custom vynal stickers better than paper stickers for packaging?
Vinyl is usually the better choice when the label needs moisture resistance, abrasion resistance, or a longer life. Paper can still work for short-term indoor use, but it is less durable on handled or exposed packaging.
What affects the price of custom vinyl sticker orders most?
The biggest cost drivers are size, quantity, shape complexity, laminate choice, and whether the design needs specialty printing. Rush timing and extra proofing can also raise the total.
How long does the turnaround usually take for custom vinyl stickers?
Standard timelines depend on proof approval, order size, and finishing steps, but artwork readiness is often the biggest variable. Clean, print-ready files usually move faster than files that need correction or rebuilding.
Should I choose a matte or gloss finish for vinyl stickers?
Matte works well when readability and a softer premium look matter most. Gloss is often better when stronger color pop and a more reflective finish are the goal.
What file should I send for the best custom vinyl sticker results?
Vector artwork is ideal, especially for logos and cut lines, because it keeps edges clean at any size. If vector is unavailable, a high-resolution file with clear bleed and crop boundaries is the next best option.
Buying custom vynal stickers gets much easier once the decision shifts from mockup appeal to materials, adhesive, finish, and lead time. Match the spec to the surface, the handling, and the brand goal, and the sticker becomes a reliable part of the packaging system instead of an afterthought.


