Buyer Fit Snapshot
| Best fit | Box Closure Types projects where brand print, material claims, artwork control, MOQ, and repeat-order consistency need to be specified before quoting. |
|---|---|
| Quote inputs | Share finished size, material target, print colors, finish, packing count, annual reorder estimate, ship-to region, and any compliance wording. |
| Proofing check | Approve dieline scale, logo placement, barcode or warning zones, color tolerance, closure strength, and carton packing before bulk production. |
| Main risk | Vague material claims, crowded artwork, missing packing details, or unclear freight terms can make a low unit price expensive after revisions. |
Fast answer: Box Closure Types: Board, Finish, Dieline, and Unit Cost should be specified like a repeatable production item. The safest quote records material, print method, finish, artwork proof, packing count, and reorder notes in one written spec.
Production checks before approval
Compare the actual filled-product size with the drawing, then confirm tolerance on folds, seals, hang holes, label areas, and retail display edges. Reserve space for logos, QR codes, warning copy, and material claims before decorative graphics fill the panel.
Quote comparison points
Review material grade, print process, finish, sampling route, tooling charges, carton quantity, and freight assumptions side by side. A quote is only useful when the supplier can repeat the same color, closure quality, and packing count on the next order.
If you’ve ever watched a perfectly good carton fail in transit, you know the carton itself is rarely the villain. The real trouble usually starts at the closure. That is why how to choose box closure types matters so much: the seal can decide whether a package arrives crisp and intact, or opens halfway through a 300-mile parcel run and turns into a claims file.
I’ve seen this on factory floors in Shenzhen and in client meetings where everyone blamed board grade, then the tape spec, then the carrier. Once we tested the pack properly, the answer was obvious. The box was fine. The closure was not. A closure is not just “the thing that shuts the box.” It is tape, tuck-in flaps, adhesive seals, staples, lock tabs, magnetic closures, string-and-button, tamper-evident seals, and mailer-style locking systems—all with different tradeoffs in speed, cost, presentation, and protection.
That tradeoff is the whole game. How to choose box closure types is really a decision about risk: product risk, labor risk, return risk, and brand risk. A closure that works for a 120-gram skincare kit will not always suit a 2.8-kilogram candle set. A retail gift box wants a different opening sound than a corrugated shipper. The “best” option depends on weight, shipping method, customer experience, and how much punishment the box will take before it reaches the end user.
How to Choose Box Closure Types: Why the Right Seal Matters
Many packaging failures start at the seam, not the board. I remember standing beside a fulfillment line where the team was using a low-tack pressure-sensitive tape on a medium-duty RSC shipper. The carton spec looked fine on paper, but after a 48-hour vibration simulation and a few corner drops, the tape edge lifted. Nothing dramatic. Just enough for dust, scuffing, and eventually a customer complaint about a “damaged” product that wasn’t damaged at all. That is the kind of failure how to choose box closure types is meant to prevent.
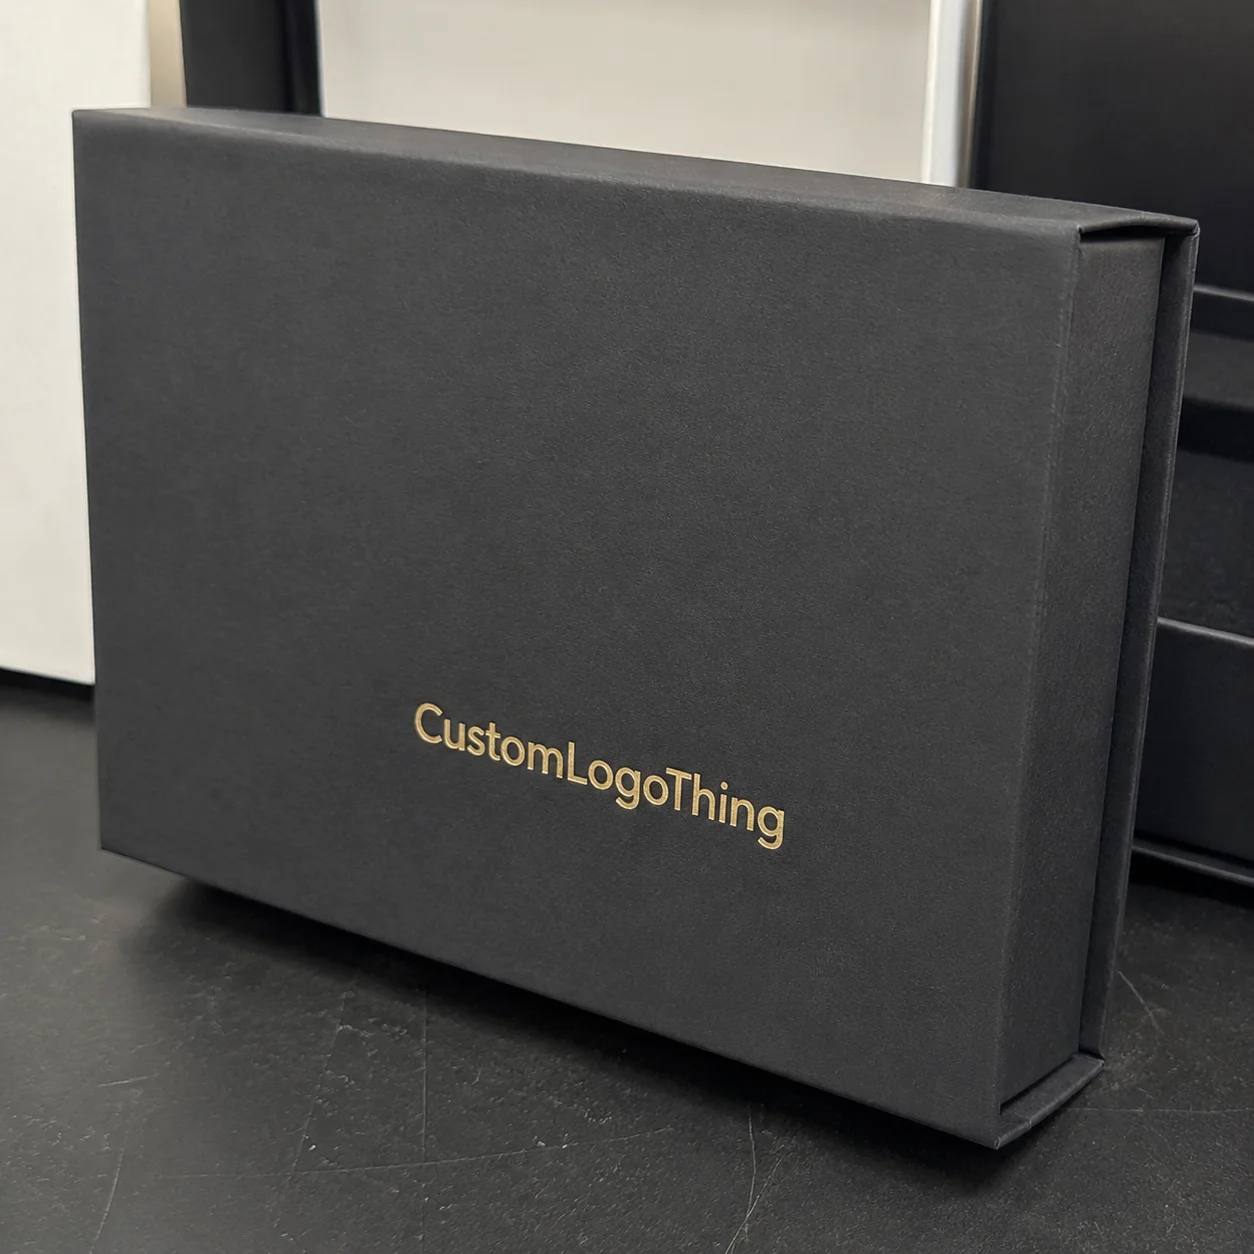
In plain language, box closure types are the methods used to keep a box shut during storage, transport, display, and opening. The common options include adhesive tape, tuck-in flaps, hot-melt or cold glue seals, staples, lock tabs, magnetic closures, string-and-button ties, tamper-evident bands or labels, and mailer-style self-locking closures. Each one solves a different problem. Some are built for speed. Some are built for reuse. Others are built to communicate “premium” before the customer even sees the product.
Closure choice affects more than protection. It changes labor time, because one closure may take 3 seconds and another 12. It changes the unboxing experience, because a tear strip feels very different from a taped flap. It changes returns, because a package that is hard to open can annoy customers, while one that is too easy to open can feel insecure. It even changes brand perception. In a client meeting last spring, a subscription brand told me, “Our product is the same, but the mailer makes us feel more expensive.” They were right. The closure was carrying part of the brand story.
That is why how to choose box closure types is not a one-answer question. Different closures solve different problems. The right choice depends on product fragility, shipping distance, presentation goals, and the realities of your packing line. If you start with those variables, the decision gets much easier.
“A closure is a small component with an outsized cost of failure. If it opens once in transit, it can erase the savings from choosing the cheapest option.”
For reference, industry testing standards from groups like the ISTA and the broader packaging community help quantify transit performance. If your pack is going through parcel networks, that matters more than guesswork. A closure that survives a bench test but fails a real route is not a good closure. It is a future claim.
How Box Closures Work in Packaging Operations
To understand how to choose box closure types, you need to know how closures actually perform. There are five mechanical questions I ask every time: How much holding force does it provide? How well does it resist vibration? Does it protect against puncture or edge lift? Does it provide tamper evidence? And what happens when the customer opens it the first time?
That last point gets missed all the time. I visited a contract packer handling cosmetics in cartons with magnetic lids and adhesive dots. They looked beautiful on the shelf, but during shipping the magnets created a false sense of security. The box closed elegantly, yet the closure itself did not hold well under repeated handling. The board and lid were fine. The closure strategy was wrong for the distribution environment. The lesson was simple: closure aesthetics can hide functional weakness.
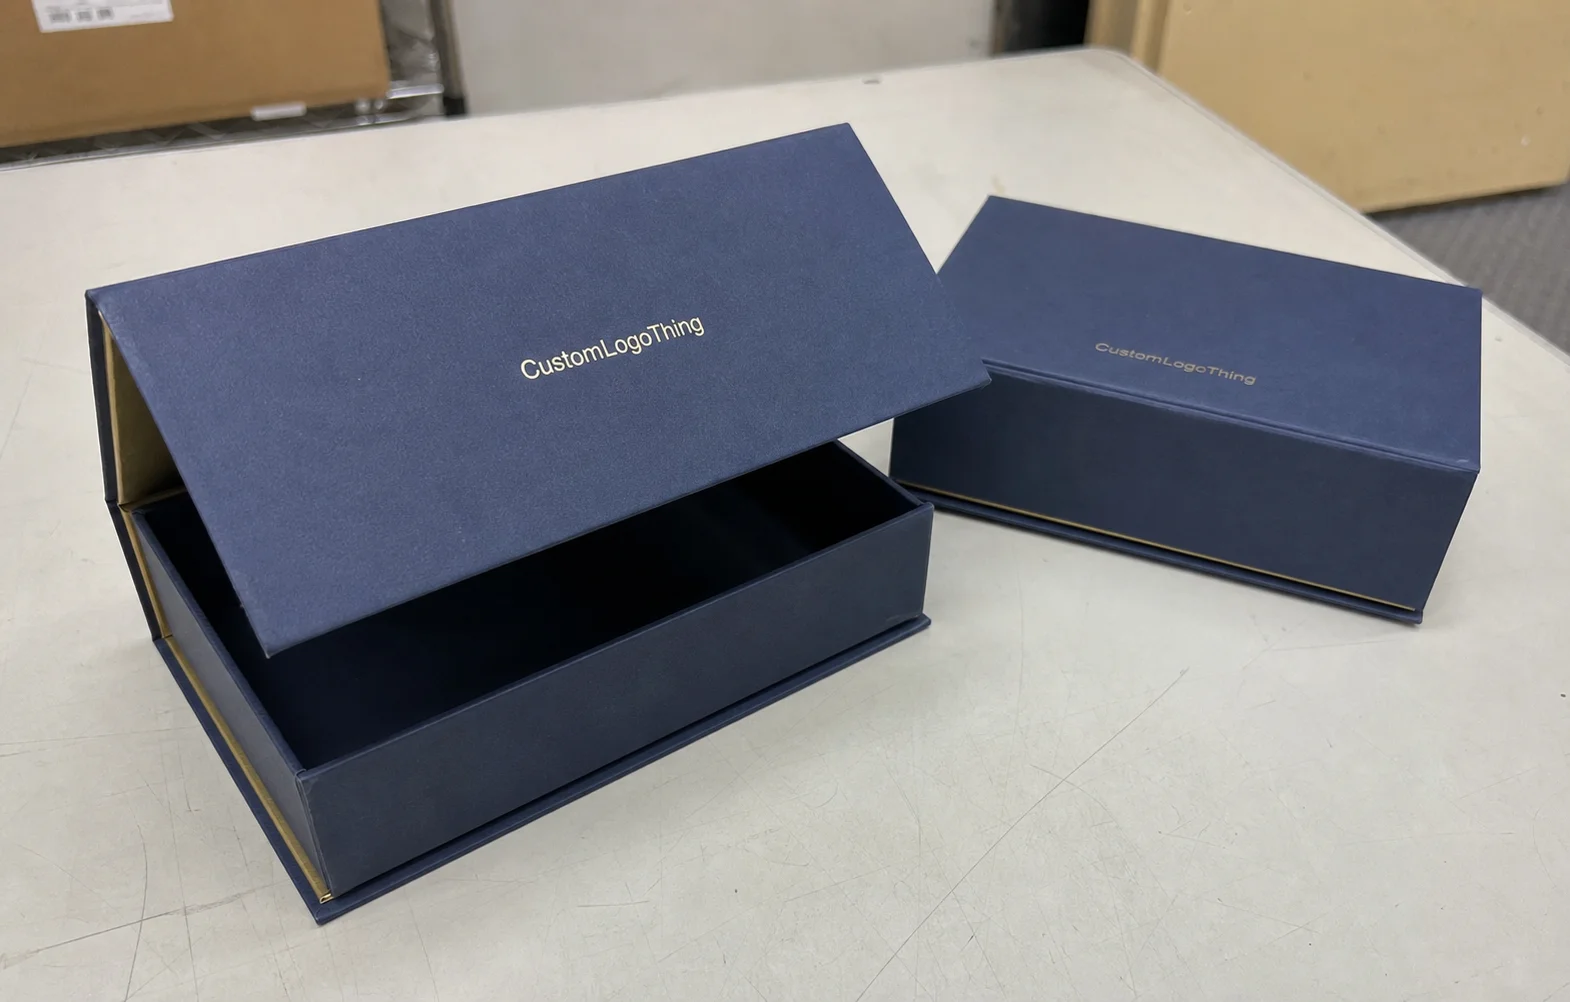
From an operations standpoint, box closures fall into three broad roles. Temporary closures are meant for reuse or repeated access, such as tuck-in flaps or resealable mailers. Permanent closures are meant to keep the pack secure through shipping, such as strong tape, glue, or stapled flaps. Premium closures are about presentation, such as magnetic boxes or string-and-button formats. Some closures overlap categories, but thinking this way helps narrow the field quickly.
Closure performance is also tied to the box structure. A 32 ECT corrugated mailer behaves differently from a rigid set-up box made with 1200gsm greyboard and wrapped art paper. A closure on a mailer is helping the board fight vibration and compression. A closure on a rigid box is often supporting presentation and repeat opening. Add internal cushioning—molded pulp, EPE foam, paper cradles, or inserts—and the closure’s job changes again. It is not working alone. It is part of a system.
On the line, the fastest closures are usually the simplest. A single strip of hot-melt tape on an automated case sealer can run very fast. Manual adhesive seals, on the other hand, can slow a 12-person packing team by several hundred units per shift if the tape has to be aligned carefully. That is why how to choose box closure types should always include a process review, not just a product review.
| Closure Type | Primary Use | Typical Speed | Protection Level | Customer Experience |
|---|---|---|---|---|
| Pressure-sensitive tape | Parcel shipping | Fast to moderate | Medium to high | Neutral |
| Tuck-in flap | Retail and light DTC | Fast | Low to medium | Simple, reusable |
| Magnetic closure | Luxury packaging | Slow to moderate | Low to medium | Premium, tactile |
| Hot-melt glue | High-volume folding cartons | Very fast | Medium | Clean, discreet |
| Tamper-evident seal | High-value or regulated goods | Moderate | Medium to high | Secure, trustworthy |
If you look at the table and think “that’s obvious,” good. That’s the point. The hard part is not naming the closure. The hard part is matching it to the job. That is the real work of how to choose box closure types.
Key Factors for Choosing Box Closure Types
If I had to reduce how to choose box closure types to one sentence, it would be this: choose for the stress the box will actually face, not the stress you hope it will face. That means looking at product weight, fragility, shipping distance, brand experience, cost, sustainability, and security together.
Product weight and fragility come first. A 250-gram candle in a molded pulp insert does not need the same closure as a 3-kilogram countertop appliance. Heavier products generate more momentum during drops and more stress on the flap seam. Fragile products need closures that stay shut even if the carton is tipped, compressed, or opened and resealed in a warehouse. If your item chips, leaks, or breaks, the closure is part of the protection system, not an afterthought.
Shipping distance and handling matter just as much. A box moving from a local shop to a nearby customer has a different risk profile than one crossing multiple hubs in parcel networks. Long-distance parcel shipping usually needs more secure, tamper-resistant closures. I’ve seen a simple tuck-in box work beautifully for local retail pickup, then fail within one carrier loop because the flaps loosened after repeated handling. Same box. Different journey. Different result.
Brand experience can be decisive for luxury, gifting, and subscription packaging. Some brands want a crisp tear strip. Others want a reusable flap that the customer can open and close ten times. The sound of a magnetic lid, the resistance of a tamper seal, and the ease of removing tape all shape perception. Many teams either overspend or underspend here. They treat the closure as invisible, then wonder why the package feels generic. Or they overdesign it and create friction that irritates customers.
Cost and pricing should be calculated as total cost, not just unit material cost. A closure that costs $0.02 less per unit can still be more expensive if it adds 6 seconds of labor or triggers 1% more damage claims. In one sourcing conversation, a buyer wanted to switch from a scored tuck-in lid to a glued dust-flap closure to save on material. After labor and rework were added, the “cheaper” option increased total pack cost by 11.4%. That is the sort of math how to choose box closure types should force you to do.
Sustainability and recyclability also matter. Mixing materials can make recycling harder. A paper-based box sealed with excessive plastic tape, metallic stickers, and foam-backed adhesive labels can create a sorting headache. If your sustainability targets are real, keep closure materials simple and compatible with your substrate. FSC-certified paperboard, water-based adhesives, and low-material closures are often easier to defend than mixed-material solutions. For broader packaging and material guidance, the EPA recycling resources are a useful starting point.
Security and compliance are non-negotiable for certain product categories. Tamper evidence, child resistance, and regulated-product requirements can override convenience. If a product must show visible evidence of opening, a tuck flap alone is not enough. If a closure needs to support traceability or anti-counterfeit efforts, the closure format may need serialized labels, seals, or secondary barriers. This is where the answer to how to choose box closure types becomes highly product-specific.
Here’s a simple way to think about it:
- Low-value, low-risk products: prioritize speed and cost.
- Fragile or heavy products: prioritize retention and shock resistance.
- Luxury or gift items: prioritize presentation and reopening quality.
- Regulated or high-value goods: prioritize tamper evidence and security.
That framework keeps how to choose box closure types grounded in the actual job. Not the trend. Not the catalog photo. The job.
How to Choose Box Closure Types Step by Step
The best way I’ve found to approach how to choose box closure types is to move from the product outward. Start with what is inside the box, then map the shipment, then narrow the closure options, then test them under realistic conditions. I’ve used this sequence with skincare brands, electronics sellers, and one client shipping small mechanical parts in branded mailers. It works because it mirrors reality.
Step 1: Identify the product profile
Write down the basics: product weight in grams or kilograms, fragility level, retail value, and customer expectations. A 90-gram lip balm set and a 1.6-kilogram glass diffuser should not share the same closure logic unless the box design is heavily reinforced. If the product has sharp corners, liquid content, or a high replacement cost, that should push you toward stronger retention and better tamper resistance. This first step in how to choose box closure types sounds simple, but it prevents a lot of bad assumptions.
Step 2: Define the shipping environment
Ask where the box is going. Warehouse-to-store? Parcel carrier? Direct-to-consumer? Shelf display? The environment determines how much abuse the closure will see. A retail shelf box may only need to survive one opening and a few touches. A DTC parcel box may need to survive conveyor belts, sortation drops, and an impatient customer opening it with a kitchen knife. That difference changes everything.
Step 3: Narrow the closure options
Now compare the candidates based on protection, appearance, and reuse. Tape, glue, and tamper-evident seals usually lead on security. Tuck flaps and lock tabs often win on speed and reusability. Magnetic closures and string-and-button styles are common in premium presentation. For some products, the shortlist will be obvious. For others, especially mixed-use boxes, you may need two closure types: one for transit, another for customer access.
Step 4: Request samples and test them
This is the stage where theory meets cardboard. Ask for samples that use your actual box dimensions, not a generic dummy size. Then run practical checks: drop tests, vibration checks, opening and closing trials, and line-speed evaluations. If you handle a lot of freight, ask for transit-style simulation aligned with ISTA methods. If you use a folding carton, test how the closure behaves after repeated opening. A closure that works once is not enough.
In one factory visit, I watched a production manager approve a closure because “it felt strong.” We then ran five hand drops from 80 centimeters. Two units opened at the corner seam. The manager laughed, then sighed, then changed the spec. That is why I trust samples more than opinions every time. How to choose box closure types is a testing exercise, not a branding exercise.
Step 5: Estimate the full cost per unit
Do the math properly. Include closure material, labor, equipment, waste, and the expected cost of failures. A closure priced at $0.03/unit can become $0.09/unit once you add manual labor and a higher return rate. If you need a better benchmark, build a cost model using your real pack rate. For example, at 5,000 units, a closure that adds 4 seconds per box can cost more in labor than a higher-grade adhesive seal that runs cleanly through the line.
Step 6: Finalize the closure that balances the tradeoffs
At the end of the process, choose the closure that balances protection, price, and customer experience. Not the cheapest. Not the prettiest. The one that performs. That balance is the core of how to choose box closure types, and it is why some packaging specs look conservative on paper but save money in the field.
Here is a practical comparison I often use during client reviews:
| Goal | Best Closure Candidates | Typical Unit Cost Impact | Main Risk |
|---|---|---|---|
| Fast fulfillment | Hot-melt glue, tape, lock tabs | Low to moderate | Line speed vs. seal strength |
| Luxury presentation | Magnetic closure, string-and-button, rigid lid | Moderate to high | Higher labor and material spend |
| Tamper evidence | Seals, tapes, serialized labels | Low to moderate | User friction if overdone |
| Reuse or easy opening | Tuck-in flaps, mailer tabs | Low | Weaker transit retention |
If you want a packaging standard to anchor the process, check the Packaging School and industry resources for broader carton and material context. Standards help, but field testing still decides the winner. Every time.
Common Mistakes When Choosing Box Closure Types
One of the biggest mistakes I see is choosing based on appearance alone. A glossy magnetic box can look expensive, but if the product ships through parcel networks, that elegance may not survive the first handling cycle. How to choose box closure types has to start with transit performance, not showroom appeal.
Another error is using a high-cost closure for a low-risk item. I once reviewed a skincare box that used a custom closure system costing nearly $0.22/unit at 10,000 units, even though the product was lightweight, non-fragile, and sold in a secondary carton. The team liked the feel. The math did not. They could have achieved the same protection for less than half that cost with a simpler closure and better internal fit.
Underestimating assembly time is another expensive habit. A closure that takes just 5 extra seconds per box adds up brutally. At 20,000 units, that is almost 28 labor hours. If labor runs $18 to $24 per hour in your operation, the difference is no longer trivial. It is budget real. This is one reason how to choose box closure types should involve operations and finance, not just design.
People also mix materials in ways that make recycling harder or confuse the end user. A paperboard box with plastic adhesive strips, foil seals, and a foam insert may be functional, but it can create a disposal mess. If sustainability claims matter to your brand, simplify the closure stack wherever possible. FSC-certified paper sources and recyclable adhesives are worth asking about early, not after print approval.
Reopening behavior is another blind spot. Some closures protect beautifully but frustrate customers. I’ve seen tape-heavy mailers that needed scissors, rigid lids that pinched fingers, and peel seals that tore the artwork on the front panel. Those experiences can hurt repeat purchase intent, especially in subscription and gift categories. The closure should feel secure in transit and intuitive in the hand.
Finally, too many teams skip testing. They trust the supplier sample, the sales sample, or the render file. That is risky. A supplier can describe holding strength, peel force, or seal integrity, but real products and real shipping routes have a way of exposing weak assumptions. How to choose box closure types without testing is just guessing with a prettier spreadsheet.
- Do not approve a closure from a catalog image.
- Do not assume “premium” means “strong.”
- Do not forget labor cost.
- Do not ignore the customer’s first opening moment.
Expert Tips on Process, Timeline, and Cost
The fastest way to make better decisions about how to choose box closure types is to split the process into two phases. First, screen the options on paper. Second, test the finalists with actual products and shipping conditions. That saves time because you are not ordering full samples for seven closure styles when only two are worth running.
For timeline planning, assume the closure decision will touch sample production, revisions, print changes, and line testing. If your vendor quotes 7 to 10 business days for sample boxes, add another few days for internal approvals and drop testing. If artwork shifts because the closure layout changes, plan for another proof cycle. Teams that allow 2 to 3 weeks for closure validation make better decisions than teams trying to approve in 48 hours.
Ask your supplier how the closure affects lead time, tooling, and order minimums. A simple tuck-in fold may require minimal tooling. A custom magnetic setup might need different inserts, board thickness, or assembly steps. That can affect MOQ and cash flow. If you are comparing options at scale, the closure type can also influence whether your packaging is assembled in-house or outsourced to a finishing line.
Build a cost model that includes material, labor, equipment, replacement rate, and damage reduction. That sounds basic, but many teams still only compare carton price. The better formula is: closure cost + labor cost + failure cost = true cost. If a stronger closure reduces claims by even 0.5%, it may pay for itself quickly. I’ve seen a 2-cent increase in closure spend save nearly 11 cents per unit in avoided damage and repack labor on fragile goods.
If you ship multiple product lines, standardize closure types where you can. Not every SKU needs its own closure architecture. Standardization cuts training time, reduces inventory complexity, and lowers the risk of operator error. That said, don’t force one closure across very different products just to make procurement happy. A one-size-fits-all spec can hide expensive compromises. The smarter version of how to choose box closure types is selective standardization.
Use a scorecard. I like to score each candidate closure from 1 to 5 across five categories: protection, cost, speed, sustainability, and customer experience. Then weight the categories based on the product. For a fragile DTC item, protection might count twice. For a luxury gift box, customer experience might carry more weight. The scorecard turns a subjective argument into a readable decision.
If you want a practical testing rule, use this: any closure shortlisted for launch should survive at least one real packing trial, one realistic drop or transit simulation, and one customer-opening review. A closure should not only hold the box shut. It should fit the work, fit the route, and fit the brand.
What to Do Next After You Choose Box Closure Types
Once you decide on how to choose box closure types for a product line, do not let the spec drift. Create a shortlist of two to three acceptable closure options and rank them by use case. Then order samples with your actual box dimensions, your actual product weight, and, if possible, your actual inserts. This is where packaging decisions stop being theoretical and start being useful.
Document the chosen closure in a spec sheet that purchasing, operations, and design can all read without interpretation. Include board grade, adhesive type, seal location, tape width if relevant, and any opening instructions. I have seen perfectly good packaging fail because one plant used 48mm tape and another used 50mm, leading to inconsistent seal placement. Small things become expensive when nobody owns the specification.
Train the fulfillment team. If the closure needs a particular fold, pressure level, or seal orientation, show it on the line and photograph it. A 15-minute training session can prevent a week of inconsistent packing. That is not exaggeration. It is common sense with cardboard.
After launch, review damage rates, returns, and customer feedback within the first 30 to 60 days. If the closure is underperforming, adjust quickly. A closure that looked ideal in testing can still behave differently once it meets real carrier networks, humidity swings, and busy hands. If the data says change it, change it.
Most of all, keep learning from each product line. The best packaging teams I’ve worked with treat closure selection as a living skill, not a one-time choice. That mindset pays off because how to choose box closure types gets easier every time you document what actually happened, not just what was expected.
So the next time you’re evaluating a new box, start with the closure. Ask what the product weighs, how far it travels, who opens it, and what failure will cost. If you do that well, how to choose box closure types becomes less of a guessing game and more of a controlled decision—one that protects the product, respects the customer, and keeps the packaging budget honest.
Frequently Asked Questions
How do I choose box closure types for fragile products?
Prioritize closures with strong hold, tamper resistance, and compatibility with cushioning materials such as molded pulp, paper inserts, or foam. Then test the package under drop and vibration scenarios before approval. For fragile items, how to choose box closure types should favor retention first, appearance second.
What is the most cost-effective way to choose box closure types?
Compare total cost, not just the material price. Include labor, equipment, failure risk, and returns. A closure that costs $0.03 more per unit can still be cheaper overall if it reduces damage claims or packing time. That is the practical side of how to choose box closure types.
How do box closure types affect unboxing experience?
Closures shape how easy the box is to open, whether it feels premium, and whether it can be reused. A good closure should feel secure in transit but intuitive for the customer. If your brand sells gifting, subscription, or luxury goods, how to choose box closure types should include sensory details like sound, resistance, and first-open impression.
Can I use the same closure type for every box?
You can standardize some closure methods, but product weight, shipping method, and brand goals often require different solutions. A one-size-fits-all approach can raise costs or weaken protection. The smarter version of how to choose box closure types is to standardize where the risk profile is similar.
How long does it take to finalize the right box closure types?
Timing depends on sample production, revisions, testing, and supply availability. Allow enough time to test real products instead of approving a closure from a catalog alone. For many projects, a 2- to 3-week validation window is realistic, especially if artwork or tooling needs to change while you work through how to choose box closure types.
Related packaging resources
Use these related guides to compare specs, costs, quality checks, and buyer decisions before making the final call.