Buyer Fit Snapshot
| Best fit | design seasonal packaging boxes for packaging buyers comparing material specs, print proof, MOQ, unit cost, freight, and repeat-order risk where brand print, material, artwork control, and repeat-order consistency matter. |
|---|---|
| Quote inputs | Share finished size, material target, print colors, finish, packing count, annual reorder estimate, and delivery region. |
| Proofing check | Approve dieline scale, logo placement, barcode or warning zones, color tolerance, and any recyclable or compostable wording before bulk production. |
| Main risk | Vague material claims, crowded artwork, or missing packing details can create delays even when the unit price looks attractive. |
Fast answer: Design Seasonal Packaging Boxes: Dieline, Finish, Proof, and Buyer Review should be specified like a repeatable production item. The safest quote includes material, print method, finish, artwork proof, carton packing, and reorder notes in one written spec.
What to confirm before approving the packaging proof
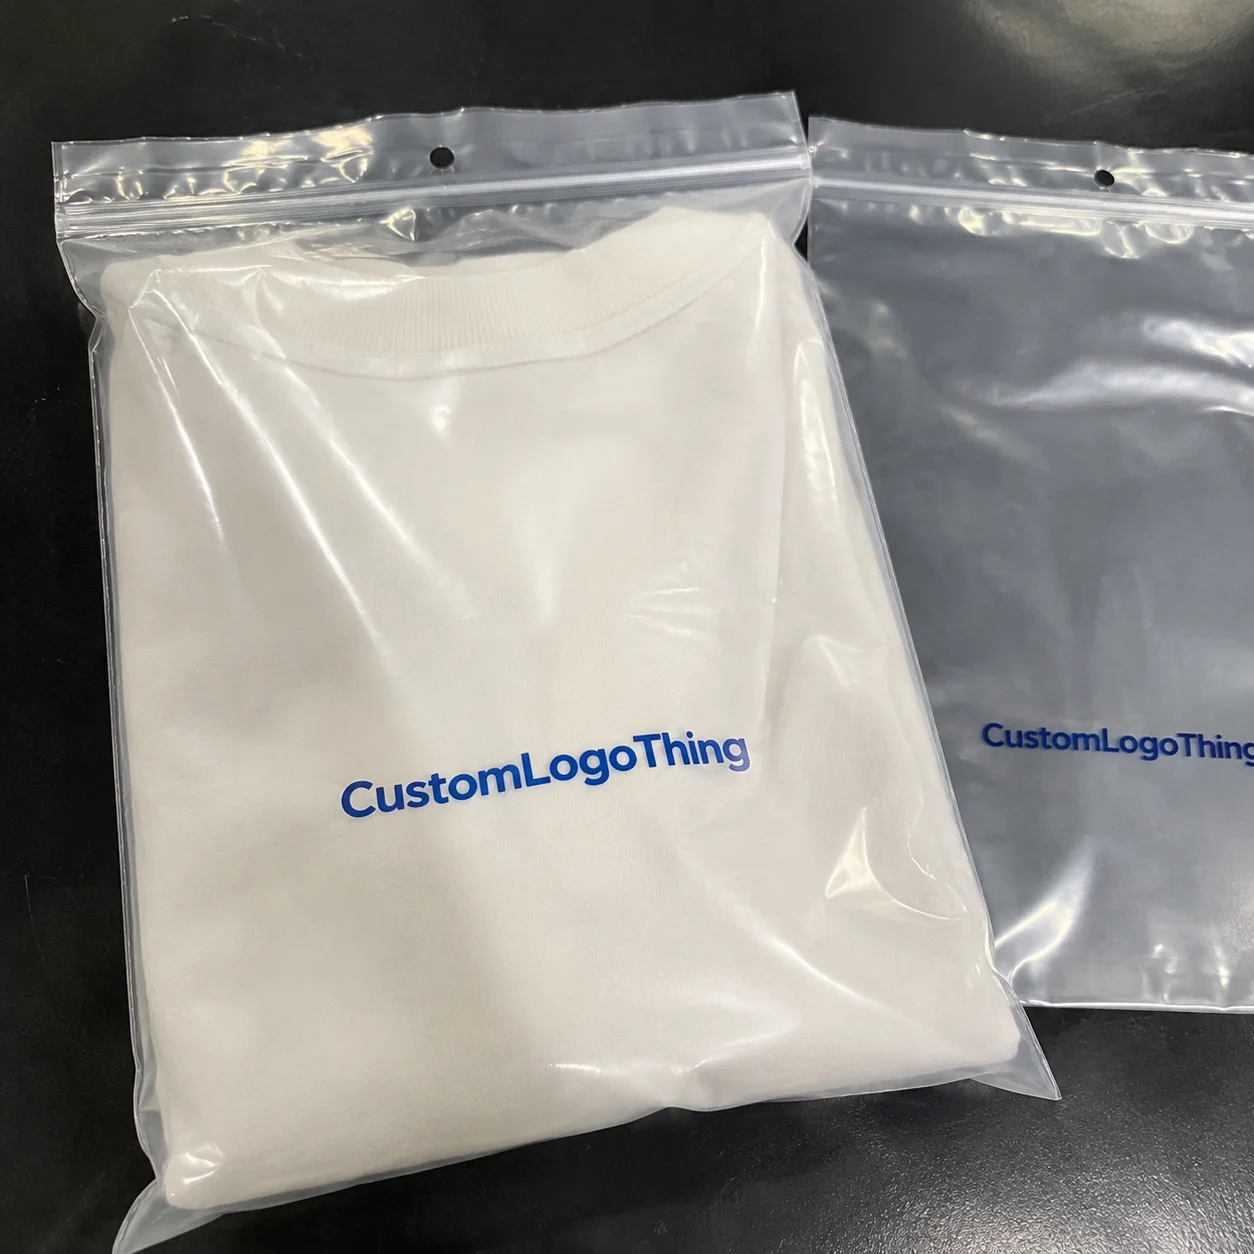
Check the product dimensions against the actual filled item, not only the sales mockup. Ask for tolerance on folds, seals, hang holes, label areas, and retail display edges. If the package carries a logo, QR code, warning copy, or legal claim, reserve that space before decorative graphics fill the panel.
How to compare quotes without losing quality
Compare board or film grade, print process, finish, sampling route, tooling charges, carton quantity, and freight assumptions side by side. A lower quote is only useful if the supplier can repeat the same color, closure quality, and packing count on the next order.
The last thing you want is to walk into a Target or Walmart during November and watch shoppers walk right past your display. I saw this happen to a client of mine three years ago—beautiful product, gorgeous shelf placement, but their packaging just disappeared into the visual noise of the holiday rush. They ended the season with 40% more inventory than they'd planned and a lot of hard lessons about how to design seasonal packaging boxes that actually stop people mid-stride.
Seasonal packaging isn't just about slapping a snowflake on a box and calling it festive. After twenty years on factory floors and in design meetings with brands from startups to Fortune 500 companies, I've learned that the difference between a seasonal hit and a clearance bin disaster comes down to a handful of design decisions most people learn the hard way.
What follows is Everything You Need to Know about designing seasonal packaging that captures attention, drives purchase intent, and leaves customers raving about the unboxing experience long after they've finished tearing through the wrapping. (And yeah, I've made most of these mistakes myself at some point. Consider this your warning.)
Why Seasonal Packaging Design Matters More Than Ever
Here's a fact most marketing teams underestimate: seasonal packaging can drive up to 40% higher purchase intent during holiday periods compared to standard year-round designs. I discovered this firsthand when working with a mid-sized candle company in Portland. They switched from their standard kraft boxes to a deep burgundy and gold seasonal design for the holidays, kept everything else identical—same price point, same placement, same marketing spend—and saw their sell-through rate jump from 62% to 89% in just one season. Honestly, I almost didn't believe the numbers when they showed me the data. But the numbers don't lie.
The psychology behind this is fascinating, and kinda unsettling when you think about it. Research consistently shows that consumers make purchasing judgments within 2-5 seconds of first seeing a product. During the holiday season, that window shrinks even further because shoppers are moving faster, scanning more options, and making split-second decisions based on visual hierarchy and emotional resonance. They're not deliberating—they're reacting.
When someone picks up your product, the packaging becomes the brand ambassador. It carries your story, communicates your values, and—most importantly—creates that emotional bridge between the product and the gift-giver or the treat for themselves. I remember visiting a specialty food brand in Austin that nailed this perfectly. Their limited-edition fall packaging featured hand-illustrated pumpkins with warm orange tones and a subtle texture that made the box feel like a crafted object rather than throwaway packaging. Customers posted unboxing videos. The brand trended on Instagram for three days. And they sold out six weeks ahead of schedule.
That kind of response doesn't come accidental. It happens when you understand how to design seasonal packaging boxes that tap into what people are already feeling during a particular time of year. The emotional resonance amplifies everything else.
What Is Seasonal Packaging Design?
Before we get into the design process, let's make sure we're aligned on terminology. Seasonal packaging design refers to packaging specifically created for holidays, seasons, or limited-time events. Think Christmas gift boxes, Valentine's Day treat packaging, summer limited editions, back-to-school campaigns, or even autumn harvest themes for food and beverage brands.
This is different from limited edition packaging, which might not be tied to a calendar season at all—it's limited by quantity or time period outside normal seasonal windows. And it's distinctly different from your year-round packaging that needs to work across twelve months without the benefit of seasonal themes to carry the design. I've seen brands conflate these three, and the results are always messy.
The best seasonal packaging respects the core brand identity while introducing seasonal elements as accents or overlays. I worked with a premium skincare line that kept their minimalist white packaging base but added seasonal berry motifs and limited-edition ribbon colors. The result felt cohesive, elevated, and unmistakably on-trend without cannibalizing their year-round brand equity. That's the balance you're looking for—seasonal shine, not seasonal chaos.
One thing I've noticed across industries: customers can tell instantly when seasonal packaging feels tacked-on versus thoughtfully integrated. Thematic colors that shift with the calendar, festive graphics that evoke the specific holiday, time-sensitive messaging that creates urgency without feeling pushy—these are the elements that make seasonal packaging work.
Essential Elements of Effective Seasonal Packaging Boxes
I've seen hundreds of seasonal packaging designs—both brilliant and problematic—and the winners share a few common characteristics. Here's what you need to nail. (And believe me, nailing these will save you from the kind of late-night panic calls I've received more times than I can count.)
Color Psychology for Different Seasons and Holidays
Color is your most powerful tool in seasonal packaging design. The right color palette does more than look festive—it triggers emotional responses and signals relevance to shoppers scanning your aisle or scrolling through their feed.
For winter holidays, deep reds, forest greens, and metallic golds remain popular, but I'm seeing more brands experiment with alternatives like icy blues paired with warm metallics. A client in the premium chocolate space used navy blue with copper foil accents instead of traditional red and green, and their packaging stood out dramatically in crowded retail environments. The risk paid off—sometimes going against the obvious choice is exactly what's needed.
Spring and Easter call for pastel palettes—soft pinks, mint greens, lavender—paired with natural textures and botanical illustrations. Summer seasonal packaging benefits from bright, saturated colors like coral, turquoise, and sunny yellows that feel energetic and fun. Fall themes lean heavily into warm earth tones: burnt orange, burgundy, mustard yellow, and chocolate brown.
Here's the critical mistake I see: brands using colors that fight each other or clash with their existing brand palette. Your seasonal elements should feel like a natural extension of your branded packaging, not a jarring departure from everything customers recognize about your products. I've watched brands spend months developing a beautiful seasonal design only to realize it looked like it belonged to a completely different company. Don't be that guy.
Material Selection Based on Product Needs and Seasonal Themes
Your material choice affects everything from production costs to shelf presence to sustainability credentials. For seasonal packaging, you're often balancing premium feel against the reality that these boxes have a shorter shelf life than year-round designs.
Most seasonal packaging I see uses 14-18 pt cardstock for the right balance of durability and print quality. Thinner materials can feel cheap and fail to protect products adequately—I've watched a beautiful seasonal design get damaged in shipping because the company tried to save costs on the board weight, resulting in crushed corners and printing registration issues. I still remember the look on that owner's face when the first samples arrived. Not a good feeling.
Kraft materials work exceptionally well for rustic or natural seasonal themes. I visited a family-owned soap company in Vermont that uses unbleached kraft boxes with hand-stamped seasonal imagery. The combination of sustainable materials and artisanal aesthetics has become part of their brand identity. When I walked into their workshop, I understood immediately why their customers are so loyal—the packaging feels like it was made by someone who actually cares.
For holiday premium products—think high-end confections or luxury skincare—metallic finishes like gold foil stamping or silver accents can elevate the seasonal design significantly. These do add to your per-unit cost, typically adding $0.25-$0.75 per piece depending on complexity, but the shelf impact and perceived value increase makes the investment worthwhile for many brands. I've seen brands debate this for weeks, and the ones who went with the metallic finishing almost never regret it.
Typography and Messaging That Creates Urgency Without Feeling Pushy
Your typography carries the urgency message. Words like "Limited Edition," "Only Available This Season," or "Holiday Exclusive" work when they're treated as design elements rather than desperate sales pitches.
I always advise clients to make the seasonal message feel special, not squeezed. One approach that works beautifully: treating "Limited Edition" as a badge or stamp rather than a tagline. This positions the message as a mark of exclusivity rather than a plea for action. (Think about how luxury brands do this—they don't beg you to buy, they make you feel like you're joining an exclusive club by choosing them.)
Typography hierarchy matters enormously. Your seasonal message should be visible but never overshadow your product name or brand. I suggest using 2-3 font weights maximum—typically a bold seasonal headline, regular product information, and a lighter descriptive copy. Cluttered seasonal packaging with competing font sizes and styles feels chaotic and undermines your premium positioning. I see this mistake constantly, and it always makes me a little sad because the rest of the design was probably quite good.
Structural Design Considerations for Gift-Giving and Storage
Seasonal products often get purchased as gifts. Your custom printed boxes should accommodate this reality. I'm not just talking about gift-ready outer packaging—though that's important—I mean structural decisions that affect how the box opens, how the product is presented, and how the packaging survives gift-giving scenarios.
Consider magnetic closures or premium finishing that makes the unboxing experience feel ceremonial. This matters for gifting because the recipient evaluates the giver's taste through the packaging presentation. I worked with a chocolate brand that redesigned their seasonal boxes to feature a lift-and-reveal interior with tissue paper and a handwritten-style card insert area. The product was the same quality as before, but the unboxing became an event, and gift purchasers reported paying premium prices without hesitation.
Storage considerations matter too, especially for food and beverage seasonal products. If customers might keep your product for a few weeks before gifting or consuming, your packaging needs to protect freshness and integrity while remaining visually appealing on a kitchen counter or under a tree. I've seen gorgeous packaging that looked terrible after sitting in a warm pantry for a week—your design needs to account for real-world conditions, not just the Instagram moment.
How to Design Seasonal Packaging Boxes: A Step-by-Step Process
The actual steps I've helped dozens of brands navigate, including the pitfalls that catch people off guard. (And oh, do they catch people off guard.)
Research Phase: Understanding Your Audience's Seasonal Preferences
Start by understanding what your specific audience responds to. This means looking at your sales data, customer feedback, and competitive landscape. What seasonal products have performed well in previous years? What feedback have you received about packaging?
I always recommend pulling your top five competitors' seasonal packaging from the past two years and analyzing what they did well and where they struggled. Note the colors they used, the structural choices they made, and how they balanced brand consistency with seasonal themes. This research should inform your concept development, not constrain it. You want to understand the landscape, then find your unique position within it.
Survey existing customers if you have the capability. Ask them what seasonal packaging they've loved and why. You might discover insights that surprise you—I once worked with a spice brand that assumed their customers wanted traditional holiday imagery, only to learn through surveys that customers were more excited about "cooking season" themes that emphasized autumnal harvest vibes rather than Christmas-specific designs. They would have gone completely the wrong direction without that feedback. That's what research does for you.
Concept Development: Brainstorming Themes That Align with Brand Identity
With research in hand, move into concept development. I suggest developing three to five distinct concepts that vary in direction—one might be playful and colorful, another might be sophisticated and restrained, a third might lean heavily into illustration or pattern work.
Each concept should answer a few key questions: Does this feel authentic to our brand? Does this evoke the specific season or holiday we're targeting? Will this design translate well to our production methods and material choices? Can we execute this within our budget and timeline? If you can't answer "yes" to at least four of those questions, keep brainstorming.
Present these concepts to stakeholders and get feedback early. I've seen beautiful concepts get approved in isolation only to face major revisions once broader teams weighed in. The CEO wants something different. Legal has concerns about the messaging. Marketing thinks the color is wrong. You name it, it'll happen. Better to get alignment on direction before investing heavily in detailed design work. I cannot stress this enough. I've watched agencies pour three months of work into a concept only to have it killed in a 30-minute executive meeting. Painful doesn't begin to describe it.
Design Mockups: Creating Visual Representations with Seasonal Elements
Your concepts become tangible in this phase. Use digital design tools to create realistic mockups that show exactly how the seasonal packaging will look. For flat designs, use accurate representations of your cardstock weights and print techniques. For structural designs, create dielines or 3D models that demonstrate how the box will fold, close, and display.
One crucial step many brands skip: mockup with actual photography of your product inside. Seeing the packaging with real products—filled boxes, opened closures, products positioned correctly—reveals issues that flat design files don't show. I learned this lesson the hard way when a client's beautiful seasonal sleeve design turned out to obscure important product information once the box was assembled. We had to completely reprint. The cost was painful. The lesson stuck.
Material Sampling: Testing Boxes with Actual Seasonal Materials
Before committing to full production, order physical samples of your seasonal packaging. This is non-negotiable in my experience. Digital proofs and screen mockups can look perfect and still fail in the physical world.
When evaluating samples, check the following: Does the color match your approved design, accounting for the shift from screen to print? Is the material weight appropriate for your product's protection needs? How does the finish hold up to handling—do fingerprints show on soft-touch laminations? Does the structural design function as intended—do closures work, do inserts fit properly? Does it look the way you imagined it would look? That last question sounds obvious, but you'd be surprised how often the answer is "not really."
Request samples from multiple material options if you're evaluating different paper grades or finish combinations. I've seen brands save thousands by testing a slightly lighter board weight that performed identically in use but reduced material costs significantly. The difference looked identical on the shelf but made a meaningful impact on the bottom line. Don't assume you know which option is best—test it.
Production Coordination: Working with Manufacturers on Timelines
This phase requires tight communication with your manufacturer because seasonal packaging has zero flexibility on timing. Miss the window and you're discounting, clearing inventory, or worse—missing the entire selling season. There are no second chances with holiday deadlines.
From my experience working with factories in Shenzhen and across the US, I've learned that most custom packaging production runs 12-18 business days for standard quantities once artwork is approved, plus shipping time that varies from 3-5 days domestically to 4-6 weeks from Asia. Build in buffer time for quality checks on arrival—you don't want to discover a printing issue after your seasonal window has opened. That buffer is your insurance policy against disaster.
Establish clear checkpoints: artwork lock, material procurement confirmation, production start, production completion, quality inspection, and shipping. Each of these milestones should have a responsible party and a contingency plan if delays occur. If you don't have backup plans for each checkpoint, you're setting yourself up for stressful scrambling when something inevitably goes sideways. And something always goes sideways. Always.
Understanding the Costs and Budgeting for Seasonal Packaging
Let's talk money because this is where many seasonal packaging projects hit unexpected obstacles. Understanding your costs upfront prevents painful surprises and enables smarter decisions. I've seen beautiful seasonal launches get derailed by budget surprises that could have been avoided with better upfront planning.
Typical Price Ranges for Custom Seasonal Packaging
Custom printed boxes costs vary dramatically based on complexity, materials, and quantities. For standard seasonal packaging boxes in the US market, you're typically looking at $0.50 to $3.00 per unit depending on design complexity and material choices.
Here's a general breakdown I've observed across numerous projects:
| Complexity Level | Material/Process | Per-Unit Cost (1,000+ qty) | Setup Fee Range |
|---|---|---|---|
| Basic | Single color, standard cardstock | $0.50 - $0.85 | $50 - $150 |
| Moderate | 4-color process, soft-touch or matte lamination | $0.90 - $1.50 | $100 - $300 |
| Premium | 4-color + foil stamping, embossing, or specialty finishes | $1.50 - $3.00 | $300 - $600 |
These ranges assume standard structural designs. Complex die-cuts, custom window shapes, or unusual dimensions will push costs higher and often increase setup fees as well. Honestly, if you're working with complex structural designs, budget conservatively—surprises tend to run in one direction.
Factors Affecting Cost: Material Choices, Print Complexity, Order Quantity
Your per-unit cost depends on several variables working together. Material selection—board weight, specialty papers, sustainable certifications—directly affects material costs. Print complexity—number of colors, special finishes, embossing or foil stamping—affects both setup costs and per-unit pricing through slower press speeds and more expensive consumables.
Order quantity remains the most significant factor in your per-unit pricing. In my experience, moving from 1,000 to 5,000 units typically reduces per-unit costs by 25-40%. Moving from 5,000 to 20,000 units can reduce costs another 15-25%. The economies of scale are real, but you need to balance the cost savings against inventory risk and storage capacity. That lower per-unit cost means nothing if you're stuck with thousands of units you can't sell.
Minimum Order Quantities and How They Impact Your Budget
Most manufacturers set minimum order quantities (MOQs) between 500 and 2,000 units for custom seasonal packaging. Some smaller operations or those serving startup clients might go as low as 250 units, but you'll typically pay a premium for low quantities.
High-volume producers often have MOQs of 5,000+ units. This isn't inherently problematic for seasonal packaging—if you have a successful holiday product line, ordering 10,000 units of your Christmas box might make excellent economic sense. But it does mean you need confident demand forecasts before committing. Guess too high and you're sitting on expensive inventory. Guess too low and you miss sales you can't recover.
Hidden Costs to Anticipate
Several costs frequently catch first-time seasonal packaging buyers off guard:
- Artwork setup and prep fees: $75-$300 depending on complexity and whether you provide print-ready files
- Proofing and shipping samples: $25-$100 for domestic samples, significantly more for international production
- Dieline or tooling charges: $150-$500 for custom structural designs beyond standard setups
- Rush order premiums: 25-75% surcharges for timelines under standard production windows
- Storage and warehousing: If you're pre-producing seasonal inventory, factor in carrying costs
- Print plate costs: Some manufacturers charge per color per design, especially for smaller runs
I always tell clients to request a comprehensive quote that itemizes every potential charge. A seemingly economical unit price can become expensive when you add $500 in setup fees and $400 in shipping and handling. Get the full picture before you commit, or you'll end up with budget overruns that make your CFO raise an eyebrow.
Common Seasonal Packaging Design Mistakes to Avoid
Through two decades of working in this industry, I've watched brands stumble over the same predictable pitfalls. Let me save you from learning these lessons the hard way. Trust me, the hard way isn't fun.
Overcomplicating designs that don't translate to production. I've seen gorgeous seasonal concepts with gradients, photographic elements, and intricate illustrations that simply couldn't be reproduced reliably at production speeds. Your seasonal packaging needs to work in the real world of offset or flexographic printing. Simple, bold designs with clean separations between elements almost always outperform complex compositions that require excessive trapping and color matching. I know it looks amazing in your design software. But production is a different reality, and ignoring that leads to expensive reprints and late shipments.
Ignoring shelf display conditions and lighting. Your design looks stunning on a proof in your climate-controlled office. But what about under fluorescent lights in a retailer's hot lighting section? Or displayed outside in natural light? Colors shift dramatically under different lighting conditions. Always request proofs under conditions that match your primary retail environment and test with actual products on shelves before committing to full production. I once saw a beautiful warm-orange seasonal design that looked like muddy brown under the fluorescent lights at a major retailer. The brand had to rush a redesign mid-season. Not ideal.
Missing sustainability considerations in seasonal materials. Here's something many brands overlook: seasonal packaging often ends up in consumers' hands during a time when environmental awareness peaks—holiday seasons generate enormous waste, and conscious consumers notice when brands contribute to that problem. Consider recyclable materials, soy-based inks, and minimal finishing that doesn't contaminate paper recycling streams. Brands like FSC-certified paper products can demonstrate genuine environmental commitment without sacrificing visual impact. This isn't just the right thing to do—it's becoming an expectation, especially among younger consumers.
Poor timing that results in late arrivals or excess inventory. This is the mistake that haunts me most. I once watched a major retailer miss the entire pre-Thanksgiving selling window because their seasonal packaging arrived a week late. They ended up discounting heavily and eating into their entire seasonal margin. Work backward from your target in-stock date, map every production and shipping phase, and build in two to three weeks of buffer for customs delays, quality issues, or freight complications. I've seen companies get burned so badly by shipping delays that they've sworn off international production forever. Sometimes the premium for domestic manufacturing is worth the peace of mind.
Expert Tips for Successful Seasonal Packaging Launches
Insights that separate successful seasonal packaging launches from forgettable ones. These are the patterns I've observed across hundreds of projects. Consider this my attempt to save you from becoming a cautionary tale.
Start the design process 4-6 months before your target season. This isn't optional if you want to do it right. The typical seasonal packaging project involves 6-8 weeks of design and revision, 2-3 weeks of sampling and approval, 2-3 weeks of production, and 2-6 weeks of shipping depending on your manufacturer location. That's 12-20 weeks minimum. Starting late means cutting corners, accepting rush fees, or missing your window entirely.
Build relationships with your production partners. The factories and print shops that know your brand, your quality standards, and your timeline constraints will go the extra mile when things get tight. I've had production managers alert me to paper shortages before they affected my projects, simply because we'd built that kind of relationship over years. You can't put a price on that kind of proactive communication.
Test your packaging with real consumers before full production. Internal teams and stakeholders are terrible at predicting what customers will respond to. A small focus group or even informal testing with friends and family can reveal blind spots that cost you money later. One brand I worked with discovered through informal testing that their "sophisticated" seasonal color palette read as "sad" to their target demographic. They pivoted entirely and ended up with a design that actually connected.
Next Steps: Bringing Your Seasonal Packaging to Life
Here's the honest truth: designing seasonal packaging boxes That Actually Work requires equal parts creative vision, technical knowledge, and project management discipline. You can't afford to wing any of these pieces—not if you're counting on seasonal sales to hit your annual targets.
Start with research. Understand what your customers actually want from seasonal packaging—not what you assume they want. Develop multiple concepts and stress-test them against your brand identity, production capabilities, and budget. Get physical samples before you commit. Build relationships with manufacturers who understand your business. And for heaven's sake, start early.
If you walk away from this article with nothing else, remember this: the brands that consistently execute successful seasonal packaging aren't the ones with the biggest budgets or the most creative teams. They're the ones who approach seasonal packaging as a disciplined process with clear checkpoints, realistic timelines, and enough built-in buffer to handle the chaos that always, always shows up uninvited.
The holiday season waits for no one. Your next seasonal window is closer than you think. Use the time you have now to plan properly, and you'll be the brand customers stop for—not the one they walk right past.
FAQ
What should I verify before ordering How to Design Seasonal Packaging Boxes?
Confirm the product size, material, print method, quantity, sample route, packing count, and delivery date. A clear packaging spec is easier to quote, easier to approve, and easier to reorder.
How many samples should I review before bulk production?
At minimum, review one production-grade sample or proof that shows scale, color, logo placement, finish, and packing fit. For high-volume orders, keep the approved sample as the reference standard.
What usually changes the final cost?
Material grade, printing method, finish, tooling, quantity, packing method, revision count, and freight assumptions can all move the final price.