Buyer Fit Snapshot
| Best fit | Ship Products Safely projects where brand print, material claims, artwork control, MOQ, and repeat-order consistency need to be specified before quoting. |
|---|---|
| Quote inputs | Share finished size, material target, print colors, finish, packing count, annual reorder estimate, ship-to region, and any compliance wording. |
| Proofing check | Approve dieline scale, logo placement, barcode or warning zones, color tolerance, closure strength, and carton packing before bulk production. |
| Main risk | Vague material claims, crowded artwork, missing packing details, or unclear freight terms can make a low unit price expensive after revisions. |
Fast answer: Ship Products Safely: Production Spec, Color Control, and Delivery Risk should be specified like a repeatable production item. The safest quote records material, print method, finish, artwork proof, packing count, and reorder notes in one written spec.
Production checks before approval
Compare the actual filled-product size with the drawing, then confirm tolerance on folds, seals, hang holes, label areas, and retail display edges. Reserve space for logos, QR codes, warning copy, and material claims before decorative graphics fill the panel.
Quote comparison points
Review material grade, print process, finish, sampling route, tooling charges, carton quantity, and freight assumptions side by side. A quote is only useful when the supplier can repeat the same color, closure quality, and packing count on the next order.
I still remember a Tuesday shift on our Shenzhen contract packing line when one operator skipped a $0.06 kraft paper pad inside a glass candle carton. By the time that batch moved through two regional hubs, damage claims jumped from 1.8% to 9.4% across only 600 orders. That one miss explains why brands keep asking me how to ship products safely. Safe shipping rarely comes down to one big decision; it comes from twenty small decisions executed the same way every shift (and yes, sometimes that “small decision” is literally one piece of paper someone thought didn’t matter).
If you run ecommerce shipping, wholesale replenishment, or mixed order fulfillment, you know the pressure firsthand: trim freight spend, ship faster, improve reviews, and reduce returns at the same time. Honestly, the answer usually isn’t “add more packaging.” Better results come from smarter transit packaging design, tighter workstation discipline, and measured testing before rollout. I’ve watched smaller brands cut breakage in half within 30 days using mostly process corrections rather than expensive material upgrades, and every time it happens the team reacts the same way: “Wait, that was it?”
How to Ship Products Safely: Why Small Packaging Choices Matter
A lot of teams assume safe shipping means picking a decent box and laying down enough tape. Realistically, that gets you part of the way. To learn how to ship products safely, focus on four outcomes: product integrity at delivery, customer experience at unboxing, compliance with carrier and labeling rules, and total landed cost per delivered order. Drop any one of those and margin erodes quickly.
I sat in a client review in Columbus with a home fragrance brand shipping roughly 8,000 units per month. They were using a 32 ECT single-wall B-flute shipper with loose fill, and the box cost looked attractive at $0.41 in 10,000-unit volume. On paper it looked lean. In practice, claims, reships, and support load added $2.87 per damaged order. We shifted to a right-sized 44 ECT carton at $0.58 plus a $0.19 die-cut insert. Damage fell from 6.2% to 1.4% in six weeks, and their “higher-cost” package lowered total cost per fulfilled order by $0.63.
That pattern is classic: weak or inconsistent inner protection allows movement, vibration, and compression through sortation amplify that movement, and doorstep delivery reveals corner crush, cracked product, or leakage. Carriers get blamed, but most failures start at pack-out. I’m not defending every carrier toss I’ve seen (I’ve seen some tosses that would make a baseball scout proud), but the box still has to survive reality, not ideal handling.
The core principle is straightforward: match the packaging system to product fragility, weight, route, and handling intensity.
After two decades on factory floors, one truth stays consistent: no package is ideal for every SKU. A 0.8 lb ceramic mug shipping Zone 2 parcel needs a different protection system than a 12 lb skincare kit moving Zone 8. Product-and-route data is what makes how to ship products safely repeatable at scale. I learned that the hard way more than once, usually at 7:10 a.m. with a claims dashboard open and cold coffee in my hand.
How Shipping Protection Works from Pack Line to Doorstep
Anyone serious about how to ship products safely needs to map the full journey. A standard order can hit 6 to 12 handling points: pick bin, pack bench, outbound gaylord or pallet, local terminal, sortation conveyor, line-haul trailer, destination hub, last-mile van, then porch or dock drop. Every transfer introduces risk. A 24-inch drop off a conveyor transfer is enough to crack a product that isn’t immobilized.
The main hazards are predictable:
- Shock/drop: parcel systems usually involve repeated low-height drops (12–36 inches).
- Vibration: line-haul trailer vibration over time loosens poor void fill.
- Compression: trailer stacking can create top loads above 80–120 lb depending on lane.
- Puncture: sharp freight edges or pallet nails can breach weak sidewalls.
- Moisture/temperature: humidity reduces board strength; colder conditions can weaken tape adhesion below about 50°F for some acrylic tapes.
Packaging protection works as a layered system. Primary packaging protects immediate product surfaces and structure, such as poly bags, tissue wraps, or molded pulp cradles. Secondary packaging is your corrugated shipper and internal cushioning. Tertiary packaging covers pallet wrap, corner boards, and strapping for bulk movement. If one layer is mismatched, the full protection system degrades. I tell teams this constantly: you don’t “win” with one heroic material choice; you win by making the whole stack cooperate.
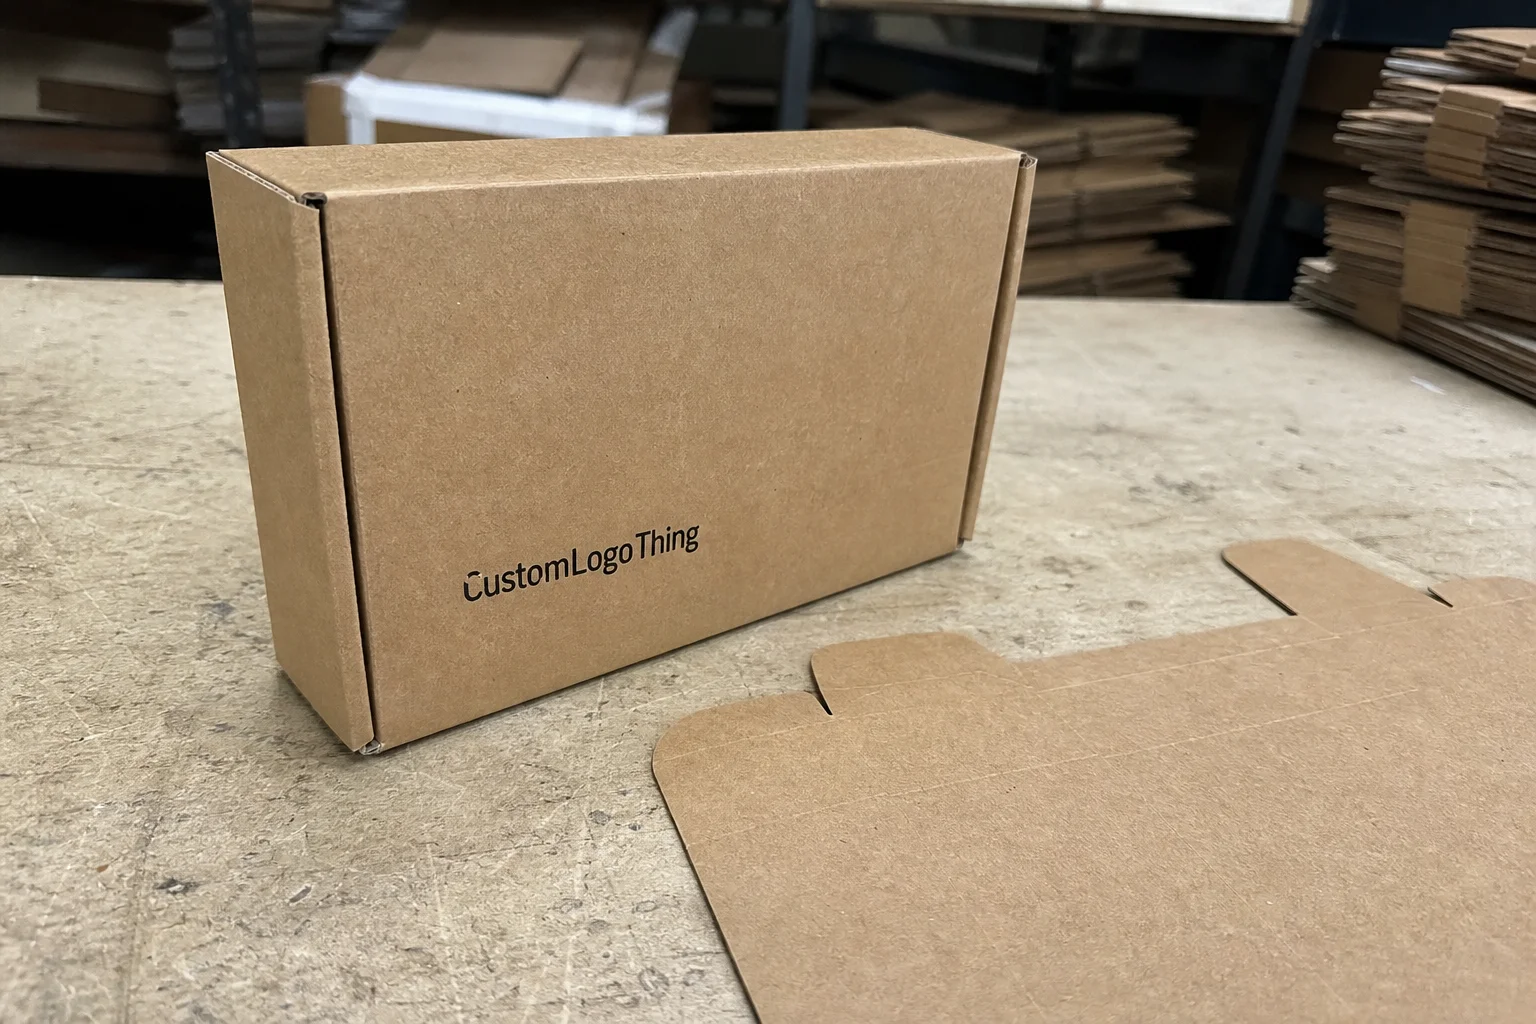
Board selection needs detail-level attention. E-flute gives a cleaner print surface and slimmer profile, yet often provides less cushioning than B-flute in parcel conditions. B-flute commonly performs better for moderate shock and sidewall strength. Heavier SKUs may call for C-flute or double-wall BC at 44 ECT or 48 ECT depending on stacking load and route stress. ECT (edge crush test) estimates compression performance; burst strength reflects puncture resistance. Failure mode determines which metric matters more.
Testing is your insurance policy. At minimum, run controlled drop tests on packaged SKUs (flat, edge, and corner), basic compression checks, and live pilot shipments before full rollout. Teams needing formal protocols should review the International Safe Transit Association (ISTA) standards used by brands and labs worldwide. I remember one pilot where everyone swore the design was “bulletproof” until a corner-drop series proved otherwise by drop number three. Better to discover that in a test lane than in customer inboxes.
Damage reduction doesn’t require ignoring sustainability goals. Protection can improve while sourcing stays responsible. FSC-certified corrugated and right-sized cartons reduce board waste and can lower dimensional weight costs at the same time. Brands with environmental targets should review sourcing through organizations such as FSC while still validating transit performance.
Key Factors That Determine Whether Products Arrive Safely
If you’re figuring out how to ship products safely, start with product profile data instead of assumptions. Measure real product dimensions to the nearest 1/8 inch, record packed weight, identify fragile points like handles, lids, and protrusions, and document finish sensitivity. A matte black cosmetic cap scratches differently than glossy ABS. A glass pipette dropper fails differently than a PET pump.
Route profile is the second major driver. Zone 2 parcel and Zone 8 parcel behave like two different sports. Longer routes bring more touches, longer trailer time, and higher risk. Gulf Coast humidity can reduce corrugated stiffness during certain seasons. Residential porch delivery often means more orientation violations than commercial dock receipts.
Carrier service level affects handling frequency too. Parcel networks involve more mechanical handling than palletized LTL freight in many cases. Dimensional weight rules can punish oversized cartons even when actual weight is light. I’ve seen brands pay 35% more freight because cartons carried 2–3 inches of unnecessary air on every side, and yeah, it’s exactly as painful as it sounds during quarterly reviews.
Right-sizing is one of the fastest improvements for both safety and margin. Less empty space reduces movement, cuts void-fill spend, and lowers dimensional-weight exposure. In one Midwest apparel accessories project, shrinking carton cube by 18% reduced monthly freight by $4,200 and improved damage rate from 2.9% to 1.7% because items stopped shifting during transit.
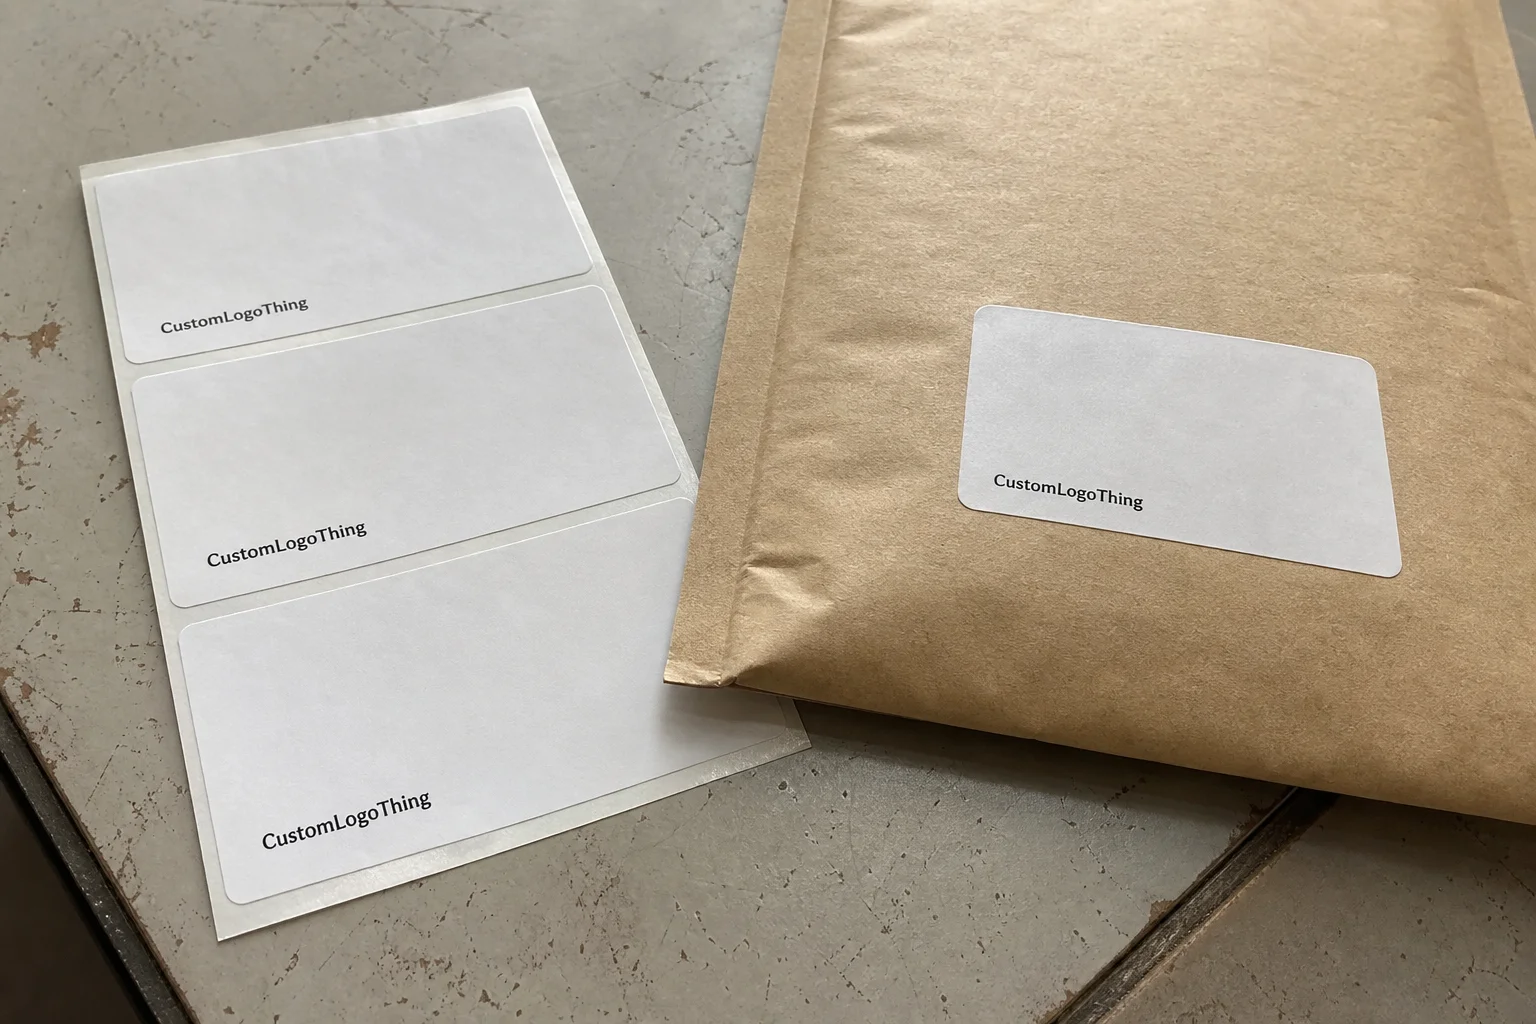
Labeling and compliance need to be built into the process, not treated as cleanup work at the end. Shipping labels should sit flat on the largest face and never cross seams or corners. Lithium battery shipments require current marks and documentation, including Watt-hour and packaging limits under applicable regulations. Hazmat exceptions still demand strict discipline. Orientation arrows can help with specific products, yet arrows alone won’t protect a poorly engineered pack (a sticker has never absorbed impact in human history).
Human factors decide whether the system works day after day. Packer training, visual work instructions, first-article checks, and error-proofing fixtures separate a strong pilot from a failed rollout. I use a 60-second audit every 25 orders: confirm box spec, dunnage placement, tape pattern, label position, and weight scan match. Repetition creates control. I know audits can feel repetitive—because they are—but that repetition is what keeps claims boring, and boring is beautiful.
Step-by-Step: How to Ship Products Safely Every Time
The operating sequence below is what I use with teams learning how to ship products safely in fast-moving fulfillment rooms. It trains quickly, works on real floors, and converts cleanly into SOP format.
Step 1: Pre-pack inspection
Before anything goes into a carton, verify product condition, accessories, and count. Check for pre-existing cracks, loose closures, cosmetic defects, and missing inserts. A New Jersey beauty operation added a pre-pack check at Station 4 and cut “arrived broken” tickets by 22% because damaged components were intercepted before shipment. Target time: 15–30 seconds per order.
Step 2: Select the right box
Match board grade and flute profile to weight and fragility. Avoid oversized cartons that invite movement. One rule I use often: keep internal clearance tight, generally 0.5 to 1.5 inches per side based on cushion design. A 3 lb ceramic item may pass in a 200# test single-wall on short routes, while longer-zone lanes often justify 32 ECT or 44 ECT with structured inserts.
Step 3: Build protective layers
Apply cushioning with intention: corner protection for brittle geometry, poly bag for dust and moisture barrier, tissue or foam sheet for scuff control, absorbent pad for leak-prone liquids. Premium finishes often benefit from 1.5–2.0 mm foam sheet between product and carton wall. Heavier items usually perform better with molded pulp or die-cut corrugated inserts than random paper fill. I’m opinionated here: random fill is fine for low-risk soft goods, but for fragile SKUs it’s often a gamble dressed as a solution.
Step 4: Control movement
This is the core of how to ship products safely. Run a quick three-direction shake test on every packed unit. Any movement you hear or feel means reopen and correct. Underfilling leads to impact damage; overfilling can bulge sidewalls and reduce compression strength. The target is immobilization without overpressure.
Step 5: Seal correctly
Tape type and seal pattern matter. Parcel standard is H-taping on top and bottom seams using at least 2-inch pressure-sensitive tape; heavier loads may need 3-inch or reinforced filament tape. Tape should be applied to clean, dry board with firm pressure. If you operate in cold rooms, confirm adhesive performance at actual temperature. I’ve seen acrylic tape lift from dusty cartons at 45°F in minutes, and I’ve also watched teams blame “bad tape” when the real issue was a roll stored next to a loading bay door in winter.
Step 6: Label for accuracy
Labels should be flat, high-contrast, and easy to scan. Keep barcodes away from seams and edges. Use handling labels only when relevant: “This Side Up,” limited quantity marks, battery marks. Too many stickers create scan issues; targeted labels work better.
Step 7: Final QA and handoff
Run a final outbound check: weight verification against order data, scan confirmation, random carton integrity audit, and pallet pattern review for consolidated loads. A 2% random audit sample can catch recurring errors before claim spikes begin.
Simple SOP checklist for daily use
- Inspect product condition and count (pass/fail).
- Select approved box SKU from pick list.
- Install required inserts and cushioning by SKU standard.
- Perform shake test: no movement allowed.
- Seal using approved tape and H-pattern.
- Apply shipping label on flat face, barcode visible.
- Confirm weight tolerance (example: ±3%).
- Place in outbound lane and scan handoff complete.
I remind teams of this constantly: if your SOP isn’t visual, it won’t hold. Use photo-based instructions at each station that show correct and incorrect pack examples for the top 20 SKUs. I learned this after trying a text-heavy SOP binder years ago; no one read it unless they needed to prop up a monitor.
How to Ship Products Safely for Fragile Items and High-Value Orders
For fragile and high-value shipments, how to ship products safely gets even more specific. You need engineered immobilization, not just “extra filler.” I usually recommend a two-stage protection approach: first, secure the product with a fit-to-part insert (molded pulp, EPE foam, or die-cut corrugated depending on weight and finish), then pair it with a right-sized outer shipper designed for expected handling intensity.
Glass, ceramics, and electronics each fail differently. A candle vessel often cracks from edge shock; a serum bottle fails at the neck; a small control board can survive impact but fail later from vibration or connector stress. That’s why how to ship products safely for premium SKUs should include SKU-specific failure mapping, pilot drops, and at least one live-lane validation before broad release.
High-value orders also benefit from tighter chain-of-custody controls: scan at pack complete, scan at dock transfer, and a simple exception workflow when weight variance exceeds tolerance. Those operational controls don’t replace packaging, but they reduce preventable losses and claim disputes while protecting customer trust.
One honest disclaimer: no system eliminates damage 100%. If anyone promises zero, they’re selling you something. What you can do—what good teams actually do—is drive damage low enough that claims become an exception instead of a weekly fire drill.
Cost and Timeline: Balancing Safe Shipping with Profit Margins
Brands ask me all the time how to ship products safely without blowing up cost. Fair question, but cheap packaging can be expensive operations. True cost includes materials, labor time, freight charges, claims, reverse logistics, and support overhead. Saving $0.12 on a carton is meaningless if return handling costs $6.00 per incident.
Here’s a practical comparison from a client shipping 15,000 units per month:
| Packaging Option | Material Cost / Unit | Avg Freight Impact | Damage Rate | Total Cost per Delivered Order |
|---|---|---|---|---|
| Light box + loose fill | $0.39 | Higher DIM on 28% of orders | 5.8% | $9.74 |
| Right-sized 32 ECT + paper pad | $0.56 | DIM reduced on most SKUs | 2.3% | $8.91 |
| 44 ECT + die-cut insert | $0.81 | Stable DIM, slightly heavier | 1.1% | $8.88 |
The pattern is clear: the “more expensive” setup can still win on total delivered cost. Strong teams evaluate full landed performance, not carton unit price in isolation. That mindset sits at the center of how to ship products safely while protecting margin.
Dimensional weight is a major lever in parcel ecommerce shipping. Carriers bill whichever is greater: actual weight or DIM weight. Oversized cartons carrying low-density products become margin leaks fast. Right-sizing programs often cut filler use by 15–30% and freight spend by 8–20%, depending on SKU mix.
Implementation timelines vary by catalog complexity:
- Single SKU program: 2–4 weeks for audit, test, pilot, and rollout.
- 10–50 SKUs: 4–8 weeks with grouped packaging standards.
- Large multi-SKU catalog (100+): 8–16+ weeks with phased deployment.
Common delay points include material lead times (often 12–15 business days after proof for custom inserts), inconsistent product dimensions, carrier rule changes, and low training compliance. I’ve seen pilots stall because box SKUs were approved while tape dispensers on the floor still ran the wrong width. Frustrating? Absolutely. Avoidable? Also absolutely.
Track KPIs weekly and post results where teams can see them:
- Damage rate by SKU and carrier lane
- Pack time per order (seconds)
- Packaging cost per shipment
- Claim approval rate and cycle time
- Repeat complaint rate within 30 days
Those five indicators tell you quickly whether your how to ship products safely program is improving performance or only increasing material spend.
Common Mistakes That Cause Shipping Damage (and How to Fix Them)
I’ve audited enough operations to see the same errors across startup warehouses and mature 3PL facilities. Most fixes are straightforward and low cost if teams execute consistently.
Mistake 1: One box spec for every product.
Corrective action: Build at least three packaging tiers by weight and fragility (light/non-fragile, medium, fragile/high-value). Start with the top 20 SKUs covering about 80% of volume.
Mistake 2: Poor void management.
Underfill causes movement; overfill causes bulging and crush risk. Corrective action: set target clearance ranges and enforce a mandatory shake test. Train with real samples, not text-only instructions.
Mistake 3: Relying on “Fragile” stickers.
Stickers are not structural protection. Corrective action: strengthen internal support first (corners, inserts, wraps), then use labels as secondary communication.
Mistake 4: Weak tape application.
Dusty cartons, low pressure, the wrong tape for temperature, or poor seam coverage can lead to pop-opens. Corrective action: standardize tape spec, maintain clean storage conditions, and run weekly seal checks with a simple pull test.
Mistake 5: Launching without transit testing.
Teams learn about failures through customer complaints instead of controlled trials. Corrective action: run basic drop/compression checks and ship a 50–100 unit pilot before full rollout.
Mistake 6: No cross-team feedback loop.
Customer service sees complaints, warehouse repeats the same pack method, packaging sees data too late. Corrective action: hold a 30-minute weekly review with damage photos, claim codes, and SKU-level trend data.
“We thought returns were mostly carrier-related until we mapped damage by SKU and lane. The biggest fix was right at our own pack station.” — Operations manager, DTC home goods client
Learning how to ship products safely means building a loop you never skip: pack, measure, review, improve, retrain. That’s operational discipline in action. It’s not flashy, kinda repetitive at times, but it pays the bills.
Expert Tips and Next Steps to Ship Products Safely at Scale
Teams ready to scale how to ship products safely should start with station design. Standardize tools across every bench: same tape gun model, same tape width, same insert bins, same label printer settings. Station-to-station variation creates output variation. A California fulfillment site I supported reduced packing errors by 31% after mirroring layout across 14 benches.
Pre-kitting also pays off. If orders use the same insert set, build kits in batches of 100 during off-peak windows. Operators move faster and miss fewer components. Pair that with photo-based work instructions showing “correct fill level,” “correct label placement,” and “incorrect corner protection.” People retain visual references faster than paragraph text on a wall.
Validation cadence keeps performance stable. Monthly: random drop tests for top SKUs. Quarterly: claim trend review by carrier lane. Seasonal: tape and board checks as temperature and humidity shift. Liquid products should get closure-integrity vibration checks at least once per quarter. These routines keep package protection aligned with operating reality. I’m a big believer in cadence over heroics; you should not need a crisis to run a quality check.
Material upgrades should be data-triggered. Typical triggers include repeated corner crush above 2% on a SKU, recurring moisture exposure, high-value launches, and expansion into longer zones. Upgrade doesn’t always mean heavier board. In plenty of cases, switching from loose paper to a die-cut retention insert improves outcomes at similar cost.
30-day action plan to improve shipping safety
- Week 1: Audit current damage data, top 20 SKUs, current shipping materials, and station variation.
- Week 2: Test 2–3 packaging options per high-risk SKU; run bench drop checks and a small live pilot.
- Week 3: Finalize SOPs, station visuals, and approved materials list; train supervisors and lead packers.
- Week 4: Roll out to full shift, launch audit cadence, and review the first KPI dashboard after 7 days.
Start-tomorrow checklist (top 5 quick wins)
- Right-size the carton for your highest-volume SKU.
- Implement a three-direction shake test at pack-out.
- Standardize H-taping with an approved tape specification.
- Move labels off seams and corners immediately.
- Run a weekly cross-team damage review with photos.
I’ll close on this: mastering how to ship products safely is less about finding a miracle box and more about repeatable process control. Measure your baseline, test with intent, train consistently, and review KPIs weekly. Done well, damage rate, refund burden, and support noise all move in the right direction quickly. If your team is stretched thin, you’re gonna get farther by fixing one SKU and one lane really well than by rolling out ten half-finished changes at once.
What Is the Best Way to Ship Products Safely?
The best way to handle how to ship products safely is a repeatable system, not a single material upgrade. Use a right-sized corrugated box, immobilize the product with the right cushioning, apply correct H-taping, place scannable labels on a flat face, and validate with drop testing plus live-lane pilots. Then maintain performance with routine QA audits and KPI tracking (damage rate, claim cycle time, and pack accuracy). If you want a fast starting point, begin with your top five high-volume SKUs, tighten movement control first, and review claims weekly for 30 days before expanding changes to the rest of the catalog.
FAQ
What is the best way to ship products safely for fragile items?
Use a double-protection system: product-level cushioning plus a right-sized corrugated shipper. Immobilize the item so movement is eliminated, then validate with drop tests at realistic handling heights. That combination is the most reliable path for how to ship products safely with fragile goods. If I had to pick one non-negotiable, it’s movement control.
How can I ship products safely without spending too much on packaging?
Start with box-size optimization to reduce dimensional weight and filler use. Compare total delivered-order cost instead of unit carton price alone. Prioritize changes on SKUs with the highest damage rates, then scale only after KPI results confirm improvement. Honestly, this is where most of the savings hide, especially in parcel-heavy lanes.
How do I choose the right box strength to ship products safely?
Match board grade to product weight, stacking risk, and route length. Use stronger flute profiles or higher ECT where compression failures are common. Validate using sample shipments, claim trend tracking, and scheduled retesting so standards stay aligned with actual handling conditions.
How long does it take to set up a process to ship products safely?
Simple SKU lines can improve within a few weeks after a focused audit and pilot. Multi-SKU operations usually need a phased rollout backed by SOP controls and supervisor training. Timing depends on testing cycles, material lead times, and adoption speed on the floor. If your catalog is messy, give yourself extra time and fewer assumptions.
Can small businesses ship products safely without a dedicated logistics team?
Yes. Use standardized checklists, keep packaging options limited and clear, and follow core carrier and testing guidelines. Review damage data weekly and track a small set of KPIs. Small teams can execute how to ship products safely effectively with consistent discipline, and I’ve seen lean teams outperform much larger operations simply because their process is tighter.
Related packaging resources
Use these related guides to compare specs, costs, quality checks, and buyer decisions before making the final call.