Buyer Fit Snapshot
| Best fit | logo packaging cost review for packaging buyers who need material clarity, print proof, packing fit, cost control, and repeat-order reliability where brand print, material, artwork control, and repeat-order consistency matter. |
|---|---|
| Quote inputs | Share finished size, material target, print colors, finish, packing count, annual reorder estimate, and delivery region. |
| Proofing check | Approve dieline scale, logo placement, barcode or warning zones, color tolerance, and any recyclable or compostable wording before bulk production. |
| Main risk | Vague material claims, crowded artwork, or missing packing details can create delays even when the unit price looks attractive. |
Fast answer: Logo Packaging Cost Review: Material, Print, MOQ, and Brand Control should be specified like a repeatable production item. The safest quote includes material, print method, finish, artwork proof, carton packing, and reorder notes in one written spec.
What to confirm before approving the packaging proof
Check the product dimensions against the actual filled item, not only the sales mockup. Ask for tolerance on folds, seals, hang holes, label areas, and retail display edges. If the package carries a logo, QR code, warning copy, or legal claim, reserve that space before decorative graphics fill the panel.
How to compare quotes without losing quality
Compare board or film grade, print process, finish, sampling route, tooling charges, carton quantity, and freight assumptions side by side. A lower quote is only useful if the supplier can repeat the same color, closure quality, and packing count on the next order.
Two boxes can look almost identical on a screen and still come back with very different numbers on a factory quote sheet, and that is exactly why a logo packaging pricing guide matters before a brand locks in artwork or promises a retail launch date. I have stood on production floors where one folding carton was quoted at a few cents more than another simply because of board grade, coating, and the extra minutes needed at the folder-gluer, and those little choices add up fast. On paper, it all feels tidy; in the plant, it never is.
For Custom Logo Things, I like to explain logo packaging pricing as the full cost of turning a branded idea into production-ready, shippable packaging, not just the printed surface. That means the board, the print method, the tooling, the setup, the inserts, the freight, the carton count per pallet, and even the storage footprint if the packaging is being held before launch. If you only look at the per-unit number, you miss half the story, and that’s gonna bite you later when the landed cost lands on someone’s desk.
What Logo Packaging Pricing Really Means
The first thing most people get wrong is assuming the logo itself drives cost. Honestly, the logo is usually the smallest part of the equation. In a real logo packaging pricing guide, the bigger cost drivers are structure, substrate, finishing, and the labor needed to get everything through print and converting without waste.
I remember a cosmetics client who wanted two Custom Printed Boxes that looked nearly identical on shelf, one made from 300gsm SBS with a matte aqueous coating and the other from a heavier rigid setup with wrapped paper and a soft-touch laminate. The rigid version cost nearly four times more per unit, even before adding the foam insert, because the hand-work, wrapping time, and slower assembly line changed the math completely. Same brand feel, very different bill. That project was a good reminder that “premium” is a production decision as much as a design one.
Here is the clean way to think about it: logo packaging pricing includes unit cost, tooling or setup cost, artwork preparation, proofing, freight, and sometimes warehousing. Unit cost is the price per finished piece. Tooling covers dies, plates, magnets, embossing tools, or custom cutters. Artwork prep can include dieline adjustments and prepress fixes. Freight depends on carton size and shipping method, while storage comes into play if your packaging ships flat and waits in a warehouse for fulfillment.
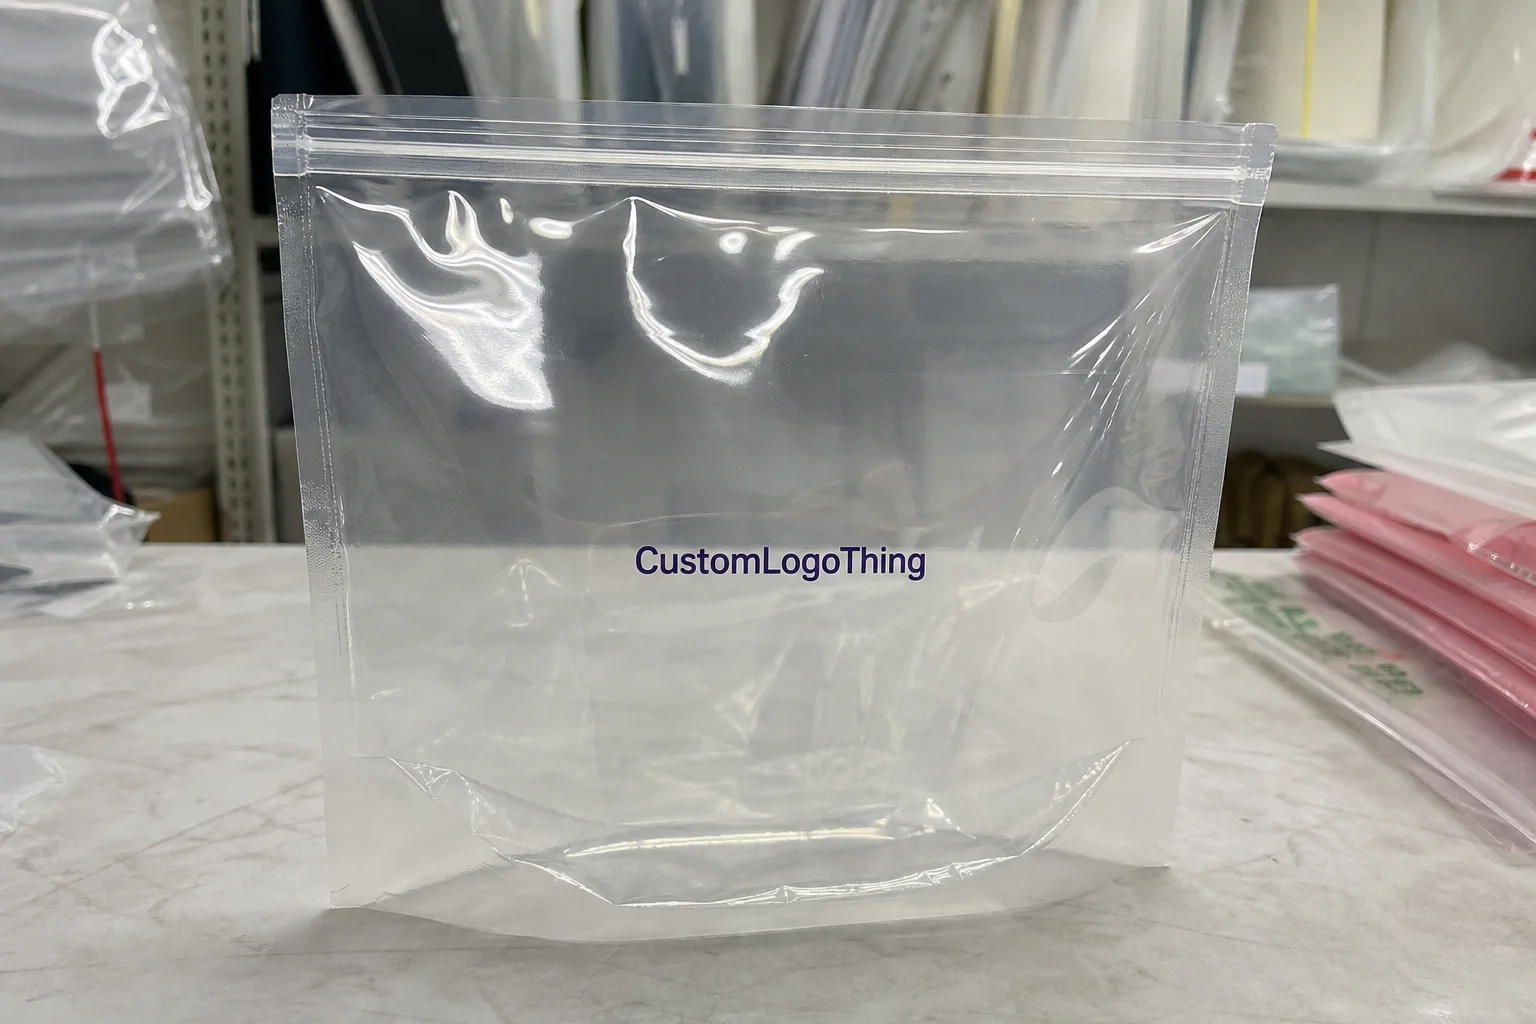
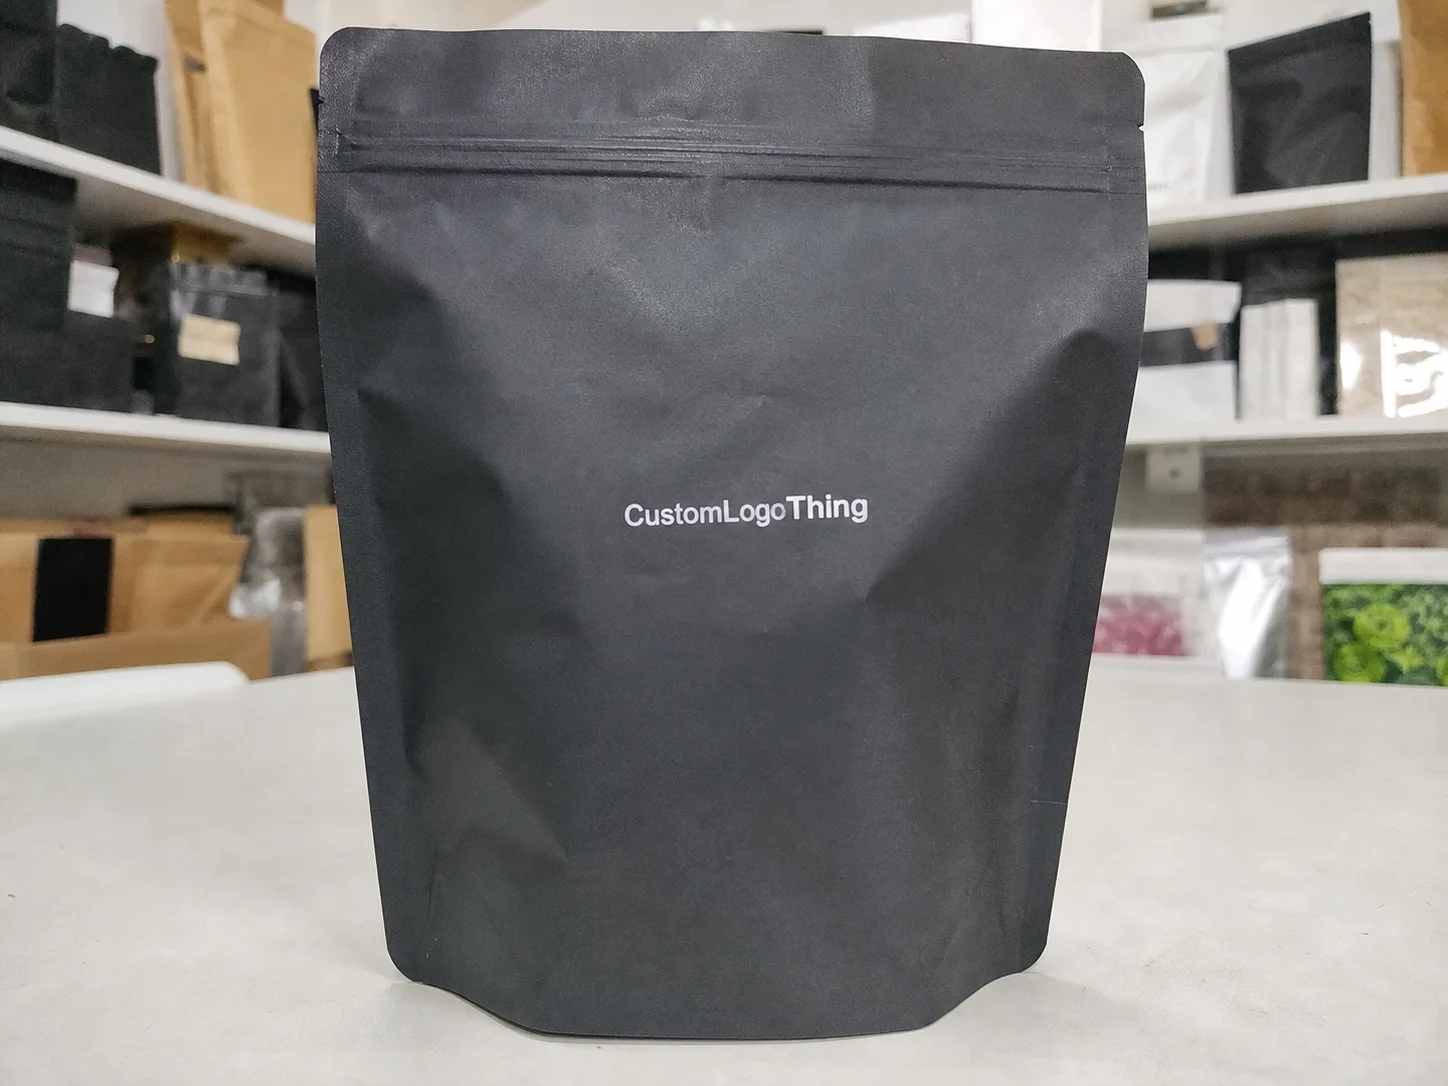
Logo packaging also covers more than boxes. I have priced folding cartons, rigid boxes, mailers, sleeves, tissue, inserts, labels, and branded tape, and each category has its own pricing structure. A simple kraft mailer for e-commerce may be quoted one way, while a premium rigid box with a ribbon pull and magnetic closure belongs in a totally different production lane. That is why a solid logo packaging pricing guide starts with packaging type, not just branding preferences.
Volume matters too. A run of 2,000 units usually carries a very different unit price than 20,000 because setup and waste are spread over fewer pieces. So does lead time. Rush jobs often squeeze the schedule on the Heidelberg press, the KBA line, or the die-cutting table, and that extra pressure shows up in the quote. In my experience, the logo is rarely the expensive part; the schedule and structure are. The most expensive packaging is usually the kind that arrives late and forces everyone to improvise.
Logo Packaging Pricing Guide: How Pricing Works from Quote to Carton
A real logo packaging pricing guide should show how a quote gets built, because that is where the money is won or lost. A supplier usually starts by asking for dimensions, quantity, packaging type, print coverage, finish details, and shipping destination. If the request is vague, the estimate will be vague too, and that is how surprises show up later on the factory floor.
After specs come structure and material selection. A folding carton might use 350gsm C1S artboard, a mailer box may use E-flute corrugated board, and a premium rigid setup box can use 2mm greyboard wrapped with printed art paper. The factory then calculates sheet yield, which is how many cut pieces fit on one printed sheet, plus die-line complexity, press setup, and post-print operations like foil stamping, embossing, spot UV, or soft-touch lamination. Each step adds time, and time is part of pricing.
Printing method changes the math too. Offset printing is usually the standard for larger runs with sharp detail and consistent color, especially for retail packaging. Flexographic printing works well for corrugated packaging and long runs where speed matters. Digital printing can make sense for shorter quantities because it cuts plate costs and reduces setup, and hot stamping adds a metallic accent that looks premium but takes another pass through the line. The best fit depends on volume, artwork coverage, and finish expectations, not just the budget line.
Here is a simple comparison I have used in supplier meetings: a plain uncoated mailer box with one-color print, no insert, and flat shipping can be relatively economical because it uses standard board and minimal finishing. A premium rigid setup box with a magnetic flap, EVA insert, foil logo, and soft-touch wrapping can jump significantly because it involves multiple materials, more hand assembly, and longer quality checks. Same product, same logo, different logo packaging pricing outcome because the structure drives labor.
“If you give a factory a logo but no dimension, no substrate, and no finish, you are not asking for a quote — you are asking for guesswork.”
I have seen this happen in a corrugated plant in Guangdong where a buyer kept asking why the quote changed every time they moved the artwork. The real issue was that the window patch, flute direction, and tuck style had never been locked. Once those details were set, the logo packaging pricing guide became a lot easier to use because the numbers were finally tied to a real production plan. A factory can work with ambiguity for a little while, but it cannot price it honestly forever.
Key Cost Factors in Logo Packaging Pricing
If you want to read logo packaging pricing correctly, start with materials. Kraft board, SBS paperboard, corrugated E-flute, rigid greyboard, specialty papers, and recycled substrates all sit in different price bands. Kraft often feels economical and durable, SBS gives a clean retail surface, and greyboard is the backbone of premium rigid packaging. Recycled or FSC-certified options may cost more or less depending on supply, grade, and current mill availability, so I never quote them as one fixed number without checking current stock.
Printing and decoration are the next big cost bucket. Full-bleed artwork uses more ink and can create more spoilage during make-ready. Spot colors require tighter matching. Foil stamping adds a die and another processing step. Embossing and debossing need pressure, tooling, and often slower handling. UV coating, aqueous coating, and tactile finishes like soft-touch laminate each have their own price and performance profile. A plain one-color kraft box and a heavily decorated luxury carton are not cousins in pricing; they are different animals.
Structural complexity has a surprising impact. Custom inserts, magnetic closures, window cutouts, unusual shapes, and tight tolerances often force more die-making and more manual labor. I once worked with a specialty tea brand that wanted nested inserts for six jar sizes inside one master carton, and the engineering time alone added a noticeable chunk to the quote because the tolerances had to hold across every SKU. A logo packaging pricing guide that ignores structure is only giving half the picture.
Minimum order quantities are another reality check. Short runs cost more per unit because the setup fees are spread over fewer pieces, and the waste percentage matters more. If a press needs 300 sheets to get color stable and your order only uses 700 finished boxes, the setup load is heavy. If you order 10,000 units, that same setup becomes much easier to absorb. That is one reason a buyer can get two wildly different numbers from two suppliers even when the carton looks identical on paper.
Logistics can be just as important as print. Bigger boxes mean fewer units per pallet, which can increase freight cost. Pre-assembled rigid boxes take more warehouse space than flat-shipped mailers. Packaging that ships from Shenzhen to Los Angeles, then to a third-party fulfillment center, may carry handling costs that never show up in a raw unit quote. I always ask whether the packaging is being shipped flat or assembled, because that one detail can shift landed cost in a real way.
Compliance and functional requirements also belong inside a serious logo packaging pricing guide. Food-safe inks, retail hang-sell holes, tamper evidence, product protection during transit, and FSC claims can all affect material selection and verification. If a brand wants sustainability messaging, the substrate and finish need to support that claim honestly. I have seen brands specify an eco look with a heavy plastic laminate, and that mismatch creates both cost confusion and trust issues. No one wants a pretty claim that falls apart under a spec sheet.
For brands comparing materials and finishes, the trade-offs often become clearer when they look at a broader catalog of Custom Packaging Products. That tends to surface where premium branding makes sense and where a simpler build will protect margin just as well.
For third-party references, I often point teams to the Packaging Machinery Manufacturers Institute for broader packaging industry context, and the EPA Sustainable Materials Management pages when sustainability claims need a grounded reality check. If your packaging must meet transit performance expectations, the ISTA standards are worth knowing too. Those resources do not replace supplier quotes, but they do keep the conversation honest.
How Do You Build an Accurate Logo Packaging Pricing Guide Budget?
A smart logo packaging pricing guide should help you budget before the first quote lands. Start with the product itself. Measure width, depth, and height carefully, then decide what the packaging has to do. Is it protecting a glass bottle in transit, sitting on a retail shelf, or creating a premium unboxing moment? Those are different jobs, and each job changes the budget.
Next, rank your needs. I like to split them into must-haves and nice-to-haves. Must-haves might be structural strength, the correct insert, and accurate branding. Nice-to-haves might be foil, embossing, or a custom ribbon. If you do not rank these early, the quote can balloon before anyone realizes the box is now trying to do three jobs at once.
Then ask suppliers for comparable quotes. That means the same dimensions, same board grade, same print method, same finish list, same destination. If one factory quotes a 350gsm SBS folding carton and another quotes a 400gsm artboard with matte lamination, you are not comparing the same thing. In supplier negotiations, I have seen buyers pick the “cheaper” offer only to discover the specs were never aligned. That is not a savings; that is a misunderstanding.
Build a little room into the budget for sampling, revisions, freight, and overage. A pilot sample, a pre-production proof, and 2-3% spoilage are normal in many packaging lines, especially when you are coordinating branded packaging across multiple SKUs. If your launch depends on zero defect tolerance, your safety margin should be higher, not lower. A thoughtful logo packaging pricing guide keeps that reality visible.
Here is the budget model I recommend:
- Set target retail price and margin.
- Back into the maximum packaging cost per unit.
- Estimate the base structure and print cost.
- Add finishes, inserts, freight, and warehousing.
- Compare the total against your margin target.
That may sound simple, but it keeps packaging design grounded in business reality. I have watched product teams fall in love with a beautiful mockup and then have to redesign it twice because the landed cost pushed them past margin. A good logo packaging pricing guide prevents that kind of heartbreak before samples are even approved. It also helps everyone in the room speak the same language, which is half the battle.
Common Pricing Mistakes Brands Make with Logo Packaging
The biggest mistake is asking for vague pricing. “How much is a logo box?” is not enough information for anyone serious about production. A useful logo packaging pricing guide always starts with exact dimensions, print coverage, finish detail, and quantity. Without those, the quote is a placeholder, not a plan.
Another mistake is choosing the lowest per-unit price without testing the packaging. If the carton crushes in transit, scuffs on shelf, or looks uneven under store lighting, the savings disappear. I have seen a beauty brand save two cents on coating and then lose far more when the display unit scratched during fulfillment. Product packaging has to survive handling, not just impress during approval.
Late artwork changes are expensive too. Once plates are made, dies are cut, and the press schedule is locked, revisions can trigger new setup fees or push the job into a later slot. That affects lead time and sometimes freight, especially if a launch date is tied to a retail reset. A clean prepress review saves more money than most brands realize. I’ve had clients come back two weeks later with a tiny text edit that turned into a full reschedule, and nobody enjoyed that conversation.
Freight is another silent budget killer. Oversized rigid boxes ship with a different cubic weight profile than flat mailers, and that changes pallet utilization. If a box wastes space, you pay for air, not just paperboard. Warehousing can have the same problem. A hundred thousand flat cartons may look cheap in isolation, but if they eat three months of storage in a high-cost fulfillment center, the landed number climbs fast.
Finally, do not over-specify. If a product does not need a magnetic closure, a foil edge, and a thick insert, those extras may look nice in a render but do little for conversion. I say this as someone who loves premium packaging: premium is only premium when it serves the product and the customer. A disciplined logo packaging pricing guide keeps that distinction sharp and helps the design stay connected to real use.
Expert Tips to Lower Costs Without Losing Brand Impact
There are several ways to lower logo packaging pricing without making the box look cheap. One of the simplest is to simplify the design. Use a single premium accent instead of stacking every possible finish. A matte box with one foil logo often feels more refined than a busy carton with foil, embossing, spot UV, and a tinted window all fighting for attention.
Material substitution can also preserve perceived value. If protection is not critical, a well-printed SBS carton can look excellent and cost less than an overly heavy rigid construction. For e-commerce, a smartly engineered corrugated mailer may outperform a more decorative but fragile structure. The right material for the right job is usually the most economical choice in the long run, even if it feels less glamorous during design review.
Lead time matters more than many brands think. If you can plan 15-20 business days instead of forcing a rush, your supplier has more room to schedule efficiently, source materials predictably, and reduce overtime. That often improves pricing. I have sat through enough factory schedule meetings to know that rush jobs are where margin goes to die. Nobody loves being the person who asks a plant to “just squeeze it in,” because the price for that request shows up somewhere.
Batching SKUs helps too. Shared dielines, modular inserts, and standard box footprints reduce setup costs across a line of products. If one cosmetics collection uses three box sizes instead of six, the design and inventory burden usually drops. That is one of the quietest wins in package branding: consistency saves money while making the line look cleaner.
Get samples approved early. A print-ready file that has already been checked for bleed, color mode, and dieline alignment avoids expensive corrections on press. I still remember a client who sent artwork in RGB with missing overprint settings, and the prepress team had to rebuild half the file. That delay alone could have been avoided with a better proofing process. A sharp logo packaging pricing guide should always reward early discipline.
If you can bring in a packaging engineer before final signoff, do it. Board caliper, fold direction, glue seam placement, and shipping efficiency all affect real cost. I have seen a two-millimeter adjustment on a carton layout improve sheet yield enough to lower the quote without changing the look at all. That kind of detail is where experienced packaging design pays for itself, especially once a line scales beyond the first launch.
Next Steps for Getting Accurate Logo Packaging Pricing
Before you request quotes, gather the essentials: product dimensions, target quantity, preferred structure, print style, finish list, and shipping destination. That one habit makes a logo packaging pricing guide immediately more useful because it turns a rough idea into something a factory can actually price.
Ask every supplier for an itemized estimate. Setup, materials, decorating, assembly, freight, and any sampling charges should be shown separately. When everything is separated, you can see where one offer is truly lower and where one supplier is hiding cost inside a bundle. I trust transparent quotes far more than attractive headline numbers.
Request one value-focused option and one premium option. That side-by-side comparison helps you judge cost against brand impact instead of guessing in the abstract. Sometimes the premium version is worth the extra $0.18 per unit because it improves shelf presence or unboxing, and sometimes the value version does the job just fine. A good logo packaging pricing guide gives you both paths without pretending there is only one correct answer.
Approve samples, verify fit, and check the packaging against actual product handling before launch. I always recommend real-world fit tests with shipping vibration, stacking, and abrasion in mind, especially if the packaging will travel through a fulfillment center. For transit-sensitive projects, ISTA testing language can be helpful, and for sustainability claims, FSC sourcing or verified recycled content should be confirmed before anything goes to press.
My three-part action plan is simple: define the specs, compare like-for-like quotes, and lock in the version that protects margin while still elevating the brand. That is the heart of a practical logo packaging pricing guide, and it is the difference between packaging that merely exists and packaging that actually supports sales. If you start there, the rest of the process gets a whole lot easier.
FAQs
How do I estimate logo packaging pricing for a new product line?
Start with exact dimensions, material preference, print method, and quantity because those four inputs drive most of the quote. Ask for itemized costs so you can separate setup, materials, finishing, and freight. Use two quote scenarios, one value-oriented and one premium, to understand the cost range before design is finalized.
What affects custom logo packaging pricing the most?
Order volume, material choice, and finishing complexity usually have the biggest impact on unit cost. Structural features like inserts, magnets, windows, and unusual shapes can raise labor and tooling costs quickly. Rush timelines and multiple revision rounds can also increase the final price.
Is digital printing cheaper for logo packaging?
Digital printing can be more economical for short runs because it reduces setup and plate costs. For larger quantities, offset or flexo often becomes more cost-effective per unit. The best choice depends on artwork coverage, quantity, turnaround, and the finish you want.
How long does it take to produce branded packaging with a logo?
Simple digital runs can move faster, while Custom Rigid Boxes, special finishes, or complex inserts take longer. Timeline usually includes sampling, proof approval, production, finishing, packing, and shipping. The more custom the structure, the more important it is to allow extra lead time for tooling and quality checks.
How can I reduce logo packaging cost without making it look cheap?
Focus on one or two high-impact design elements instead of layering every possible finish. Choose a structure that fits the product efficiently and avoid oversizing the box. Simplify artwork, standardize sizes, and plan larger runs when possible to lower per-unit cost.