If you are buying custom auxbeam stickers, the main risk is not the artwork proof. It is whether the finished decal still looks good after sun, heat, wash cycles, handling, dust, and imperfect application. Many cheap decals look fine on day one, then curl, scuff, fade, or lose grip once they meet a real surface.
For Auxbeam-style branding, stickers may be used on toolboxes, packaging, product kits, windows, promo handouts, vehicle glass, or shop equipment. The right spec depends on where the decal goes, how long it should last, and how polished it needs to look after installation.
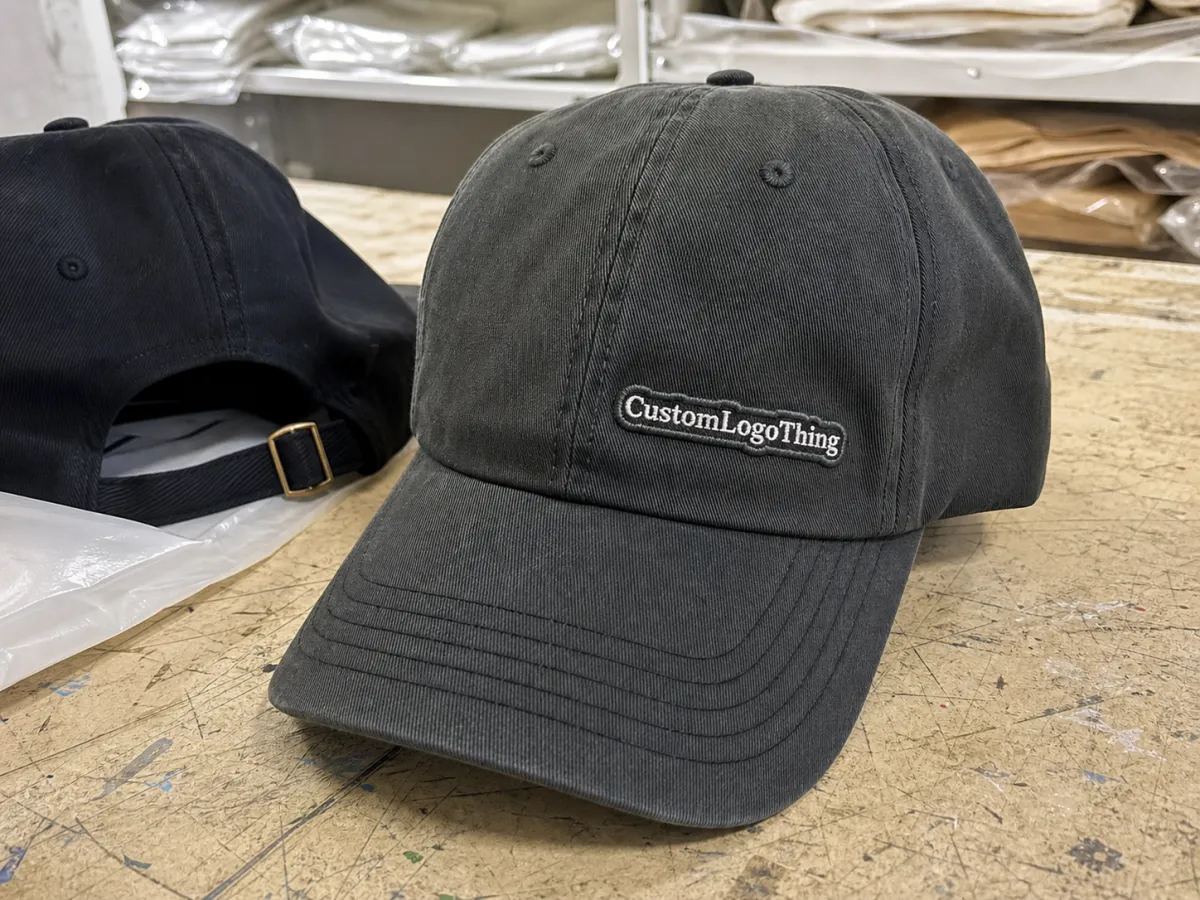
What custom auxbeam stickers are and why cheap decals fail fast
Custom auxbeam stickers are printed decals built for a defined use: contour-cut logo stickers, accessory labels, kit inserts, weather-resistant decals, or promo stickers. Problems usually start when buyers order by appearance alone instead of matching the build to the job.
Low-cost decals fail in predictable ways. Paper stock absorbs moisture and ripples or peels. Thin vinyl without laminate scratches quickly. Weak adhesive lifts on textured plastic, powder-coated metal, or slightly dirty surfaces. Poor artwork creates fuzzy edges, muddy contrast, and text that looked readable only on screen.
The decal that looks best in the proof is not always the one that performs best after a month of use. A clean mockup says little about how a sticker will behave on a curved case, truck window, helmet, or bracket. Material, adhesive, and laminate matter more than many first-time buyers expect.
The safest way to order is to start with the use case. Ask where the sticker will be applied, how long it needs to last, and what abuse it will see. A short-run event giveaway can be built very differently from an outdoor vehicle decal or a label inside packaging.
How custom auxbeam stickers work on real surfaces: material, adhesive, laminate, and cut
Every sticker is a layered construction: face stock, print, adhesive, liner, and often laminate. Buyers usually focus on the printed surface, but performance usually depends on the layers they do not see.
White vinyl is the default for most jobs because it prints cleanly and works for many indoor and outdoor uses. Clear vinyl is useful when the surface should show through, especially on glass or smooth painted panels. Holographic film is more of a visual upgrade for merch or promo packs than a durability upgrade. Paper stock fits short-term indoor packaging, not demanding outdoor use.
Adhesive choice is just as important. Permanent adhesive is usually better for vehicles, tools, equipment, and long-term use. Removable adhesive works for temporary campaigns or situations where cleaner peel-off matters more than maximum grip. On rough, curved, or outdoor surfaces, removable adhesive often lifts early.
Laminate is often treated as optional, but for many decals it is what makes the print usable. It protects against scuffing, moisture, UV, skin oils, cleaners, and repeated handling. In garages, vehicle applications, and kit packaging, laminate is often worth the added cost.
Finish affects both appearance and use. Gloss deepens color and adds pop. Matte reduces glare and can look cleaner on equipment or premium packaging. Clear stock can minimize visible edges, but artwork may need white ink planning so the design does not disappear into the background.
Cut format and surface behavior
Cut style changes how the decal is handled. Kiss-cut stickers stay on a larger backing sheet, making them easier to peel, especially for intricate shapes. Die-cut stickers are cut fully to shape and suit handouts, merch inserts, and standalone branding. Sheets work well for small labels or mixed sets, while rolls make more sense for higher-volume packing or assembly use.
Surface type affects results immediately. Glass is forgiving. Smooth painted metal is often straightforward if it is clean and fully cured. Textured plastic, powder-coated metal, rubberized parts, and low-energy plastics are harder. A sticker that performs well on glass may fail quickly on a rough molded case.
If the surface is unusual, order a sample and test it first. One small trial can save an entire run from becoming scrap.
For broader packaging and print material standards, the Institute of Packaging Professionals and testing references from ISTA are useful starting points if you want to focus on handling and performance, not just appearance.
Key buying factors before you order: use case, durability, artwork, and finish
Use case should drive every other decision. A sticker meant for an indoor giveaway has very different requirements from a decal on a vehicle, storage case, or shop window. Some only need to look good for a few weeks. Others must survive weather, UV, handling, and cleaning for months or years.
Placement matters more than many buyers assume. Windows, powder-coated housings, painted metal, helmets, corrugated boxes, and molded plastic cases all behave differently. A sticker used on retail packaging can often be lighter and less expensive. A decal used on outdoor gear usually needs stronger adhesive, tougher stock, and laminate.
Durability should be discussed in plain language. Ask whether the needed lifespan is weeks, months, or years. Terms like “premium” are less useful than actual construction details such as material type, laminate, adhesive, and intended exposure.
Artwork is another major split between smooth orders and frustrating ones. Vector files are usually best for logos and cut lines. Bleed matters when color runs to the edge. Safe zones matter when text sits near a contour cut. Clear stock may require white ink planning. Tiny text should be checked at actual print size, not just on a large monitor.
Viewing distance matters too. Small decals need bolder detail and simpler layouts. Designs packed with thin outlines or micro text often look sharp in presentations and then fall apart in production.
Color expectations also need a reality check. Screen colors are backlit and usually brighter than print. If brand color is important, specify Pantone targets where possible, but understand that substrate and finish still affect the result.
Special features can add value when they support the job. Rounded corners resist lifting better than sharp points. QR codes can work on product kits if printed large enough to scan. Metallic effects, holographic stock, serialized numbering, and custom contour cuts can all be useful, but each affects cost, lead time, or both.
Custom auxbeam stickers pricing: cost drivers, MOQ, and where the quote changes
Sticker pricing is mainly driven by size, quantity, material, laminate, cut complexity, number of artwork versions, and packing format. Ask for pricing without dimensions, quantity, and usage details, and the quote will be little more than a placeholder.
Small runs usually have the highest unit cost because setup and proofing are spread over fewer pieces. At 250 units, pricing often starts to improve. At 500 or 1,000 units, standard vinyl jobs become much more efficient if the size and cut remain simple.
| Run size | Typical unit cost range | What usually drives the price |
|---|---|---|
| 100 pieces | $0.65-$1.50 | Setup spread over few units, proofing, small-run labor |
| 250 pieces | $0.35-$0.85 | Better spread of setup cost, still affected by cut complexity |
| 500 pieces | $0.18-$0.50 | Better economics on standard vinyl and common sizes |
| 1,000 pieces | $0.10-$0.32 | Efficient on simple specs, especially for repeat orders |
These ranges are planning numbers, not fixed promises. Large decals, heavy ink coverage, specialty films, multiple SKUs, exact color matching, individual bagging, variable data, or rush production can move pricing outside them quickly.
Some upgrades earn their cost. Clear vinyl makes sense when the surface is part of the look. Holographic stock fits promo packs better than utility labels. A heavier outdoor laminate is a practical upgrade for weather, abrasion, or repeated cleaning. For many straightforward jobs, standard white vinyl with the right adhesive is still the most sensible choice.
Packing format also changes labor and shipping. Rolls suit faster application in production settings. Flat die-cuts are easy to hand out or include in kits. Sheets are practical for smaller labels or mixed sets.
Buyers who already manage Custom Labels & Tags or broader Custom Packaging Products usually benefit from tiered pricing requests at 100, 250, 500, and 1,000 units so the real quantity break is visible.
If sustainability matters, ask direct questions about substrate options, waste handling, and disposal. The EPA offers useful guidance when those material questions matter across a larger packaging program.
Production process and lead time: from artwork proof to packed order
The production path is usually simple: inquiry, spec review, artwork check, proof approval, print scheduling, production, finishing, packing, and shipping. The stage that causes the most trouble is proof approval. That is where wrong dimensions, missing bleed, spelling errors, cut-path issues, and unrealistic color expectations should be caught.
Simple repeat orders move faster than first-time jobs with weak files or specialty requirements. Standard white vinyl, common shapes, and one approved version are easier to schedule than holographic stock, multiple SKUs, or custom packouts.
Lead time should always be separated into production time and delivered time. A short production window does not help if shipping adds several more business days. Confirm the in-hands date, because that is the date that matters.
Rush service can help, but it does not fix missing approvals, bad files, or unavailable materials. On many projects, buyer-side delays create more schedule problems than printing does. One decision-maker and fast, careful proof review usually do more for timing than any “urgent” label.
These habits keep production on track:
- Approve proofs quickly and carefully.
- Consolidate SKUs where possible.
- Lock quantity before production begins.
- Avoid design edits after proof approval.
- Request sample photos or a pre-production check for high-visibility jobs.
For reorders, save the approved artwork, exact material, finish, adhesive, and notes about where the stickers were applied. If one version worked on painted metal but failed on textured plastic, that record makes the next order smarter.
Step-by-step: how to order the right decal spec the first time
- Define the job. Is it for outdoor gear, packaging, retail display, a vehicle, or a short-term promotion?
- Identify the surface. Glass, painted metal, textured plastic, corrugated board, and powder-coated parts need different approaches.
- Set the size by use. Base dimensions on placement and viewing distance.
- Choose material and adhesive. Match indoor or outdoor stock and removable or permanent adhesive to the real job.
- Select finish and cut style. Decide between gloss or matte, then singles, sheets, or rolls, with kiss-cut or die-cut formatting.
- Prepare the artwork properly. Use vector files where possible, include bleed if needed, and make sure cut lines are clean.
- Request a complete quote. Include quantity, dimensions, surface type, finish, packing format, and delivery date.
- Review the proof like final production. Check spelling, scale, orientation, cut path, and color expectations before approval.
Most sticker failures are not print failures. They are spec failures built into the order before production starts.
Storage and installation also matter. Keep sheets or rolls dry, flat, and away from heat. Apply decals to clean, dry surfaces. Dust, oil, cold temperatures, and rushed installs can shorten life even when the sticker itself was produced correctly.
Common mistakes and the next steps that save money on your next run
Common mistakes include choosing paper stock for outdoor use, pairing removable adhesive with rough or weather-exposed surfaces, and approving artwork with text too small to read in print. Mockups also hide fuzzy source files, awkward cut lines, and details that collapse at actual size.
Application errors are just as costly. Dirty surfaces, cold installs, trapped bubbles, stretched vinyl, and rushed placement all reduce decal life. Rounded corners usually hold better than sharp points, and a simple on-surface test before full production is often the cheapest insurance on the order.
A practical way to save money is to stop forcing one spec to do every job. A packaging insert, a garage decal, and a vehicle label often should not share the same construction. Splitting the order by use case can prevent one version from being overbuilt while another is underbuilt.
It also helps to build a basic reorder system. Save approved files. Record the material, laminate, finish, and adhesive. Note where the stickers were used and how they performed after a few weeks or months so you do not repeat avoidable mistakes on the next run.
FAQ
What should you Check Before Ordering custom auxbeam stickers?
Check the exact surface, indoor or outdoor exposure, expected lifespan, adhesive type, and artwork readiness. For most outdoor uses, white or clear vinyl with laminate and permanent adhesive is a safe starting point. For packaging labels or short-term handouts, a simpler spec may be enough.
What material is best for custom Auxbeam stickers used outdoors?
Outdoor white or clear vinyl with a protective laminate is usually the safest starting point. Permanent adhesive tends to perform better on vehicles, gear, and tool surfaces exposed to weather, heat, and handling. If the surface is unusual, test first.
How much do custom auxbeam decals usually cost per piece?
Per-piece pricing depends mostly on size, quantity, material, laminate, and cut style. Small runs cost more because setup and proofing are divided across fewer units. Specialty films, exact color targets, variable data, and rush service all raise the total.
What is the typical lead time for custom Auxbeam logo stickers?
Lead time usually includes proof approval, production, finishing, packing, and shipping. A simple repeat order can move much faster than a first-time job with artwork fixes or specialty stock. Always confirm the in-hands date, not just the production completion date.
Should I order die-cut or kiss-cut custom auxbeam stickers?
Die-cut singles work well for handouts, product inserts, and standalone decals. Kiss-cut stickers are easier to peel and often better for detailed shapes. Sheets fit smaller labels or mixed sets, while rolls suit higher-volume application.
Can custom auxbeam stickers be removed without damaging the surface?
Removable adhesive improves the chance of clean peel-off on smooth indoor surfaces, but actual removability still depends on temperature, dwell time, surface condition, and paint quality. If clean removal matters, say so before quoting and test on the real surface first.


