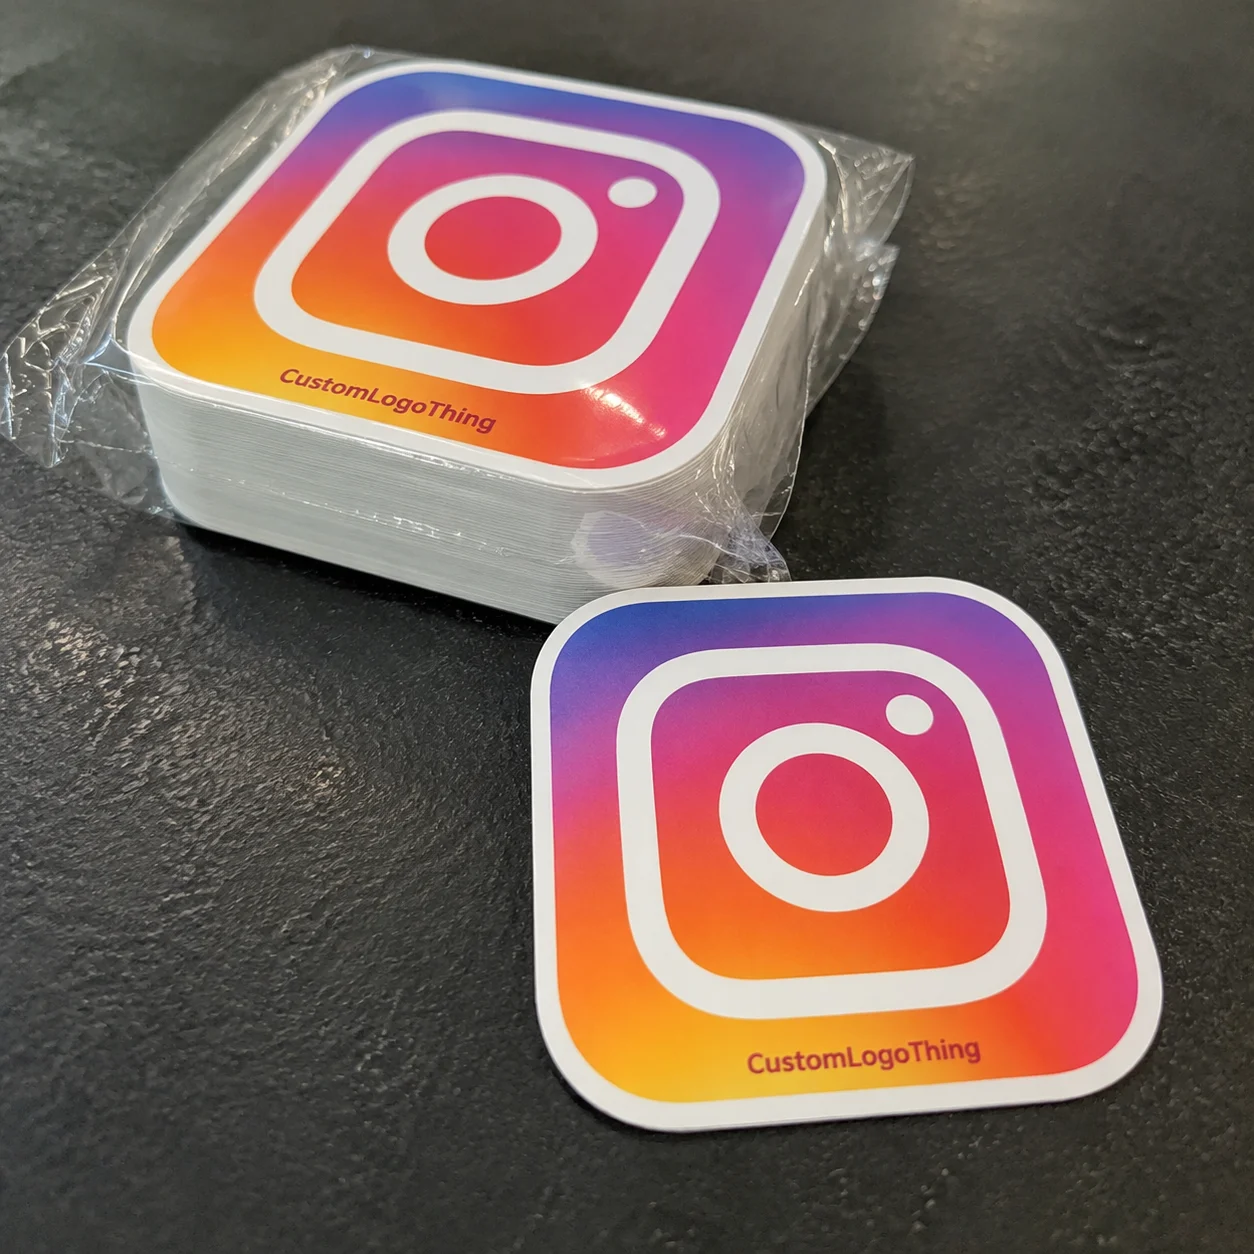
A guitar headstock is a tiny billboard. Players notice it immediately, then judge it like a signature. Custom headstock stickers give builders, repair shops, schools, hobbyists, and small brands a clean way to place a logo or identifier on one of the most visible parts of the instrument without engraving, burning, routing, or committing to a full production screen print.
That small space is also what makes the job fussy. A mark that looks sharp on a monitor can turn muddy at 1.75 inches wide. Clear film can vanish over dark rosewood veneer. An adhesive that behaves well on gloss polyurethane may be the wrong move on an older lacquer finish. Headstock decals are not general-purpose stickers with better manners. They are miniature instrument branding, and the details matter.
What Custom Headstock Stickers Are and When They Make Sense
Custom headstock stickers are thin printed decals, labels, or transfers made to fit the face of a guitar, bass, ukulele, banjo, mandolin, or similar stringed instrument headstock. They are used for boutique builds, prototypes, restoration-style labels, classroom guitar projects, repair shop work, short-run private labels, and personal instruments where the owner wants a polished mark without permanent alteration.
The terminology gets messy fast. A decorative sticker is usually a pressure-sensitive label with ink printed on vinyl, polyester, or a paper-based stock. A waterslide decal is a very thin printed layer released from backing paper with water, positioned by hand, and often sealed under clear coat. A vinyl transfer is cut from colored vinyl and moved with transfer tape, which works well for simple one-color marks. A printed label can be clear, white, metallic, laminated, kiss-cut, contour-cut, or supplied on sheets.
None of these choices wins by default. The right construction depends on the headstock finish, the artwork, the level of permanence wanted, and whether the decal will sit on top of the finish or be buried under a compatible clear coat. A player who wants a reversible logo on a modern gloss finish may choose a removable clear or white film. A builder finishing a small batch may want a waterslide or ultra-thin film that can be tested under clear.
Practical rule: a headstock decal is not just a small logo. Scaling, adhesive behavior, edge visibility, ink opacity, cut accuracy, and finish compatibility all become more obvious because there is nowhere for sloppy production to hide.
The better question is not “Can this logo be printed?” Most logos can be printed somehow. The useful question is: “Can this material, at this size, on this surface, create the look I expect?” That one shift prevents a lot of expensive disappointment.
How Guitar Headstock Decals Work on Real Surfaces
Most headstock stickers bond through pressure-sensitive adhesive. The adhesive is already on the back of the film and needs clean contact, steady pressure, and dwell time to wet out across the surface. On a smooth gloss polyurethane headstock, it usually gets broad, even contact. On a satin finish or open-grain veneer, the surface has more texture. Less contact can mean weaker grip and a higher chance of edge lift.
Common headstock surfaces include gloss polyurethane, nitrocellulose lacquer, satin urethane, painted faces, sealed maple, sealed mahogany, and decorative wood veneers. Gloss poly is usually the most forgiving. It is hard, smooth, and chemically resistant after full cure. Nitrocellulose lacquer needs more caution. It can be softer, more reactive to solvents, and more prone to witness marks, especially on older instruments or pieces that were sprayed recently.
Satin coatings are their own little trap. They may accept a decal cleanly, then show a shiny patch or rub mark if the decal is removed months later. That does not mean satin is impossible. It means “removable” should not be treated as magic.
Placement is more exacting than putting a label on a laptop. Tuner holes break up the usable space. String posts, washers, truss rod covers, inlays, curves, bevels, and asymmetrical headstock shapes can make a mathematically centered logo look slightly wrong. Small script lettering may also creep too close to a tuner washer once the hardware is installed. On paper it fits. On the instrument it looks crowded. Annoying, but common.
Many players apply headstock stickers over the finish because they want reversibility. Builders may prefer to clear coat over a compatible decal for a more integrated look. That route needs testing. Solvent-based clears can attack certain inks, adhesives, and films. Waterborne finishes are not automatically safe either; some decal edges swell, haze, or telegraph under coating if the construction is not suited for it.
Removable does not mean residue-free forever. Heat from a stage, humidity inside a case, UV exposure near a window, pressure from a stand hanger, and long dwell time can change adhesive behavior. A label removed after two days is a different situation from one removed after two years.
Material, Adhesive, Size, and Finish Factors to Decide Early
Material choice controls both appearance and application. Clear film is popular for printed logos on light maple, white paint, cream finishes, and other predictable backgrounds because the headstock color shows through. White vinyl gives stronger color and better contrast, especially over black paint, dark veneer, sunburst finishes, or busy grain. Metallic film works for gold, chrome, brushed silver, and badge-style marks, though glare can make fine detail harder to read. Transfer-style graphics suit simple shapes and one-color logos. Waterslide decal stock works for thin, restoration-style applications, especially when the decal will be sealed.
Clear film has a predictable problem: ink alone may not be opaque. Yellow, red, cream, or light gray printed on clear material can look weak over walnut, black lacquer, or a dark burst. White ink or an opaque backing layer can solve that. It also adds setup and may change the quote. This is the same issue seen on clear product labels. Ink needs a base when the background is not doing it any favors.
| Option | Best Use | Typical Consideration | Relative Cost |
|---|---|---|---|
| Clear printed film | Light or solid headstock faces | May need white ink for contrast | Low to medium |
| White vinyl | Dark paint, dark veneer, bold logos | Visible edge unless contour-cut closely | Low to medium |
| Metallic film | Gold, silver, badge-style marks | Glare can reduce fine detail | Medium to high |
| Transfer vinyl | Simple one-color shapes | Tiny islands and thin strokes can weed poorly | Medium |
| Waterslide decal | Very thin, clear-coated applications | Requires careful handling and compatibility tests | Medium to high |
Adhesive choice deserves the same attention. Permanent adhesives can grip aggressively but may leave residue or disturb delicate finishes during removal. Removable adhesives are easier to lift early in their life, but they still build bond over time. Low-tack options reduce risk during positioning, yet they may not hold well on textured or satin surfaces. There is always a tradeoff. Anyone promising perfect removability on every guitar finish is selling confidence, not physics.
Finish changes the visual result. Gloss laminate adds shine and scratch resistance, but it can look too reflective on a satin headstock. Matte and satin laminates reduce glare and blend better with understated instruments, though they may show oils from handling. A thin protective laminate, often around 1.0 to 2.0 mil depending on the supplier and film system, helps protect ink from cloth wiping, finger contact, and the occasional careless string change.
For size, measure the usable headstock face rather than the entire headstock. Leave at least 3 to 5 mm from edges, tuner holes, inlays, and bevels when possible. Very small lettering below roughly 4 to 5 pt can become hard to read. Thin strokes under about 0.25 mm may print, cut, or weed inconsistently, depending on the process. A logo with elegant hairline script might look classy at six inches wide and completely tired at one inch wide. Scale is rude that way.
Vector artwork is strongly preferred. AI, EPS, SVG, or production-ready PDF files allow clean scaling, smooth outlines, accurate kiss-cut paths, and easier color control. High-resolution PNG or TIFF files may work for simple printed shapes, but they are less flexible when the design needs a tight contour cut, metallic layer, white ink plate, or cleanup around small lettering.
If the project also uses Custom Labels & Tags for cases, straps, hang tags, or retail packaging, keep the logo system consistent. The headstock decal may be tiny, but it still belongs to the same visual family as the label on the box, card, or case tag.
Pricing, MOQ, and Unit Cost for Small Guitar Sticker Runs
Pricing for custom headstock stickers is driven by setup time, material, print method, white ink layers, cut complexity, finish, proofing, and quantity. Square inches matter, but they are not the whole quote. A 2-inch metallic contour-cut decal with white ink and transfer tape can cost more to produce than a larger rectangular label on standard white vinyl.
Small runs carry a higher unit cost because the fixed labor does not shrink much. Someone still has to check artwork, build or confirm cutlines, set up the print, verify color, run the cutter, weed or strip waste if needed, inspect the pieces, and pack them so small parts do not curl or scuff. Those steps are spread across 25 pieces or 2,500 pieces. This is why a prototype set can feel expensive per decal while a limited production batch becomes much more reasonable.
As a working range, simple small-format decals may land around $1.50 to $4.00 each for very short runs of 25 to 50 pieces, depending on artwork and material. Runs of 250 to 500 pieces may drop into the $0.35 to $1.25 range for standard films. Specialty metallic, white ink on clear, multi-version orders, laminate, tight contour cutting, or transfer-tape handling can push costs higher. Treat those numbers as planning ranges, not promises. Proofing labor and construction choices can move the final price quickly.
MOQ is mostly about production efficiency. A builder ordering one prototype logo has different economics than a repair shop ordering decals for 100 instruments. If you need one finished guitar, ordering 5 to 10 extras is still smart because hand application on a small curved surface is easy to misalign. Dust happens. Fingers slip. The first attempt is not always the hero.
For repair shops, schools, and small builders, larger batches also protect consistency. If a headstock is refinished later, an extra decal from the same production run avoids mismatched color, film thickness, or cut shape. That matters more than people think, especially with metallic finishes and warm off-white inks.
Standard shapes usually cost less than intricate die cuts. One-color marks are easier than full-color artwork with tight registration. Stock films cost less than specialty metallic, clear-plus-white constructions, unusual laminates, or low-volume waterslide work. The quote process moves faster if you send final size, quantity, material preference, finish target, artwork file type, and whether you need samples, proofs, or multiple logo versions.
Process and Timeline from Artwork Proof to Finished Stickers
A clean order follows a simple path: measure the headstock, prepare artwork, choose material and finish, Request a Quote, review the proof, approve production, print, cut, inspect, pack, and ship. Nothing glamorous. Just a sequence that works when people do not skip the boring parts.
Proofing is the quality-control step buyers sometimes rush, usually because the decal is small. Bad idea. A proof should confirm final scale, cutline placement, visible border or bleed, color expectations, white ink layers, and whether the decal is face-applied, transfer-applied, or supplied as a waterslide-style piece. For clear materials, the proof should make obvious which areas stay transparent and which areas receive white backing.
Good production checks are practical, not theatrical. Are the small counters in the letters still open? Does the cutline stay far enough from the printed edge? Is the metallic film scratching during handling? Are transfer-tape pieces lifting tiny dots or thin strokes? Does the sheet layout leave enough room to remove a decal without bending it? These are the little checks that separate a clean headstock mark from a fiddly mess in a plastic bag.
Typical timelines vary. With clean vector artwork, a standard material, and quick proof approval, production can often move in about 5 to 10 business days, plus shipping. Add revisions, specialty film, white ink testing, laminate curing, or multiple versions, and a safer planning window may be 10 to 15 business days after proof approval. If the instrument finish is unusual, valuable, vintage, freshly sprayed, or sensitive to adhesives, add time for sample testing before the full run.
For buyers used to Custom Packaging Products such as custom printed boxes, inserts, or branded packaging, the rhythm will feel familiar. Artwork preparation and proof approval shape the schedule as much as press time. The same production discipline applies here, only the finished piece is small enough to lose on a cluttered bench.
Broader packaging habits still help. Standards groups such as ISTA focus on transport testing, and organizations such as FSC deal with responsible fiber sourcing. A guitar decal is not a shipping carton, obviously. Still, good suppliers think in terms of material consistency, clean packing, flat storage, and predictable handling from print to delivery.
Step-by-Step Guide to Measuring, Ordering, and Applying
Start with the headstock, not the artwork. Use a ruler or calipers to measure the maximum usable width, available height, tuner hole positions, truss rod cover clearance, and safe margins from edges or curves. If tuners are already installed, measure the visible space between washers. If the hardware is off, mark the holes on a paper template so the logo does not drift into hardware later.
- Measure the face: record width, height, tuner spacing, edge distance, inlay locations, and screw positions.
- Mock up the placement: print the logo on paper at actual size, cut it roughly, and tape it to the headstock with low-tack tape.
- Check the viewing angle: look at the guitar on a stand, in playing position, and straight-on before approving size.
- Send usable artwork: provide vector files when possible; high-resolution PNG or TIFF may work for simple printed shapes.
- Confirm finish goals: specify gloss, matte, satin, clear film, opaque white, metallic, laminate, or transfer tape requirements.
A logo that feels balanced on a monitor may look oversized once it sits between tuner posts. Paper mockups catch that problem for pennies. Actual-size checks also reveal practical issues: script that closes up, a tail that runs too close to the edge, or a mark that is centered by measurement but not by eye.
For application, clean the surface using a method appropriate for the finish. On many modern gloss finishes, a dry microfiber cloth followed by a mild approved cleaner is enough. Avoid flooding the area. Do not assume alcohol is safe for every instrument finish, because it is not. Let the surface dry fully before applying anything.
A tape hinge helps with alignment. Place the decal, secure one edge with low-tack tape, lift the graphic, remove the liner, and lay it down slowly with even pressure from the center outward. A soft squeegee wrapped in microfiber can help, but heavy pressure near edges, inlays, or old finish checks is asking for trouble. If the product uses transfer tape, peel the transfer tape back at a low angle instead of pulling straight up.
After placement, leave the decal alone. No picking at the corners. No aggressive wiping. Pressure-sensitive adhesive often builds bond over 24 to 72 hours depending on the adhesive system, surface energy, temperature, and humidity. If you are working on a delicate, vintage, or recently finished instrument, test cleaning products and adhesive samples on a hidden or sacrificial area first.
Common Mistakes and Smart Next Steps Before You Order
The most common mistake is starting with poor artwork. A screenshot, social media image, or phone photo of a logo may look acceptable on a screen, but it usually lacks clean edges for small print and accurate cutting. If the design has thin script, a crest, tiny registration marks, or a tight outline, vector cleanup is usually worth the cost.
- Skipping a size check: print the logo at actual size before ordering.
- Choosing clear film over a dark surface: use white ink or an opaque base when contrast matters.
- Crowding tuner holes: leave a real safety margin around washers, screws, posts, and curves.
- Assuming all adhesives are safe: match adhesive choice to the finish and desired removability.
- Rushing fresh finishes: coatings can keep curing after they feel dry to the touch.
Freshly finished headstocks deserve special caution because solvents and coatings may still be releasing or hardening. Applying a decal too soon can trap solvent, create witness lines, soften adhesive, or affect later clear coat behavior. Cure schedules depend on coating chemistry, film thickness, shop conditions, and finishing process. Follow the finish manufacturer’s guidance and test first. Yes, that sounds boring. It is still cheaper than refinishing a headstock.
Order extras. For a single personal instrument, spare decals protect you against dust, crooked placement, and future repair needs. For builders, schools, and shops, extras help with test applications, color reference, and replacement if a headstock is refinished later.
Before requesting a quote, photograph the headstock straight-on, measure the usable space, decide whether the decal should be removable or clear-coated, collect the best artwork file, choose a finish target, and note the background color. Those details let a supplier recommend the right construction instead of guessing from a logo alone.
Custom headstock stickers look best when they are treated like small-format instrument branding: measured carefully, printed on the right material, tested against the finish, and applied with patience. Do that, and the final mark looks intentional. Skip those steps, and it looks like a sticker. Because, well, it is.
FAQ
Are custom guitar headstock stickers safe for all finishes?
They are safest on fully cured, smooth, sealed finishes such as modern gloss polyurethane. Vintage lacquer, fresh paint, satin coatings, and delicate custom finishes should be tested first. Ask about adhesive type, removability, and surface compatibility before applying anything to a valuable or recently finished instrument.
What file type is best for custom headstock decals?
Vector files such as AI, EPS, SVG, or production-ready PDF are best because they scale cleanly and allow accurate cutlines. High-resolution PNG or TIFF files may work for simple printed logos, but small lettering, metallic effects, white ink layers, and shaped cuts often need vector cleanup before production.
Can headstock logo stickers be clear coated?
Some decal materials can be clear coated, but compatibility depends on the film, ink system, adhesive, and clear coat chemistry. Always test on a sample first. Solvent-based clears can wrinkle, lift, bleed, or discolor incompatible decals, and waterborne clears can still cause issues with the wrong construction.
How small can lettering be on a headstock sticker?
Readable size depends on font style, print method, contrast, and finish. Very thin strokes and tiny script fonts can fill in, break, or become hard to cut cleanly. As a rough guide, lettering below 4 to 5 pt and strokes under about 0.25 mm deserve extra caution and an actual-size proof.
How many custom headstock stickers should I order?
Order more than the exact number of instruments. Small decals can be misaligned during hand application, and extras are useful for testing. For builders or repair shops, a larger batch often lowers unit cost because setup and proofing time are spread across more pieces.

