A label can look perfect on a screen and still fail on the package. Most problems with custom labels and stickers come from the spec sheet, not the artwork. The wrong adhesive on a chilled bottle, the wrong stock on a textured pouch, or the wrong roll setup for an applicator can turn a decent design into waste.
Buyers often group labels and stickers together because both are printed adhesive pieces. Suppliers separate them by face stock, adhesive, liner, finish, and application method. Those choices determine whether the piece sticks, peels cleanly, feeds through equipment, and survives moisture, oil, abrasion, sunlight, or cold storage.
In practical terms, labels usually identify or instruct: ingredient panels, barcode labels, jar labels, warning copy, batch info. Stickers are often used for promos, mailer seals, inserts, decals, or giveaways. The construction can overlap, but the job usually does not.
The main buying questions are simple: what surface is it going on, what conditions will it face, and how will it be applied? If you are comparing broader Custom Packaging Products, the same rule applies here: specs usually matter more than visuals.
Custom Labels and Stickers: What They Are and Why Small Spec Choices Cause Big Problems
Small spec changes create large production differences. Switch from sheets to rolls and suddenly unwind direction, core size, roll diameter, and gap spacing matter. Move from white paper to clear BOPP and white ink, opacity, and contrast become critical. Add gloss laminate and you gain durability, added thickness, and more cost.
A paper label may work well on a dry glass jar, then wrinkle on a refrigerated beverage. A removable adhesive may be fine for a promo decal, then fail on a dusty kraft mailer. These are not print defects. They are mismatches between the build and the environment.
Artwork still matters, but performance usually starts with three questions:
- What surface is this going on?
- What conditions will it face?
- How will it be applied?
Answer those first and the job becomes easier to quote, test, and reorder accurately.
How Labels and Stickers Work in the Real World
Every adhesive piece is a small construction system. A standard build includes:
- Face material: paper, BOPP film, vinyl, polyester, foil stock
- Adhesive: permanent, removable, freezer-grade, high-tack
- Liner: the backing that carries the piece until use
- Print layer: CMYK, spot colors, white ink, varnish, specialty effects
- Finish: matte, gloss, laminate, UV coating, soft-touch
Paper is usually the lower-cost option for dry indoor use. Film materials such as white or clear BOPP handle moisture, squeezing, oils, and frequent handling much better. Permanent adhesive is common for retail packaging. Removable adhesive fits temporary uses. Freezer or rough-surface jobs may need a more specialized adhesive.
Print method affects cost structure and run size:
- Digital printing: better for shorter runs, faster setup, and multiple versions
- Flexographic printing: often more economical at higher volumes
- Screen printing: useful for dense whites and some specialty effects
Format also matters more than many first-time buyers expect:
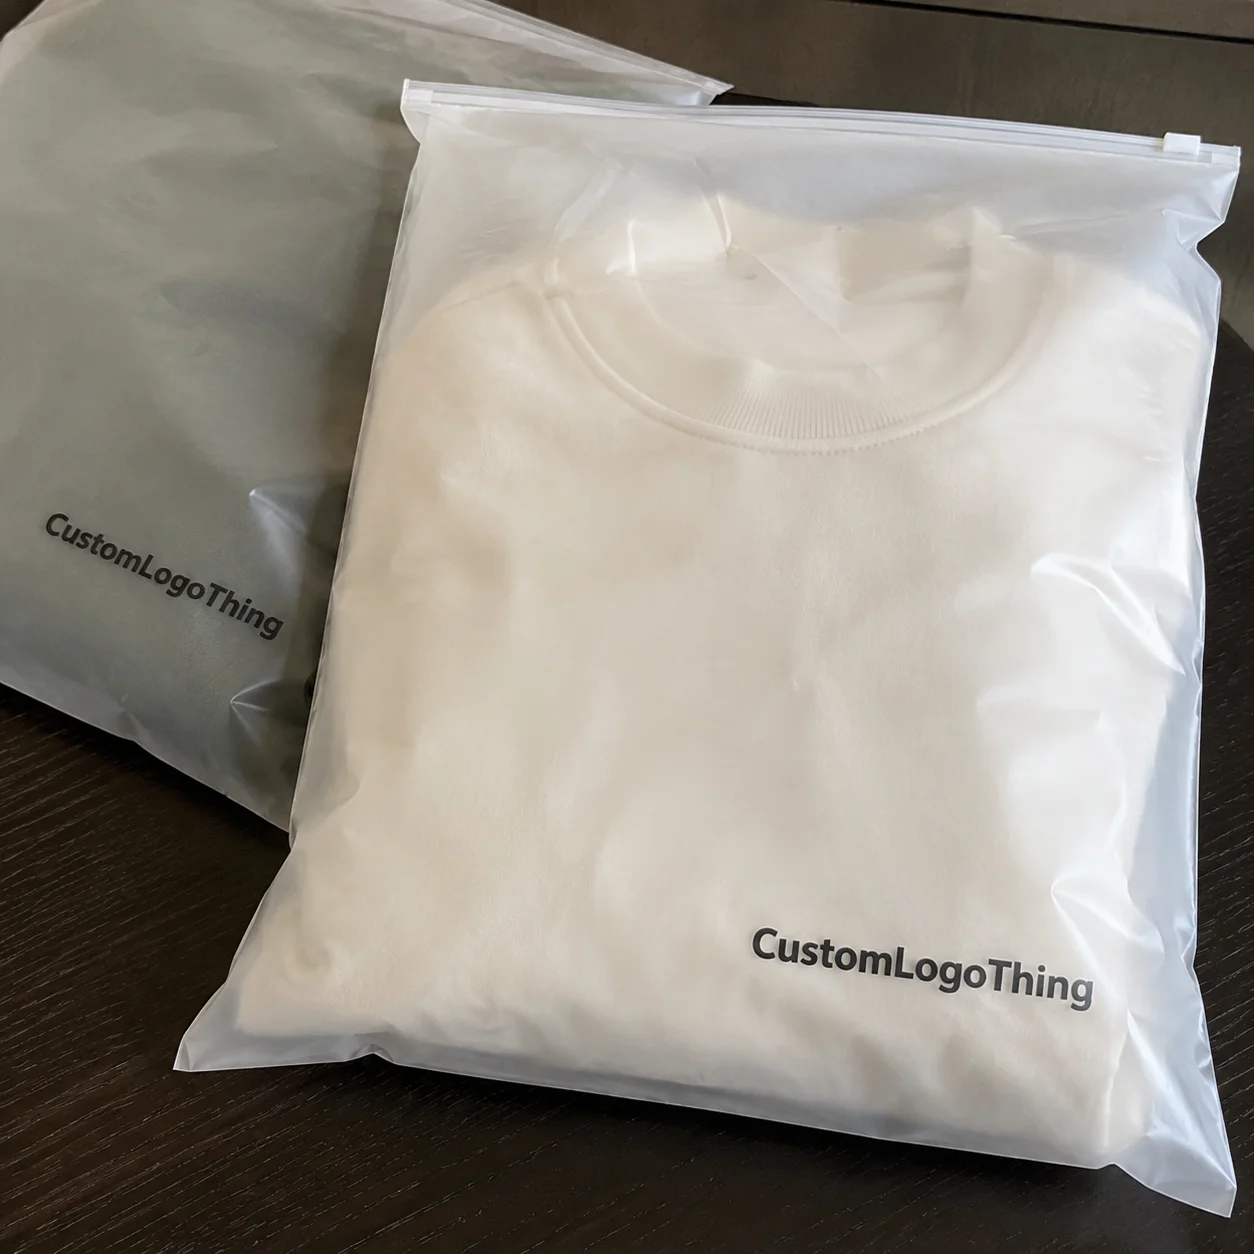
- Sheet labels: useful for hand application and short runs
- Roll labels: better for faster dispensing and machine application
- Individually cut stickers: good for inserts, promos, and handouts
- Kiss-cut sheets or rolls: easier peeling while keeping pieces organized
If an applicator is involved, mention it early. Applicators care about unwind direction, core size, outside diameter, and gap. A label order can be printed correctly and still be unusable if the roll spec is wrong.
The Specs That Matter Most Before You Request a Quote
A useful quote needs more than quantity and artwork. Most suppliers need these core details:
- Size: width x height, finished size
- Shape: square, rectangle, oval, circle, custom die-cut
- Quantity: ideally in tiers such as 1,000 / 5,000 / 10,000
- Substrate: paper, BOPP, vinyl, polyester, clear stock
- Finish: matte, gloss, laminate, UV, foil
- Adhesive: permanent, removable, freezer-grade, high-tack
- Application method: hand or machine
- Use environment: dry, cold, wet, oily, outdoor, heavy handling
Shape and container geometry
Flat panels are forgiving. Tapered jars, tubes, and rounded bottles are not. A label that is too tall may wrinkle on a tapered container, and a barcode wrapped too far around a curve may not scan well. A paper mockup on the real package is one of the cheapest and most useful tests you can run.
Surface compatibility
Glass, PET, HDPE, corrugated board, metal, kraft paper, and textured coatings all behave differently. Smooth glass is usually easy. Low-surface-energy plastics and rough kraft surfaces are harder because they reduce effective contact area and may need a stronger adhesive.
Environment and handling
Moisture, refrigeration, freezer storage, oils, abrasion, UV exposure, and repeated handling all affect stock choice. A dry indoor candle label may work well in paper with standard adhesive. A shower product, chilled beverage, or squeezable bottle usually needs film and better moisture resistance.
Finish and readability
Matte often gives a softer premium look. Gloss tends to make colors pop more. Lamination improves scuff and moisture resistance but adds cost and thickness. Dense information layouts should prioritize readability over style, especially on small formats.
Basic artwork rules also protect print quality:
- Bleed: 0.125 inch is a safe standard for many jobs
- Safe zone: keep critical text roughly 0.0625 to 0.125 inch from the cut edge
- Corner radius: rounded corners often resist lifting better than sharp corners
- Minimum text size: 7 to 8 pt is usually safer for body text than 6 pt
Ingredient panels, warnings, QR codes, and lot-code space should be planned into the packaging design early, not forced in at proof stage.
Cost and Pricing: What Drives Unit Cost, MOQ, and Waste
Pricing is driven by size, material, adhesive, color coverage, embellishments, quantity, format, and finishing. Size is one of the biggest factors because it changes material yield and press efficiency.
Short digital runs may land around $0.22 to $0.55 per piece for 500 to 1,000 mid-size labels, depending on stock and finish. A standard roll-label order of 5,000 pieces often falls around $0.05 to $0.18 per piece. At 25,000 or 50,000 units on a simpler spec, unit cost can drop further as setup and waste are spread across more pieces.
Lower unit cost is not always better buying. If legal copy, ingredients, or branding may change soon, a very large run can create more waste than savings.
| Spec Scenario | Typical Quantity | Estimated Unit Cost | Notes |
|---|---|---|---|
| Paper label, standard shape, digital | 500-1,000 | $0.22-$0.55 | Useful for testing, higher per-piece cost |
| BOPP roll label, matte or gloss laminate | 5,000 | $0.05-$0.18 | Common for consumer product packaging |
| Custom die-cut promo stickers | 2,500-5,000 | $0.08-$0.30 | Depends on size, finish, and cut complexity |
| Specialty label with foil or white ink | 5,000-10,000 | $0.12-$0.40 | Extra processes raise cost quickly |
MOQ depends on production method. Digital generally supports lower minimums. Flexo often needs more volume to justify setup. Ask for nearby quantity breaks such as 2,500, 5,000, and 7,500 because a modest increase can sometimes improve total value.
Other cost factors include:
- Plate or setup charges on conventional runs
- Custom die charges for unusual shapes
- Expedited production fees
- Split shipments or warehousing
- Waste from hand application errors or machine mismatch
Foil, embossing, white ink on clear stock, and complex cut paths all add cost. Sometimes that premium makes sense for retail packaging; sometimes it does not. If budget is tight, simplify the shape, standardize sizes across SKUs, and review Custom Labels & Tags options before locking in expensive effects.
Process and Timeline: From Quote to Proof to Production
The order flow is usually straightforward:
- Inquiry
- Spec review
- Quote
- Artwork check
- Proof approval
- Production
- Finishing
- Packing and shipping
Most delays come from incomplete specs, missing dielines, low-resolution files, or late copy changes.
A digital proof confirms layout, spelling, and placement. It does not confirm adhesion, material feel, or performance on a curved or chilled container. For higher-risk jobs, a physical sample, press sample, or short test batch is worth requesting.
Typical schedules for standard work often look like this:
- Quote: 1-3 business days if specs are complete
- Artwork review and proof: 1-3 business days
- Production: often 5-12 business days for standard work
- Specialty finishes or custom materials: often 10-15 business days or more
- Shipping: depends on destination and service level
Rush orders may be possible, but they usually cost more and can limit stock or finish choices. Product launches and seasonal promos should leave time for application testing. If the packaging system also includes corrugated shipping components, guidance from ISTA can help frame transit expectations.
Step-by-Step: How to Order the Right Format Without Guessing
- Identify the package surface and use conditions. Note the container material and whether it will face moisture, oil, sunlight, refrigeration, or repeated handling.
- Choose the format based on application. Sheets for easy hand use, rolls for speed or machine application, individually cut pieces for promos and inserts.
- Lock the size with a physical mockup. Test on the actual package, especially on curved or tapered containers.
- Select material and adhesive. Paper for many dry indoor uses; film for water, oils, and squeezing; stronger adhesives for rough or low-energy surfaces.
- Decide finish and print features. Matte, gloss, laminate, clear stock, white ink, or foil should match the use case, not just the concept board.
- Prepare print-ready artwork. Include bleed, safe margins, dielines, readable type, and barcode clearance.
- Request a quote with complete specs. Include quantity tiers, application method, ship-to location, and target date.
- Review the proof and test if needed. For tricky surfaces, test before full rollout.
Internal checklist before you send an inquiry
- Measured package dimensions
- Real package photos
- Surface material identified
- Fill conditions noted: dry, chilled, oily, wet
- Application method confirmed
- Quantity tiers listed
- Target ship date included
- Artwork file ready or clearly marked as pending
If labels are being coordinated with broader custom printed boxes or other packaging components, keep one shared spec sheet across teams to reduce revision errors.
Practical rule: decide use case first, then material, then adhesive, then finish, then artwork refinements.
Common Mistakes Buyers Make With Materials, Adhesives, and Artwork
Using paper where film is needed. Paper can save money upfront, then fail under moisture, scuffing, or repeated handling.
Choosing the wrong adhesive for cold or wet conditions. Condensation and weak tack do not pair well.
Ignoring application method. Hand-applied pieces need easy peeling and practical formats. Machine-applied rolls need exact unwind, gap, and core specs.
Designing tiny text or low contrast. Barcodes, ingredients, and warnings need enough space to remain readable and scannable.
Skipping real-world testing. A proof checks artwork, not performance. Test on the actual package and under actual fill conditions.
Ordering too many variants too early. Standardizing sizes and roll specs across SKUs often lowers cost and simplifies reorders.
Using sustainability language without real specs. If environmental criteria matter, ask about FSC-certified paper, recycled content, liner disposal, and recyclability impacts. FSC remains a useful benchmark for responsibly sourced paper materials.
Expert Buying Tips and the Next Steps to Order Smarter
The best buying sequence is simple: start with use case, then material, then adhesive, then finish, then artwork detail. That order prevents many expensive mistakes.
These questions are worth asking with every quote request:
- What material fits this surface?
- What adhesive suits this environment?
- What format matches the application method?
- What quantity breaks lower unit cost meaningfully?
- What lead time is realistic for this exact spec?
If the use case is unfamiliar, a small test batch is usually money well spent. For reorders, keep a clean internal spec sheet with finished size, face stock, adhesive, finish, color notes, roll direction, core size, and packing method.
The next steps are straightforward:
- Measure the package.
- Define the environment.
- List realistic quantity tiers.
- Gather artwork and compliance content.
- Request a quote with complete specs.
That approach makes it far more likely you will order labels or Stickers That Fit the package, survive the environment, and work with the actual production process.
FAQ
What is the difference between custom labels and custom stickers?
Labels are usually used for product identification, instructions, ingredients, compliance information, or branding applied directly to packaging. Stickers are more often used for promotions, giveaways, seals, decals, or flexible branding uses. The construction can be similar, but intended use, adhesive choice, and format usually separate them.
How do I choose the best material for custom labels and stickers?
Start with the surface and environment. Glass, plastic, cardboard, freezer use, moisture, oil exposure, and outdoor conditions all matter. Paper works well for many dry indoor applications. Film materials are better for water resistance, squeezing, and heavier handling. If the use case is tricky, test samples on the real package before placing a full order.
How much do custom labels and stickers cost per unit?
Unit cost depends on size, quantity, stock, adhesive, color coverage, finish, shape complexity, and format. Short runs cost more per piece because setup is spread over fewer units. Larger runs reduce unit cost but raise inventory risk. Ask for pricing at multiple quantity tiers and compare standard shapes against custom dies before deciding.
What is the usual turnaround time for custom sticker and label orders?
Typical turnaround depends on artwork readiness, material availability, finishing, and quantity. Standard work may run about 5 to 12 business days after proof approval, while specialty specs can take longer. Rush service is possible in some cases, but it usually costs more and can limit material and finishing choices.
Can I order low MOQ custom labels and stickers for a new product launch?
Yes. Many suppliers support low minimums, especially on digital runs. That makes short runs useful for testing artwork, market response, and adhesion before scaling. Expect a higher unit cost, since setup time, waste, and material realities do not disappear simply because the launch is small.


