Custom Mailer Envelopes: the practical details that decide whether they save money or create problems
The fastest packaging savings are often the least glamorous. Custom mailer envelopes can reduce dead space, cut protective fill, and move a flat order from pack table to carrier scan with fewer touchpoints. That makes them useful for apparel accessories, sample kits, documents, printed inserts, and other low-profile products that do not need a carton.
The real question is whether the size, closure, and film structure fit the product, the fulfillment line, and the shipping lane without adding rework or damage. A program built around those constraints behaves very differently from a generic mailer order. Good packaging still has to do three jobs at once: protect the contents, support product packaging and package branding, and keep outbound labor efficient enough that the savings survive the warehouse floor.
What custom mailer envelopes do at the pack-out table
The biggest savings usually come from reducing overpack, not from chasing the lowest film price. A box that is one size too large may need void fill, extra tape, and more cube on the truck. A properly sized mailer can stay flat, move faster, and lower shipping cost in a way that shows up on the invoice.
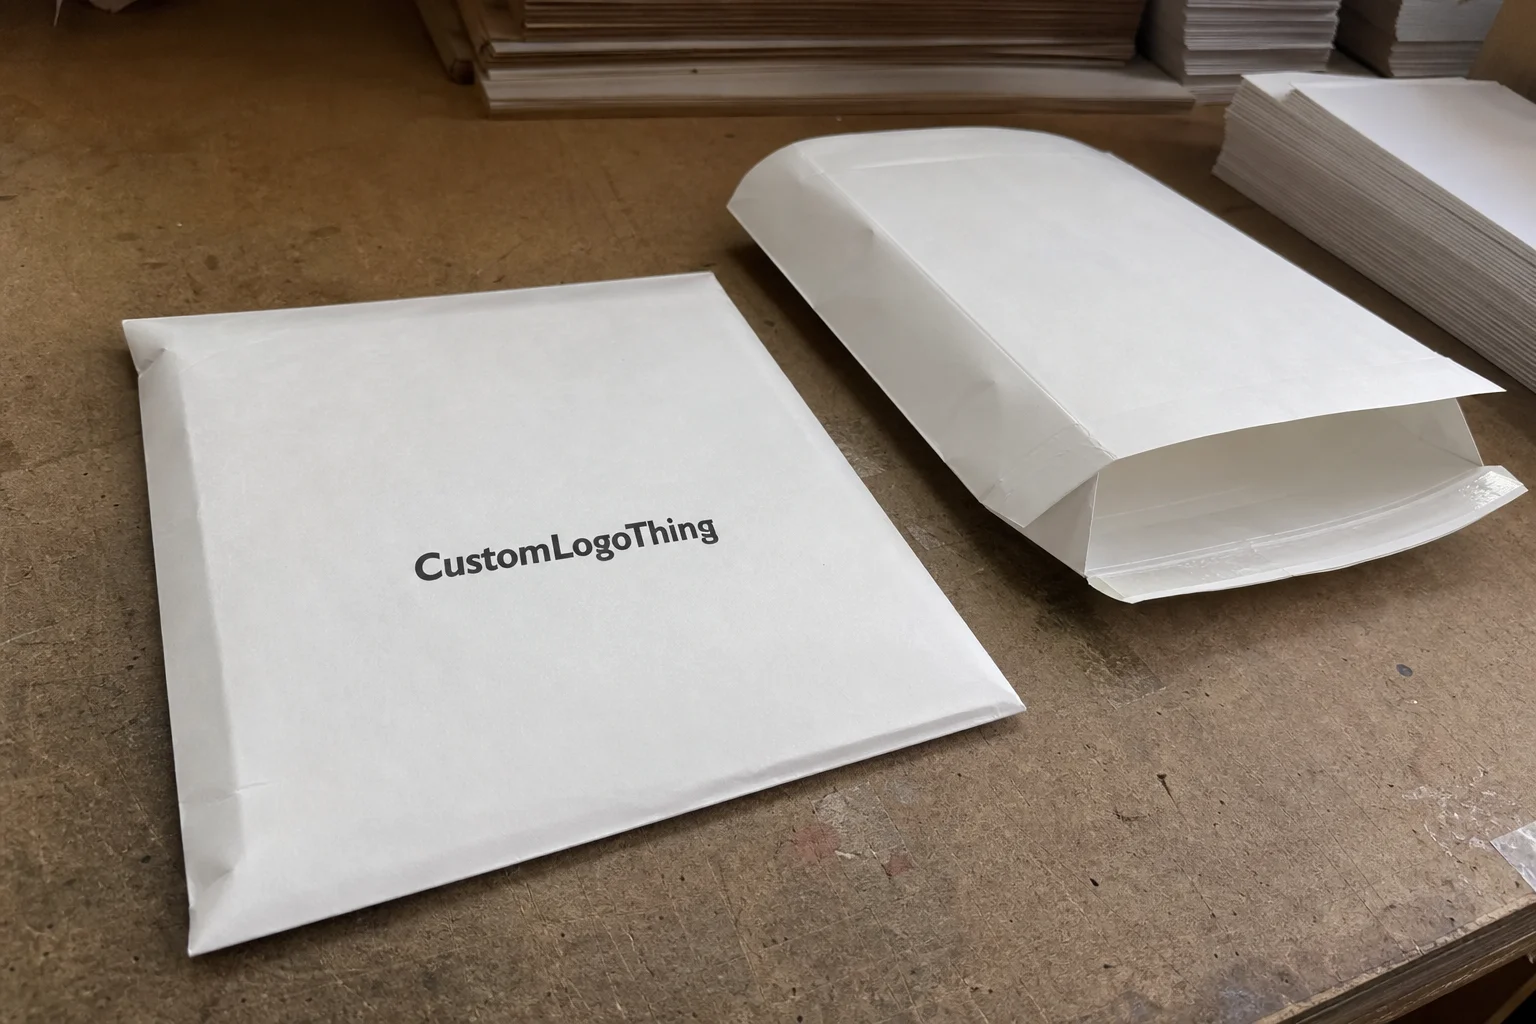
That is why these envelopes are common for flat product kits, lightweight parts, printed inserts, apparel, soft goods, and similar items that do not need rigid corner protection. They often outperform padded mailers when the goal is a cleaner branded finish, a tighter size profile, or a package that is too thin to justify corrugated board. In some programs, they sit alongside Custom Poly Mailers as part of a broader shipping mix.
A generic mailer gives you a size and a closure. A spec-driven envelope is built around the product dimension, the insertion motion at the bench, and the conditions it will face in transit. That difference matters once volume rises and small inefficiencies become recurring labor costs.
The cleanest programs are usually designed from the pack-out backward. If the seal lands in the wrong place or the opening fights the operator, the “simple” mailer becomes a standing labor issue.
Fit, closure style, and film structure also affect scanability and tamper evidence. A package can look polished on a screen and still scuff badly in transit. A material that is too slippery or too glossy may also behave poorly on manual or semi-automated packing tables. For teams building a wider line of Custom Packaging Products, the envelope should match the rest of the packaging system rather than feel like an isolated purchase.
How the material and closure system work
Most custom mailer envelopes use mono-film polyethylene, coextruded film, or laminated structures that combine appearance and durability. In lighter-duty programs, a 2.5 to 3 mil film is often enough. For harsher shipping lanes or products with sharper edges, 3.5 to 4 mil is a better starting point. The right thickness depends on puncture risk, handling frequency, and how much margin the shipment needs.
Reinforced seams matter more than many spec sheets suggest. A strong side weld and consistent seal width help the envelope resist split points at the corners, especially after compression in a trailer or stacking in a depot. If moisture resistance matters, a coextruded film or laminate with a tighter barrier profile usually outperforms a thin cosmetic mailer. If static is a concern, state it early because it affects material selection and testing.
Closure systems are the next decision. Pressure-sensitive adhesive strips are the most common because they are fast and easy for operators. Peel-and-seal formats add a cleaner release. Heat-seal options are better for programs that need a tighter closure and already have thermal equipment on the line. Tamper-evident features are useful for small parts, retail packaging, and security-sensitive inserts where any open-and-reseal attempt should be obvious.
Surface treatment and print coverage affect both branding and line performance. Heavy coverage can look sharp, but it increases the chance of scuffing unless the film is treated correctly. A matte or soft-touch finish can lift presentation, yet the wrong finish may drag on the line or show fingerprints. The best answer depends on the product, the route, and how the envelope is handled after it leaves the facility.
For buyers who want a reference point for transit behavior, resources from the International Safe Transit Association are useful for thinking about test logic and shipping stress. If the program includes paper-based components or sourcing claims, the Forest Stewardship Council remains relevant. Neither source selects the envelope for you, but both help anchor the conversation in real performance requirements rather than guesswork.
Cost, pricing, MOQ, and quote drivers
The main cost drivers are straightforward: resin price, thickness, envelope size, print complexity, closure type, and order quantity. Setup and tooling are spread across the run, so MOQ changes the unit cost quickly. A lower quantity is fine for launch testing, but the per-piece price will almost always be higher than a production run sized for replenishment.
For rough planning, a plain mono-film envelope in a standard size might land around $0.18-$0.30 per unit at 5,000 pieces. A printed coextruded version with stronger branding and a tamper-evident seal may move toward $0.26-$0.48. A laminated or higher-barrier structure can climb to $0.38-$0.65, especially if the artwork is complex or the tolerance window is tight. Those are planning numbers, not promises, because resin markets, press setup, and scrap rates all affect the final quote.
| Option | Best use | Typical build | Indicative unit cost at 5,000 pcs | Notes |
|---|---|---|---|---|
| Plain mono-film mailer | Flat documents, internal kits, lightweight goods | 2.5-3 mil PE, one-color print, pressure-sensitive seal | $0.18-$0.30 | Lowest cost, simplest setup |
| Printed coextruded mailer | Branded consumer shipments, apparel accessories | 3-4 mil coex film, 2-4 color print, tamper-evident seal | $0.26-$0.48 | Better scuff resistance and presentation |
| Laminated barrier mailer | Moisture-sensitive or higher-risk transit lanes | Barrier layer, reinforced seam, custom print field | $0.38-$0.65 | Higher protection and usually higher MOQ |
| Sample or pilot run | New launches, fit validation, artwork approval | Short run, controlled print, limited packaging | $0.45-$0.80 | Useful before full-scale commitment |
Quote adders show up fast. Special inks, tight size tolerances, extra sample rounds, rush scheduling, and odd carton pack counts all affect the final number. Freight matters too. A low unit price can be misleading if the envelopes ship in bulky cartons or if the order needs staged storage before release. Evaluate landed cost, not just the factory quote.
Another cost trap is specification creep. Adding a second adhesive strip, changing the finish, widening the print field, or moving from stock dimensions to a custom size can all compound the price. None of those changes is inherently wrong, but each one should solve a specific problem. Cosmetic upgrades that do not affect performance rarely pay for themselves.
Production steps and turnaround from proof to shipment
Good production starts with clean artwork intake and accurate size confirmation. The first pass should lock the finished dimensions, seal location, print field, and any functional details like a hang hole, barcode area, or tear notch. If those items are still moving, the schedule starts slipping before the job reaches press.
From there, prepress checks color separations and confirms that the copy fits the usable space without crowding the closure or seam. A practical proof should show more than graphics. It should show scale, seal placement, and any critical marks that help the team understand how the envelope will run in production.
After approval, the line moves into printing, converting, sealing, and final quality checks. A simple repeat job often moves in about 12-15 business days from proof approval. First-time custom builds usually need longer because the sample stage and layout review take more time. Packaging and freight planning belong in that timeline too, since carton count, pallet pattern, and carrier booking affect how the finished product arrives at the warehouse.
If the order supports a launch, build in a buffer for artwork correction and one physical sample set. A rushed job can be done, but the margin for error narrows once the dock date is fixed and downstream teams are already committed to a ship window. The earlier the approval is frozen, the less expensive the job tends to be.
Step-by-step spec checklist before you order
Start with the product itself. Measure the finished dimensions, the finished weight, and any awkward corners, tabs, or edges that affect fit. A flat item on paper can behave like a thicker piece once an insert, card, or seal layer is added, so the real pack-out sample matters more than the nominal size.
Next, define how the fulfillment team will actually pack the order. Will the operator insert from the top or side? Does the seal need a wide landing zone, or is a narrow closure acceptable? Does the team want a peel-and-stick strip, a stronger heat-seal, or a tamper-evident closure that clearly shows interference?
Artwork should be specified before the job is built, not after. Confirm logo placement, legal copy, required warnings, barcode placement, and any compliance markings. Keep critical text away from the seal and seam areas. Even strong branding can cause trouble if the layout ignores where the machine needs grip, fold, or weld space.
Also decide whether the envelope needs extra puncture resistance, anti-static performance, or moisture protection. Electronics accessories may need one behavior, while retail packaging for apparel needs another. The envelope should reflect the risk profile of the product, not just the style preference of the marketing team.
- Product dimensions and finished weight
- Seal direction and operator insertion method
- Print field, logo placement, and text hierarchy
- Any barcode, compliance, or handling marks
- Barrier, anti-static, or puncture-resistance needs
Before locking the spec, run a pack-out test with real contents, real operators, and real shipping conditions. A desk review is not enough. Put the product in the envelope, close it the way the line will close it, and see what happens after normal handling. That single test often catches the fit issue a drawing will never reveal.
Common mistakes that raise damage and reprint rates
The most common error is sizing the mailer to the drawing instead of the packed item. A spec can look correct until an insert, a folded component, or a thick seal layer is added. Then the envelope either sits too loose, which makes the package sloppy, or too tight, which increases seam stress and damage risk.
Weak closure placement is another expensive mistake. If the seal overlap is too small or the closure lands on a contaminated surface, the envelope can open in transit. That leads to leakage, returns, and an avoidable second shipment. A slightly larger seal land is usually cheaper than a replacement order.
Artwork can create trouble too. Busy graphics, tiny legal text, or print that runs too close to the seam often slows production and raises the chance of rejection. A cleaner layout is usually safer, and it still leaves room for strong brand presentation.
Material choice is where many buyers overcorrect. A film that is too light will tear easily in a rough lane, but a film that is too glossy or overly thick may feel wrong for the brand and can be harder to process. The right answer balances appearance, puncture resistance, and transit conditions instead of optimizing only one variable.
Skipping the sample stage is the fastest route to a reprint. The cost of one sample is small compared with the cost of a full run that misses fit, color, or closure performance. For most programs, a short approved sample saves more money than it costs.
Expert tips for a cleaner, faster reorder
Lock the spec in writing. A simple sheet with dimensions, film construction, closure type, approved artwork, tolerances, and pack count removes a lot of uncertainty on the next order. Memory is a poor production system, especially when the original buyer has changed roles or the launch team has moved on.
Keep an approved sample set in the file cabinet and photograph it in actual packing conditions. Those photos help operators, buyers, and brand managers compare future runs without guessing. When color or finish is part of the selling point, a physical reference is worth more than a screen image.
Build in sensible overage. Spoilage, quality inspection, and small launch swings can all eat into a tight quantity. A small buffer keeps the line moving and prevents a partial run from becoming a stop-and-wait situation while replenishment is in production.
Use the same approval path every time. Color, copy, counts, and carton packing should all pass through one repeatable workflow. That consistency matters for branded packaging because it keeps the next reorder from relying on tribal knowledge. If the process is clear, the result is easier to reproduce.
For buyers managing multiple formats, the envelope should sit beside the rest of the program logically. A shipment might use a mailer for a flat accessory, a retail carton for a premium set, and a printed shipper for a protected component. Good merchandising starts with the right structure for the right product.
If the first order performed well, use the field data. Measure damage, check operator feedback, and note any scuffing or seal failures. Then update the spec before the next run. That small discipline is what turns custom mailer envelopes from a one-time purchase into a dependable packaging system.
What are custom mailer envelopes best used for?
They are best for flat, lightweight, or low-profile items that need protection without the bulk of a carton. They work well for kit packaging, documents, apparel, samples, and small parts when speed and space efficiency matter.
How do I choose the right material for custom mailer envelopes?
Match the film or laminate to the product weight, puncture risk, and the shipping environment it will face. If moisture, scuffing, or security matters, prioritize barrier and closure performance before focusing on print finishes.
What affects custom mailer envelope pricing the most?
Size, thickness, print coverage, closure style, and MOQ usually drive the biggest changes in unit cost. Freight, setup, sample approvals, and rush timing can matter just as much as the base material price.
How long does production usually take for mailer envelopes?
Simple repeat jobs can move quickly, while first-time custom runs usually need time for proofing and sample approval. Artwork changes, special materials, and tight schedules are the most common reasons lead time expands.
Can I order a low MOQ for a new mailer design?
Yes, many buyers start with a lower quantity to test fit, branding, and fulfillment performance before scaling up. Expect the unit cost to be higher at low volume because setup and production overhead are spread across fewer pieces.
The strongest programs treat the envelope as part of the shipping system, not a decorative extra. Measure the product, test the fit, confirm the closure, and then lock the spec so the next reorder runs cleanly. That is the practical path to better shipping economics, fewer surprises, and custom mailer envelopes that perform the way the buyer intended.


