Put two labels side by side with the same logo, same size, and nearly identical artwork, and buyers still tend to pick the one with foil first. Custom printed foil stickers change the read of a package before anyone studies the copy. Reflected light suggests finish, care, and expense in a way flat ink rarely manages.
That response is not magic. It is a mix of optics, material choice, and process control. Metallic decoration reacts to viewing angle, store lighting, and surrounding contrast, so the same gold detail can look sharp on matte black stock and oddly muted on a pale, low-contrast background.
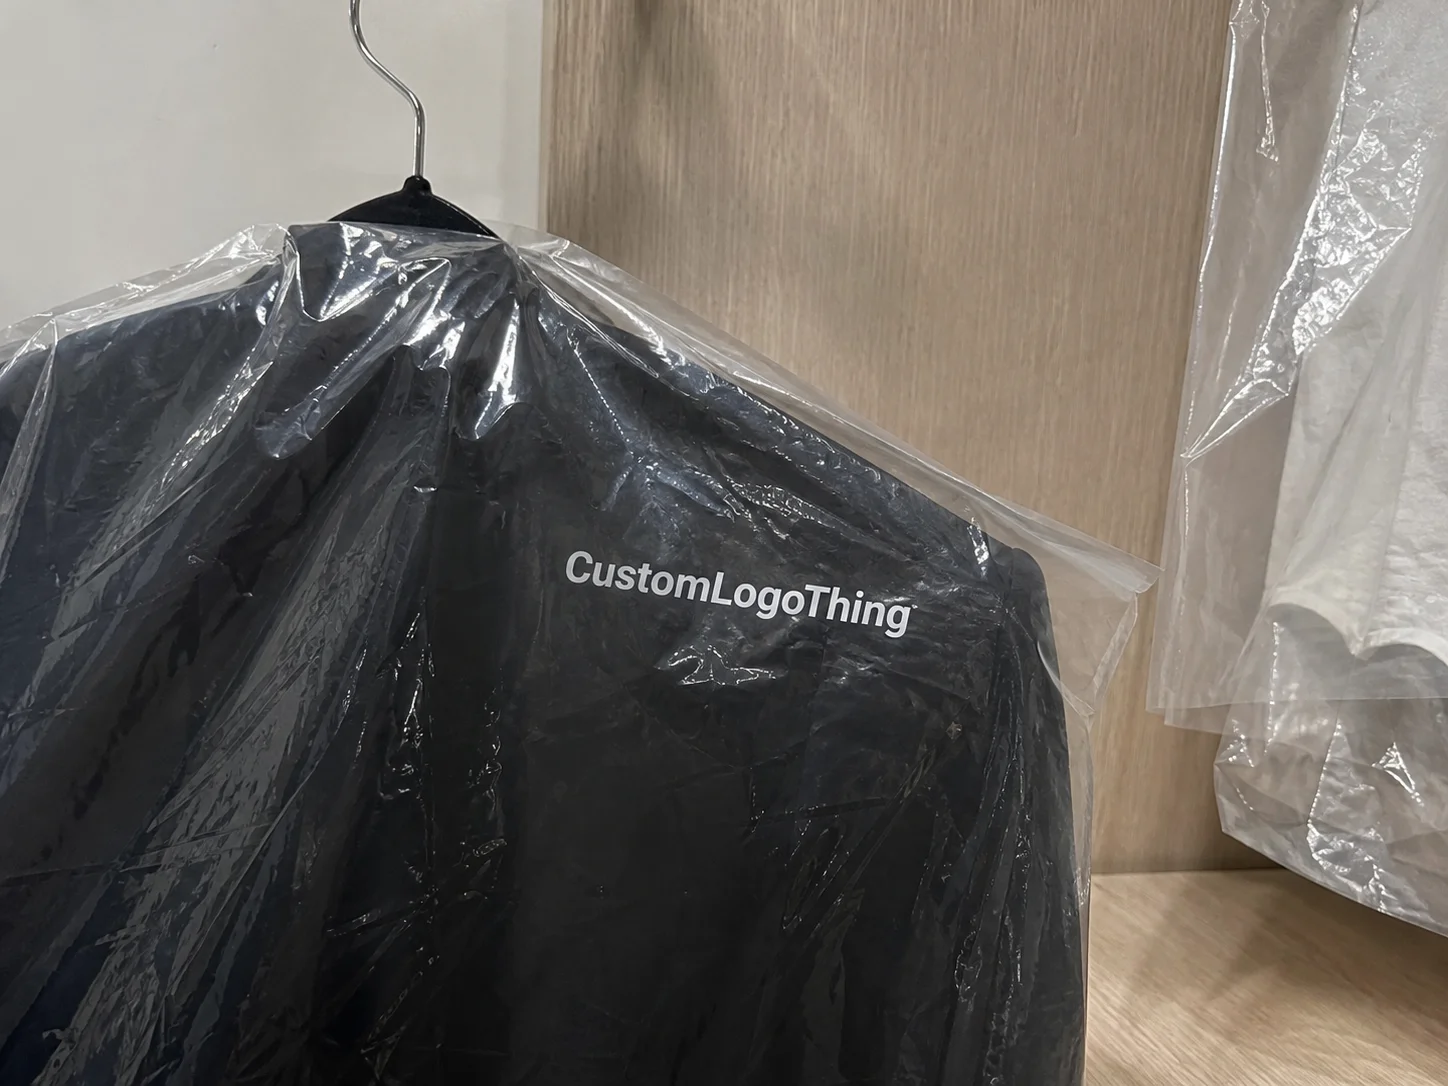
Custom printed foil stickers are pressure-sensitive labels or decals that combine printed graphics with metallic foil accents. The foil usually works hardest in small areas: logos, borders, seals, type, emblems, or pattern details. Flooding the whole design with reflectivity often weakens the effect instead of strengthening it.
That is why foil shows up so often on product packaging, candle jars, cosmetics, boutique food items, gift box seals, event kits, and limited-edition retail runs. If you are comparing options for Custom Labels & Tags or trying to match a sticker to broader Custom Packaging Products, the details below are the ones that usually decide whether the final piece feels premium or merely shiny.
Custom Printed Foil Stickers: Why Tiny Surface Details Change Everything
Foil is not simply another color on a swatch card. It behaves like a surface. Standard inks reflect light in a comparatively even way; metallic foil kicks light back with much higher intensity, especially as the viewing angle shifts. That movement gives a small crest, monogram, or border more presence than its actual size would suggest.
The catch is precision. Details That Look Clean in a digital proof can fail on press. A 0.5-point line may break during transfer. A narrow gap between foil and surrounding print may close if registration drifts. Paper shade matters too. Bright white stock makes silver and gold read crisp, while warm papers can soften the same foil and alter its color temperature.
Used well, foil creates hierarchy. It tells the eye where to land first. A silver product name on deep navy, a rose-gold monogram on a box seal, or a thin gold ring around a candle label can sharpen package branding without crowding the design.
Used badly, it does the opposite. Too much metallic area creates glare. Poor contrast kills readability. Tiny decorative flourishes turn ragged. Most disappointment with foil comes from forcing it into the wrong layout or the wrong construction, not from the finish itself.
Good buying decisions start with practical questions: how the sticker will be used, what stock it sits on, what the minimum detail limits are, and which production method fits the order size. Once those are clear, the rest of the job tends to become much more straightforward.
How Foil Sticker Decoration Works on Real Materials
A foil sticker is a layered build. The top layer is the face stock, often paper, BOPP film, polyester, or vinyl. Under that is the adhesive, chosen for permanent, removable, freezer-grade, or specialty-surface performance. A release liner supports the label during printing, converting, and application. Printed inks and the foil effect are then added in separate steps that need to register correctly with one another.
Real foil and metallic ink are often grouped together by buyers, but they do not behave the same way. Metallic ink uses reflective pigments suspended in ink. It can look attractive, especially on longer runs where cost control matters, but the finish is softer and less mirror-like. Real foil produces stronger reflectivity, cleaner edge definition, and a more obvious highlight under retail lighting.
Three production methods account for most commercial jobs:
- Hot foil stamping: A heated die transfers foil with pressure. It is a strong choice for crisp detail, classic premium presentation, and repeat runs that can absorb tooling costs.
- Cold foil transfer: Foil is applied over adhesive, often inline with UV printing. It suits larger quantities and broader coverage, though small details may behave differently than hot stamp.
- Digital foil: Best suited to short runs, mockups, versioned designs, and lower setup jobs. It is flexible, but unit cost usually stays higher on small batches.
Material choice changes performance more than many quote forms suggest. A textured uncoated paper can look excellent on gift packaging or dry goods, but it is risky for anything exposed to moisture, oil, or frequent handling. White BOPP, clear BOPP, and polyester films tend to hold up far better in refrigerated, humid, or abrasion-prone settings. For many retail applications, film stock with a protective laminate is the safer build even if paper looks more tactile on the sample table.
Finish also changes how foil reads. Matte lamination paired with gloss foil is popular for a reason: the low-sheen background makes the metallic area stand out harder. Full gloss can brighten the whole label, but it may reduce that contrast. Uncoated papers feel refined and quiet, yet they scuff faster and need testing if the label will be touched repeatedly.
Production limits are not optional details. Many converters set minimum foil lines around 0.25 mm to 0.4 mm and prefer at least 0.3 mm separation around critical metallic elements, although exact tolerances vary by stock and process. Fine reversed text inside a foil block is especially vulnerable because small counters fill in first.
What Specs Matter Most for Custom Printed Foil Stickers?
A vague quote request produces vague pricing. A useful one defines size, shape, quantity, face stock, adhesive, finish, foil color, application format, and use conditions up front.
The use environment matters more than the artwork file. A hand-applied seal for a one-night event kit has different needs than a machine-applied bottle label that goes into refrigeration. Paper may be fine for light handling. If the label will face repeated contact, light oil, condensation, or rubbing on shelves, film construction is usually the more reliable option. Problems in the field usually trace back to stock or adhesive choices, not the foil accent.
Foil color should support the brand rather than fight it. Gold and silver remain the standard because they are widely available and predictable across processes. Rose gold and copper are common in cosmetics, candles, and boutique personal care. Holographic foil creates stronger movement and contrast, which can work well for promotions or youth-oriented packaging but can overwhelm restrained branding. Specialty colored metallic foils exist, though availability, lead time, and color consistency vary.
Artwork setup deserves care. Suppliers typically want vector art in AI, EPS, or press-ready PDF format, with the foil on its own named layer or spot color. Trim line, bleed, and safe area should be clearly indicated. A 0.125 inch bleed is common for many labels, though smaller pieces and digital jobs may differ.
Background color is a frequent blind spot. Silver on pale gray can vanish under soft lighting. Gold on cream may look elegant in a mockup and low-contrast in hand. Darker backgrounds such as black, charcoal, navy, forest green, and dense burgundy usually give metallic finishes stronger definition. That does not mean every label needs a dark field. It means foil needs enough visual support to read cleanly.
Application format matters early, not at the end:
- Sheeted labels: Often easiest for hand application and small teams.
- Roll labels: Better for faster application, but unwind direction, core size, and outside diameter can be critical.
- Kiss-cut sticker sheets: Useful for promotional packs, where peel behavior and spacing affect the experience.
- Closure seals: Need enough tack and flex to stay down on corners, folds, or slightly textured board.
Quality control should be part of the spec conversation. Ask how the supplier checks registration between print and foil, how they handle scuff resistance, and whether they inspect for missing transfer, edge breakout, or inconsistent shine. On foil work, those are not minor defects. They are the job.
Cost and Pricing Drivers for Foil Labels and Stickers
Foil adds both perceived value and actual process steps. Pricing moves with quantity, label size, stock, foil coverage, finishing method, die shape, laminate choice, and how tight the registration needs to be. A plain 2-inch round label with one silver logo on white BOPP costs far less than a custom-shaped piece with multiple foil hits and a soft-touch laminate.
Custom printed foil stickers usually cost more than standard printed labels because they require additional setup, more careful makeready, and stricter inspection. On hot-stamped work, there may also be a die charge. On short digital runs, setup is lighter, but the piece price stays higher because the economics are different.
Small orders can still make sense. For a launch, event, or pilot retail run, 250 to 1,000 pieces is common. A rough short-run range is often $0.35 to $1.20 per piece, depending on size, stock, and foil coverage. At 5,000 to 10,000 pieces, straightforward builds often fall somewhere around $0.08 to $0.30 per piece. Complex shapes, heavy coverage, specialty foils, and premium laminates can push that higher.
The production method shifts the cost structure. Digital foil avoids traditional tooling and is useful for samples, versioning, or limited runs. Hot foil tends to make more sense on repeat programs and medium-to-large quantities because the setup cost is spread across more units. Cold foil is often chosen for longer runs where inline production efficiency matters.
| Order Scenario | Typical Quantity | Likely Process | Estimated Unit Cost | Main Cost Driver |
|---|---|---|---|---|
| Prototype or event sticker | 250-500 | Digital foil | $0.60-$1.20 | Setup spread over few pieces |
| Small product launch | 1,000-2,500 | Digital or hybrid | $0.22-$0.65 | Material and foil coverage |
| Standard branded packaging run | 5,000-10,000 | Hot or cold foil | $0.08-$0.30 | Tooling, die shape, laminate |
| Large repeat retail program | 25,000+ | Conventional production | $0.04-$0.14 | Coverage, speeds, shipping |
Price comparisons only help if the specifications match. Ask whether proofs cost extra, whether lamination is included, whether there is a die or plate charge, whether color matching adds cost, and whether the quote is based on sheets or rolls. Freight can swing the total more than buyers expect, especially on rush orders or split shipments.
If the sticker needs to match custom printed boxes, cartons, or other branded components, the cheapest label is not always the best value. A slightly higher unit price can be justified if the foil tone, stock texture, and finish line up cleanly with the rest of the packaging system.
Production Process and Lead Time From Artwork to Delivery
Most foil sticker orders follow the same basic path: quote, artwork review, proof, approval, material confirmation, printing, foil application, finishing, inspection, packing, and shipping. The path is routine. The timing is not.
Proofing is often the real bottleneck. A clean, production-ready file can move quickly. A first-time job with unclear foil layers, missing bleed, or repeated copy changes can sit for days before it ever reaches press. In practice, delayed approvals cause more schedule problems than the finishing department does.
A straightforward repeat order may run about 7 to 10 business days after final proof approval. A first-time project with a new die, multiple SKUs, specialty stock, or tight registration requirements often lands closer to 12 to 15 business days. Transit time is separate and needs to be treated that way.
Complexity adds time fast. Versioned artwork, freezer-grade adhesives, unusual shapes, dense foil patterning, and close alignment between foil and tiny printed type all raise setup and inspection demands. Special-order materials or less common foil shades can add several more days before production even starts.
Rush service is sometimes available, but it depends on stocked materials, press schedule, finishing capacity, and freight. Rush fees do not solve design problems. If the artwork is still being revised or the construction relies on non-stock materials, paying for speed has limits.
A realistic planning window for first-time jobs is usually 2 to 4 weeks total, especially if you want time for sample review or internal approval. If the label is part of a mailed kit or a broader packaging system that will see abrasion in transit, transport testing frameworks from ISTA can help evaluate whether the label finish and packing method will hold up.
Review foil proofs with the actual package color and likely lighting in mind. Metallic finishes that look balanced on a monitor can feel far brighter, duller, warmer, or harsher once they are under store LEDs or event lighting.
How to Design and Order Foil Stickers Step by Step
Start with function. Is the piece a decorative sticker, a product label, a tamper-style closure, or a promotional insert? What surface will it be applied to: paperboard, glass, plastic, metal, or coated carton? That answer narrows the construction faster than debating foil colors first.
Choose the face stock and finish based on how the label will be handled. Matte paper with gold foil works well for dry, light-use boutique packaging. White BOPP with silver foil is usually a better fit where moisture, scuffing, or refrigeration are involved. If sustainability is part of the brief, ask about responsibly sourced paper stocks and verify certification details through FSC where relevant.
Then build the art file correctly. Use a dedicated foil layer. Keep lines practical. Avoid hairline frames and tiny scripts that only work at 400% zoom on screen. If you are knocking small text out of a foil block, ask for the minimum readable size before approving the proof; many production teams will simplify or reject details below about 5 pt because transfer and registration leave little margin.
Request a proof and review it for four things:
- Alignment: Does the foil land exactly where the design expects it?
- Readability: Are type and icons still clear at final size?
- Trim safety: Is anything important too close to the cut line?
- Contrast: Does the metallic area stand out enough against the surrounding print?
Before sign-off, confirm quantity, packing format, roll orientation if machine-applied, and delivery deadline. Those details sound administrative until the labels arrive feeding the wrong direction or packed in roll counts that do not fit the applicator setup.
For broader retail packaging programs, compare a small number of disciplined constructions rather than a pile of half-defined options. Matte paper with gold foil versus white BOPP with silver foil is a useful side-by-side test. It usually tells you more than endless discussion about whether the gold should be slightly warmer or slightly paler.
Common Mistakes That Make Metallic Stickers Look Cheap
The first mistake is overuse. If everything shines, nothing has priority. Foil works best as a controlled accent. A logo, border, seal, or selective type treatment often looks more expensive than large uninterrupted metallic fields.
The second is pairing the finish with the wrong stock. Premium metallic detail on flimsy paper that scuffs on contact sends mixed signals fast. The opposite mismatch happens too: a natural, handmade product line can lose credibility if the label stock is overly glossy and synthetic for no performance reason.
Third, buyers push detail below practical limits. Thin scripts, tiny counters, dense line patterns, and hairline boxes are common failure points. They may look elegant in the file and unstable at finished size. Minimum line and gap specs should be part of the conversation before artwork is approved, not after the first sample disappoints.
Contrast problems are just as common. Light metallics on light backgrounds, foil over busy graphics, or too many reflective elements fighting in the same small space all reduce legibility. Good packaging design is usually selective. It leaves room for the metallic areas to work.
Another frequent mistake is comparing non-equivalent quotes. One supplier prices paper with no laminate. Another prices film with a protective overlaminate. One includes a hot stamp die. Another uses digital foil. The artwork may be similar, but the build is not, and the final result will not be comparable.
Then there is timing. A job gets approved late, the proof changes twice, shipping has no buffer, and normal production variation suddenly feels like a crisis. That is not a foil issue. It is a planning issue wearing a metallic finish.
Next Steps for Choosing the Right Foil Finish and Order Setup
If you need to narrow options quickly, answer five questions before asking for pricing:
- Where will the sticker be applied?
- What will it touch: hands, moisture, oil, refrigeration, or abrasion?
- How long does it need to last?
- What matters most for this job: metallic impact, durability, or cost control?
- What budget range is realistic at the expected quantity?
Then prepare a brief that includes size, quantity tiers, preferred stock, adhesive, foil color, finish, application format, use environment, and deadline. That gives suppliers enough context to quote a real construction instead of sending generic pricing built on assumptions.
If tactile feel, color match, or shelf lighting matter to the brand, request physical samples. Foil is one of the finishes that can look obvious in person and underwhelming on screen. A few sample builds often settle the decision faster than another round of mockups.
The most reliable approach is simple: lock the construction first, then choose the shine level that suits it. Custom printed foil stickers perform well when the material matches the use case, the artwork respects process limits, and the schedule leaves room for proofing and inspection. Treated that way, they are not a decorative gamble. They are a controlled packaging tool.
FAQ
Are custom printed foil stickers waterproof?
They can be, but water resistance depends more on the face stock, laminate, and adhesive than on the foil itself. Film materials such as BOPP, polyester, and vinyl usually perform better than paper in wet or refrigerated conditions. If the labels will face condensation, wiping, or oil contact, that should be specified before quoting.
What is the difference between foil stickers and metallic ink labels?
Real foil reflects light more sharply and gives cleaner edges than metallic ink. Metallic ink has a softer shimmer because it relies on reflective pigments rather than a transferred metallic layer. For subtle effects and tighter budgets, metallic ink can work well. For stronger contrast and a more premium highlight, foil usually wins.
How much do custom printed foil stickers usually cost per unit?
Pricing depends on quantity, size, stock, foil coverage, die shape, finishing method, and packing format. Short runs often land around $0.35 to $1.20 per piece, while medium-to-large straightforward runs can drop closer to $0.08 to $0.30 per piece. Quotes only compare cleanly when the material, adhesive, finish, and quantity tiers are matched.
How long is the turnaround for custom foil sticker orders?
Simple repeat jobs may take about 7 to 10 business days after proof approval. First-time orders with new tooling, special materials, or tight registration demands often need 12 to 15 business days or more. Production time and transit time should always be tracked separately.
What artwork files are best for custom foil label printing?
Vector files such as AI, EPS, or press-ready PDF are usually preferred because they hold sharp edges and clear foil separations. The metallic area should be set on its own named layer or spot color. Before approval, confirm bleed, trim, safe area, minimum line weights, and any knockout limits to avoid registration or fill-in problems later.

