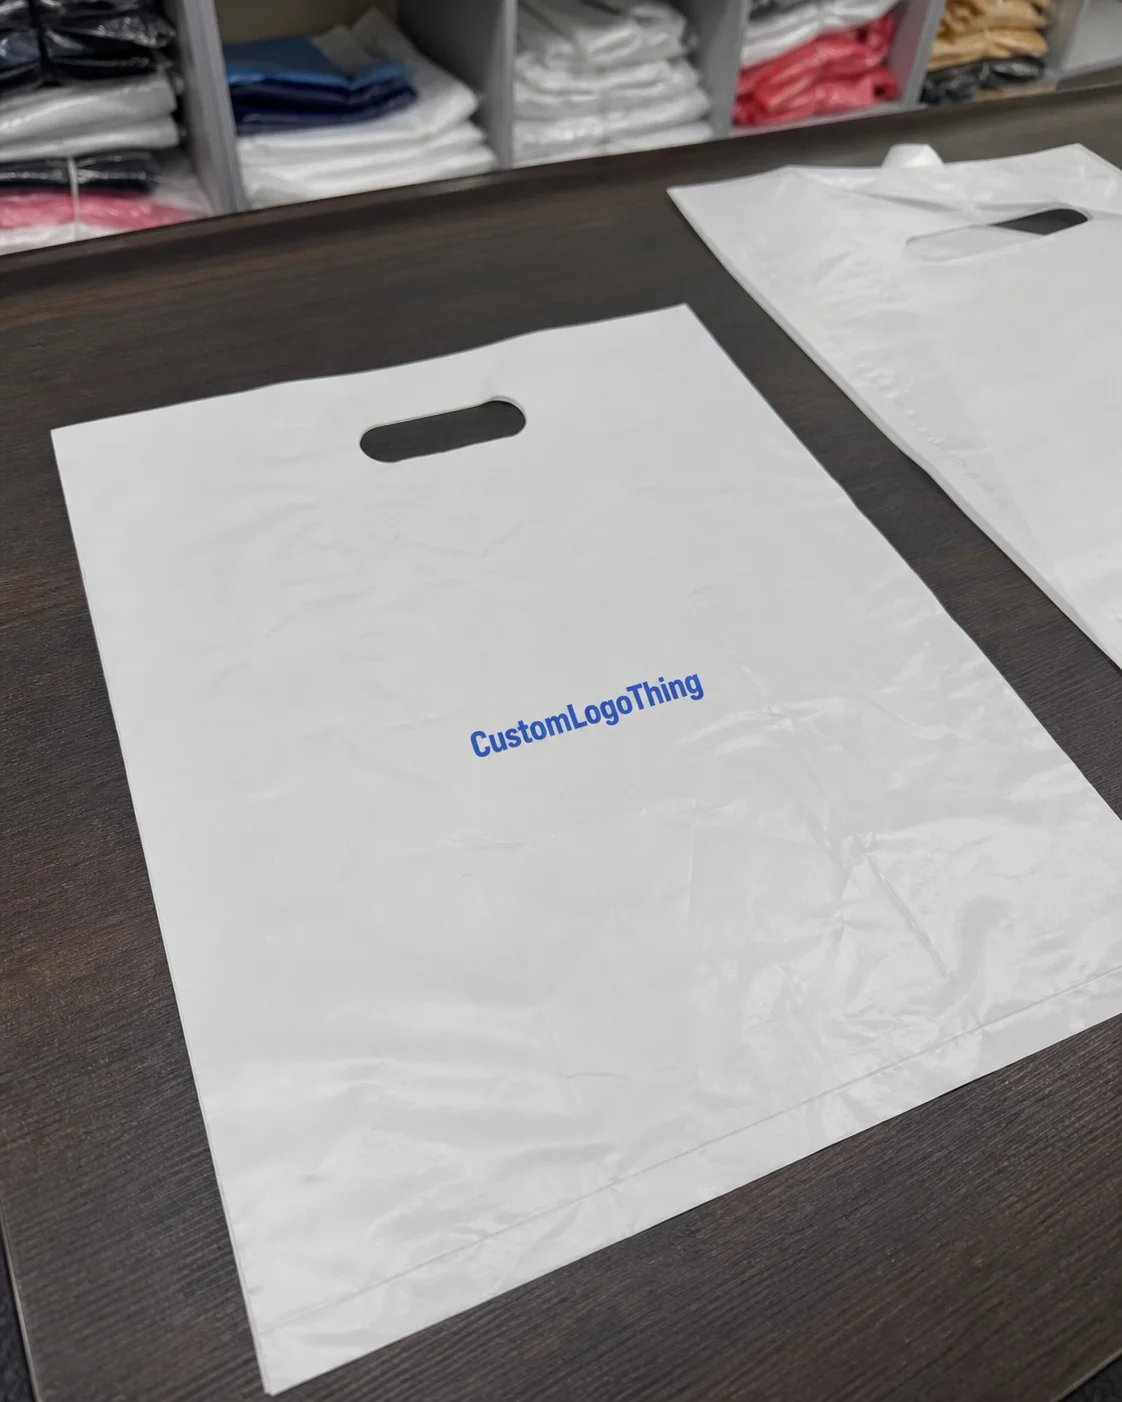
A startup may need 12 trial labels for a candle line. An event planner may need 25 logo stickers for welcome bags. A food brand may want to see whether a refrigerated label will stay put before approving a full product packaging run. That is where no minimum custom stickers make sense: they let buyers test a real spec before committing to inventory they may not use.
The main risk in sticker buying is rarely the print price alone. It is waste from copy changes, logo revisions, poor adhesion, wrong sizing, or leftover event stock. A small run costs more per piece, but it can still be the cheaper decision if it prevents a larger reprint.
This matters for prototypes, pilot launches, seasonal promotions, event handouts, and teams refining package branding. It also helps established buyers validate one detail before moving into volume.
Below, we cover how small-run sticker production works, which specs affect performance, how pricing really behaves, and how to avoid the mistakes that lead to reorders. If your stickers need to work with Custom Labels & Tags, ship with Custom Packaging Products, or support a broader packaging design update, those choices are not cosmetic.
Why no minimum custom stickers solve a surprisingly expensive problem
Bulk pricing lowers unit cost, but it also increases commitment. If you need a fit test on frosted glass, a short event run, or a prototype seal for a subscription box, ordering hundreds too early can create more risk than savings.
Printed materials become obsolete quickly. Ingredient panels change. Net contents shift. A shape that looks good on screen may apply badly on the actual package. Storage can also degrade stock and adhesive over time.
No minimum custom stickers reduce that exposure. They give buyers room to test size, color, finish, peel behavior, and real-world adhesion before scaling. The useful comparison is not small run versus bulk in theory. It is validated inventory versus wasted inventory.
A 10-piece order may look expensive per sticker and still be the better financial choice if it prevents a 500-piece mistake.
How no minimum custom stickers work behind the scenes
Short-run sticker orders are practical because digital printing reduces setup time. Unlike older print methods that require more calibration and startup waste, digital print-and-cut workflows can switch between designs quickly. That makes low quantities and mixed SKUs viable.
The usual production path is:
- Artwork upload
- File check and proof creation
- Material, finish, and format selection
- Print scheduling
- Cutting or contour finishing
- Quality check
- Packing
- Shipping
Format affects how the stickers will be used:
- Die-cut singles: good for handouts, inserts, and merch-style stickers.
- Kiss-cut sheets: easier for manual application and storage.
- Roll labels: better for jars, bottles, pouches, and repetitive labeling.
- Outdoor decals: usually use heavier film plus laminate.
The flexibility comes from fast job switching, not from the absence of production cost. File review, print time, cutting, inspection, packing, and shipping still apply whether the order is 10 pieces or 1,000.
Some specs also add time and cost: Pantone matching, white ink on clear film, metallic effects, specialty adhesives, and extra laminates. A supplier can offer no-minimum ordering and still quote a longer lead time for those options.
Materials, adhesive, finish, and shape choices that change performance
Most sticker failures come from the wrong specification, not from bad printing.
Paper is usually the lowest-cost option for dry, indoor use. It works for gift seals, carton labels, and short-term applications. It is a poor fit for moisture, refrigeration, oil exposure, or repeated rubbing in transit.
White vinyl is the common workhorse for small runs because it handles moisture and scuffing better than paper. Clear stock gives a cleaner “printed on the package” look but can lose contrast on dark or tinted surfaces. Holographic film adds visual impact, but it also changes how brand colors read.
Adhesive often determines whether the sticker succeeds:
- Permanent adhesive: for long-term labels on jars, boxes, pouches, and retail packaging.
- Removable adhesive: for temporary promotions or residue-sensitive surfaces.
- Freezer-grade adhesive: for cold environments and lower application temperatures.
- Repositionable adhesive: useful when staff need some placement flexibility.
Wrong adhesive causes familiar problems: corners lift, labels wrinkle, removal damages the carton, or the sticker fails after sitting overnight on cold glass.
Finish affects both appearance and durability. Gloss boosts color and is easier to wipe clean. Matte reduces glare and can feel more premium. Lamination adds scratch resistance and is often worth paying for on mailers, event stickers, and high-handling packaging. If staff need to write dates or lot codes, confirm that the chosen surface accepts ink.
Shape changes both cost and usability. Squares and rectangles are usually cheapest. Circles and ovals work well for seals and simple logos. Custom contour cuts stand out, but intricate shapes can raise finishing cost and create weak points that bend or catch.
Buyers pairing stickers with custom printed boxes or premium retail packaging should also check tactile fit. A glossy paper sticker on a soft-touch carton often feels mismatched unless that contrast is intentional.
Pricing, unit cost, and MOQ trade-offs buyers should calculate
The economics are simple: no minimum custom stickers lower commitment, not process cost. Small runs still need proofing, scheduling, printing, cutting, inspection, and packing, so the per-piece price is usually higher.
Main cost drivers include:
- Sticker size
- Quantity
- Material type
- Finish or laminate
- Cut complexity
- Format: sheets, rolls, or singles
- White ink or specialty color requirements
- Shipping speed and destination
Track both total spend and unit cost. A tiny order can be expensive per piece and still be the best option for a fit or adhesion test. A larger order may offer better value per sticker but leave you with obsolete stock if the design changes.
| Example Order | Typical Spec | Estimated Total Cost | Approx. Unit Cost | Best Use |
|---|---|---|---|---|
| 10 pieces | 3" die-cut vinyl, matte | $12-$18 | $1.20-$1.80 | Design or fit test |
| 50 pieces | 3" die-cut vinyl, matte | $22-$38 | $0.44-$0.76 | Event handouts, pilot launch |
| 100 pieces | 3" die-cut vinyl, matte | $32-$55 | $0.32-$0.55 | Short promo run |
| 500 roll labels | 2" circle paper label, gloss | $48-$95 | $0.10-$0.19 | Ongoing packaging application |
These figures are directional, but the pattern is consistent: volume lowers unit cost after the specification is settled.
Set a test quantity before requesting quotes. Order enough to check color, size, application speed, and adhesion, but not so much that a revision becomes waste. For many buyers, that means 10 to 50 pieces for singles or a short roll for label testing.
Once the build is proven, larger runs usually make sense for repeat product labeling, promotions, and fulfillment inserts. Always ask for quantity breaks so you can see the point where delivered cost becomes operationally efficient.
What affects turnaround for no minimum custom stickers?
Turnaround includes both production time and shipping time, and buyers often blur the two.
A standard timeline includes file submission, proof creation, proof approval, production, finishing, packing, and transit. Simple digital jobs may produce in about 2-5 business days after proof approval. Shipping may add another 1-5 business days depending on carrier and destination. Specialty specs can take longer.
The most common delay is proof approval. A one-day internal pause can add more time than the press schedule itself.
Lead times often increase for:
- Custom die lines that need review
- Specialty films or adhesives that are not stocked daily
- Exact color-matching requests
- Multiple finishing layers
- Split shipments to several destinations
Rush production is possible in many shops, but it may limit material options and increase freight cost. It also leaves less room to correct proofing or spec issues.
One important distinction: “ships in 3 days” does not mean “arrives in 3 days.” It usually means the order leaves the facility within that period once proof approval is complete and stock is available.
For projects tied to Custom Packaging Products, build in slack. If the sticker has to align with a box launch or seasonal campaign, assume at least one proof revision and some transit uncertainty.
Practical rule: if the sticker is essential to a launch, schedule as if one correction cycle will be needed.
A step-by-step guide to ordering the right small run the first time
A small run should answer buying questions, not just reduce order size.
Step 1: Define the use case
Start with the actual job: surface, environment, lifespan, and application method. A promo handout and a refrigerated jar label may use the same art and require different materials.
Step 2: Choose the format and test size physically
Singles suit handouts, sheets help manual application, and rolls suit repetitive labeling. Print a paper mockup at full size and place it on the real product before ordering.
Step 3: Send usable artwork
Vector files such as AI, EPS, or print-ready PDF are usually best. High-resolution PNG files can work for simpler art. For raster elements, 300 dpi at final size is the usual minimum. Include bleed and keep text away from the cut edge.
Step 4: Match stock, adhesive, and finish to conditions
Choose based on moisture, friction, storage temperature, UV exposure, and whether anyone needs to write on the sticker.
Step 5: Compare quantity tiers
The smallest quantity is not always the smartest buy. Sometimes 25 pieces cost only slightly more than 10 and give you enough for internal review, photography, and handling tests.
Step 6: Review the proof carefully
Check spelling, legal copy, size, orientation, cut-line placement, and white ink instructions if using clear material. If the sticker fits into broader package branding, compare it against the box, insert, or label system rather than reviewing it alone.
Step 7: Test on the actual surface
Apply the delivered sticker to the real substrate. Wait 24 hours. Rub the edges. Chill it if it will be refrigerated. If it ships in transit, check for scuffing and abrasion. For distribution-heavy applications, ISTA standards can help frame packaging stress.
Buyers with sustainability requirements should ask stock and certification questions early. The FSC framework is a useful reference if facestock sourcing claims need to be documented.
If anything is unclear, reviewing the supplier’s FAQ can prevent avoidable proofing delays.
Common sticker ordering mistakes that raise cost or cause reprints
Most reprints come from a short list of preventable errors.
Artwork problems are common: low-resolution logos, screenshots instead of source files, missing bleed, tiny reversed text, and cut lines placed too close to important design elements. RGB-only files can also produce color surprises in print.
Material mismatches are next: paper in damp environments, permanent adhesive for temporary use, glossy surfaces where staff need to write, or clear stock on dark packaging without enough white ink support.
Size mistakes are quieter but expensive. Buyers approve dimensions on screen, skip the paper mockup, then find the sticker covers required copy, crosses a seam, or gets lost visually on shelf.
Finish mistakes matter too. Matte can soften contrast, unlaminated surfaces can scuff in mailers, and dark artwork on clear film can disappear against some substrates.
A simple pre-approval checklist helps:
- Is the artwork vector or high resolution at final size?
- Are bleed and safe margins included?
- Has the exact size been mocked up on the real product?
- Does the adhesive fit the surface and temperature range?
- Will the finish support readability, writing, and scuff resistance?
- Have cut lines, white ink layers, and orientation been checked carefully?
Next steps: how to compare quotes, test samples, and reorder confidently
When comparing suppliers, send the same spec package to each one: size, format, material, finish, adhesive, quantity tiers, and shipping destination. Otherwise, one quote may be for paper sheets and another for laminated vinyl singles, which makes the prices meaningless.
Track quantity, material, finish, adhesive, production time, shipping method, and delivered cost on one comparison sheet.
For stickers tied to premium packaging, cold storage, outdoor use, or heavy handling, start with a validation batch. Check color consistency, cut accuracy, peel behavior, adhesion after 24 hours, and resistance to scratching or edge lift. Also check pack-out quality if you expect to scale.
Your second order should be more precise than the first. If application was awkward, change the size. If performance was weak, upgrade the stock or adhesive. Increase quantity only after the construction proves itself, then document the approved build so reorders do not drift.
The value of no minimum custom stickers is control: you can test quickly, reduce waste, and scale only after the spec is proven.
FAQ
Can I order no minimum custom stickers for a single design test?
Usually yes. Many suppliers will produce very small quantities for checking size, finish, color, and adhesion before a larger run. The per-piece price will be higher, but the total spend is still far lower than ordering hundreds of untested stickers.
Are no minimum sticker orders more expensive than bulk orders?
Per unit, almost always. In total spend, not necessarily. A small run can be cheaper overall if it prevents waste or catches a sizing or adhesive problem before scale.
What file type works best for no minimum custom stickers?
Vector files such as AI, EPS, or print-ready PDF are usually preferred because they stay sharp and scale cleanly. High-resolution PNG files may work for simple graphics. Screenshots and low-resolution web images are common causes of poor output.
How fast can no minimum custom stickers be produced and shipped?
That depends on proof approval, stock availability, finishing requirements, and shipping service. Simple digital jobs often move quickly after proof approval, while custom shapes, specialty materials, white ink, or exact color requirements can add time.
Which material is best for no minimum custom stickers on packaging?
It depends on the environment. Paper suits dry, indoor packaging and cost-sensitive uses. Vinyl or laminated films are better for moisture, friction, and longer shelf life. For refrigerated, oily, or heavily handled applications, choose the material and adhesive for those conditions rather than by appearance alone.


