Personalized envelope stickers do more than seal a flap. A well-made one locks the envelope, carries the brand, and makes a mail piece feel finished before anyone opens it. That matters for wedding invites, welcome kits, invoice mailings, fundraising packets, retail inserts, and PR drops where the outer package has to do some of the heavy lifting.
From a buyer’s point of view, the real decision is not “pretty or not pretty.” It is whether the sticker fits the surface, survives handling, lands inside budget, and ships on time. A lot of reprints start with a design choice that looked fine on screen and failed once the pieces hit a real worktable.
There is also a practical reason these stickers keep showing up in print programs: they let teams stay flexible. A campaign can change without scrapping a full envelope run. That is useful when the artwork evolves, the mailing list shifts, or the brand wants a seasonal version without rebuilding the whole package from scratch.
What personalized envelope stickers solve for mailers
Personalized envelope stickers solve three problems at once: presentation, closure, and speed. One label can act as a seal, a logo carrier, and a finishing touch that makes the mailer look intentional instead of assembled at the last minute. That is a useful trade when you need a polished result without paying for fully printed envelopes.
The strongest use cases are the ones where the package is part of the message. Wedding envelopes need a clean seal. Welcome kits need the brand to show up before the box opens. Fundraising packets and invoice mailings need enough polish to feel credible, not promotional. Retail inserts and PR drops often need a small visual cue that ties the outer layer to the campaign inside.
They also make sense in short runs or campaigns that change often. Direct printing is efficient at scale, but it is a blunt tool if addresses, promos, or sub-brand graphics keep changing. Stickers reduce setup friction, which is why buyers often use them for seasonal mailings, limited campaign tests, and versioned mail drops. If you only need 250 to 2,500 pieces, the flexibility is hard to ignore.
Technically, you are usually looking at an adhesive-backed label cut into a circle, square, rectangle, or custom contour. Some buyers apply them by hand. Others want sheeted labels or rolls for small-run automation. The format matters because it affects labor, packing, and how quickly a team can get through a stack of envelopes without turning the mail room into a bottleneck.
That labor question is not trivial. A box of sheets is easy for a small team to handle, but it slows down if someone has to peel and place hundreds of stickers by hand. Rolls are faster for volume, though they can be awkward if the order is tiny or the application table is cramped. The right format depends on how many hands are available and how many minutes each mail piece can actually afford.
For teams building a broader print program, it helps to keep Custom Labels & Tags in the same planning bucket as envelope seals. The same artwork can often be adapted across multiple formats, which makes repeat orders easier to manage.
“If the envelope is the first thing the recipient sees, the seal should not feel like an afterthought.”
The decision should be based on fit, durability, cost, and turnaround. Pretty matters, sure. But if the sticker curls, lifts, or arrives late, the design is irrelevant.
There is a quiet advantage here as well: envelope stickers create a controlled point of contact. If the adhesive, stock, and cut are consistent, every mailer closes the same way. That consistency matters in assembly lines, especially when temporary staff, volunteers, or part-time teams are involved.
How the process and timeline usually work
The order flow is straightforward, but the clock gets eaten in small places. First comes artwork upload. Then the vendor checks size, shape, bleed, and print readiness. After that you usually receive a proof, sometimes with notes about color conversion or line thickness. If the job needs a custom die, specialty finish, or unusual adhesive, expect an extra round or two before production starts.
A simple stock-shape order with ready-to-print vector art can move quickly. A custom contour with metallic ink, soft-touch lamination, or a difficult surface test does not move quickly. That is not the printer being dramatic. It is just how prepress, tooling, and finishing work.
Here is where time usually goes:
- Prepress checks: file cleanup, color review, bleed, and cutline verification.
- Proof revisions: wording changes, size adjustments, or layout fixes.
- Material sourcing: stock selection, liner choice, and specialty finishes.
- Print and die-cutting: actual production and trimming.
- Packing and freight booking: sheet count, roll count, cartons, and shipment timing.
In practice, most buyers should plan backward from the actual mail date, not from the day the quote lands in their inbox. Proof approval, production, and shipping all live on the schedule. If the mailing date is fixed, the order date needs to be earlier than your gut says it does.
If you need a quality benchmark for transit performance, look at packaging and distribution testing standards from the ISTA testing organization. Not every sticker order needs formal testing, but the same logic applies: the product should survive real handling, not just look good on a mockup.
For standard runs, a realistic planning window is often 12 to 15 business days from proof approval. Add time if the artwork is still changing, if the die is custom, or if the finish requires extra curing or lamination. Rush orders exist, but the rush fee is rarely the painful part. The real cost is the reduced room for correction.
Size, finish, and adhesive choices that matter
Size is not a design detail. It is a function decision. For envelope seals, smaller diameters or short rectangles keep the look neat and restrained. For front-panel branding, a mid-size label gives you more room for a logo, tagline, or QR code. If the sticker has to close a mailer or act as a mini front-panel graphic, you need more surface area than you would on a simple flap seal.
Shape changes how the piece reads. Circles tend to feel tidy and premium. Rectangles give you more copy space. Custom contours work well if the logo silhouette is strong enough to stand on its own. Weak artwork does not magically improve just because the die-cut is fancy.
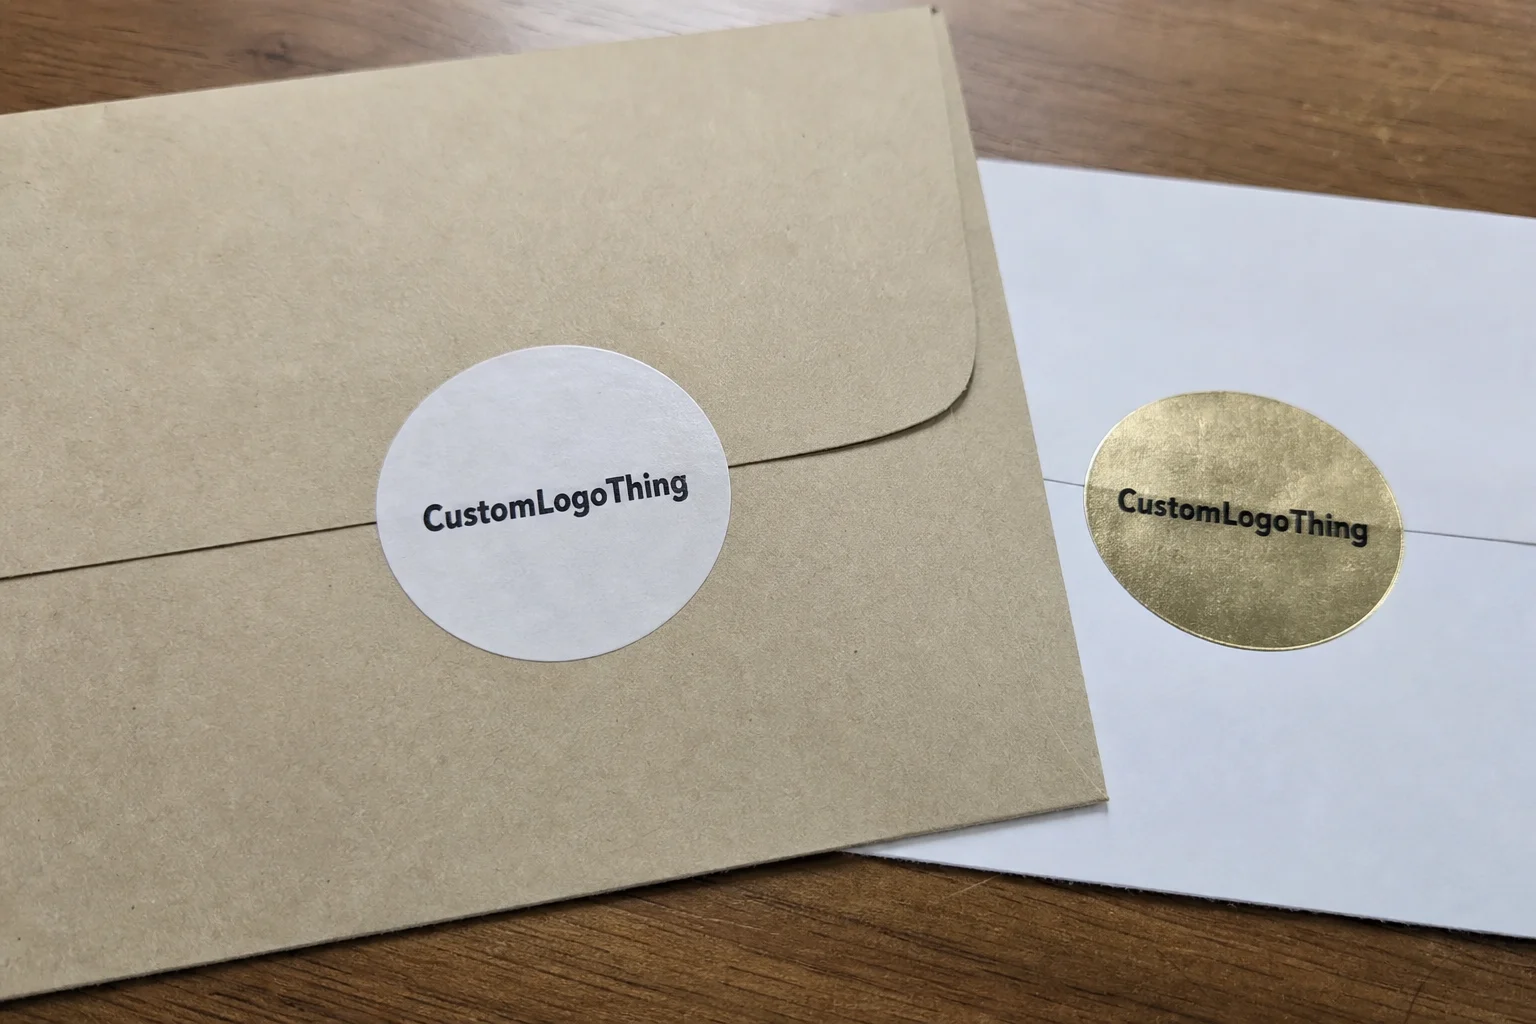
Finish affects both appearance and handling. Matte looks quieter and more editorial. Gloss catches light and makes color feel louder. Soft-touch feels expensive, but it can add cost without solving any real function problem. If the piece is going through standard mail handling, function should come first. Fancy is optional.
On the material side, the common choices are paper label stock, BOPP, and coated synthetics. Paper feels familiar and is usually the easiest match for invitations, stationery, and kraft envelopes. BOPP is a better fit if moisture resistance or scuff resistance matters. If the mail piece is going into a humid environment, a synthetic face stock can be the safer choice even if the paper version looks nicer on a proof sheet.
Adhesive choice is where buyers get surprised. A sticker that holds on plain paper may fail on textured kraft, glossy coatings, plastic bags, or cold mailers. Paper envelopes, coated stocks, kraft mailers, and plastic surfaces all behave differently. There is no universal adhesive that magically performs everywhere.
Before you approve personalized envelope stickers for a large run, test for curling, lifting, residue, and edge failure. Heat, humidity, and cold storage can change behavior in ways that are easy to miss on a clean sample sheet. If the packaging will see unusual conditions, ask for a sample on the real surface, not a generic swatch.
For sustainability-minded buyers, material choice matters too. If your brand needs verified paper sourcing, look for FSC-certified stock through FSC. That does not fix a bad layout, but it does tighten the paper spec when procurement asks for proof.
One overlooked variable is liner and backing. A thicker liner can make peel-off easier during hand application, while a thinner liner may save storage space and shipping weight. It is a small detail until a fulfillment team has to peel thousands of labels in a hurry. Then it becomes the detail everyone notices.
| Format | Best for | Typical MOQ | Typical unit cost | Notes |
|---|---|---|---|---|
| Stock circle label | Envelope seals, simple branding | 250 to 1,000 | $0.08 to $0.20 | Lowest setup friction, usually the fastest option |
| Custom rectangle label | Logos with text, campaign copy, QR codes | 500 to 2,500 | $0.10 to $0.28 | More usable area, still practical for hand application |
| Custom contour cut | Distinct brand marks, premium mailers | 1,000 to 5,000 | $0.14 to $0.35 | Higher tooling cost, stronger visual impact |
| Roll format | Small-run automation, faster application | 1,000+ | $0.09 to $0.30 | Better for volume, less ideal for tiny batches |
Personalized envelope stickers pricing, MOQ, and quote math
Pricing usually comes down to six variables: quantity, size, material, color count, die work, and finish. Packaged in rolls or sheets also changes the quote. If a vendor gives you only one price point, push for breakpoints at 500, 1,000, 2,500, and 5,000 units. That is the fastest way to see whether the per-unit drop is real or just marketing math wearing a blazer.
The lowest unit price is not always the lowest order cost. Setup fees, proof rounds, freight, and waste from ordering too few pieces can erase the bargain. A slightly more expensive sticker at 2,500 units may be cheaper overall than a tiny run that forces a second order two weeks later.
Here is a practical budgeting rule: if the design will be reused across several mailings, the first run often makes more sense a little larger than you think. Reordering later usually means you pay for another proof cycle, more freight, and more administrative time. That adds up faster than most people expect.
- Simple stock shape: best for low setup costs and shorter lead times.
- Custom die cut: best for brand presence, but tooling adds cost.
- Special finish: best when the presentation justifies the premium.
- Roll or sheet format: best chosen around labor, not aesthetics.
A useful way to read a quote is to separate fixed and variable costs. Fixed costs include setup, die creation, and proofing. Variable costs include material, ink coverage, finishing, and the number of pieces. If the vendor can show you where the price moves with quantity, you can make a better call on whether to scale the order or keep it narrow.
One more point on quote math: compare total landed cost, not just unit cost. The real number includes freight, taxes where applicable, sampling, and any rush charge. A cheap sticker that arrives late is not cheap. It is just a problem with a smaller invoice.
For small campaigns, another hidden cost is over-specifying the job. Metallic ink, custom contours, and premium finishes can make sense, but they should earn their place. If the envelope is going straight into a bulk mail stream, the return on visual complexity is usually limited. If the piece is hand-delivered or part of a premium welcome kit, the calculation shifts.
A step-by-step ordering checklist before approval
Start with the actual use case. A sticker for a kraft envelope is not the same as a sticker for a coated insert or a plastic mailer. The application surface tells you what adhesive you need, what finish will hold up, and how much pressure the team will need during application. Skip that step and the order becomes guesswork dressed up as procurement.
Next, measure the available space. On an envelope flap, you need room for the fold, the edge, and some visual breathing room. On the front panel, you need to avoid the address block and any seam that might interfere with adhesion. If the art is even a little too large, it starts to look crowded fast.
Then check the file. A clean vector logo is worth more than a fancy mockup. Confirm bleed, line thickness, and the smallest readable text at final size. If a QR code is part of the layout, test it at production size. Tiny codes and tiny type are a common waste of money.
Decide whether you want sheets, rolls, or kiss-cut sheets based on how the team will apply the stickers. Sheets work well for hand assembly and small teams. Rolls make sense when speed matters. Kiss-cut sheets are handy if each sticker needs to be peeled individually without tearing the backing. The format should match the labor plan, not the aesthetic mood board.
Before you approve the order, confirm the quantity, finish, adhesive, and delivery date on the proof. That sounds basic because it is basic. It is also where mistakes keep sneaking in. If you need one reference point for product planning, keep the approved proof and the final spec sheet together with your other packaging files, including label options for future campaigns.
Check whether the vendor names the face stock, adhesive, and liner clearly. Vague descriptions are not harmless. A label described as “premium” tells you almost nothing. A label described as “60 lb gloss paper with permanent acrylic adhesive on 54# liner” is something a production team can actually work with.
If the order is meant for a regulated or performance-sensitive shipper, think one step further and ask whether the packaging needs to survive vibration, compression, or climate exposure. Packaging standards from the industry exist for a reason. Nobody enjoys learning about failure after the mail has already gone out.
Common mistakes that waste money or delay production
The biggest mistake is approving artwork that is too small. It looks fine on a screen, then the logo, tagline, or QR code turns mushy once the piece is printed and cut. If the design is doing too much in too little space, enlarge it or simplify it. Shrinking a busy layout rarely makes it better.
Ignoring the surface is another expensive habit. A sticker that performs well on plain paper can fail on textured stock, glossy mailers, or cold-storage packaging. That is why sample testing matters. The surface is not a minor detail. It is the thing the adhesive actually has to bond to.
Too much detail also causes problems. Thin lines, low-contrast type, and crowded copy create proof changes and poor print results. The fix is usually simple: reduce the number of moving parts and give the design more breathing room. Clean work prints better than clever work nine times out of ten.
Timeline mistakes are just as common. Teams wait until the mailing date is close, then discover they still need a proof, a revision, and freight time. That is how rush fees happen. That is also how people end up choosing the wrong format because they no longer have time to compare options properly.
Order overage. Seriously. Running out means a second order under pressure, and that usually increases cost while reducing consistency. If the same sticker will be used across multiple drops, keep a small buffer in the original run. It is cheaper than scrambling later.
Another issue is color drift across reorders. A navy logo on the first run can lean slightly cooler or warmer on the next if stock, ink density, or press conditions change. If brand color is critical, keep the approved proof, the printed sample, and the final spec sheet together. That makes later comparisons much faster.
Actionable next steps for a cleaner first order
Pick one primary use case first. Do not ask one sticker to solve every envelope, insert, and mailer in the building. That is how specs get muddy and approvals turn into a committee sport. One job, one surface, one application method. Start there.
Request the spec sheet and the digital proof together so you can review size, adhesive, finish, and turnaround in one pass. If the vendor cannot tell you how the piece is built, that is a warning sign. Good suppliers should be able to explain the structure in plain language.
If the sticker will touch plastic bags, coated mailers, or textured stocks, order a sample or a short run before locking in a larger quantity. Testing one actual surface is more useful than ten pretty mockups. It also keeps surprises off the production floor, which is where they become expensive.
Keep the approved file, final size, material, and application notes in one place for the next campaign. Reorders go faster when the paperwork is already clean. That is especially true for personalized envelope stickers, because small changes in size or finish can shift the entire quote.
For a first order, the smart path is simple: choose the format that fits the surface, compare at least two quantity breakpoints, and approve the proof only after it matches the actual mail plan. Do that and personalized envelope stickers become a useful tool instead of an avoidable reprint.
If the job is recurring, build a short internal spec sheet after the first approval. Include final dimensions, file format, color values, adhesive type, finish, and any handling notes. That document saves time on the next reorder and prevents the slow drift that happens when every new request starts from scratch.
What size should personalized envelope stickers be?
For envelope seals, small sizes usually work best because they stay tidy on the flap and do not crowd the fold. If you need more brand presence, go larger, but keep the sticker proportional to the envelope so it looks intentional instead of oversized.
Are personalized envelope stickers better than printed envelopes?
For short runs, versioned campaigns, and frequent design changes, stickers usually win because you can update the artwork without reprinting the whole envelope. Printed envelopes can make sense at scale, but stickers are easier when you need flexibility and lower setup friction.
What affects personalized envelope stickers pricing the most?
Quantity, material, size, custom shape, and finish usually drive the price more than the artwork itself. Setup fees, freight, and proof changes can matter too, so compare total landed cost instead of only the printed unit price.
How long does production usually take for custom envelope stickers?
Simple stock-shape orders with approved artwork can move quickly, while custom dies, specialty finishes, or revision-heavy jobs take longer. Plan backward from the mail date and include proof time, production time, and shipping time so the schedule does not get tight for no good reason.
Can personalized envelope stickers stick to plastic bags or coated mailers?
Sometimes, but do not assume it will work without testing because plastic, glossy coatings, and textured surfaces behave differently. Ask for adhesive guidance or a sample test on the actual packaging before placing a full order, especially for slick or unusual surfaces.

