Plain bags will carry a purchase from point A to point B. Fine. But personalized merchandise bags do something more useful: they turn a routine handoff into a branding touchpoint that travels with the customer. The bag leaves the counter, gets seen in a mall, on a sidewalk, in a car, maybe on a train, and that visibility starts paying for itself long before the product is used up.
The packaging buyer’s job is not to make the bag fancy for its own sake. It is to match carry strength, moisture resistance, product fit, and brand presentation without overbuying material or paying for decoration that adds no value. Good packaging is practical first. The branding comes second, but it still has to look intentional.
That balance is harder than it sounds. Many orders look clean on a screen and fall apart in real use because the bag is too thin, the handle style is wrong, or the artwork was sized for a mockup instead of a physical product. A well-specified bag avoids those traps.
Why personalized merchandise bags outperform generic retail bags
A generic retail bag carries product. A personalized one does that and advertises the brand at the same time. That sounds obvious, yet plenty of businesses still treat packaging as a line item to minimize rather than a working part of the sale. The result is a customer experience that feels unfinished.
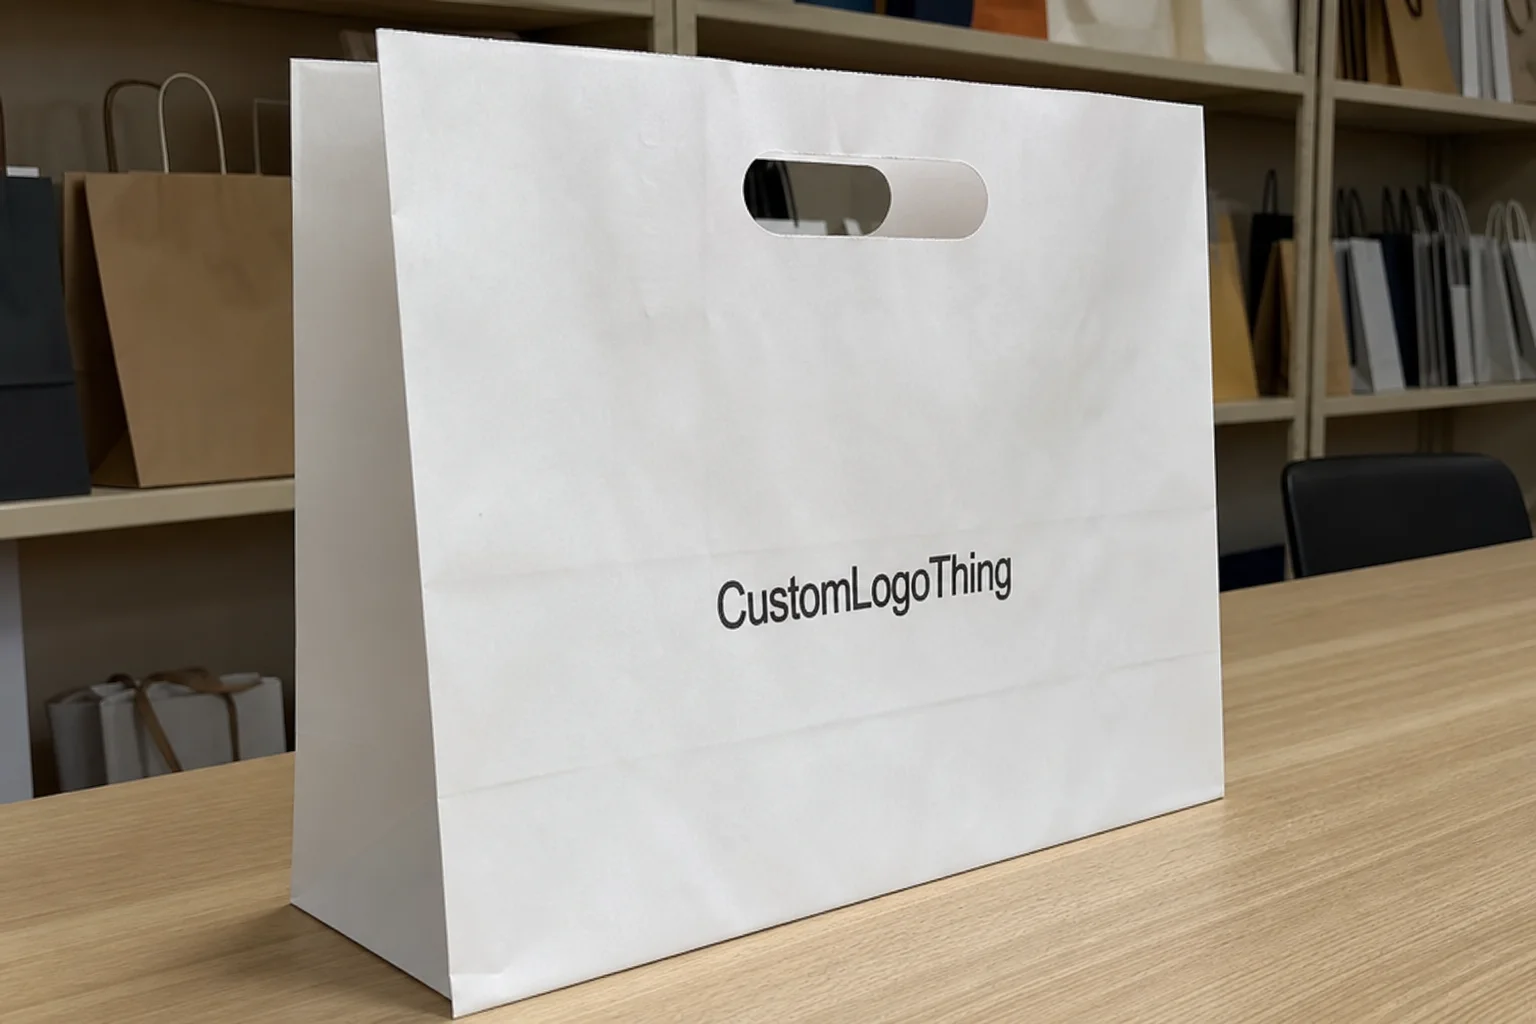
Personalized merchandise bags can be simple or highly specific. Some buyers only need a one-color logo on a standard size. Others want a custom dimension, custom color, heavier film, or a handle style that supports repeat carry. “Personalized” is not just about printing a logo; it can mean adjusting the whole bag structure so it fits the product and the brand voice.
They show up in boutiques, trade shows, seasonal retail, pop-up shops, event merchandising, and launch campaigns. Those settings do not require luxury theater. They do require consistency. A bag that tears at the handle or sags under modest weight undermines the purchase faster than most brands expect.
Plastic merchandise bags are often chosen because they’re lightweight, moisture resistant, and usually less expensive than many paper alternatives at similar volumes. They also ship flat and tend to weigh less, which matters once you start moving thousands of units. The tradeoff is tactile feel. Paper usually feels more premium in the hand. Plastic tends to win on durability, weather resistance, and cost efficiency, especially for quick takeaway use.
That cost advantage depends on the spec, though. A flimsy low-gauge bag may be cheap per unit, but if it fails before the customer gets home, it stops being cheap. Then it becomes a complaint, a replacement cost, or both.
“A bag that fails before the customer gets home didn’t save money. It created a problem.”
That is why packaging buyers tend to think in terms of performance, not just appearance. The bag has to hold weight, protect contents, and present the brand clearly enough to be worth the print setup. If it does all three, it earns its place.
How the customization process and print methods actually work
The order flow is usually straightforward: select the bag style, confirm dimensions, upload artwork, review a proof, approve it, then move into production. The process itself is not complicated. What slows it down is vague specs, weak artwork, or changes after proofing starts.
Print method matters more than many first-time buyers realize. The two most common options are flexographic printing and digital printing. Flexo is usually the better fit for larger runs because setup costs are spread across more units, so the unit price drops once the plates are made and the press is running. Digital printing is often more practical for shorter runs, quick changes, or jobs where plate costs would make the order uneconomical.
If the order is large, the artwork is simple, and the design does not change often, flexo usually wins on cost. If the run is small or the project is still evolving, digital may save time and reduce setup friction. The supplier should be able to explain which method is being used and why. If they cannot, that is a warning sign.
Artwork complexity also affects pricing and print quality. A one-color logo on film is usually cleaner and more efficient than a design with gradients, photography, or heavy coverage. Full-coverage art is possible, but it raises the stakes: the substrate, ink behavior, and registration all matter more. A glossy tinted bag, for example, can change how a color reads compared with the same artwork on a white substrate.
Before approving a proof, review five points that often get missed:
- Logo placement and whether it sits centered on the actual carry face
- Bleed and safe area so the design does not get clipped by seams or seals
- Color match against brand standards, especially on tinted film
- Handle orientation if the print is directional
- Final dimensions so the product fits without stressing the seam
Material selection is just as important as print choice. Most merchandise bags are made from LDPE or HDPE. LDPE is softer and more flexible, which can help if the bag needs a more pliable feel. HDPE is usually crisper and lighter. Thickness is typically measured in mils or microns depending on the supplier, and that number directly affects hand feel, tear resistance, and perceived quality. Heavier gauges cost more, but they also tend to feel sturdier and are more likely to be reused.
Handle style and structure should be chosen for use, not appearance alone. Die-cut handles work well for flat, lightweight carry. Reinforced patch handles add strength and make the bag feel more substantial. Loop handles are better for heavier items or repeated carry. Gussets matter when the bag has boxed contents or wider stacks. Skip those details and you end up guessing, and guessing is expensive.
For transit-related performance checks, buyers often look at ISTA test methods. For material reduction and broader sustainability context, EPA sustainability guidance can help frame the conversation. Those resources do not pick a bag for you, but they do make it easier to ask the right questions.
Pricing, MOQ, and unit cost: what drives the quote
Pricing for personalized merchandise bags is driven by a few variables that seem small until they are multiplied across a production run. Size, thickness, print colors, print coverage, and order quantity all affect the quote. Bigger bags require more material. Heavier gauges add resin cost. More colors mean more setup work. More coverage usually means more press time and more waste risk during make-ready.
MOQ, or minimum order quantity, is where many buyers feel the shock first. A short run can absolutely make sense, but the unit cost will be higher because setup costs are spread across fewer bags. A 5,000-piece order almost always looks better per unit than a 500-piece order of the same spec. That is not a supplier tactic. It is how press work and material usage scale.
Here is a practical pricing framework, assuming standard production conditions and no unusual freight or design complications:
| Bag spec | Typical cost range per unit | Best for |
|---|---|---|
| Standard size, one-color print, light gauge | $0.08–$0.16 | High-volume retail, simple branding |
| Mid-size bag, one- to two-color print, moderate gauge | $0.12–$0.24 | Boutiques, events, mixed product use |
| Custom size, heavier gauge, multi-color print | $0.20–$0.45+ | Premium presentation, heavier items |
These numbers are directional, not fixed. Resin pricing, supplier location, freight mode, and market demand can move them. A quote that looks low at first glance can get less attractive once plate fees, file cleanup, rush charges, and shipping are added. Ask for the landed cost if you want a real comparison.
The hidden costs are usually the ones that make a budget miss:
- Plate or setup fees for flexo runs
- Rush charges for compressed timelines
- Freight, especially on bulky or air-shipped orders
- Artwork cleanup if the file is not print-ready
- Reproof charges after multiple revisions
Compare quotes only when the spec matches. Same material. Same size. Same thickness. Same print coverage. Same quantity. Same shipping terms. Otherwise you are comparing two different products and pretending they are interchangeable.
Timeline, lead time, and production steps from proof to delivery
The usual path is proof approval, plate or file preparation, production, quality check, packing, and shipping. It sounds linear because it is. The problem is that one late approval can push everything behind it.
For straightforward orders, lead time is often around 10–15 business days from proof approval to completion, before freight. More complex jobs, custom dimensions, multi-color artwork, or seasonal congestion can push that to 2–4 weeks or longer. If the supplier says timing depends on artwork and quantity, that is not evasive. It really does depend on those variables.
Revisions are the slowest part for a lot of orders. Even a small change can trigger another proof round, and every round adds time. Buyers often underestimate this because the revision feels minor. Production still has to verify the change, update the file, and keep it aligned with the press setup.
Shipping adds another layer. Domestic freight can shorten transit time but may increase unit cost. Overseas production may reduce the bag price, but transit, customs, and port timing become part of the schedule. Shipment size, destination, and method all affect the final date on the dock.
Peak retail periods are where weak planning becomes expensive. Holiday packaging, event deadlines, and launch dates leave little room for delay. If a bag needs to arrive for a campaign, the order should be placed early enough to absorb one revision and one freight delay without turning urgent.
For paper-based adjacent programs, FSC can be useful as a reference point when teams compare packaging options. Not every merchandise bag needs that framework, but it helps place the decision within a broader packaging strategy.
How to choose the right size, thickness, and handle style
The right bag size is the one that fits the product with room for easy insertion and removal. Not the one that forces the item in at an angle. Overstuffed bags look sloppy and place extra stress on seams, seals, and handles.
Start with the largest item in the order, then add room for packaging inserts, tissue, or a box if one is included. If the product has sharp corners or comes in a stacked format, a gusseted bag usually performs better than a flat one. For narrow products, a slimmer format may be more efficient and easier to carry. For boxy items, width and bottom strength matter more than buyers often expect.
Thickness changes both performance and perception. Lighter gauges can work for low-weight items and single-use carry. Heavier gauges cost more, but they generally feel sturdier and are more likely to be reused. If the bag is part of a premium presentation, the added heft can be worth it.
Handle style is not decorative filler. It affects comfort, durability, and the customer’s impression of quality:
- Patch handle: stronger feel, better for repeated carry, usually more premium
- Die-cut handle: simple and clean, good for flat bags and lower material use
- Loop handle: more comfortable for heavier items, often used in reusable formats
- T-shirt style: practical and low-cost, but less polished visually
Finish matters too. Glossy bags reflect light and read more sharply from a distance. Matte finishes feel quieter and often more upscale. Transparent or semi-clear bags show the product, which works for some retail lines but not all. Opaque bags offer stronger control over the presentation. If the product is visually attractive, visibility can be an advantage. If the packaging has to feel curated, opacity usually makes more sense.
There is no universal best choice. The best spec is the one that matches product weight, price point, storage space, and customer use. That part gets skipped a lot, then the order gets blamed when the real issue was the brief.
Common ordering mistakes that waste money or ruin the look
The fastest way to waste money is to send poor artwork. Low-resolution logos, stretched web files, and messy vector paths all lead to blurry output or proof delays. If a file is not print-ready, cleanup work will be needed. That is usually avoidable.
Another common mistake is choosing the cheapest bag without checking load capacity. A bag that works for a brochure or folded T-shirt may fail when someone adds a boxed candle, stacked items, or heavier merchandise. Cheap only stays cheap if the bag performs.
Overprinting is another problem. A bag can hold a lot of graphics, but that does not mean it should. Once the surface starts looking like a poster with handles, the design loses clarity. A strong logo, a clear color strategy, and enough empty space usually communicate more confidence than a crowded layout.
Color contrast gets ignored frequently, especially on tinted film. Dark artwork on a dark bag can disappear. Bright brand colors can shift slightly depending on the substrate and print method. Ask for a proof on the actual bag color, not just on a white digital mockup. Screen previews are useful, but they are not production output.
Dimension errors are also common. One inch can make a box fit poorly or make a bag awkward to use across multiple SKUs. Confirm width, height, and gusset before approving the order. If you carry several product types, test the largest and least forgiving one first.
Use a simple buyer checklist before sign-off:
- Confirm the product size and stack height
- Match bag dimensions to the largest item
- Check load expectations and handle style
- Review file resolution and format
- Approve print placement on an actual proof
Basic checks are not glamorous. They are the reason an order works.
Expert tips for a cleaner design and better resale value
If the goal is to make personalized merchandise bags look cleaner and support resale value, simplicity usually wins. A large logo is easier to read from a distance and while the bag is moving. Tiny type, thin lines, and crowded graphics disappear faster than most buyers expect.
One strong brand color is often enough. It keeps print runs more consistent and can reduce production complexity. If multiple colors are necessary, each one should earn its place. Decorative detail that does not improve recognition is usually just spending without return.
Finish should reflect positioning. Clear bags make sense when product visibility is part of the sale. Opaque bags make more sense when brand control matters most. Soft tint can look modern and restrained, but only if the logo keeps enough contrast to stay readable. A subtle look is fine. An unreadable one is not.
For larger orders or color-sensitive work, ask for a sample or pre-production proof. That matters more when your brand color has to stay exact across packaging runs. If the supplier references print or material tests, ask which standard they use and what it checks. A good supplier should be able to explain the process in plain language, not hide behind jargon.
Inventory planning matters more than people admit. Bags are bulky. They take space. Order too few and you rush. Order too many and the product sits in storage consuming room and cash. The practical approach is enough coverage for the season, plus a small buffer for reorders and damage, not a warehouse full of dead stock.
A useful rule of thumb: if the bag supports the product, fits the item properly, and keeps the logo readable from three to six feet away, you are probably in the right range.
Frequently asked questions
What are personalized merchandise bags used for?
They carry purchased items while reinforcing the brand experience. They are commonly used for retail, events, promotions, pop-ups, and product giveaways.
How much do personalized merchandise bags usually cost?
Price depends on size, thickness, print colors, quantity, artwork complexity, and shipping. Unit cost usually drops as quantity increases, while small runs cost more per bag because setup is spread across fewer units.
What is the typical lead time for custom plastic merchandise bags?
Lead time depends on proof approval, print method, quantity, and shipping distance. Simple orders may finish in about 10–15 business days after approval, while custom or high-volume jobs can take 2–4 weeks or more.
What file should I use for artwork on merchandise bags?
Vector files such as AI, EPS, or editable PDF are usually best for sharp print results. High-resolution PNG or JPG files may work for simple jobs, but vector artwork is safer for scaling and cleanup.
How do I choose the right size for personalized merchandise bags?
Match the bag to the largest product in the order, then add enough room for easy insertion and removal. Check width, gusset, and handle style so the bag carries comfortably without overstretching.
Personalized merchandise bags work best when the spec is grounded in the product rather than the mockup. Get the dimensions right, choose a material that fits the weight and use case, and keep the artwork clean enough to survive real-world handling. Compare quotes on the same spec, not on a loose description, and the order is far more likely to land on time, look intentional, and do its job without wasting budget.


