A label changes how a garment is judged before the hanger tag is even noticed. If the inside feels scratchy, peels after washing, or carries cramped compliance text, the product loses credibility fast. That is why buyers treat personalized printed labels as a production spec, not decoration.
The best label carries branding, size, care instructions, fiber content, and origin details without irritating the wearer or slowing the line. The wrong build creates complaints, reprints, or retailer pushback. In apparel, that is not a minor trim issue. It is a quality issue.
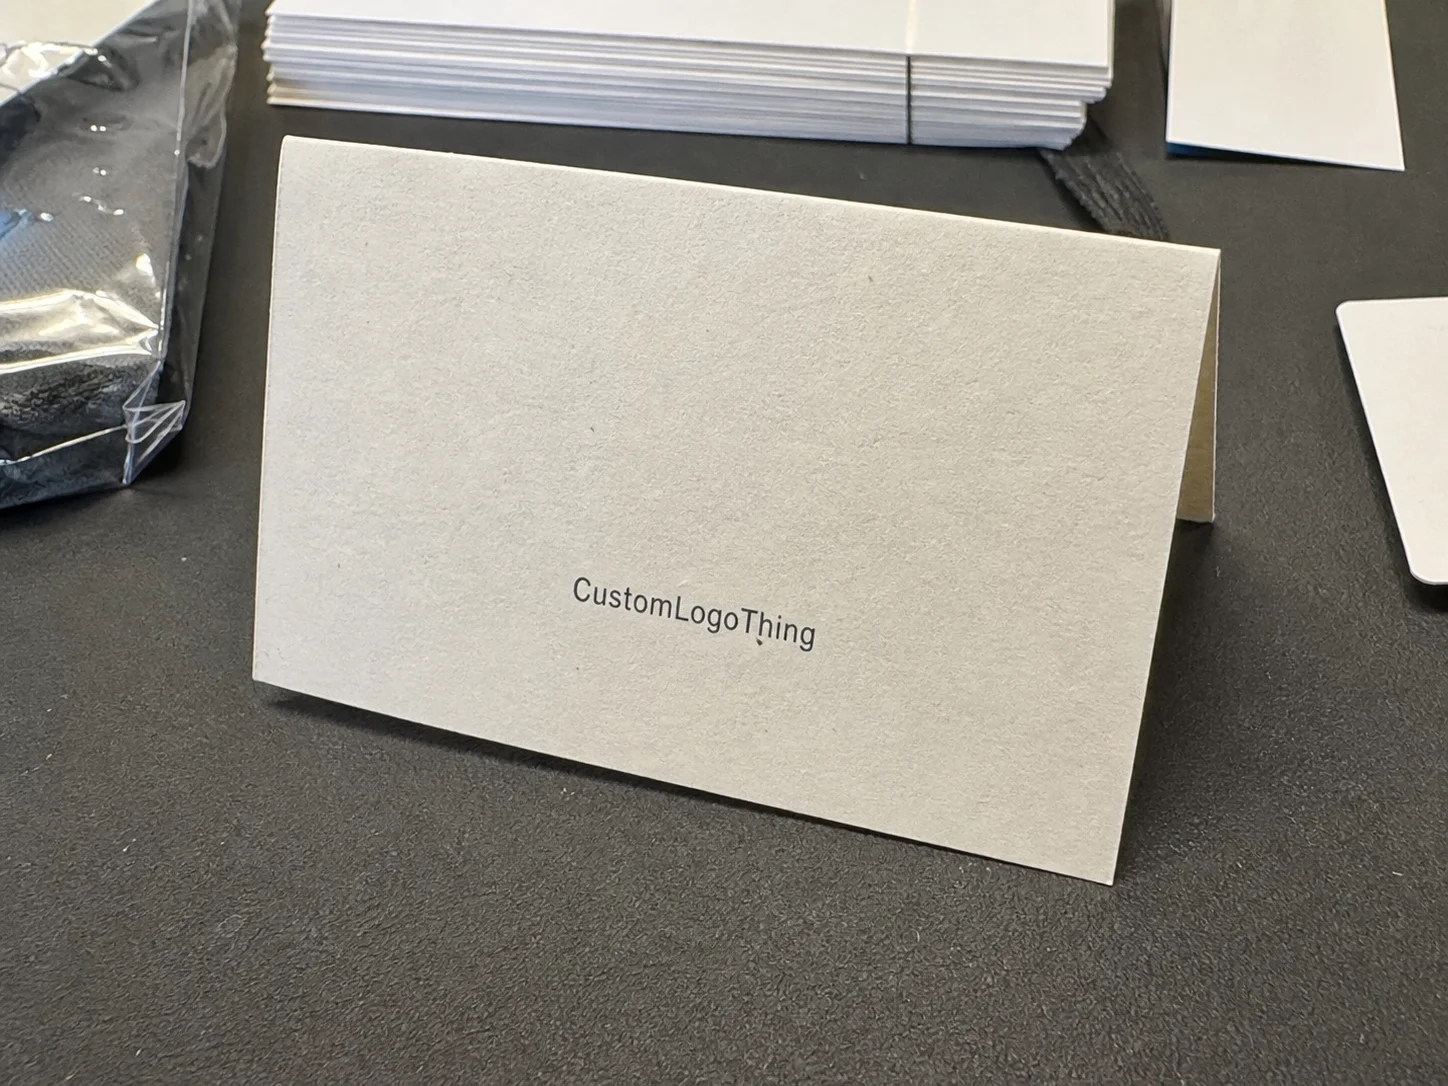
Personalized Printed Labels for Clothing: What They Solve
Personalized printed labels solve a practical problem: how to communicate clearly inside the garment while keeping the interior comfortable. That matters for neck prints, side seams, waistbands, kids' apparel, activewear, uniforms, and limited-run merch. In many cases they replace a sewn-in tag to create a cleaner finish against skin.
Buyers choose them for three reasons. First, they reduce irritation on close-to-body garments. Second, they give the brand a clean place to put size, care, and legal text. Third, they help the product feel more considered when the interior finish is part of the buying experience.
The label is also one of the quickest signals of production quality. If the typography is cramped, the art is too detailed, or the print looks inconsistent, the whole garment feels less controlled. Customers notice that immediately, even if they cannot explain why.
Compliance belongs here too. For many apparel categories, size, fiber content, care instructions, and country of origin need to appear on the label. When that content is missing or poorly laid out, the issue is not just visual. It can create rework, retailer issues, or import delays depending on the market.
For teams building a wider trim package, labels are usually one piece of a larger system with hang tags and packaging inserts. If you need related trims, the Custom Labels & Tags category is the most direct place to compare options.
"If the inside feels careless, the buyer assumes the rest was handled the same way."
That is the core buyer behavior to plan around. People do not separate comfort from brand perception. If a label scratches, cracks, or fades early, they remember the irritation more than the logo.
Process and Timeline: From Artwork to Delivery
The production flow is usually straightforward if the input is clean: artwork intake, file cleanup, proofing, material selection, print setup, sample approval, bulk production, finishing, and shipment. The fastest jobs are the ones where the buyer supplies dimensions, exact copy, and placement details up front.
Most delays happen before printing starts. The common bottlenecks are missing compliance text, unclear sizing, art that needs cleanup, or back-and-forth on placement. If the garment is sold in multiple markets, copy review can take longer because wording and sequence may change by region.
Sample timing and bulk timing are not the same thing. A physical sample can add several days, sometimes longer if the first proof needs changes. That time is worth it when the label sits against skin, appears on a premium retail item, or has to pass a strict internal review. For stable reorders, some teams skip the sample and approve from a proof, but that is a risk decision, not a default.
Production speed also depends on the construction. Heat transfer labels often set up faster, while woven or sewn-in solutions can require more setup and finishing time. If you are planning a seasonal launch or uniform rollout, build in a buffer instead of assuming every supplier runs on the same schedule.
For standard production, many buyers work from a 10 to 15 business day window after proof approval, with samples adding a few more days. Rush options exist, but they usually narrow the material set and raise the unit price. If a launch depends on a fixed ship date, extra buffer is cheaper than a missed deadline.
For broader print and packaging coordination, buyers often align the label schedule with outer packaging work through resources such as the Institute of Packaging Professionals. When the trim package, carton, and label all land together, approvals are faster and the final product looks planned instead of patched together.
Pricing, MOQ, and Unit Cost Drivers
Price depends on more than quantity. Size, color count, print method, material, finish, and whether you need multiple SKUs all affect the quote. Variable data, split packing, custom trimming, and special coatings can also move the number.
MOQ is simpler than the jargon makes it sound. Smaller runs cost more per label because setup is spread across fewer units. As volume rises, unit cost usually drops. That is why test runs are useful, but only if the design is stable enough to reuse.
| Label Option | Typical Qty | Typical Unit Cost | Best Use | Tradeoff |
|---|---|---|---|---|
| Heat transfer printed label | 1,000-5,000 | $0.18-$0.32 | Soft tees, activewear, kids' apparel | Needs accurate application and fabric testing |
| Satin or nylon sewn-in printed label | 1,000-10,000 | $0.12-$0.28 | Uniforms, basics, budget-conscious runs | Can feel less premium than woven options |
| Woven label | 500-5,000 | $0.22-$0.50 | Brand-heavy garments, premium retail | More texture, higher setup, less stretch-friendly |
| Multi-SKU or variable-data order | Any | Quote-dependent | Retail programs, compliance-driven packs | More proofing and packing complexity |
Hidden costs are usually the problem. Artwork revisions, rush production, reprints after approval errors, split shipments, and custom packing can erase the savings from a low unit quote. If a vendor does not include setup, proofs, shipping, finishing, and taxes in the estimate, the comparison is incomplete.
The real cost also includes failure. A cheaper label that curls after washing, irritates the neck, or weakens at the edges is not a bargain. It becomes a second production run, which is why the true price of personalized printed labels is the cost of getting them right the first time.
Material, Print Method, and Finish Choices That Change Performance
Material choice determines how a label feels, how it survives wash cycles, and how it behaves on the garment. Cotton tees, poly blends, knits, and performance fabrics all interact differently with the same label structure. A soft fashion tee does not need the same construction as a work shirt or compression piece.
If the goal is to keep the label unobtrusive, a low-profile printed solution usually works best. If the trim needs stronger visual identity, woven labels add texture and permanence. They communicate different things: one reads soft and understated, the other more tactile and durable.
Finish matters too. Matte feels softer and less visible, while gloss can improve visibility but may feel less subtle against skin. Coated surfaces can help with sharpness and abrasion resistance, but they are not always the best choice for comfort. The right answer depends on where the label sits and how often the garment will be washed.
Print method affects line detail and color accuracy. If brand colors are tightly controlled, ask for a proof against a real reference, not just a screen preview. Tiny text is where many labels fail. Once artwork is reduced to garment size, thin lines, tight tracking, and low-contrast ink choices can collapse fast.
Two specs matter more than many buyers expect: hand feel and edge behavior. A label may look fine in a PDF and still feel stiff, shiny, or scratchy once attached. Edge lift, curling, and peel resistance matter just as much as color match on items that will be washed often.
If you are choosing paper-based packaging components alongside labels, FSC-certified stock may matter for your broader sourcing goals. For shipments or retail packs that need transit resistance, ISTA testing is the more relevant discussion because shipping damage does not stop at the carton. See the standards at FSC and ISTA.
Compliance text should be treated as layout content, not afterthought copy. Give care instructions, fiber content, and size enough room to breathe. Crowding those details to preserve a logo shape usually makes the whole label harder to read, especially on smaller garments.
Step-by-Step Ordering Checklist for Apparel Teams
Start by defining the job. Is the label meant for branding, care instructions, internal inventory control, retail presentation, or all four? That answer changes the construction, the copy, and the placement. A label for a fashion tee should not follow the same spec as one for a work uniform.
Before requesting a quote, collect the basics in one place: garment type, placement, size, quantity by SKU, wash frequency, and any legal text that must appear. If you are working across multiple styles, note which sizes share the same artwork and which need a different layout. That one step reduces a lot of back-and-forth.
Then choose the construction that fits the fabric and the customer experience. A soft activewear top usually calls for a different finish than a thick hoodie. If the artwork is crowded, simplify it before production rather than hoping the printer can rescue it later. They can improve clarity, but they cannot create legibility out of poor spacing.
- Set the garment spec and label placement.
- Prepare vector artwork and exact wording.
- Ask the vendor to confirm line weight, size, and print method.
- Approve the digital proof.
- Request a physical sample if the label will touch skin or face retail scrutiny.
- Lock the final version only after checking the label on the actual garment.
That last step is where many teams cut corners. A flat PDF does not show how the label sits in the neck, whether the contrast is strong enough, or whether the trim looks oversized once sewn in. Good apparel teams inspect the label in context, not in isolation.
Delivery format matters too. Rolls, stacks, cuts, and folded sets each affect handling speed and the chance of application errors. A label that is technically correct but awkward to apply can slow production just as much as a bad proof.
If you need adjacent trims or a more complete branding kit, the Custom Labels & Tags category can help you compare how a printed label, hang tag, and care component work together. The goal is not just matching art files. It is matching the customer's first physical touchpoint with the garment.
Common Mistakes That Create Reprints or Complaints
The most common mistake is oversized artwork. A logo that looks sharp on a laptop can collapse into unreadable detail once it is reduced to label size. Thin lines, tiny symbols, and long legal text are the first things to fail. If a design only works at a large scale, it is not label-ready.
Another problem is ignoring the garment and the wash cycle. A label that performs well on a lightweight tee may fail on a heavy uniform or athletic piece that sees repeated laundering. That is where wash testing matters more than visual approval. A label needs to survive the way the product is actually used.
Teams also wait too long to settle compliance text. If fiber content, origin, or care instructions are not finalized until the end, the layout changes at the worst time. That slows proofing and can push the schedule. It is cleaner to lock the legal copy before design approval.
Cost-based decisions cause another kind of failure. A low-cost finish or adhesive can look fine in the proof and still fail in wear. If the label does not stay put or irritates the skin, buyers will not remember the savings. They will remember the complaint.
Skipping wash testing is probably the biggest avoidable error. Visual approval alone will not show fading, curling, cracking, or edge lift. A basic durability check, and where appropriate an ASTM-style abrasion or colorfastness review, tells you more than a PDF ever will. For packaging and transit concerns, it is also smart to think beyond the label itself and consider the full shipping path, which is where ISTA standards are useful.
The lesson is simple: the cheapest label on paper can become the most expensive line item after rework. That is true whether you are making a small capsule collection or a repeat uniform order.
Expert Tips and Next Steps Before You Request Quotes
Build a one-page spec sheet before sending anything out. Include garment type, size range, label placement, artwork files, quantity, deadline, and any compliance text. Vendors quote faster and more accurately when they are not guessing about the context.
Ask for the recommended production method based on the fabric, not just the lowest-priced option. A good supplier should be able to explain why a heat transfer label, a woven label, or a sewn-in printed label makes sense for the garment in question. If they cannot, they are quoting from habit rather than fit.
Request a sample pack or reference examples from similar apparel categories. This is especially useful if you are choosing between soft-touch and more durable finishes. Feeling the material in hand exposes problems that render proofs miss. A label that looks fine online can feel too slick, too stiff, or too shiny in person.
Assign one internal approver for artwork and compliance text. Multiple decision-makers are a common reason projects stall. A second set of eyes is useful; five overlapping opinions are not. The faster you reach one clean approval, the less chance you have of paying for revisions.
Check the application method before you finalize the order. If the print is being heat pressed, ask for temperature, pressure, and dwell-time guidance. If it is sewn in, confirm stitch allowance and placement tolerance. Small process details affect whether the finished label looks crisp or crooked.
Finally, test the sample on the real garment, confirm the timeline, and then scale personalized printed labels only after the first piece passes. That sequence protects brand perception, keeps costs predictable, and avoids the most common reprint traps.
What are personalized printed labels used for in clothing?
They identify the brand and size while also carrying care, fiber, and origin information. They can replace or reduce sewn-in tags when comfort and a cleaner finish matter more than tactile branding. They are common in tees, activewear, kids' clothing, uniforms, and retail apparel.
How long do personalized printed labels usually take to produce?
Most timelines depend on proof approval, quantity, and production method. Samples add time up front, but they reduce the risk of reprints later. Rush jobs are possible, but they usually increase cost and limit material choices.
Are personalized printed labels better than woven labels?
Printed labels are usually softer and better for low-profile branding or care information. Woven labels often feel more premium in texture and can be better for long-term brand visibility. The better option depends on garment type, wash demands, and the look you want on the inside of the product.
What quantity should I order if I am testing a new clothing line?
Order enough to cover samples, first production, and a small error buffer. If the design is still changing, keep the run modest so you do not lock in obsolete inventory. When the artwork and garment are stable, larger runs usually reduce unit cost.
What files do I need for personalized printed labels?
Provide a clean vector file when possible, plus any fonts or brand color references. Include exact wording for size, care, and compliance text so nothing is guessed during setup. If the design is tiny, ask the vendor to check line weight and legibility before approval.


