Personalized sewable labels solve a problem that shows up only after a garment has been worn, washed, dried, and handled a few times. Printed tags crack. Heat-applied labels can lift. Cheap trims fray at the seam. A sewn-in label stays in the construction, which is why it is still the preferred choice for uniforms, kids’ clothing, workwear, and branded basics that need to survive repeated laundry cycles.
That durability is only part of the story. A good sew-in label also changes how the garment feels in use. It can make the piece look more finished, improve brand recognition, and avoid the flaking or peeling that gives away a rushed production job. The catch is that the label has to match the garment, not just the artwork. Fabric weight, stitch path, wash conditions, and placement all affect the result.
Buyers often treat labels as a small trim decision. They are small, but they are not trivial. A label that costs a few cents more can save much more than that in replacement orders, rework, and customer complaints if it holds up better in real use. A label that fails early can do the opposite.
What sew-on garment labels are, and why they outlast print
A sew-on garment label is a custom identifier that gets stitched into a seam, waistband, neckline, lining, or side panel instead of being fixed with adhesive or heat. That makes it part of the garment structure. Personalized sewable labels last because the thread, not the adhesive, does the holding.
For apparel buyers, the practical advantage is simple: less movement, less lift, less failure after repeated wash and wear. On items that go through hot water, tumble drying, or repeated abrasion in a bag or locker, the difference between a sewn label and a stuck-on tag becomes obvious fast. The sewn version usually keeps its position and legibility longer.
There is also a presentation angle. A clean sewn label looks intentional. It signals that the trim package was planned, not improvised. On fashion basics, that matters for perceived quality. On schoolwear or workwear, it matters because the label is often the only permanent branding left after the garment has been used hard for months.
Comfort matters too. Some printed tags feel fine on the table and irritating on the body. A woven or satin sew-in label can be softer against skin if the edge finish and fold style are chosen carefully. That does not mean every soft label is better. A label that is too thin can curl, and one that is too thick can create a ridge inside a lightweight tee. The right answer depends on the fabric and the placement.
A label is not finished when the artwork is approved. It is finished when it survives the garment it is attached to.
That distinction matters because labels fail for different reasons. Some fail in the wash. Others fail during sewing because the label is too stiff, too wide, or too detailed for the construction. A buyer who thinks only about the front-facing design usually misses the real variables.
How the label is made and stitched into garments
Most personalized sewable labels fall into one of four construction types: woven, printed, satin, or cotton-based. Woven labels are the most common in apparel because the design is built into the textile structure. That gives them good wash resistance and a polished finish. Printed labels can carry finer detail and small text, but the ink and base material need to be appropriate for the expected wear. Satin feels softer and is often used where comfort matters more than texture. Cotton or cotton-blend labels work well for brands that want a natural look and a matte surface.
Attachment style changes how the label behaves in the garment. Center-fold labels are common in necklines because they can sit neatly over a seam. End-fold labels are useful where the ends need to tuck under stitching. Straight-cut strips can work for internal ID tags, waistband inserts, or side seam branding. Loop folds can be useful for hanging or flexible placement, but only if the garment build can accommodate the shape without distortion.
The stitch path is as important as the label itself. A neat label can still look poor if it is sewn off-center, pulled too tight, or attached to a fabric that shifts under the needle. Thin jerseys, high-stretch knits, and very fine woven fabrics need more care than denim or canvas. The seam allowance has to be wide enough to hold the label without crowding the edge.
Artwork preparation is another place where buyers save time or create delays. A logo created for a web banner is rarely ready for a woven label without adjustment. Thin strokes can break up, tiny letters can blur, and gradients do not always translate well into textile construction. The production side usually has to simplify the design, set the real dimensions, and confirm the fold before sampling. That is normal, not a sign of failure.
Labels are usually delivered as rolls, sheets, or pre-cut pieces. The format should match the sewing workflow. If the factory or sewing line wants individual folded pieces, order them that way. If the label is going into a waistband, a longer cut piece may be easier to place and stitch consistently. Small format mistakes cause a surprising amount of waste once production starts.
One practical rule holds across most apparel categories: the more detail you try to force into a small label, the more important construction becomes. Fine artwork is only useful if the label can carry it clearly after cutting, folding, stitching, and washing.
Material, weave, backing, and edge choices that matter
Material choice affects feel, wash resistance, appearance, and cost. A dense woven polyester label is often the most reliable workhorse. It tolerates friction well and usually holds up through repeated laundering. Satin-backed labels feel smoother against the skin, so they are often chosen for neck labels or children’s garments. Cotton can look more natural, but it may show wear sooner depending on the wash process and thread density. None of these is automatically best. The right option depends on the garment.
Edge finish is easy to underestimate. Heat-cut edges can help synthetic labels resist fraying. Folded edges hide raw ends and usually improve comfort. Some labels are sewn flat so the cut edge is trapped inside the seam. Others are sewn on two or four sides to keep the label stable and prevent curling. If the garment is worn close to the body, the edge treatment can matter more than the color or logo style.
Backing and stiffness should match the fabric. A firmer label can sit well on a hoodie, jacket lining, or denim waistband. The same label may feel too rigid in a lightweight tee or baby garment. Stretch fabrics are particularly unforgiving. If the label resists movement, the fabric may pucker around it or the wearer may feel the ridge all day. In those cases, a softer hand and narrower footprint are usually safer.
Color contrast also deserves more attention than many buyers give it. A label that looks crisp in a digital proof may lose readability after repeated washing if the contrast is too subtle. Dark garment dye, stone washing, and heavy abrasion all reduce visual clarity. For logos with small type, increasing line weight slightly often performs better than preserving thin detail that will not stay legible.
For programs that include packaging or paper components alongside labels, it can be sensible to align those materials with widely used standards. If finished goods face freight stress before they reach the end customer, general distribution testing frameworks such as those from the ISTA organization can help frame the discussion. If the trim package includes paper inserts, sustainability references such as FSC are also relevant.
The practical takeaway is straightforward. Choose the construction that supports the garment’s actual use, not the one that looks best in a mockup. A label on workwear has different demands than one on a fashion basic. A label on children’s apparel has different requirements than one inside a jacket lining.
Step-by-step process and timeline for ordering samples
The cleanest ordering process starts with the garment, not the logo. Define the product first. Is the label going into a neck seam, waistband, side seam, or internal content location? Then identify the fabric, weight, and care conditions. Once those are clear, the artwork can be adapted to fit the build instead of being forced into it.
A useful sample request includes the final label size, the fold style, placement, garment type, and the expected wash cycle. That information gives the supplier enough context to quote properly and prepare a proof that reflects real use. A flat mockup can help with visual approval, but it does not show how the label behaves once sewn into fabric.
The sample itself should be reviewed in the garment, not just on a desk. Check alignment, stitch behavior, texture against skin, and visibility after the label is folded and sewn. If the garment has stretch, test it while worn or pulled slightly. Labels that seem fine on a flat table can pucker once the fabric moves.
Timeline usually breaks into four parts: proofing, sampling, production, and shipping. Simple repeat orders can move quickly if the spec is already locked. First-time jobs take longer because the artwork often needs adjustment and the fold may need to be confirmed. Custom finishing and special cutting add time. For many apparel programs, a reasonable production window is roughly 12 to 20 business days after proof approval, with shipping added on top. That is a typical range, not a promise.
It is safer to plan around the longer end of the timeline. Seasonal launches, uniform rollouts, and retail replenishment schedules leave little room for last-minute corrections. One round of proof changes is common. Freight can slip. Artwork may need cleanup. The best scheduling assumption is not the fastest path, but the most likely one.
To keep the workflow tight, many buyers keep all trim decisions in one place. A product page such as Custom Labels & Tags can help organize the request around dimensions, construction, and use case instead of splitting the order across disconnected notes and email threads.
Cost, pricing, MOQ, and quote drivers
Pricing for personalized sewable labels is driven by a short list of variables: size, quantity, color count, weave complexity, fold style, edge finish, and whether the order needs special cutting or packaging. A small woven label with one or two colors is usually less expensive than a detailed multi-color version with a custom fold and soft edge. Every extra production step adds time, setup, or finishing work.
MOQ changes unit cost in a predictable way. Small runs carry more setup expense per piece, so the price per label is higher. Larger quantities spread that setup cost across more units and usually improve the unit rate. That does not mean the largest order is always the right one. It means the buyer should compare the unit price against actual consumption, not just against the cheapest number in the quote.
| Option | Typical Use | What Drives Price | Buyer Notes |
|---|---|---|---|
| Simple woven sew-in label | Retail basics, uniforms, neck branding | Quantity, size, color count | Usually the best value for repeat-wash garments |
| Satin or soft-touch label | Kids’ wear, comfort-first apparel | Base material, finish, fold style | Comfort improves, but wash performance should be checked on the actual fabric |
| Printed sew-in label | Detailed graphics, fine text, short-run designs | Ink coverage, material, finishing | Good for detail, though abrasion resistance still needs testing |
| Custom folded label set | Premium apparel, multi-location branding | Folding, cutting, packaging, assembly | Useful when presentation matters and the garment can carry a more structured trim |
Quote comparisons only work if the specs are identical. Size, material, fold, color count, intended placement, and finishing all need to match. If one quote includes setup and another splits it out, the lower line item can hide the higher total. Freight, sample charges, and revision fees matter too. They are part of the real cost.
The cheapest option is not always the best buy. If a label fails early, the cost shifts to replacement orders, labor, and customer dissatisfaction. A slightly higher unit cost can be the better financial decision if it reduces rework and keeps the garment saleable after washing.
Common mistakes that shorten label life
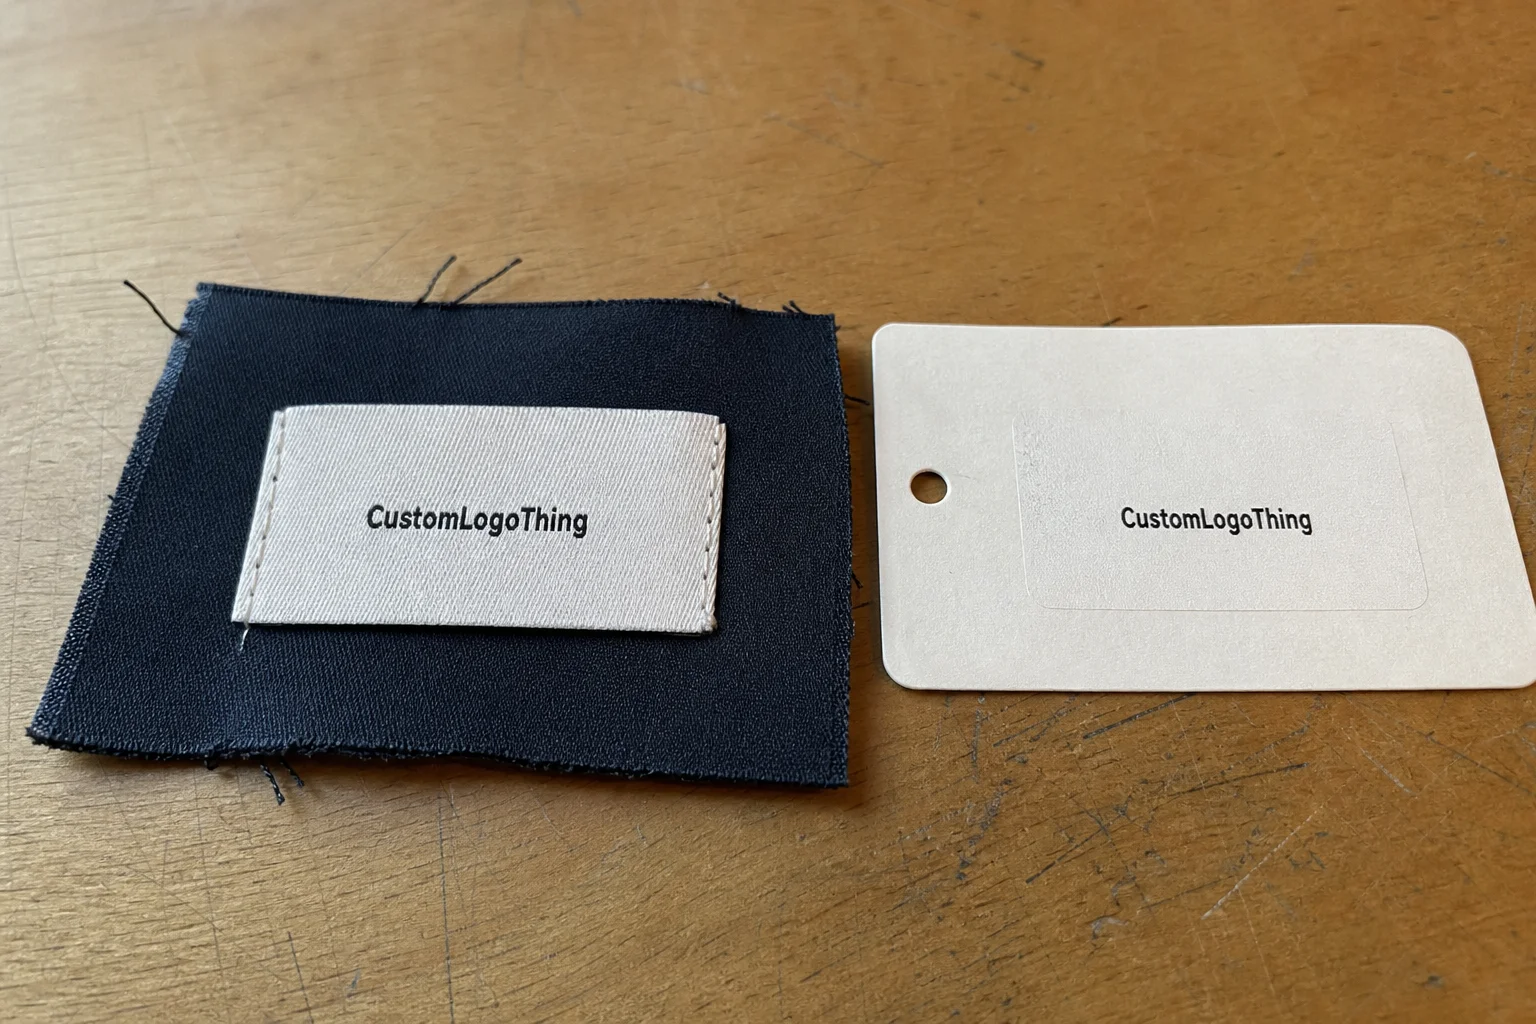
The most common mistake is trying to put too much information into too little space. Small type, thin strokes, and crowded logos may look acceptable in a proof, then become hard to read once the label is sewn, folded, and washed. Detail that works on a hang tag can disappear in textile form.
Poor stitch planning causes its own problems. If the label is sewn off-center or too tightly, the garment can pucker around it. If the edges are not secured well, the label can curl. If the stitch line is too close to a delicate fabric edge, it can distort the seam. A good label still looks bad if the sewing is careless.
Skipping wash testing is another expensive error. One wash cycle is not enough. Heat, tumble action, detergent, and repeated handling all matter. This matters most for stretch fabrics and high-heat laundry. A label that survives a mockup may fail after the fifth or sixth wash if the material or edge finish was chosen badly.
Artwork prep creates delays more often than people admit. Vague instructions about placement, unconfirmed dimensions, low-resolution files, and unclear color expectations can slow everything down. The cleaner the spec sheet, the faster the proof process and the lower the risk of revision. That is true for first-time orders and repeat runs alike.
Another mistake is treating the label as a universal component. A knit tee, a denim jacket, a kids’ sleep set, and a work pant are not asking for the same trim solution. Personalized sewable labels should be adapted to the garment’s fabric, wash requirements, and comfort profile. A one-spec-fits-all approach usually creates trouble somewhere in the line.
Expert tips and the next steps to take
The three decisions that matter most are placement, stitch plan, and performance target. Placement controls comfort and visibility. Stitch plan controls how flat the label sits. Performance target controls material, thickness, and edge finish. If those three are aligned, the rest of the process gets much easier.
Before ordering, gather the garment type, fabric content, care instructions, target quantity, label dimensions, fold style, and final artwork files. That information lets the supplier quote the right construction instead of guessing. It also makes comparisons between vendors more meaningful because everyone is responding to the same specification.
A small sample run is worth the time. It shows whether the label feels right, stays readable, and holds position after sewing and washing. A proof can confirm layout. It cannot fully predict how the label behaves on the actual garment after heat, friction, and movement. The sample can.
If you want the most reliable outcome, start with a clear spec, request a sample, and test it on the same fabric and seam construction you plan to use in production. That is the point where personalized sewable labels earn their keep. They either fit the garment and survive the use case, or they do not.
For a practical starting point, review the options on Custom Labels & Tags, then ask for a sample that reflects the garment weight, seam allowance, and wash cycle. That is the simplest way to reduce surprises later.
Are personalized sewable labels better than iron-on labels?
Sew-in labels are usually the better choice for garments that will be washed often, dried hot, or used in settings where heat-applied labels can lift over time. They are a stronger fit for workwear, uniforms, kids’ clothing, and retail apparel that needs a more permanent finish. Iron-on labels can still work for light-duty projects, but sewing gives better retention when long-term durability matters.
What fabrics work best for sewable clothing labels?
Cotton, denim, canvas, fleece, and many polyester blends handle sew-in labels well because they provide enough structure for stable stitching. Very lightweight or highly stretchy fabrics may need softer labels, narrower widths, or careful placement to avoid puckering. The safest approach is to test the label on the actual garment fabric before approving full production.
How long does production usually take for sew-on labels?
Production time depends on proof approval, material choice, quantity, and whether the order needs custom folding or special finishing. A repeat order with an approved spec usually moves faster than a first-time order with artwork revisions. Buyers should also account for shipping time separately so labels arrive before sewing, packing, or launch dates.
What affects the price of custom sewable labels?
Price is shaped by size, quantity, color count, weave complexity, edge finish, and any special folding or packaging requirements. Smaller orders usually cost more per label because setup costs are spread across fewer units. To compare quotes fairly, keep every spec identical across vendors, including dimensions, finish, and intended use.
How do I know if the label will survive industrial laundering?
Ask for the label material, thread details, and any available wash-test guidance before ordering at scale. Confirm the stitch path and seam allowance so the label stays anchored through repeated agitation and heat. The most reliable test is a sample sewn into the actual garment and run through the laundry conditions it will face in real use.


