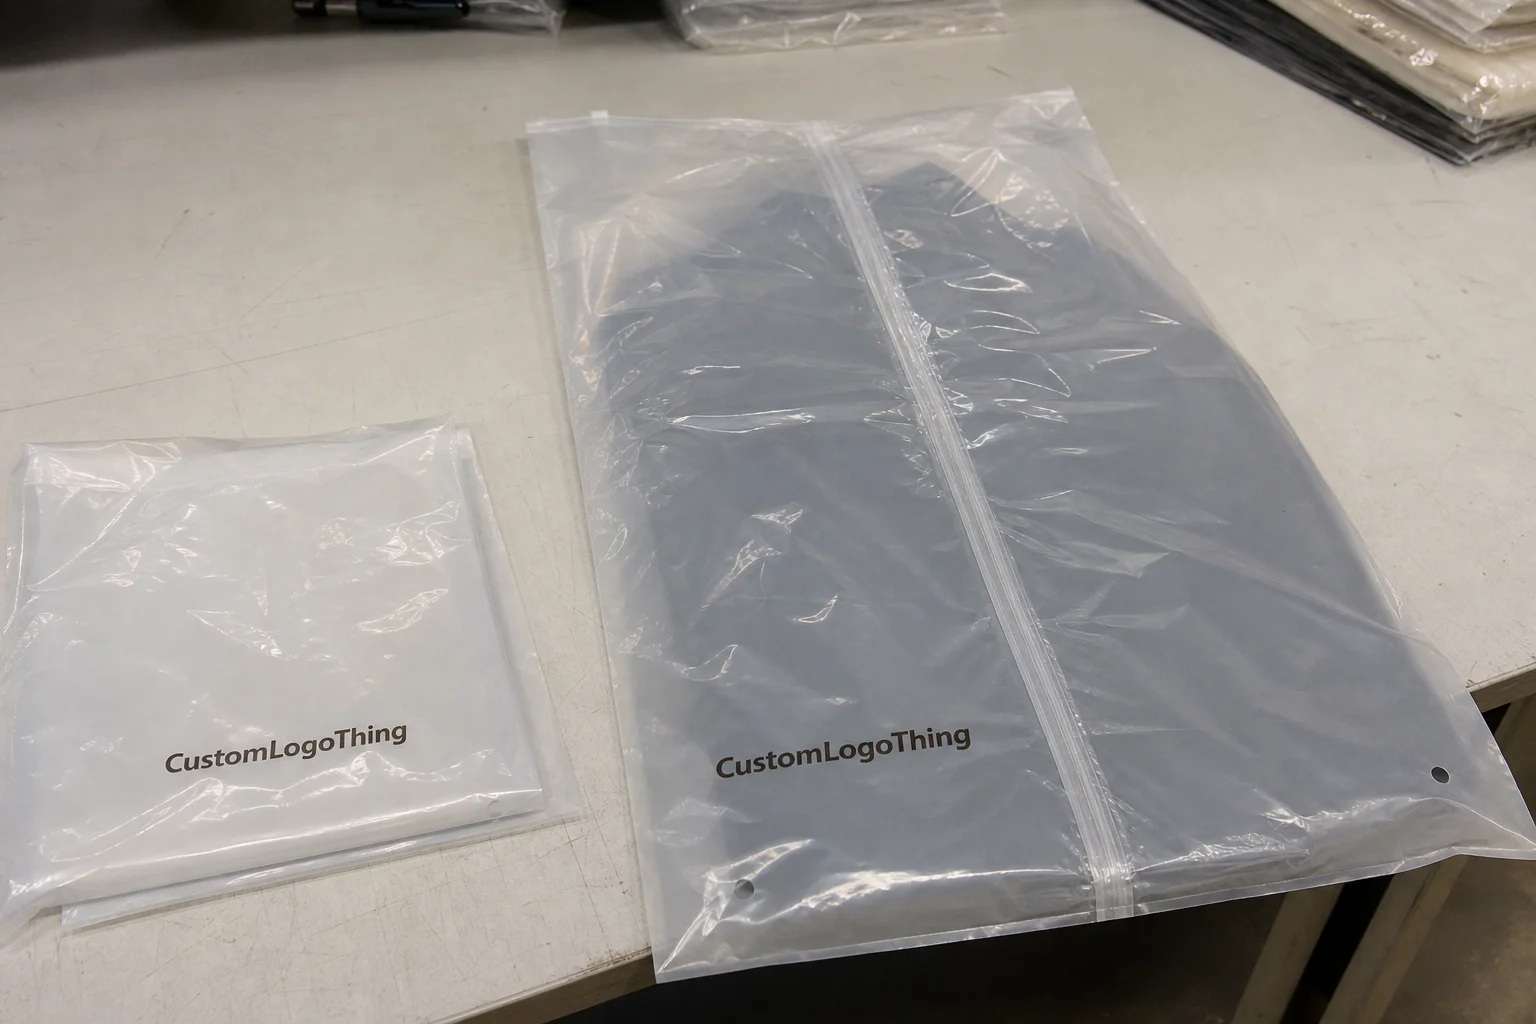
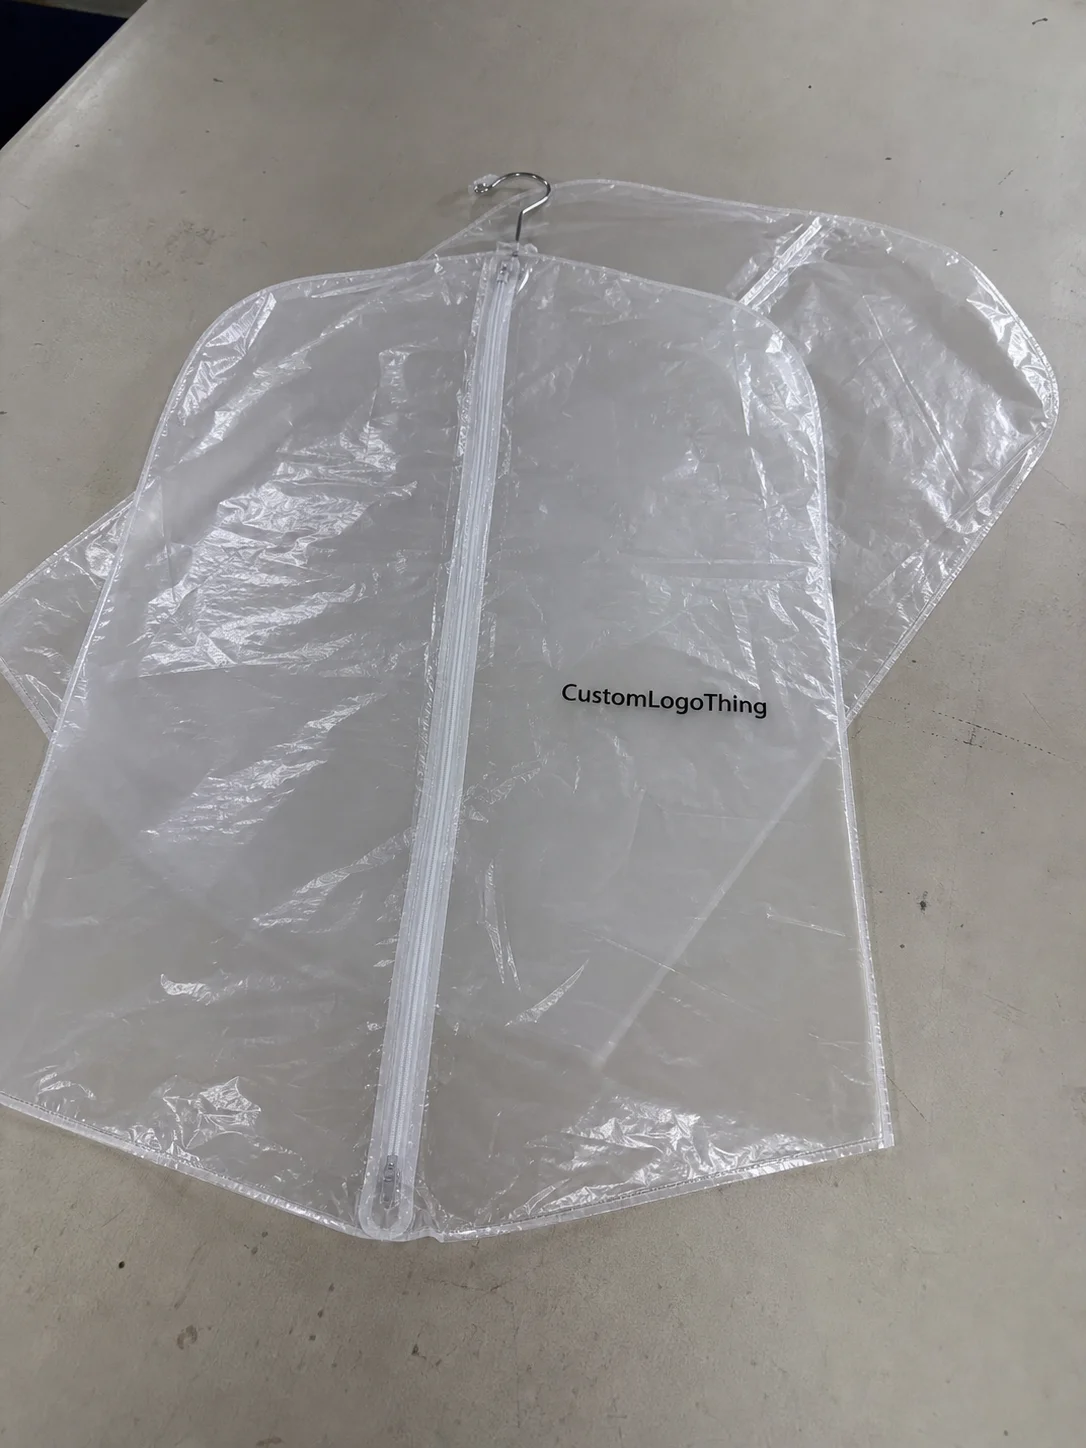
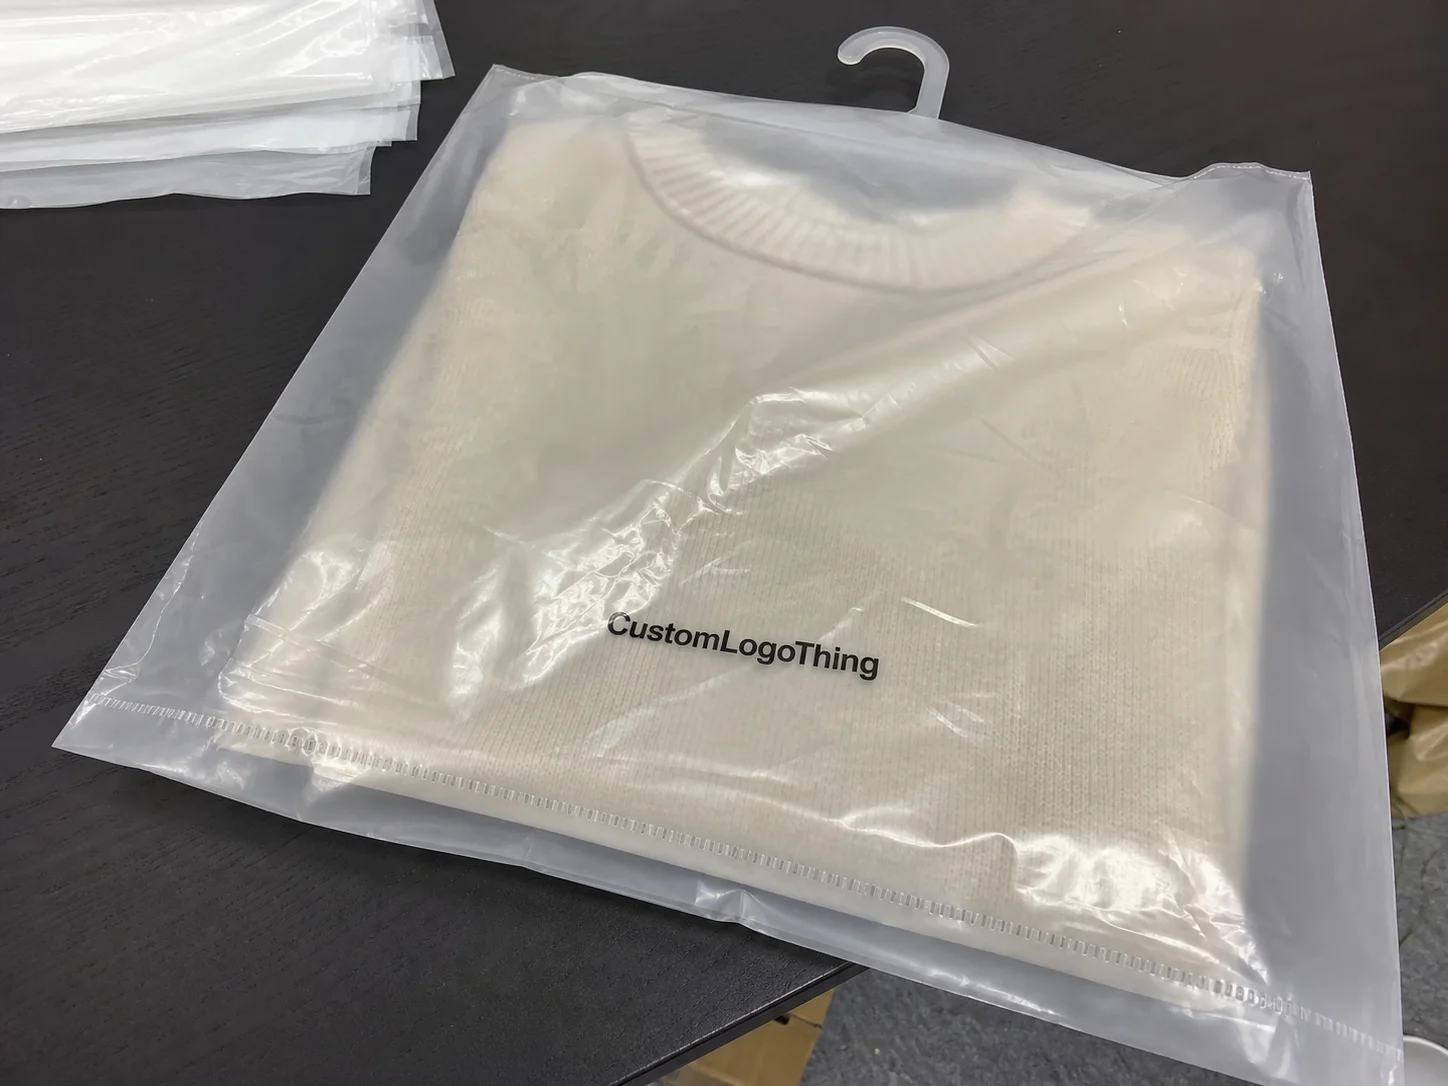
Poly mailers with branded labels solve a packaging problem that sits right between budget and presentation. A stock mailer keeps inventory simple, while a custom label gives the package a deliberate look, room for barcodes or return details, and a cleaner handoff from warehouse to customer. For brands that do not want the commitment of fully printed bags, this setup often lands in the sweet spot.
The appeal is practical, not decorative. Labels can change faster than a mailer run, they are easier to version by SKU, and they let teams update compliance copy or campaign messaging without scrapping old packaging. That flexibility matters more than it sounds, especially for businesses that ship multiple product lines or refresh artwork often.
Why branded mailers and labels matter more than you think
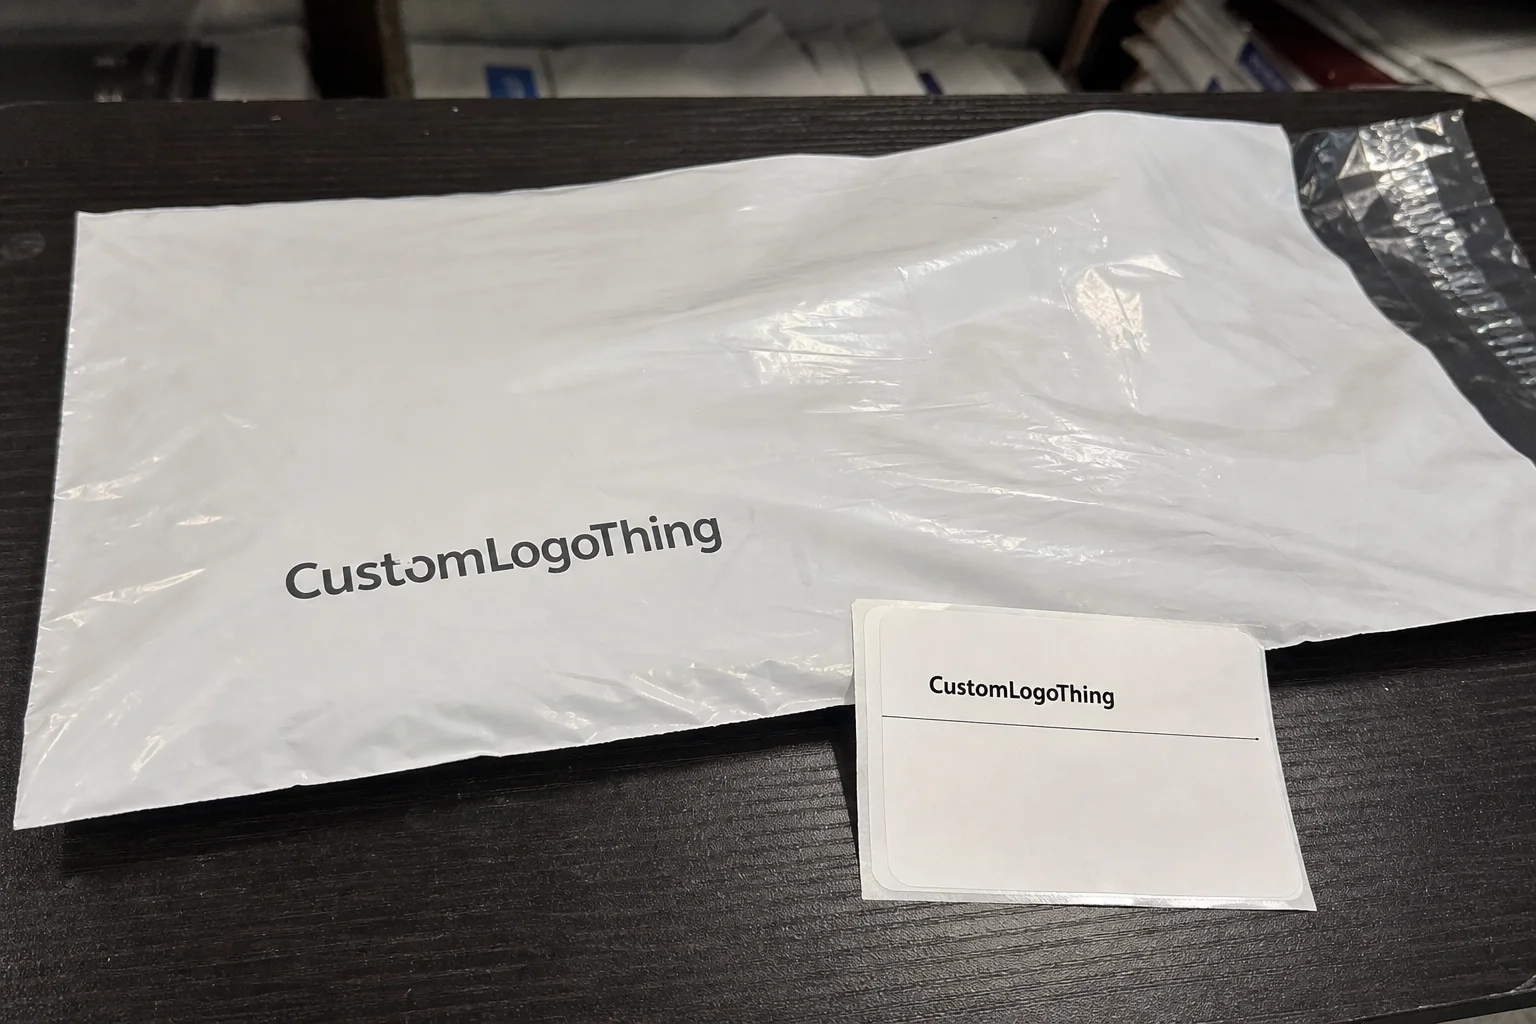
A plain poly mailer does the core job: it protects lightweight goods from dust, scuffs, and some moisture while keeping shipping costs down. What it does not do is create a recognizable brand surface. The outer package is often the first physical touchpoint a customer sees, and first impressions can be surprisingly sticky. A package that looks considered tends to feel more trustworthy than one that looks improvised.
That does not mean every shipment needs full-color printing. For many brands, a branded label is enough to shift the package from generic to intentional. A logo, product line name, QR code, or return address label can change how the shipment reads at a glance. In a stack of parcels, that little rectangle of print is often the only visible sign that the order came from a specific brand rather than a warehouse with no identity.
This format fits several common situations:
- Startups that want cleaner branding without tying up cash in large printed inventory.
- Subscription programs that need repeatable presentation from month to month.
- Growing stores that want more control over outer-packaging details.
- Teams that change product messaging, return information, or shipping notes often enough to make printed mailers inefficient.
There is also a planning advantage. A label system lets you keep the mailer base stable while updating the visible brand layer. That means the same mailer stock can support seasonal campaigns, regional returns information, or multiple storefronts. If you are comparing broader packaging options, it helps to review Custom Packaging Products alongside the label setup so you can see where a hybrid approach makes sense.
One caution: labels are not a substitute for thoughtful packaging design. If the mailer itself is thin, low-clarity, or badly sized for the product, a logo sticker will not rescue the experience. Buyers often focus on appearance first, but in practice the base material and the label have to work together.
How poly mailers with branded labels work
The process is simple on paper. You order a stock or lightly customized poly mailer, design a label, and apply that label during packout or at a fulfillment center. Some operations do the application by hand at a packing table. Others print or pre-stage labels in rolls and apply them as part of a standardized line process. Either way, the goal is the same: keep the mailer easy to source and make the visible branding easy to manage.
Placement changes both appearance and function. A front-center label delivers the strongest brand impact. A corner label is more discreet and often leaves room for shipping labels or regulatory copy. Some brands use one label to close the bag and create a tamper cue. Others place a smaller brand mark in front and a utility label on the back, which keeps the front cleaner without hiding operational details.
Material choice matters more on plastic than many buyers expect. Standard paper labels can work in dry, controlled conditions, but they are less forgiving if parcels rub against each other or see moisture in transit. Synthetic film labels, polyester face stocks, and waterproof constructions usually hold up better because they resist scuffing and curling. Adhesive performance is just as important as the face stock, since slick poly surfaces behave very differently from paperboard.
In practice, buyers usually compare a few common combinations:
- Matte paper with permanent adhesive for short-life, lower-cost use.
- Gloss film with permanent adhesive for stronger color and better abrasion resistance.
- Removable adhesive for cases where clean removal matters, though that is less common for branding.
- Water-resistant synthetic labels for higher-touch handling, humidity, or cold-chain exposure.
The label can also carry information that would clutter the mailer if printed directly on it. Barcodes, SKU codes, care instructions, QR codes, and return copy all fit comfortably on a well-designed label. That makes branded labels useful even when the visual branding is modest. A package can still be practical first and branded second.
For brands weighing outer-packaging formats, the combination of Custom Poly Mailers and Custom Labels & Tags is often more flexible than a single fully printed solution. It also makes it easier to hold one component steady while testing changes in the other.
The biggest failure point is usually not the artwork. It is adhesion, placement, or both. A label that lifts at the corners or sits half an inch off from package to package makes the whole system look cheap, even when the design itself is strong.
Key factors that affect label quality, durability, and unit cost
Label size is one of the first cost drivers. Larger labels use more material and usually require more careful placement, but they also allow better logo visibility and more room for operational information. A small label can look elegant on a proof and disappear on a real parcel. A slightly larger label may cost more, but it can improve legibility and reduce the chance of a design feeling cramped.
Color count matters too. A simple one- or two-color label is usually easier to produce than a full-color label with gradients or dense photographic elements. Finishes change both cost and performance. Matte can hide fingerprints and keep text easy to read, while gloss can sharpen color but may create glare under bright warehouse lighting. If barcodes or QR codes are part of the design, contrast matters more than finish. A beautiful label that scans poorly is a packaging problem, not a branding win.
Adhesive choice should be treated as a specification, not a guess. Poly mailers are slick, flexible, and often slightly textured. That surface is less forgiving than corrugated board. Strong permanent adhesive is usually the safer choice for branding labels, especially if the package may be handled more than once. Removable adhesive sounds convenient, but on a shipping package it can underperform unless the goal is temporary labeling only.
Durability should be tested against the conditions the package will actually see. A label may look fine on a desk and then fail after rubbing against another parcel, sitting in a warm vehicle, or encountering condensation in winter. Packaging teams often use ISTA test logic to think about drop, vibration, and distribution stress. That does not replace field testing, but it gives a useful framework. If your product or sourcing story involves recycled-content claims, certification references such as FSC may also matter for the wider packaging discussion.
Minimum order quantities can be awkward here because labels and mailers may come from different production systems. One supplier may want a certain volume on the mailer, while the label vendor has a separate threshold. If those numbers do not line up, you can end up with excess material in one category and not enough in the other. That creates cash-flow pressure and can clutter warehouse space.
Operational speed is the hidden cost most teams underestimate. A label applied by hand adds a few seconds per unit, which sounds minor until volume climbs. At 1,000 orders, even a small delay becomes meaningful. At 10,000 orders, it can affect labor planning. For smaller brands, that tradeoff is often acceptable. For high-volume operations, it may push the decision toward pre-applied labels or fully printed mailers.
Buyers should ask a few simple questions before approving a spec:
- Will the label stay flat on the exact mailer surface being used?
- Will the barcode still scan after abrasion during transit?
- Does the adhesive hold in the warehouse temperature range?
- Can the label tolerate moisture, humidity, or cold storage if needed?
- Will recycled-content film or matte finishes affect legibility?
Pricing, MOQ, and quote details buyers should compare
Quotes for poly mailers with branded labels are easy to misread because the cheapest-looking number is rarely the real number. The quote should break out mailer size, film thickness, label dimensions, print method, finish, adhesive type, and packaging format. If labels arrive on rolls, sheets, or as individual pieces, that changes how fast the team can apply them. If the mailers come packed in a way that is awkward for the station layout, labor cost rises even when unit pricing looks attractive.
Total landed cost is the only comparison that matters. That includes the label, the mailer, setup fees, proofing charges, shipping, and the labor needed to combine the two. A low-cost label that slows the packing line is not a bargain. A slightly more expensive label that applies cleanly and resists failure usually costs less in the end.
| Option | Typical setup | Best for | Watchouts |
|---|---|---|---|
| Blank mailers + custom labels | Mailer stays stock; label applied in-house | Small to medium runs, changing artwork | Manual labor, placement consistency |
| Blank mailers + pre-applied labels | Supplier applies labels before shipment | Teams without packing capacity | Less flexibility for late changes, more coordination |
| Fully printed mailers | Higher setup; branding printed on the bag | Stable, high-volume packaging programs | More commitment, harder to revise quickly |
For planning purposes, a small branded rollout may see labels priced around $0.03 to $0.12 per unit, depending on size, finish, adhesive, and quantity. Mailers themselves often land somewhere around $0.10 to $0.30 per unit at common volumes. Those are broad ranges, not promises. Artwork coverage, order size, material grade, and shipping terms move the number quickly. Still, ranges like these are useful because they keep budget conversations grounded in reality.
Moqs deserve their own scrutiny. A supplier might offer excellent label pricing but require more pieces than the mailer order needs. Or the reverse: a workable mailer MOQ with a label minimum that ties up too much inventory. If you have several SKUs, ask whether split-SKU charges apply, whether each version needs its own proof, and whether any setup fees repeat across variants. Those details can change the quote more than the unit price does.
Also ask about the practical stuff: proof turnaround, plate or setup charges, rush fees, carton counts, and whether the mailer and label ship together or separately. Separate shipments can create a timing problem if one item arrives before the other. That is a common source of delay during a rollout.
Process and timeline: from artwork approval to packed inventory
The production sequence usually starts with artwork preparation, followed by proofing, material selection, approval, production, and then packout. If the same supplier handles both mailers and labels, communication is easier. If separate vendors are involved, the schedule gets more fragile. A late label proof can hold up a perfectly ready mailer shipment, and a missed mailer size can force a rework even if the artwork is already approved.
Artwork changes are the most common slowdown. A logo that looks fine on a computer screen may need to be resized for a small label face. Barcodes need enough contrast and clear quiet space around them to scan reliably. Color matching can also stretch timelines, especially if the brand expects a specific tone on a low-cost film or paper substrate. The more the design depends on exact visual matching, the more time should be built into the schedule.
Labels often move faster than fully printed mailers because the print run is smaller and the material requirements are lighter. That is one of the main reasons brands choose this route. But label production speed is only half the story. If the application step is manual, the pack line may become the bottleneck. Even a fast label supplier cannot fix a slow or inconsistent application process.
Sample testing should happen before the full order, not after. The sample needs to be judged on the exact mailer finish, not a random plastic sheet. Check whether the label stays flat after a day or two, whether corners lift, whether the adhesive grabs cleanly, and whether the barcode scans from the distance staff actually use. If you have different mailer sizes, test each one. A label that works on one bag can wrinkle on another because of tension or surface texture.
Seasonal or promotional campaigns make the case for this format even stronger. A company that wants a holiday look, a new launch label, or a region-specific return code can swap labels without replacing the whole mailer inventory. That is useful when the base packaging is still performing well but the messaging needs to change quickly.
For teams comparing packaging approaches across departments, it can help to review prior projects in Case Studies. The patterns are usually consistent: delays come from artwork approval, poor label placement rules, or poor coordination between sourcing and fulfillment. The material itself is rarely the only issue.
Step-by-step setup for a smoother packaging rollout
Start with the business goal. Is the priority better brand presentation, lower inventory risk, faster version changes, or cleaner internal tracking? That answer determines how much effort should go into finish, size, and application method. A short-lived campaign does not need the same spec as a long-term packaging program.
- Measure the mailer, product, and available label area before design begins.
- Choose label stock and adhesive based on handling, temperature, and moisture exposure.
- Build the artwork with the final barcode, return copy, and logo layout already in place.
- Run a small test batch and check adhesion, scan quality, and packout speed.
- Document the approved placement and create a reorder sheet so future runs match the approved version.
That last step prevents drift. Packaging programs often get sloppier over time because people assume the label position is obvious. It usually is not. One operator places it centered, another shifts it slightly left, and eventually the package starts looking inconsistent. A simple placement spec solves that problem.
It also helps to define what should remain fixed and what can change. Many brands do best with one master template and a few controlled variants. The logo, return information, and core layout stay the same. Only the SKU, QR code, or campaign line changes. That keeps the packaging recognizable while still allowing some flexibility.
Reorder planning should be tied to usage, not instinct. If mailer stock lasts eight weeks and labels last twelve, order timing needs to account for both. A basic spreadsheet usually does the job. Track quantities, lead times, approved artwork versions, and where each label should sit on the bag. That is enough structure to avoid most preventable delays.
Common mistakes that make branded labels look cheap or fail in transit
Size mismatch is one of the fastest ways to make a label look wrong. Too small and the branding disappears. Too large and the label crowds the shipping area or wrinkles across a curved surface. Proportion matters because the eye reads balance before it reads detail.
Adhesive is the second common failure point. Weak adhesive on glossy plastic tends to lift at the corners first. Once that happens, the label looks worn before the parcel reaches the customer. That visual decay is hard to ignore. Testing on the actual mailer surface is the only reliable way to avoid it.
Placement inconsistency is another problem that shows up quickly once a shipment volume grows. A design can be perfectly good and still look unprofessional if each bag has the label in a slightly different spot. Stacking those packages together makes the inconsistency even more obvious. It reads as sloppiness, even if the issue is just a lack of process control.
Overdesign creates its own problems. Too much text, low contrast, or tiny barcodes make the label harder to read and more likely to fail as an operational tool. A label needs hierarchy. The logo should be easy to identify, critical information should be readable, and decorative elements should stay out of the way. If the label has to work hard in a warehouse, visual restraint is usually the better choice.
There is also a pack-station reality that gets overlooked. A label that looks polished in a mockup may be annoying to apply at speed. Roll direction, printer compatibility, peel ease, and hand placement all affect throughput. If the label slows the line, the packaging system will eventually work against itself. The best setup is the one the team can repeat without thinking too hard.
Expert tips for better branding, faster packing, and next steps
Keep the system repeatable. A front-facing brand label, a fixed utility or return label, and a barcode placed where staff can reach it quickly is usually enough. That structure reduces errors and keeps the package looking deliberate. A repeatable map is more valuable than a clever one-off layout.
Avoid changing the entire packaging look with every drop. It feels creative, but it often creates operational noise. One master label format with a few controlled variants usually performs better than a constantly changing design system. If you want seasonal freshness, change a small panel or insert rather than rebuilding the whole package every time.
Test under real shipping conditions before scaling. A sample can look great on a desk and still fail once it moves through sorting, stacking, and delivery. Check adhesion after abrasion, check readability after handling, and check whether the label stays aligned once the mailer is filled. That kind of testing catches the problems proofs miss.
Choose suppliers who can coordinate the mailer and label specs together. The bag dimensions, label size, adhesive choice, and artwork all affect one another. If those specs are handled in isolation, the result is often a package that is harder to pack, harder to scan, or harder to reorder. The best programs are not flashy; they are consistent and easy to replenish.
For teams starting from scratch, the most useful next step is usually not a redesign. It is a simple spec review: current mailer size, film thickness, monthly volume, label format, and the full landed cost of the current setup. From there, poly mailers with branded labels can be evaluated on something more useful than appearance alone. They can be judged on cost, speed, durability, and whether the package still looks intentional after real transit.
Are poly mailers with branded labels cheaper than printed poly mailers?
Often yes for smaller or changing runs, because you avoid full print setup on the mailer itself. The full cost still depends on label material, application labor, and whether the mailer and label are bought separately. At higher volume, fully printed mailers can sometimes be more economical.
What label material works best on poly mailers?
Adhesive performance matters more than paper thickness on slick plastic. Waterproof film labels or durable synthetic labels usually hold up better in transit. Always test the label on the exact mailer surface before committing to a larger order.
Can branded labels include shipping or barcode information?
Yes. Many brands include barcodes, QR codes, SKU numbers, return instructions, or warehouse notes. Keep critical codes high contrast and large enough to scan reliably, especially if they will be handled multiple times.
How long does the process usually take?
The timeline depends on artwork approval, label printing, mailer availability, and whether application is done in-house or by a fulfillment partner. Labels often turn faster than fully custom-printed mailers. Rush jobs are possible, but they usually cost more and reduce material options.
What should I ask for in a quote for poly mailers with branded labels?
Ask for mailer size, film thickness, label dimensions, adhesive type, finish, quantity, and any setup fees. Confirm MOQ for both components and whether application labor is included. Request a sample or proof so you can check placement, color, and adhesion before ordering.