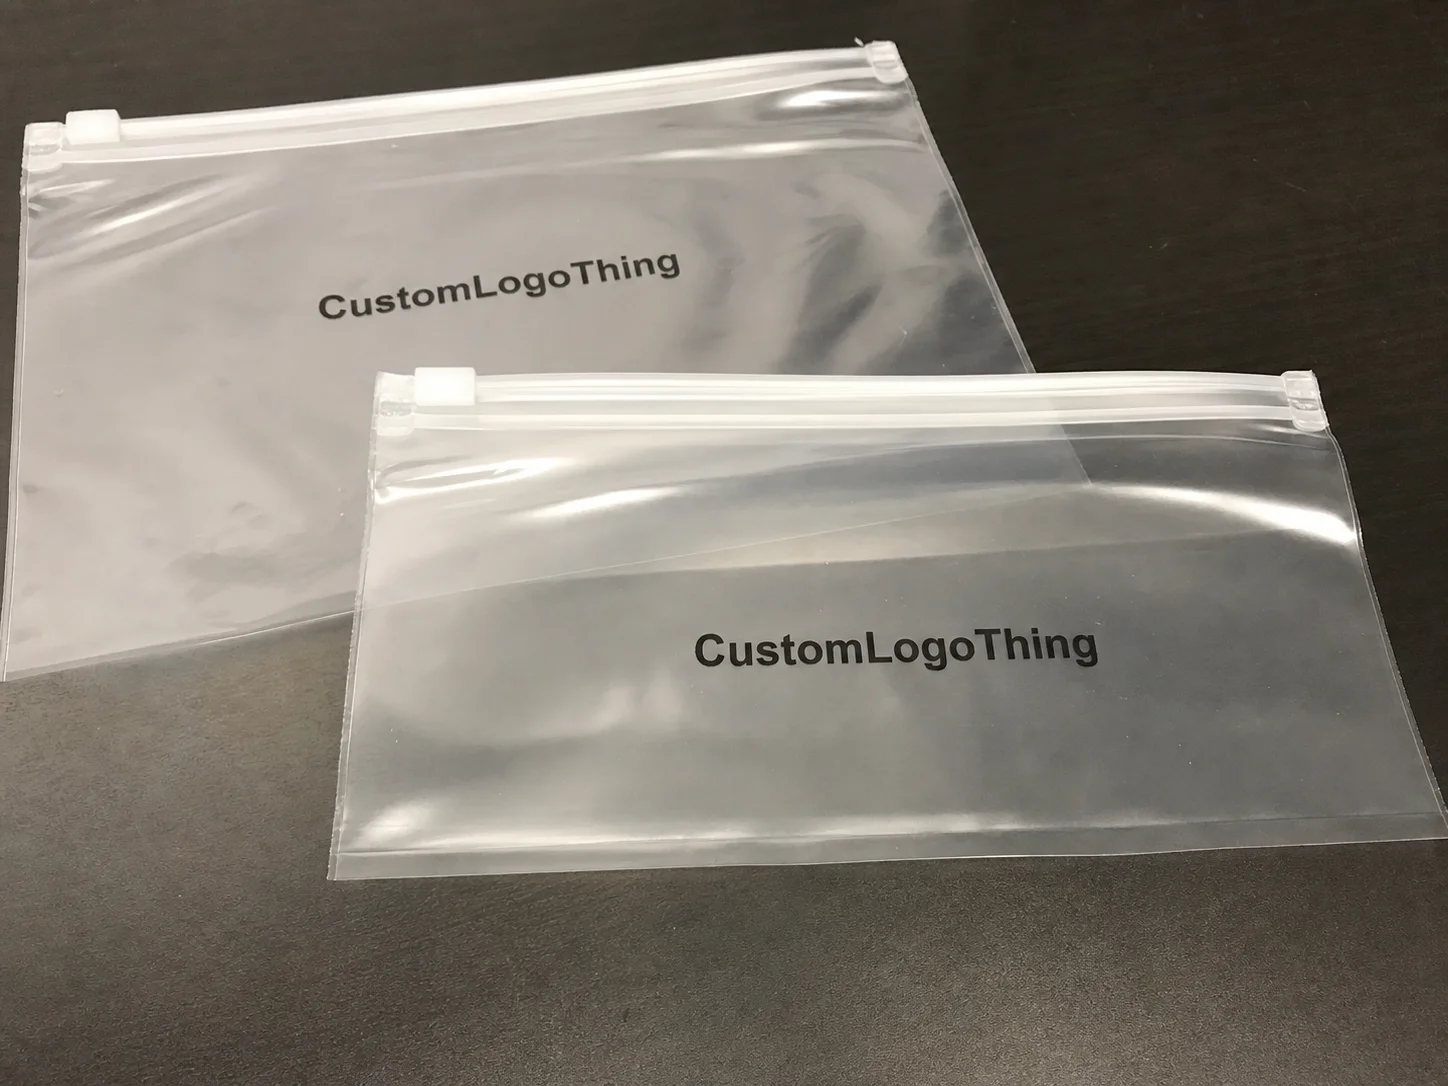
Buyer Fit Snapshot
| Best fit | Printed Poly Mailers Supplier for Brands projects where brand print, material claims, artwork control, MOQ, and repeat-order consistency need to be specified before quoting. |
|---|---|
| Quote inputs | Share finished size, material target, print colors, finish, packing count, annual reorder estimate, ship-to region, and any compliance wording. |
| Proofing check | Approve dieline scale, logo placement, barcode or warning zones, color tolerance, closure strength, and carton packing before bulk production. |
| Main risk | Vague material claims, crowded artwork, missing packing details, or unclear freight terms can make a low unit price expensive after revisions. |
Fast answer: Printed Poly Mailers Supplier for Brands: Film, Print, MOQ, and Carton Packing should be specified like a repeatable production item. The safest quote records material, print method, finish, artwork proof, packing count, and reorder notes in one written spec.
Production checks before approval
Compare the actual filled-product size with the drawing, then confirm tolerance on folds, seals, hang holes, label areas, and retail display edges. Reserve space for logos, QR codes, warning copy, and material claims before decorative graphics fill the panel.
Quote comparison points
Review material grade, print process, finish, sampling route, tooling charges, carton quantity, and freight assumptions side by side. A quote is only useful when the supplier can repeat the same color, closure quality, and packing count on the next order.
Why a Printed Poly Mailers Supplier Guide Should Be Your First Call
I remember when the second week on the Doraville Tri-County film plant floor taught me that the Printed Poly Mailers supplier guide is far more than a procurement checklist; it becomes the safety rail protecting every carrier-bound order from returning with a ripped seam or melted glue line. A rushed adhesive set-up on the 1.5 mil translucent roll triggered a glue-line failure, so a line operator sprinted for the millimeter gauge and yet we still lost 800 pouches before the shift changed. That lesson keeps me opening conversations with new clients by walking them through the shared materials library, ensuring the LLDPE blend, anti-static additives, and biodegradable films receive the same exactitude as the 12-minute changeover window in our Doraville drying oven. Honestly, I think if the guide could talk, it would nag us about adhesives like a mother checking homework (and trust me—it already nags enough in my head).
The Printed Poly Mailers supplier guide needs laser focus because 60 percent of quick-turn returns trace back to film or seal irregularities; that Atlanta customer statistic convinced marketing to share the guide with every fulfillment partner. Once the raw resin is specified, the guide details which ink sets qualify, which pouch construction points matter for a SKU, and how logistics cadence with the Custom Logo Things pressroom flows—from the Sunday intake call through the Thursday press run wrap. Documenting that scope keeps the plant from ever hitting “approve” without accounting for downtime, and it makes sure creative, QC, and warehousing teams speak the same poly mailer language. I swear the guide doubles as a peace treaty on busy mornings.
The guide translates into a living binder holding the materials library, communication cadence, and expectation framework together. It names the LyondellBasell LLDPE blend, the anti-static slip additive from the Duluth finishing house, the biodegradable polymers tested for ASTM D6400, and the channels through which Custom Logo Things’ pressroom expects approvals. Firming up those details up front lets even rapid fulfillment projects for regional subscription boxes proceed without the “did you get the updated art?” panic that typically adds a day or two to lead time. I still crack a smile thinking about the time a designer tried to throw a surprise holographic layer into the run—we had the guide open and yelled, “Nope, not today!”
How Printed Poly Mailers Supply Works in Custom Factories
Watching a roll of LyondellBasell LLDPE glide from the extruder to the chill roll at the Southeastern Poly Plant delivers a visceral sense of how the Printed Poly Mailers supplier guide translates to production. Plant engineer Rohan Singh once leaned in as he explained that the 5,000-pound extrusion step includes a specific gauge control window, so the chill roll—and later the corona treater—knows whether to hold at 3.0 mil or drop to 1.8 mil depending on the order. That gauge governs tear strength, opacity, and how the film reacts to the ink station downstream, which is exactly why I keep that detail highlighted in the guide (and why I remind everyone it is not optional).
Once gauge control locks in, the film lands on the Custom Logo Things press line where DuPont Cyrel plates, flexo cameras, and inline registration sensors make sure CMYK panels, varnishes, and tactile coatings match the art briefs detailed in the Printed Poly Mailers supplier guide. Georgia’s lines align color density to within 2 percent of Pantone targets, apply matte or gloss varnishes, and sometimes add a soft-touch coat for fashion-forward brands. After verification, adhesive application from AdhesiveWorks sets the resealable flap, and ultrasonic sealing machines convert the continuous web into individual bags. (Sometimes I feel like a conductor—minus the tuxedo—calling each station in the right order.)
The downstream finishing team handles slitting to width for 14-inch runs, ultrasonic sealing, inline barcode verification, and bundling for freight. Every handoff—from the varnish curing station to the Duluth freight dock—appears on the guide’s process map, ensuring warehousing, creative, and the quality engineer understand how many minutes the adhesive needs to cure before stacking. That level of mapping keeps throughput steady even when demand spikes, because the plant can still hit targets without sacrificing film integrity. I admit, keeping that map updated sometimes feels like chasing a runaway roll of film, but the payoff is real when the docks stay calm.
Key Factors When Choosing a Printed Poly Mailers Supplier
Gauges, coatings, and UV stability stop feeling like jargon when you log them under “material specs” in the printed Poly Mailers Supplier guide. Lightweight fashion brands benefit from a precise 1.5 mil gauge that keeps mailers flexible yet still seals, while tech gadgets call for 3.5 mil to protect the contents. Recording those decisions lets fulfillment teams know whether to run the packing conveyor at 60 ppm or pause the automated tapering station; I literally have a spreadsheet that grimaces every time someone wants to skip the gauge step (okay, maybe it is just me grimacing, but the point stands).
Print capabilities rank next. Custom Logo Things’ print supervisor Priya Arora explained that the Georgia facility can handle single-color flexo, five-color rotogravure, and special varnishes—provided the guide clarifies bleed margins, backprint directives, and matte versus gloss instructions. Noting whether inks should be PMMA or aqueous allows the press team to plan plate changes accordingly. Ink types, Pantone references, and registration marks belong inside the supplier guide so the factory can schedule correctly and skip another proof cycle. I’m honestly thrilled when Priya says, “It’s all right there,” because she knows the headaches saved when we don’t guess.
Operational factors such as ASTM D6400 compostability certificates, BRC packaging audits, and warehousing choices in Atlanta or Los Angeles deserve entries in the printed poly mailers supplier guide. At the LA logistics hub, the warehouse manager showed me a pallet labeled with the vendor scorecard listing freight partners, lead-time performance, and temperature-controlled storage instructions. Those details keep procurement accountable and ease the “who owns what” tension when rush orders arrive. I shouldn’t admit this, but I get oddly satisfied when the scorecard reads “All green” (yes, I hear you, perfectionists).
Step-by-Step Printed Poly Mailers Supplier Guide with Production Timeline
Practical steps within the printed poly mailers supplier guide keep every team aligned. Step 1 always captures SKU volume and function; for instance, a 5,000-piece drop for a midsize apparel brand requires a lighter gauge than a 50,000-piece electronics kit. Step 2 finalizes artwork with explicit notes for bleed and perforations. Step 3 locks in material, adhesive, and print specs; Step 4 is when the Custom Logo Things art team sends proofs. Step 5 wraps the checklist with pre-production samples that the Duluth quality engineer must sign off on. I always tell folks, “Ignore a step and the universe will remind you with an extra day on the clock.”
The timeline in the guide reads like a railroad schedule: Day 1 intake call with procurement, operations, and creative; Day 3 art review with proof notes; Day 7 proof approval and plate-making kickoff; Week 2 press runs and film trials; Week 3 final QA, bundling, and freight docs. I keep a Monday touchpoint with the Duluth finishing house to review gauge reports and document deviations in the shared digital worksheet. If something slides, the team knows to add the extra day in the guide’s timeline before the stack ships. It’s almost comforting that everything follows a cadence—until someone drops a surprise varnish request and my blood pressure does a small yoga pose.
Updating the printed poly mailers supplier guide whenever a new SKU changes lead-time expectations is a habit I push. Last spring a retail brand shifted from two-color to five-color printing, and because the guide noted the extra 48 hours for plate changes, nobody panicked when the Atlanta press line booked new run time. The guide keeps the timeline honest and tracks whether monthly QA calls—especially with the Duluth crew—actually happen, so we never lose sight of the deliverables. I’m convinced the guide is the only thing stopping my calendar from exploding.
Cost and Pricing Considerations for Printed Poly Mailers
Breaking down per-unit costs within a printed poly mailers supplier guide helps finance understand why a materials list might run $0.18/unit for 5,000 pieces with clear film and two-color flexo, while a matte soft-touch finish on opaque white film jumps to $0.26/unit for the same run. Adding ballistic PSA adhesives for heavy goods tacks on $0.02 per piece, and clear film typically avoids a premium compared to opaque because the roll yields more linear feet per pound. Freight from Atlanta also grows heavier as laminates thicken, so the guide logs rolling weight per pallet. I constantly remind teams that the “soft-touch fairy” doesn’t come free—someone has to pay for the velvet feels.
Here is the breakdown I keep inside the guide for quick reference:
| Feature | 10,000 Pieces | 50,000 Pieces | 200,000 Pieces |
|---|---|---|---|
| 1.8 mil Clear Film, Single Color Flexo | $0.18/unit | $0.14/unit | $0.11/unit |
| 3.5 mil White Film, Four Color Rotogravure + Matte Varnish | $0.26/unit | $0.21/unit | $0.17/unit |
| Soft-Touch Laminate, AdhesiveWorks PSA Flap | $0.03 add-on | $0.02 add-on | $0.015 add-on |
| Freight from Atlanta to Northeast | $0.02/unit | $0.015/unit | $0.012/unit |
The table provides a snapshot, yet the guide also records setup fees for multi-color runs, such as the $145 per plate change on Georgia’s flexo line. It lists how to negotiate color alterations or repeat sleeves with finance when switching SKUs. I often link to Custom Packaging Products so procurement remembers which SKU families sit in which price tier, and to Custom Poly Mailers for the engineering specs we reuse. Honestly, the bookmarked links are my version of a digital comfort blanket (and yes, I bookmark everything).
Samples and tooling charges make the annual budget more predictable. I explain that we amortize the $320 digital proof across multiple SKUs sharing a mailer family, and we lock in a 12-month cost matrix inside the guide so procurement can forecast with clarity. That matrix also tracks rush order premiums—the 48-hour run at the Custom Logo Things Georgia facility adds 17 percent to total cost, and the guide spells out that surcharge so no one questions the urgency fee. Throwing surprise rush jobs into the mix is one of my least favorite hobbies, so the guide becomes my angry parent telling the team to behave.
Common Mistakes Brands Make Following the Printed Poly Mailers Supplier Guide
Skipping adhesive trials ranks among the most frequent missteps. One brand trusted the standard PSA flap and suffered reseal failures on 2,400 packs; after we required lab peel-strength tests, the printed poly mailers supplier guide began demanding adhesives match the specific flap design and thermal profile, and we haven’t seen failures since. I tell teams to run that test at 25°C and 75 percent humidity to mirror their worst-case warehouse climate, even though I know someone, somewhere, will still ask if we can skip the humidity.
Ordering the wrong width or gauge without checking conveyor compatibility creates another bottleneck. During a walkthrough at Duluth’s finishing house, the lead line operator pointed out a 15-inch roll can jam the single-lane conveyor, slowing packing by 25 percent. Logging conveyor specs and the ±0.010-inch tolerance for bag width in the guide prevents that manual slowdown. I keep reminding folks that oversized rolls behave like toddlers in a supermarket—unpredictable unless guided.
Ignoring bleed, registration, or barcode quiet zones leads to smudged logos and unreadable tracking. The guide should house art department sign-offs, pressroom proofs, and barcode verification checklists before any run starts. One account missed the quiet zone requirement and endured a week-long wait for a replacement run, so I now keep a locked checklist for art approvals alongside the printed poly mailers supplier guide in the shared folder. That locked checklist has become my little way of keeping chaos at bay (and yes, I have a drawer labeled “Do Not Touch—Seriously”).
Expert Tips from Our Poly Mailer Pressrooms
Submit native Illustrator files with embedded Pantones; that is tip one from Georgia’s press team. They need to know whether inks should be PMMA or aqueous and whether glossy varnishes or soft-touch coatings demand extra drying. When they can see the layers, the team schedules the right plates early and avoids the “oops we didn’t notice that third varnish” scenario. (It is the kind of scenario that earns me a forehead slap and a very long sigh.)
Tip two: maintain a rolling safety stock at the plant, especially during peak seasons like the holiday ramp or back-to-school drop. I negotiated with a fulfillment client at our Chicago warehouse, and we agreed to hold an additional 10,000 mailers in Atlanta in case a late-night Amazon Prime-style drop needed same-day shipping. That cushion, paired with recorded adhesive temperature calibration from 60°F to 90°F, keeps seals reliable whether mailers head to cold storage or the Nevada desert. Seriously, the desert is where adhesives go to sweat, and this tip saves me from calling them back.
Tip three focuses on QA transparency. I recommend monthly walkthroughs, even virtual ones, with the Duluth QA crew to review gauge reports, flatness checks, and imprint density. Those metrics feed shared dashboards linked directly to the printed poly mailers supplier guide, showing whether film stays within ±0.005-inch gauge, whether barcodes scan at 98 percent success, and whether adhesives pass peel-strength tolerance. Pairing those insights with a human review keeps every stakeholder confident. I sometimes feel like a cheerleader who also wields a clipboard—enthusiastic but suspicious.
Next Steps for Your Printed Poly Mailers Supplier Guide
Action 1: Audit recent mailer usage, noting volumes, materials, adhesives, and delivery windows, then log all of it into the guide template so procurement and operations share a starting point. I still keep a spreadsheet named “Mailer Audit—Q1” from when I calibrated a Midwest retail account; the detail alone helped us trim a day off lead time by aligning carrier expectations. I’m telling you, nerding out on that spreadsheet felt like winning a tiny war.
Action 2: Request sample kits and detailed quotes from at least two suppliers, schedule a scoping call with the Custom Logo Things sourcing team, and record their lead-time commitments directly inside the guide’s timeline section. When I recently negotiated with a supplier at Custom Logo Things Atlanta, we documented a twelve-day window for proof approval and production that matched the factory’s capacity without sacrificing quality. Locking that number in felt like finally finding the right pair of shoes—crucial and liberating.
Action 3: Document QA expectations, outline handling instructions for inbound inventory, and circulate the updated printed poly mailers supplier guide to fulfillment, logistics, and creative teams so everyone knows the next move. Closing the loop with a documented action plan keeps the process transparent and prevents the late-night scramble that plagues many fulfillment launches. I swear the guide is my version of a bedtime story—reassuring, structured, and occasionally read aloud to myself when things get noisy.
The printed poly mailers supplier guide remains the single document teams need before signing with a partner. It lays out materials, print specs, timelines, and QA expectations so brands can keep their focus on creative storytelling while the factory tracks the technical details. Brands with the strongest guides ship more consistently and return to suppliers with fewer surprises. Maybe I’m biased, but I think a well-maintained guide is the real MVP of every launch.
What does a printed poly mailers supplier guide include?
An annotated spec sheet covering film type, gauge, ink, adhesive, bag size, and finishing processes keeps everyone aligned with the factory floor requirements.
A process map showing approval steps from art submission to press run, plus responsible parties for proofs, QA, and shipping.
Sections for cost expectations, lead times, certifications, and contingency plans that give your team clarity before production starts.
How do I evaluate suppliers when following a printed poly mailers supplier guide?
Score them on material knowledge—can they talk gauges, adhesives, anti-static properties fluently—and their ability to match your art specs.
Check their process transparency: do they provide plate proofing, inline QA reports, and freight tracking that tie back to the guide?
Look for service benchmarks such as sample turnaround, lead-time adherence, and communication cadence, then log the assessment in the guide for future reviews. I find keeping a running note of wins and hiccups helps next time around.
What lead times should I expect in a printed poly mailers supplier guide?
Plan for a 10-to-15-business-day turn from proof approval to production when using standard film and adhesives from the Custom Logo Things Georgia facility.
Add buffer for special inks, embossing, or matte finishes—these often require additional setup, so the guide should flag any add-on days.
Include a contingency section noting how rush orders (48- to 72-hour runs) impact cost and capacity, and keep the timeline updated after each run. Trust me, the contingency section saves a lot of “oh no” moments.
Can sustainability goals live inside a printed poly mailers supplier guide?
Yes—dedicate a section to preferred materials like compostable PE, recycled LDPE, or plant-based inks and list the certifications (ASTM D6400, FSC, etc.) you expect.
Document any testing requirements you have for biodegradability or recyclability so suppliers know what to submit during quote packaging.
Include instructions for labeling and communicating sustainability claims to the end customer, ensuring the guide keeps claims compliant.
How should samples be handled in a printed poly mailers supplier guide?
Record the required sample types (flat film, sealed pouch, printed mockup) and color callouts, along with deadlines for receiving them.
Specify who approves each sample, what tests (peel strength, tear resistance) they undergo, and how revisions are communicated.
Note any costs you’re willing to absorb, such as rush shipping or art-charge credits, so the supplier knows what level of service you expect. I keep a sticky note reminding myself, “Samples are not freebies,” and you should probably do the same.
Remember, the printed poly mailers supplier guide is the reference point that keeps every department synchronized, every material decision documented, and every run hitting the agreed-upon quality standards. I keep one on my desk like a security blanket—seriously, if it ever went missing, the panic would be real.