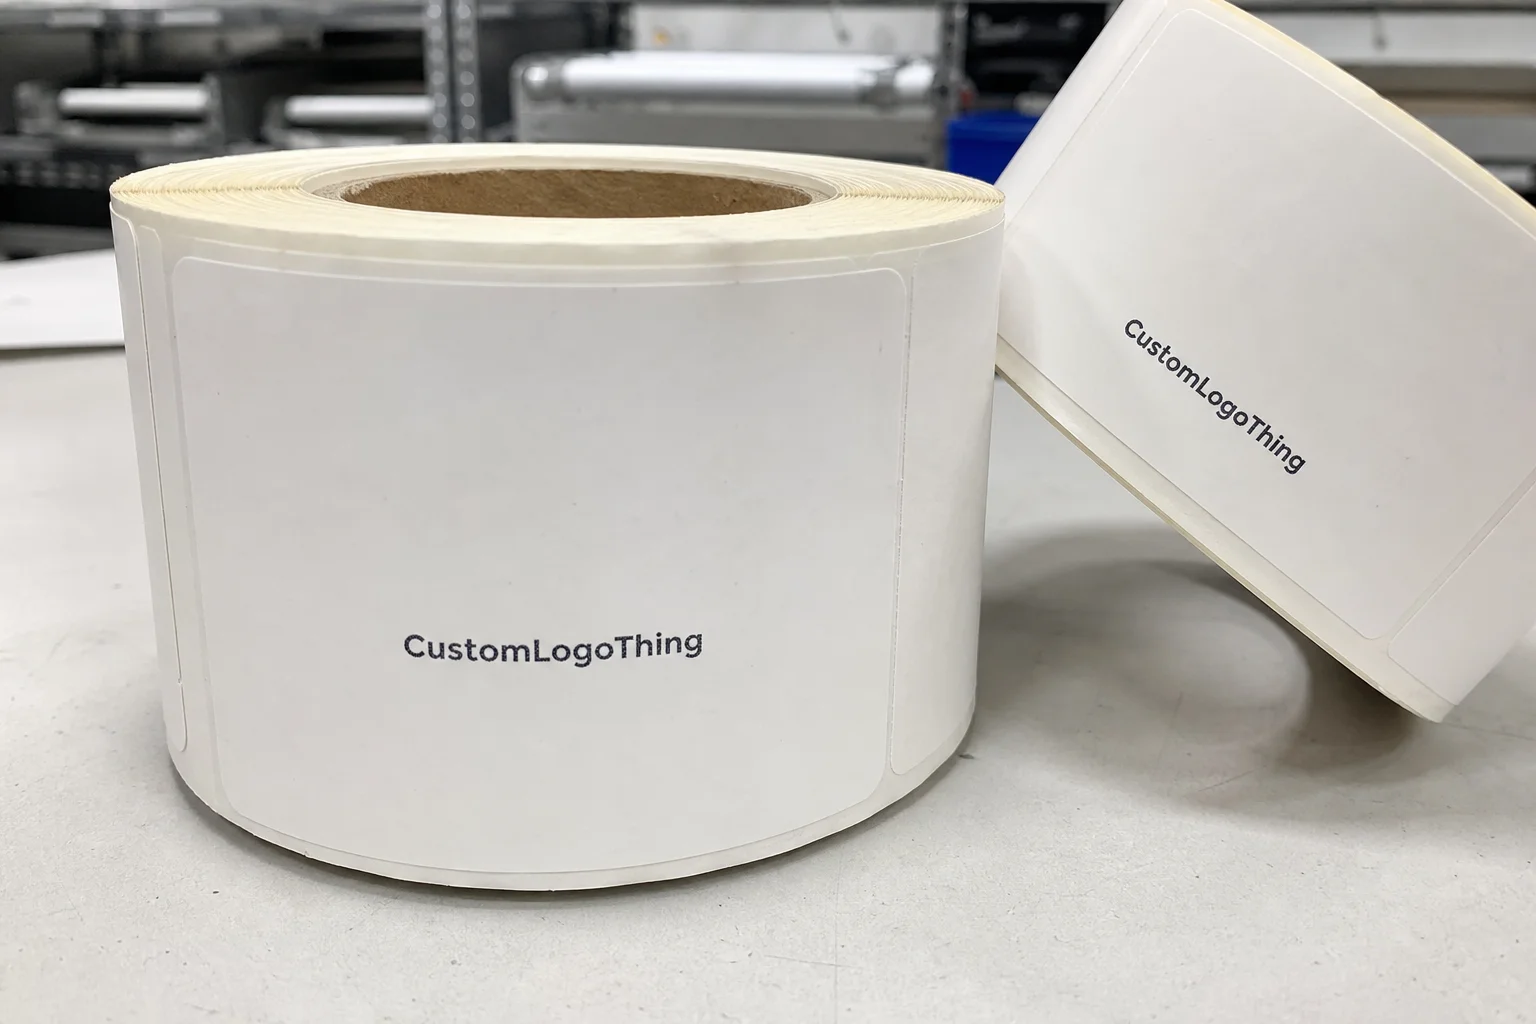
Buyer Fit Snapshot
| Best fit | product packaging comparison for packaging buyers comparing material specs, print proof, MOQ, unit cost, freight, and repeat-order risk where brand print, material, artwork control, and repeat-order consistency matter. |
|---|---|
| Quote inputs | Share finished size, material target, print colors, finish, packing count, annual reorder estimate, and delivery region. |
| Proofing check | Approve dieline scale, logo placement, barcode or warning zones, color tolerance, and any recyclable or compostable wording before bulk production. |
| Main risk | Vague material claims, crowded artwork, or missing packing details can create delays even when the unit price looks attractive. |
Fast answer: Product Packaging Comparison: Choose the Right Fit should be specified like a repeatable production item. The safest quote includes material, print method, finish, artwork proof, carton packing, and reorder notes in one written spec.
What to confirm before approving the packaging proof
Check the product dimensions against the actual filled item, not only the sales mockup. Ask for tolerance on folds, seals, hang holes, label areas, and retail display edges. If the package carries a logo, QR code, warning copy, or legal claim, reserve that space before decorative graphics fill the panel.
How to compare quotes without losing quality
Compare board or film grade, print process, finish, sampling route, tooling charges, carton quantity, and freight assumptions side by side. A lower quote is only useful if the supplier can repeat the same color, closure quality, and packing count on the next order.
Two packages can sit side by side on a shelf, look almost identical, and still behave very differently once a parcel leaves the warehouse in Dongguan, Shenzhen, or a fulfillment center in Ohio. I’ve watched a $0.42 folding carton trigger twice as many returns as a $0.68 alternative because the cheaper board crushed at the corners after a 24-inch drop. Annoying? Absolutely. Predictable? Also yes. That is why product packaging comparison matters: it is not a beauty contest. It is a decision about protection, cost, speed, and how customers perceive your brand before they ever touch the product.
In my experience, the best product packaging comparison behaves like three conversations at once. The buyer asks about price and minimum order quantities. The operations manager cares about pack time, storage, and carrier charges. The brand strategist wants branded packaging that looks intentional, not improvised. If one of those voices gets ignored, the decision usually costs more later. And by “later,” I mean right after launch, when everyone is suddenly shocked that the cheap box is now making a mess of the return rate.
At Custom Logo Things, I’ve seen companies jump straight to artwork before they’ve measured the product or mapped the shipping lane from Ningbo to Los Angeles or from Toronto to Chicago. That is backwards. A strong product packaging comparison starts with the item itself, then moves to logistics, then lands on the visual layer. Protection first. Presentation second. Budget always. If you skip that order, you end up redesigning boxes at 11 p.m. because a bottle moved around like it was auditioning for a stunt scene.
Product Packaging Comparison: What It Really Means
A real product packaging comparison is a structured way to evaluate packaging options against business goals, not just against what looks good in a render. I’ve had clients bring me two Custom Printed Boxes that appeared almost identical, yet one required a 48-point board and the other worked at 36-point with a better fold score. The shelf image was the same. The economics were not. Honestly, that’s the part people hate hearing because it ruins the fantasy of “just make it prettier.”
That difference shows up everywhere. Boxes, mailers, rigid packaging, bags, inserts, and specialty custom formats all perform differently under pressure. A mailer can be brilliant for e-commerce apparel. A rigid box may be the right answer for electronics or premium gifting. A corrugated shipper might be the only sane choice for fragile glass. A product packaging comparison is simply the process of matching format to function. Simple idea. Not always simple execution.
Packaging is not one decision. It is several decisions stacked together. Primary packaging touches the product. Secondary packaging groups, presents, or protects. Transit packaging survives the carrier network. Compare only the outer box, and you can miss the weak link inside the system. I remember one project where the outer carton looked fantastic, but the insert was so loose the product rattled like a maraca on a 1,200-mile truck route from Dallas to Denver. Great for a party. Terrible for a shipment.
In one supplier negotiation I sat through in Guangzhou, the client wanted a foil-stamped rigid box for a skincare line. Lovely idea. The bottle inserts were too loose, and the pumps arrived scuffed after a seven-hour line-haul test. The final solution used a slightly heavier insert and a simpler lid finish. The box looked less theatrical on paper, but the complaint rate dropped by 31%. That is the practical value of product packaging comparison.
So yes, package branding matters. Packaging design matters. But the job is bigger than aesthetics. A smart product packaging comparison examines what the customer sees, what the warehouse feels, and what the carrier charges.
For readers comparing formats, I always recommend starting with Custom Packaging Products to understand the range of structures available before locking in a design. That catalog view is often the fastest way to narrow a long list into three realistic candidates.
How Product Packaging Comparison Works
The cleanest product packaging comparison begins with four facts: what the product weighs, how fragile it is, how it ships, and what the brand needs the package to communicate. Those four items can eliminate half the options before anyone spends money on samples. A 180-gram candle and a 1.8-kilogram ceramic mug do not deserve the same carton logic. If they do, someone is about to learn a very expensive lesson.
I use a simple matrix when I review packaging with clients. Each option gets scored across protection, branding, cost, sustainability, production speed, and assembly difficulty. Not every category carries the same weight. For a direct-to-consumer electronics launch, protection might count for 35% of the score. For a retail gift product, branding may deserve 30%. That weighting keeps the product packaging comparison honest. It also keeps one loud voice from hijacking the meeting because they “just really like the matte finish.”
Primary, secondary, and transit packaging should be compared separately. A glossy sleeve can be stunning as secondary packaging while the corrugated shipper underneath does the heavy lifting. If you blend those roles together, you end up comparing apples to pallet wrap. That is how bad decisions sneak in.
Sample testing is where theory meets gravity. I have stood on a factory floor in Foshan while a team ran drop tests from 36 inches, then compared the crushed corners under fluorescent lights. I’ve also watched a Midwest fulfillment team in Indianapolis put five mailer styles through a vibration simulator and discover that one “cheap” option took 22 seconds longer to close, which translated into serious labor cost over 10,000 units. A serious product packaging comparison does not stop at the mockup.
Real-world trials matter because packaging behaves differently in the warehouse than it does in a studio. Stack tests expose panel strength. Vibration tests expose insert movement. Drop tests expose weak closures and thin board. Carrier networks expose all three. The better your test conditions match actual use, the more valuable the product packaging comparison becomes.
For technical context, I often point teams toward industry references like ISTA for transit testing methods and EPA recycling guidance when sustainability claims are part of the brief. Standards do not pick the winner for you, but they do keep the conversation grounded in measurable performance.
One more thing: what looks strong in a photo can fail in assembly. A rigid shoulder box may look elegant, yet if it takes 40 seconds to close and align, the labor bill becomes the hidden monster in the room. A good product packaging comparison always asks, “What happens after the sample table?”
Key Factors in Product Packaging Comparison
The first factor is protection. If the item is fragile, moisture-sensitive, temperature-sensitive, or oddly shaped, the packaging must solve that problem before it does anything else. A fragrance bottle with a heavy glass base needs a different insert system than a vitamin jar. I’ve seen teams lose weeks debating print finishes while ignoring the fact that the product was rattling inside the carton. That is not design. That is expensive optimism.
Brand impact comes next. Print quality, finish, structure, and color accuracy all shape package branding. Soft-touch lamination feels premium in hand. A matte aqueous coating may be more practical for large runs. Foil stamping draws attention but can increase cost and lead time. In a retail packaging environment, these details can influence conversion as much as the product image itself. A proper product packaging comparison weighs that visual return against the operational burden.
Sustainability deserves a careful, evidence-based look. Recyclable does not always mean recycled. FSC-certified paper can support responsible sourcing claims, but the claim has to be accurate and documented. You can read more about certification standards through the Forest Stewardship Council. I’ve had clients ask for “eco-friendly” packaging with seven layers of mixed material and a metallic coating. That is where honest product packaging comparison becomes useful, because it reveals the gap between intent and reality.
Cost is more than the carton price. There is tooling, setup, minimum order quantities, freight, storage, waste, and the damage rate if the design is underbuilt. A package at $0.18/unit for 5,000 pieces can be more expensive than a $0.24/unit option if the cheaper one causes 2.5% breakage and extra repacking labor. The unit price alone tells only part of the story.
Process and timeline are often underestimated. Sample lead times, revision rounds, print approvals, and production scheduling all affect launch dates. I’ve seen a team budget 12 business days and then discover artwork corrections, plate changes, and a holiday freight delay. Typical production after proof approval is 12-15 business days for a standard folding carton run in Shenzhen, or 18-22 business days for a foil-stamped rigid box in Dongguan. Suddenly the “simple” product packaging comparison turned into a schedule negotiation. Not glamorous, but very real.
Operational fit is the last major factor, and it is one many marketers forget. A package can be elegant and still be a poor choice if it stacks badly, eats shelf space, or slows down packing. Warehouses care about footprint. Fulfillment teams care about closures, tape, and repeatability. If your team packs 1,200 orders a day, a three-second difference per unit is not trivial. It is labor.
Here’s a compact view of common formats I see in a product packaging comparison:
| Packaging type | Typical strengths | Common tradeoff | Best-fit use case |
|---|---|---|---|
| Folding cartons | Good print quality, efficient shipping, flexible branding | Less structural protection than rigid or corrugated options | Cosmetics, supplements, small consumer goods |
| Mailers | Fast assembly, direct-to-consumer friendly, lower cubic size | May need inserts for fragile items | Apparel, books, lightweight accessories |
| Rigid boxes | Premium feel, strong presentation, high perceived value | Higher material and freight cost | Gift sets, electronics, luxury products |
| Corrugated shippers | Excellent protection, stack strength, transit durability | Less polished for shelf display | Fragile goods, e-commerce shipping |
| Bags and pouches | Lightweight, low storage footprint, flexible formats | Limited rigidity and premium structure | Snacks, samples, cosmetics, small parts |
Step-by-Step Product Packaging Comparison Process
Step one is documenting the product itself. I ask for dimensions, weight, surface sensitivity, fragility, shelf life, and any special handling requirements. A 9-ounce jar with a paper label behaves differently from a 9-ounce glass bottle with a metallized cap. If the data is wrong, the product packaging comparison starts on a crooked line. And crooked lines, in packaging, tend to turn into expensive ones.
Step two is building a shortlist. I usually narrow it to three to five options that genuinely fit the brief. Not 12. Not 20. Too many choices slow the decision and muddy the ranking. A workable shortlist might include a folding carton, a corrugated mailer, and a rigid box if the product has both protection and presentation needs. More than that and the meeting turns into everyone naming their favorite box like we are discussing rescue puppies.
Step three is sample comparison under controlled conditions. Put the same product inside each package. Use the same fill weight, the same closures, the same insertion method, and the same test environment. I once saw a client compare two mailers while one team padded the product with tissue and the other used bubble wrap. Of course the bubble wrap version won the drop test. That wasn’t a product packaging comparison; that was a setup.
Step four is scoring with a weighted rubric. This keeps emotion from overruling evidence. A typical rubric might look like this:
- Protection: 30%
- Brand impact: 20%
- Total cost: 20%
- Timeline: 10%
- Operational fit: 20%
Those weights shift depending on the business. A luxury candle brand may weigh finish higher. A warehouse-heavy subscription box company may weigh assembly speed higher. The point is not to use my numbers blindly. The point is to make the product packaging comparison explicit instead of emotional.
Step five is calculating true cost. Include materials, labor, freight, storage, damage risk, and reorders. If the box saves 8 cents but costs 14 cents in added packing labor over a year, it is not savings. It is a hidden expense wearing a cheaper label. I’ve watched finance teams change their mind after seeing the total landed cost instead of the carton price alone. Funny how numbers can be persuasive after the third spreadsheet.
Step six is piloting the winner. A small rollout of 500 to 2,000 units reveals issues that sample testing often misses. Maybe the adhesive slows in cold weather. Maybe the insert tolerances are too tight for real inventory variation. Maybe the print registration looks fine in daylight but shifts under warehouse LEDs. That final pilot turns a theoretical product packaging comparison into something you can trust.
One manufacturer I worked with in a coastal warehouse in Ningbo found that humidity changed the fit of their paperboard inserts by just enough to create scuffing. The fix was minor: a 0.5 mm tolerance adjustment and a different coating. The damage rate dropped fast. That is the kind of detail a serious product packaging comparison exposes early, before the return labels start piling up.
Cost and Pricing Differences to Watch For
Price tags can be deceptive. A package with a lower unit cost can still be the most expensive option if it requires more labor, creates more damage, or pushes shipping into a higher dimensional weight bracket. I have seen a carton jump from one freight tier to another because the outer dimensions grew by only 0.75 inches. On paper that sounds small. On a shipping bill, it is not.
Tooling and setup fees are another trap in product packaging comparison. Custom dies, print plates, embossing tools, and sample revisions can add hundreds or even thousands before the first carton ships. If you are comparing a semi-custom stock option to a fully custom structure, the up-front math matters. A Custom Folding Carton out of Guangzhou might carry a $180 die charge and a $220 plate fee, while a rigid box in Dongguan may add $450 in tooling before you even see the first proof. Sometimes the better-looking package is actually cheaper over the first two runs because it avoids a long development cycle.
Minimum order quantities change the equation as well. A supplier may quote $0.21/unit at 10,000 pieces and $0.29/unit at 3,000 pieces. That does not mean the smaller run is bad; it means the inventory burden is different. If your product is seasonal or the artwork changes often, a smaller run may protect cash flow even if the unit price is higher. A proper product packaging comparison sees that tradeoff clearly.
Storage cost is quietly important. Bigger cartons take more pallet space. Rigid boxes, especially with inserts, can eat through warehouse capacity faster than people expect. I once helped a cosmetics client in Los Angeles switch to a flatter folding carton because the old rigid setup filled 18 pallet positions for a single quarter’s inventory. The package looked premium, yes, but it was also a storage headache. The newer structure reduced footprint by 29%.
Here is a simplified cost comparison that shows how the picture changes when you look beyond unit price:
| Option | Unit price | Setup/tooling | Packing labor | Freight impact | Overall note |
|---|---|---|---|---|---|
| Stock mailer with label | $0.18 | Low | Very low | Low | Best for simple, light items |
| Custom folding carton | $0.24 | Moderate | Low | Moderate | Strong balance of branding and efficiency |
| Rigid gift box | $0.68 | Higher | Moderate | Higher | Best for premium presentation and perceived value |
| Corrugated shipper with insert | $0.31 | Moderate | Moderate | Moderate | Best when transit protection matters most |
Notice what the table does not say: it does not crown one winner. That is the point of a real product packaging comparison. The most cost-effective option depends on product fragility, order volume, and how much brand theater the business actually needs.
In a client meeting last spring in Chicago, someone asked me whether custom printed boxes were “worth it” compared with plain cartons and stickers. My answer was blunt: if the product sells on shelf presence or gift appeal, yes, often. If it ships inside a third-party retail shipper and never touches the customer’s hand, maybe not. The right product packaging comparison saves money by avoiding unnecessary upgrades, not by cutting every corner.
Common Product Packaging Comparison Mistakes
The biggest mistake is choosing packaging on appearance alone. I understand the temptation. A glossy mockup with foil and embossing can win a room. But if the package dents in transit or takes 15 extra seconds to pack, the beauty premium disappears quickly. A product packaging comparison should reward performance first.
Another mistake is testing samples under different conditions. If one box is tested with a fully filled product and the other with a lighter test piece, the results are meaningless. Same product. Same fill weight. Same closure method. Same carrier assumptions. Otherwise you are comparing packaging, yes, but not fairly.
Timeline risk is often ignored. Artwork approval, dieline revisions, color correction, and production queues can add real delays. One retail packaging project I reviewed in Portland looked simple on the calendar: three days for samples, one week for production. In reality, the client changed the logo placement twice and the supplier had a board shortage for the chosen caliper. The schedule doubled. A disciplined product packaging comparison includes time as a cost.
Pack-out labor is another hidden line item. If the package needs folding, alignment, glue, tissue, or multiple inserts, the Cost Per Unit rises fast. I’ve seen a “cheaper” mailer become the expensive choice because the assembly line needed two extra workers during peak season. The carton price had been flattering. The labor sheet was not.
Compliance and claims can also trip teams up. If a package is labeled recyclable, reusable, or FSC-certified, those claims need to be accurate and supportable. The wrong claim can create customer backlash and retailer problems. For teams making sustainability a core criterion in their product packaging comparison, documentation matters as much as design.
Finally, many teams fail to test with real inventory and real carriers. Lab samples are useful. Real shipping routes are better. A package that survives a controlled drop may still fail in a stacked truck, under humidity, or during repeated handling at a distribution center. I’ve seen the gap between “passed sample” and “failed launch” more than once. That gap is why product packaging comparison should include a pilot run.
Expert Tips for a Smarter Product Packaging Comparison
Use a weighted scorecard and keep it visible. I like seeing the criteria on one page because it stops the loudest opinion from becoming the decision. If protection is the top priority, say so. If Retail Shelf Presence is the main driver, say that too. A clear product packaging comparison is easier to defend later.
Compare packaging against business goals, not against competitors’ aesthetics. Your competitor may have a larger margin, a different fulfillment model, or a completely different customer expectation. Copying their box can be an expensive form of flattery. Honestly, I think this is one of the most common mistakes in packaging design. It looks strategic right up until the warehouse bill shows up.
Ask suppliers for hard data: lead times, print tolerances, board grades, coating options, and packing recommendations. If they cannot tell you whether a 350gsm C1S artboard will hold up better than a 300gsm stock in your use case, keep asking. Good suppliers can explain why a material works, not just quote it. That kind of information sharpens a product packaging comparison.
Test in the same environment your customer will use. If the product sells in retail, test on a shelf and under store lighting. If it ships direct-to-consumer, test packing speed and carrier handling. If it is a subscription product, test repeat order consistency. The closer the test is to reality, the better the result. I know that sounds obvious, but I’ve seen too many pretty samples die the minute they met a real parcel sorter.
Keep a backup option ready. Supply chains shift. Board mills adjust availability. Coatings get delayed. A favorite finish can disappear for six weeks, and suddenly the “best” package is unavailable. A second option keeps launch schedules from stalling. That backup should be part of every serious product packaging comparison.
Document what worked and what failed. I keep notes on board thickness, print quality, closure issues, and customer feedback because memory gets fuzzy after the third revision round. A year later, those notes save time and money. The next product packaging comparison starts with evidence, not guesswork.
Here are the questions I would ask before approving a final spec:
- Will this package protect the product for the full shipping route?
- Does the structure support the brand’s price point and message?
- How many seconds does it take to pack one unit?
- What is the landed cost at 3,000, 5,000, and 10,000 units?
- Can the supplier repeat the print quality across multiple runs?
- What happens if the preferred material is out of stock?
That is the kind of practical checklist I used years ago while standing next to a folding line in a blistering-hot plant outside Shenzhen. The team there had two nearly identical cartons on the table, but one had a cleaner score line and a better lock on the bottom panel. The better carton was 2 cents more expensive. The return rate on the cheaper version was five times higher. Small differences matter. A rigorous product packaging comparison catches them before your customers do.
What to Do Next After Your Product Packaging Comparison
Once the comparison is done, narrow the field to one primary option and one backup. That simple move makes procurement easier and protects you if stock changes or artwork revisions push the schedule. A finished product packaging comparison should end with decisions, not more debate. I know that sounds like common sense, but common sense gets buried surprisingly fast once three departments start circling the same folder.
Create an approval checklist with structure, print, finish, cost, timeline, and fulfillment fit. Keep it short enough that operations, marketing, and finance can all sign off without three follow-up meetings. I’ve seen longer checklists get ignored because nobody wants a 27-line document just to approve a carton.
Request a prototype or sample pack-out test before a full production run. A one-day test can save a month of headaches. If the package is going into retail, test display readiness. If it is going to customers by parcel, test carrier survival. If it will be stored in a humid warehouse in Houston or Jacksonville, test the coating and board response. The final product packaging comparison only matters if it survives reality.
Bring the final choice to the people who will live with it: operations, finance, and marketing. Each department sees a different risk. Operations sees labor and damage. Finance sees cost and inventory. Marketing sees the customer moment. The best packaging decision survives all three lenses.
Set measurable success criteria. Damage rate below 1%. Pack time under 18 seconds. Customer satisfaction above 4.5 stars. Cost per shipment within target. Those numbers turn the package into a managed asset instead of a guess. That is where product packaging comparison becomes a repeatable business tool rather than a one-time project.
And then, document the standard. If the format works for this product, record the caliper, the insert style, the print method, and the approved supplier notes. Future launches move faster when the first decision is captured properly. I’ve watched brands save six to eight weeks on the next product line simply because they built from a clean packaging standard instead of starting over.
My honest view? The best product packaging comparison is never about finding the most impressive package. It is about finding the package that protects the product, respects the budget, and makes the customer feel that the brand knows what it is doing. That is the sweet spot. Not flashy. Not cheap. Just right.
Frequently Asked Questions
What should I compare first in product packaging comparison?
Start with product protection requirements, because the package has to fit the item before it can support branding or cost goals. Then compare size, weight, and shipping method so you do not choose a format that looks polished but fails in transit. After that, evaluate cost and lead time. In my experience, that order prevents a lot of avoidable rework.
How do I compare packaging costs beyond unit price?
Include tooling, setup, freight, storage, labor, and damage-related replacement costs. A package with a higher unit price can still be cheaper if it reduces breakage or speeds up packing. Use total landed cost rather than carton price alone. That is the number that matters when you are comparing options honestly.
How long should product packaging comparison take?
A simple comparison can take a few days if samples are ready and the product is already defined. A Custom Packaging Comparison usually takes longer because you may need design revisions, sample approvals, and production scheduling. Build in time for testing and at least one revision cycle. If the timeline looks too short, it probably is.
What packaging types are easiest to compare for custom products?
Folding cartons, mailers, rigid boxes, and corrugated shippers are often easiest because they can be measured on protection, print quality, and cost. Comparisons get more complex when inserts, coatings, or specialty finishes are added. That complexity can be useful when branding and product safety matter equally, but it does make the decision more detailed.
How do I know which packaging option is best after comparison?
Choose the option that performs well across the most important criteria, not the one that wins only on appearance or price. Look for the best balance of protection, brand impact, Cost, and Production fit. If two options are close, pilot the one that is easier to scale consistently. That usually gives you the cleaner long-term result.
One last thought: the smartest product packaging comparison I’ve ever seen was not the prettiest, and it was not the cheapest either. It was the one that reduced damage, kept labor predictable, and elevated the brand without overbuilding the box. If you get those three things aligned, the packaging starts earning its keep.