Buyer Fit Snapshot
| Best fit | Organizing Last Mile Packaging projects where brand print, material claims, artwork control, MOQ, and repeat-order consistency need to be specified before quoting. |
|---|---|
| Quote inputs | Share finished size, material target, print colors, finish, packing count, annual reorder estimate, ship-to region, and any compliance wording. |
| Proofing check | Approve dieline scale, logo placement, barcode or warning zones, color tolerance, closure strength, and carton packing before bulk production. |
| Main risk | Vague material claims, crowded artwork, missing packing details, or unclear freight terms can make a low unit price expensive after revisions. |
Fast answer: Organizing Last Mile Packaging: Quote Scope, Sample Proof, MOQ, and Lead Time should be specified like a repeatable production item. The safest quote records material, print method, finish, artwork proof, packing count, and reorder notes in one written spec.
Production checks before approval
Compare the actual filled-product size with the drawing, then confirm tolerance on folds, seals, hang holes, label areas, and retail display edges. Reserve space for logos, QR codes, warning copy, and material claims before decorative graphics fill the panel.
Quote comparison points
Review material grade, print process, finish, sampling route, tooling charges, carton quantity, and freight assumptions side by side. A quote is only useful when the supplier can repeat the same color, closure quality, and packing count on the next order.
On a busy packing floor, the last 10 feet often cause more trouble than the first 1,000. I’ve seen a beautifully planned operation unravel at the final packing bench because someone couldn’t find the right mailer, a label roll got mixed with a backup printer, and two cartons for different SKUs sat in the same tote; that is exactly why tips for organizing last mile packaging matter so much. Get this stage right, and you protect product, cut confusion, and move orders out the door with less rework and fewer carrier misses, even during a 6 p.m. cutoff rush.
Custom Logo Things works with brands that care about presentation, speed, and consistency, and those three things live or die in the final packing area. Whether you are shipping branded packaging, fragile cosmetics, subscription kits, or industrial parts, the floor layout decides how often people walk, pause, hunt, and guess. Most packing rooms are underorganized not because the team lacks effort, but because nobody mapped the work in the order it actually happens. That’s the part people skip, then act surprised when the line turns into a scavenger hunt. Honestly, I think half the “inventory problem” complaints I hear are really layout problems wearing a fake mustache. In a 12,000-square-foot facility, five extra steps per order can add up to hours by Friday.
What Last Mile Packaging Means and Why It Gets Messy Fast
Last mile packaging is the final packaging, labeling, staging, and dispatch step before a parcel leaves the facility and enters the carrier network. In plain language, it is the moment when an item stops being inventory and becomes a shipment. That includes picking the right carton or mailer, inserting protection, sealing, printing the shipping label, weighing the parcel, and moving it to the right dock lane. It is also where product packaging and package branding meet execution, and one sloppy touch can undo a lot of good work upstream. A 350gsm C1S artboard mailer can look great on a mockup and still fail if the insert station is chaotic.
This stage is different from bulk packing or palletizing because it carries more variety and more decision points. A palletized load of one SKU in a single case size is predictable; last mile work is not. I’ve walked lines in distribution centers where one packer handled 14 carton sizes, three label formats, and two carrier compliance rules in the same hour. That is where tips for organizing last mile packaging stop being theory and start being survival. In one Atlanta-area ecommerce center, we counted 11 active carton depths on a 24-foot bench, and nobody was shocked when the line slowed.
It gets messy fast for a few simple reasons. Mixed carton sizes pile up near the line. Labels stack beside the printer because nobody assigned a home for them. Void-fill rolls get left on the floor and the next shift grabs the wrong one. Rework orders drift into the main lane. Materials are stored twenty steps too far away, so workers improvise and leave things wherever they land. I’ve seen a California 3PL lose nearly 18 minutes per hundred orders just from carton hunting during a holiday push, and the issue was not labor rate; it was layout. Which, frankly, is annoying because it means the fix was sitting there the whole time, just invisible under a pile of “temporary” boxes. At $21 per hour, that delay is not cute.
The core idea behind tips for organizing last mile packaging is flow, not just storage. Every carton, insert, tape roll, mailer, and label should have a logical place that matches frequency of use. If the most common items are closest to the packer and exceptions are clearly separated, the floor becomes easier to control. If not, the room slowly fills with “temporary” piles that turn permanent. That’s how a clean station becomes a clutter museum, usually around week three of peak season.
How Tips for Organizing Last Mile Packaging Improve Flow
Good tips for organizing last mile packaging start with the pack-out sequence, because the sequence tells you where time is being lost. The usual order is order release, picking, cart staging, carton selection, dunnage insertion, sealing, labeling, weighing, and carrier handoff. When I audited a Midwest fulfillment line for a cosmetics client, we found the team was walking back and forth between the scale and the label printer 62 times per shift. Moving the printer one station closer cut that motion in half, which saved more labor than adding another temporary worker. I still remember the supervisor staring at the new layout like, “You’re telling me all we had to do was move the printer?” Yes. Yes, I am. The move took 20 minutes and cost exactly $0.
A good layout reduces motion waste, waiting time, and mis-picks by keeping high-use materials within arm’s reach. Low-use items can stay in secondary storage, but the line itself should only hold what is needed for the current wave or the current hour. That simple discipline is one of the most reliable tips for organizing last mile packaging because it turns the station into a working cell rather than a storage closet. In practical terms, that means one tape roll, one backup roll, two label rolls, and only the carton families that moved in the last 30 days.
Standardized stations also make it easier to maintain consistency across shifts. I’ve watched teams with three different supervisors and a rotating pool of temps keep a better pack rate once the station layout was photographed and posted at eye level. The operators did not need to remember where everything belonged; the station told them. That matters even more during peak season, when fatigue and shortcut behavior show up quickly. In one Phoenix facility, the 7 a.m. shift and 3 p.m. shift used the same photo board, and the rework rate dropped from 4.8% to 2.1% in six weeks.
Visual management makes a huge difference. Shadow boards for cutters and scanners. Color-coded bins for carton families. Floor tape for work-in-progress lanes. Rack labels with exact carton dimensions. SKU maps that show which side of the bench holds which material family. These are not fancy ideas; they are plain, low-cost tips for organizing last mile packaging that make problems obvious in five seconds instead of fifty. A roll of red tape and a label maker do more than a meeting ever will.
“The best last mile line I ever saw in a Tampa fulfillment center looked almost boring,” one supervisor told me, and he was right. Every item had one place, every exception had a red bin, and the packers stopped making choices they did not need to make. We had 48-inch benches, 30-inch shelf spacing, and one printed station map at each end of the line.
Organization also improves downstream performance. Fewer mislabels. Fewer crushed cartons. Better cube utilization. Faster dispatch. Fewer customer service complaints about wrong inserts or damaged goods. If you run retail packaging or ecommerce fulfillment, those are not abstract gains; they show up in chargebacks, reviews, and re-ship costs within days. That is why smart tips for organizing last mile packaging pay back in both labor efficiency and customer trust. And yes, fewer “Where is the tape?” shout calls across the floor, which is a gift to everyone’s nerves.
Key Factors That Shape Organizing Last Mile Packaging
The first factor is product mix. Fragile goods, apparel, cosmetics, subscription boxes, and industrial parts all need different packaging families and different station setups. A line packing custom printed boxes for apparel may need one main carton size, tissue, and a single label format, while a line shipping glass jars may need inserts, dividers, and heavier void fill. The right tips for organizing last mile packaging depend on how many SKUs move through the room and how much damage risk sits in the system. A beauty brand in Los Angeles with 120 SKUs does not need the same bench layout as a machine-parts shipper in Indianapolis with 18 SKUs and four foam sizes.
Materials and equipment matter just as much. Corrugated cartons, poly mailers, inner trays, chipboard inserts, void-fill systems, case sealers, label printers, and checkweighers all shape the physical layout. In one Shenzhen facility I visited, the pack line was slowed by a tape dispenser that required two hands and a carton sealer that sat six feet away from the working zone. We changed the sequence, not the equipment, and the output improved because the packer stopped reaching across the station. Simple tips for organizing last mile packaging often beat expensive hardware changes. We also swapped in 24-inch-wide shelf bays instead of 36-inch bays, which reduced overstuffed bins and made replenishment faster.
Cost control is another major factor. Too many packaging SKUs increase picking time, inventory clutter, and training complexity. Overuse of void fill raises material spend, while poor carton right-sizing pushes freight costs higher through dimensional weight. I’ve seen accounts where moving from seven carton choices to four reduced annual packaging spend by 11% and cut labor spent on decision-making at the line. That kind of improvement usually comes from a disciplined Review of Packaging design, not from a bigger warehouse. Bigger is not smarter. It just gives the clutter more room to spread out. In one Dallas account, dropping one oversized mailer saved $0.14 per shipment across 38,000 monthly orders.
Labor and training change everything. A station that is easy to learn, easy to replenish, and easy to audit will outperform one that relies on tribal knowledge. If a new hire can follow a posted sequence with bins labeled in plain language, the room gets more stable. This is one reason I like tips for organizing last mile packaging that focus on standard work, because the line should not depend on one veteran who knows where every stray roll of tape is hiding. A two-page SOP and a 15-minute floor walkthrough beat a “just watch Maria” training plan every time.
Facility constraints also shape what is realistic. Floor space, conveyor length, dock proximity, storage height, and carrier cutoff times all affect organization. A site with a 5 p.m. UPS pickup and a 4:40 p.m. label bottleneck needs a different setup than a site with staggered pickups and three packing lanes. There is no universal floor plan. The best tips for organizing last mile packaging respect what the building can actually support. A 90-foot line in Columbus has different needs than a 30-foot bench in Nashville, and pretending otherwise is how teams end up blaming people for a space problem.
| Packaging Option | Typical Use | Approx. Material Cost | Operational Impact |
|---|---|---|---|
| Single-size mailer program | Apparel and flat items | $0.18 to $0.32 per unit at 5,000 pieces | Fast pack-out, low choice burden |
| Three-size carton family | Mixed ecommerce orders | $0.42 to $0.88 per unit at 3,000 pieces | Good balance of flexibility and control |
| Multi-SKU custom printed boxes | Brand-led retail packaging | $0.95 to $2.10 per unit depending on print and board | Strong presentation, more storage and training needs |
The table above is not a universal quote, because board grade, print coverage, and order volume can move pricing a lot. Still, it shows why tips for organizing last mile packaging should include commercial reality. A more complex packaging family may look attractive on paper, but if the line cannot support it cleanly, the real cost shows up in labor and errors. For example, a 4-color print on a 350gsm C1S artboard insert will cost more than a plain kraft insert, but only if the workflow can actually handle the added variation without slowing the bench.
For sustainability-minded buyers, I usually point them to the same basic controls: reduce unnecessary variations, right-size cartons, and choose recyclable materials where product safety allows. The EPA has useful guidance on packaging and waste reduction at epa.gov, and the FSC site is helpful when you are sourcing fiber-based materials with responsible forestry claims. Those resources are a good fit for teams trying to make tips for organizing last mile packaging support both cost and environmental goals. If your supplier in Guangdong offers an FSC-certified board with a 12-15 business day lead time from proof approval, that can be a solid middle ground.
Step-by-Step Guide to Organizing Last Mile Packaging
The best place to begin is with a map of the current process from inventory pick to trailer loading. Do not start by moving bins around randomly. Start by tracing every handoff, delay, and duplicate touchpoint. I’ve done this with clipboards in noisy shipping rooms where the answer was not “more space,” but “fewer touches.” One 3PL in Ohio discovered that finished orders were crossing the packing line twice before staging because the outbound lane was placed on the wrong side of the scale. That one layout error cost them nearly 30 seconds per parcel. At 2,400 parcels a day, that is not a rounding error.
Next, audit the packaging SKUs. Sort them into four groups: fast-moving, seasonal, specialty, and obsolete. Fast movers belong closest to the station. Seasonal items can live in accessible reserve. Specialty items should be stored separately and clearly labeled. Obsolete stock should leave the building. This is one of the most practical tips for organizing last mile packaging because clutter usually comes from keeping too much “just in case” inventory on the floor. I usually tell teams to cap the active line items at 12 to 18 SKUs unless the product mix truly demands more.
Then assign clear zones for cartons, mailers, labels, inserts, dunnage, tools, rework, and finished orders. Place the highest-frequency items within one step or one reach of the packer. Put the least-used items higher or farther away. If a packer uses 12x9x4 cartons all day and 16x12x8 cartons only twice a shift, the first size should never be stored behind the second. It sounds obvious, but I still see it in facilities every month. Mark each zone with 2-inch vinyl labels and floor tape in a different color for inbound and outbound.
Standardize the pack stations. Pick one preferred carton or mailer for each order band if possible, and define exact replenishment quantities. For example, 50 mailers per tote, 25 cartons per shelf, two tape rolls per station, one backup label roll ready, and one open rework bin that stays physically separate. This makes tips for organizing last mile packaging easier to train and easier to audit. People do not have to invent the reset every time a station empties. A station reset should take under 4 minutes, not half a shift.
Build a simple daily timeline as well. A real process needs checkpoints, not vague intentions. Replenishment windows at 9:30 a.m. and 2:00 p.m. Label printer verification before each carrier cutoff. Shift-change checklists with scale calibration and scanner battery checks. A 15-minute review of remaining carton counts before the last pickup. That structure prevents the ugly end-of-day scramble that so many shipping teams know too well. If your last outbound truck leaves at 6:15 p.m., your final check should start at 5:50 p.m., not whenever someone notices the pile is getting low.
Practical station reset rules
From the factory-floor side, one of my favorite tips for organizing last mile packaging is to make resets mechanical, not memory-based. If a shelf is empty, it gets refilled to a fixed quantity. If a label roll is low, the backup goes on immediately instead of later. If rework accumulates, it moves to a marked location at the end of each wave. These small rules remove daily guesswork and make the station feel predictable, even during peak volume. I like hard triggers, like “refill at 25% remaining,” because humans are terrible at noticing “almost empty” until it is too late.
One apparel client in New Jersey used a photo board with six station images: full, half-full, low, empty, rework, and reset. The team learned the pattern in one afternoon. That is the kind of visual standard that helps tips for organizing last mile packaging stick without a long training cycle. The board cost $47 to print, and it prevented two daily supervisor interruptions. Cheap wins are still wins.
For teams buying custom printed boxes or other Custom Packaging Products, the same logic applies before the boxes ever arrive. Ask for carton families that align to your real order mix, not just your brand preferences. A beautiful box that does not fit the workflow is a beautiful problem. If your vendor in Vietnam says the sample turnaround is 5 business days and production takes 15 to 18 business days after approval, build that into your launch calendar instead of pretending it will arrive by magic.
Common Mistakes in Last Mile Packaging Organization
The biggest mistake I see is storing too many packaging options at the line. Choice sounds like flexibility, but at a pack bench it often becomes delay. If a worker has to choose between six mailers, four carton depths, and two insert styles on every order, speed drops and inconsistency creeps in. Good tips for organizing last mile packaging reduce choices where possible and keep only the right options on hand. A narrow line with four carton sizes usually beats a wide line with nine, especially when the team turns over every 90 days.
Another mistake is mixing damaged, returned, or partial materials with clean stock. I once watched a team in a regional distribution center use a torn carton from a return area because it was “close enough” during a rush. That carton failed at the outbound dock and the order had to be repacked, relabeled, and reweighed. Exception material belongs in an exception zone. It should never sit beside clean production stock. Clear separation is one of the most reliable tips for organizing last mile packaging you can implement with tape, signage, and discipline. A red bin in Louisville is still a red bin in Shenzhen.
Poor label discipline creates a lot of hidden errors. Mismatched printers, unlabeled backup rolls, and no-print backups are the classic troublemakers. If two printers are loaded with different templates and nobody verifies them at shift start, the wrong shipping label can go on a parcel in seconds. That is why I always tell clients to treat labels like critical components, not office supplies. In last mile packaging, a label error is a customer service issue, a freight issue, and a brand issue all at once. One wrong barcode can trigger a $14 re-ship and a very irritated customer.
Overpacking is another costly habit. Oversized cartons and too much void fill raise Dimensional Weight Charges and material usage. A lot of people think “more protection” automatically means “safer shipping,” but it does not always work that way. I’ve seen a company spend an extra $0.27 per order on void fill because they had not right-sized cartons for a 7.5-inch accessory kit. Better tips for organizing last mile packaging usually include carton engineering, not just shelf organization. A better fit beats a pile of paper peanuts every time.
The last mistake is changing everything at once. A full warehouse reorganization can create more confusion than it solves, especially if no pilot station is used. Start with one lane. Measure it. Refine it. Train it. Then expand. That is the method I trust, because the floor tells the truth quickly when the change is small. In my experience, a 2-week pilot in one packing cell will reveal 80% of the problems before they spread to the whole building.
Expert Tips for Organizing Last Mile Packaging Like a Pro
If you want the room to perform like a seasoned line, use an ABC analysis or Pareto review so the top 20 percent of packaging items get the best storage real estate. The 80/20 rule is not a slogan; it is a practical layout tool. Put the most-used cartons, labels, and dunnage where the hand naturally reaches. Put the specialty items somewhere safe but less central. This is one of the most efficient tips for organizing last mile packaging because it aligns storage with real consumption, not with how pretty the shelves look. A carton used 600 times a week should not live on the top shelf in aisle 9.
Build replenishment triggers with min-max bins, kanban cards, or visual empty-space signals. Waiting for stockouts is expensive because it creates urgency buys, partial resets, and bad habits. I’ve seen lines where a red strip inside the bin told the replenisher exactly when to refill, and that one strip cut shortages dramatically. The team did not need software to know when a station was running low. Simple visual control is often enough if it is used consistently. If the strip shows, refill it. No debate. No heroics.
Test packaging in real conditions before rolling it out across all SKUs. A box that looks fine on a sample table may fail after a 40-pound top load or during vibration on a trailer route. If your operation is shipping to parcel carriers, use test methods aligned with ISTA procedures where appropriate, and check board strength, seal quality, and insert fit under actual operating stress. The International Safe Transit Association has useful standards and explanations at ista.org. Real testing is one of the most overlooked tips for organizing last mile packaging because the station may be organized perfectly and still fail if the packaging itself is weak. I’ve seen a 275# C-flute carton crush under a 26-pound mixed order because the insert spec was wrong by 3 millimeters.
Keep rework and exception orders physically separated from standard flow. This sounds basic, but it is amazing how often a return, a damaged carton, and a custom rush job end up in the same lane. In one Chicago-area plant, I watched a single exception pallet create a half-hour traffic jam because people had to sort through it every time they needed a clean order. A red-marked exception zone fixed the issue in two days. That is a very ordinary but powerful example of tips for organizing last mile packaging working exactly as intended. One 4-foot-wide lane solved what three meetings could not.
For branded packaging and retail packaging, simplify the number of visual versions where possible. I’m not saying every brand should use one plain brown box forever; presentation matters, especially for premium product packaging. But if the packaging family is too broad, operators will slow down. The better approach is to standardize the core structure, then vary print or inserts only where the customer experience truly benefits. That keeps package branding strong without creating a warehouse headache. A matte black mailer, a 1-color logo, and one premium insert can do more than six different box styles fighting for shelf space.
Here are the controls I would put in place first:
- Top-use materials within one step of the packer, not across the aisle.
- One station photo posted at eye level for reset standards.
- Replenishment times tied to shift rhythm, not random observation.
- One exception lane for damaged or reworked orders.
- Carton right-sizing reviewed with actual order data, not assumptions.
If you want to compare common organization approaches, this simple view helps:
| Approach | Setup Effort | Best For | Main Risk |
|---|---|---|---|
| Visual-only station control | Low | Small teams, limited SKU count | Depends on staff discipline |
| Min-max and kanban replenishment | Moderate | Growing fulfillment lines | Needs training and adherence |
| Fully standardized pack cells | Higher | Multi-shift operations, larger volume | Can feel rigid if product mix changes often |
I also like to remind teams that tips for organizing last mile packaging should support both speed and brand presentation. If the outer box is a key part of the customer experience, then the layout has to protect that quality without slowing the line. That is where good packaging design and practical floor discipline meet in the middle. A supplier quote of $0.15 per unit for 5,000 pieces can be a good deal or a terrible one, depending on whether your station can handle the spec without bottlenecks.
What Are the Best Tips for Organizing Last Mile Packaging in a Small Warehouse?
In a small warehouse, the best tips for organizing last mile packaging are the ones that cut choice and motion. Keep the top three to five carton sizes near the line, store backup materials in clearly labeled reserve space, and remove anything that does not move weekly. Small spaces punish clutter fast. If a packer has to turn around three times for one order, your layout is already stealing time.
Use vertical space with purpose. Wall racks, shelf labeling, and hanging guides help you keep labels, tape, and inserts accessible without crowding the bench. A tiny room can still run well if every item has one home and the home is based on frequency of use. That is a simple rule, but it works.
Keep the exception flow separate even if it means a single red tote or a marked corner. Exception orders can wreck a compact setup because they create pileups right where the team needs clean movement. In tight facilities, tips for organizing last mile packaging should protect the main lane first. Everything else comes second.
Next Steps for Better Last Mile Packaging Organization
Start this week with three actions: measure current pack flow, list every packaging SKU, and identify the three most common causes of delay or error. Do not wait for a perfect project plan. A one-hour walk through the line with a notebook can reveal more than a polished dashboard with stale data. The point of tips for organizing last mile packaging is to make the next step obvious, not to create more paperwork. If you can count it in 60 minutes, you can improve it this month.
Then pick one pilot station and standardize it. Fix the layout. Mark the bins. Define the replenishment rules. Photograph the “ready” state. This gives you one place to prove the method before you extend it. I’ve seen operations save themselves months of confusion by refusing to roll out a change to every station too early. Good tips for organizing last mile packaging usually mature best in one controlled area first. One pilot in Chicago, one pilot in Riverside, and one pilot in Dallas is plenty before you rewrite the whole floor.
Document the process with photos, a station map, and a one-page SOP. New staff should be able to learn the flow without a supervisor repeating the same five instructions every hour. That is especially helpful when turnover is high or when seasonal labor shows up for only eight weeks. Clear documentation also protects consistency between shifts, which is where many good systems quietly fall apart. A laminated SOP, printed at 8.5 by 11 inches and hung next to the scale, beats a story told three different ways.
Track a few practical KPIs: pack rate, mis-shipments, Material Cost Per order, and average time from pack to dock. You do not need 20 metrics to make this work. Four good ones are enough to show whether your tips for organizing last mile packaging are improving the room or just changing the look of it. If the line is faster but errors rise, the layout still needs work. If errors fall but cost climbs, carton mix or material selection may need another pass. I like reviewing those numbers weekly, not quarterly, because a bad bench can burn through a month of profit faster than anyone wants to admit.
One of the most useful habits I’ve learned over two decades is to review layout, materials, and timeline together. Not separately. The best operations I’ve seen in California, Illinois, and Shenzhen all treated those three items as one system. That is the real lesson behind tips for organizing last mile packaging: when the layout supports the materials and the timeline supports the layout, the whole room becomes easier to run, easier to train, and far less likely to surprise you at the end of a shift. I’ve watched a 14-minute dock delay disappear just because the printer was moved 8 feet closer to the pack bench.
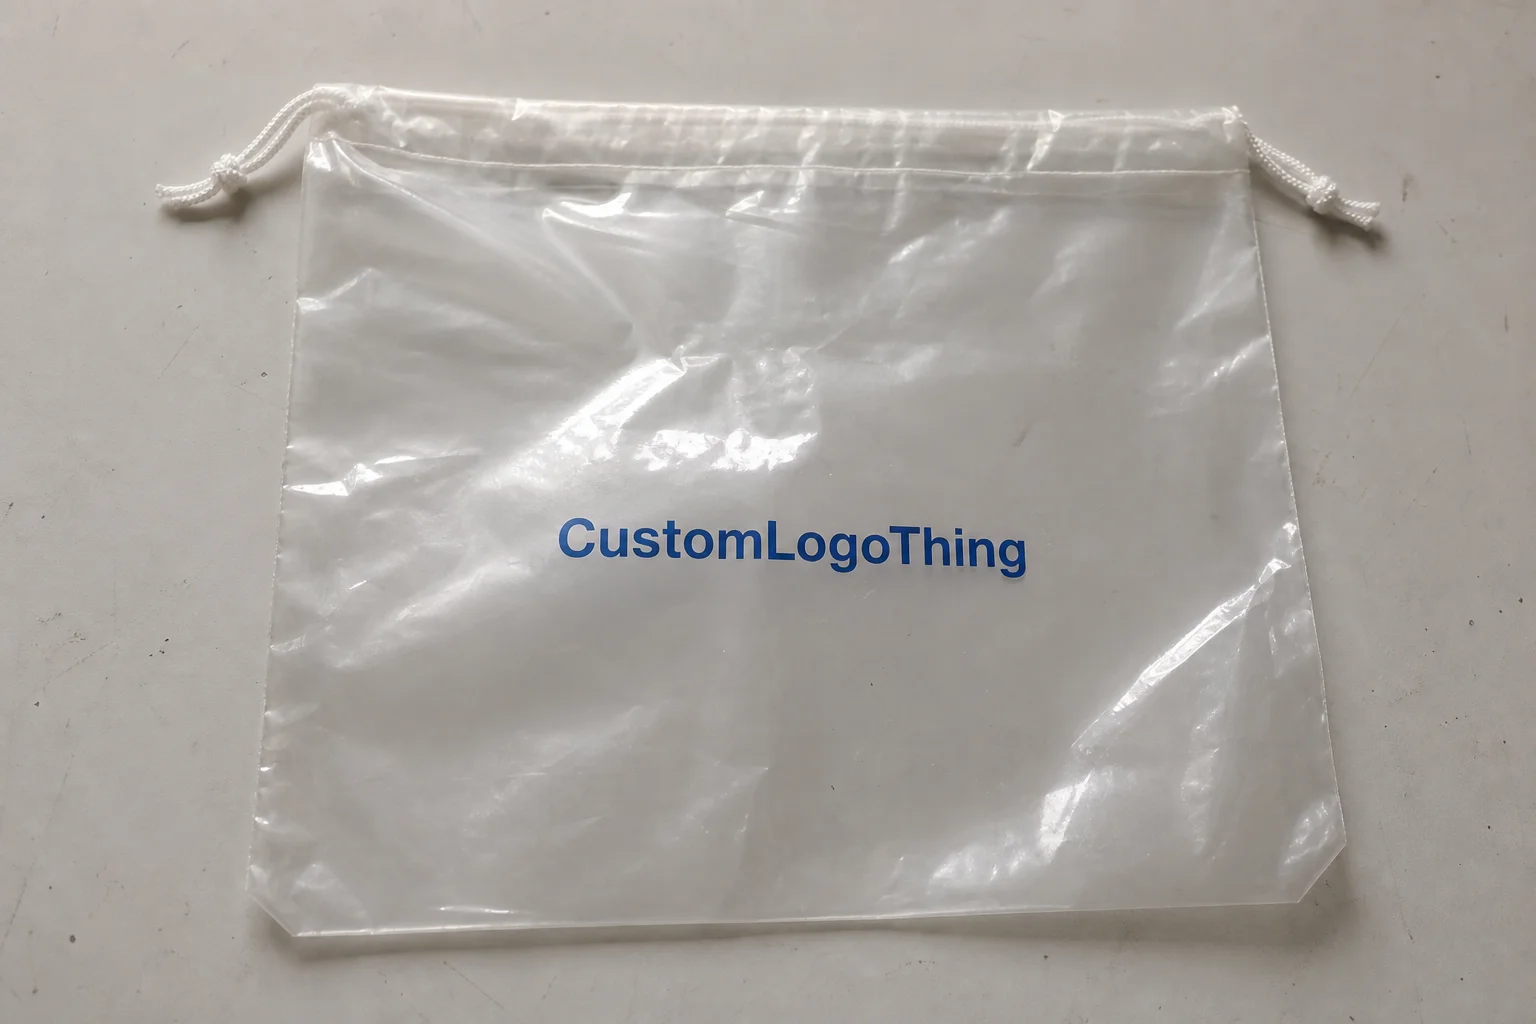
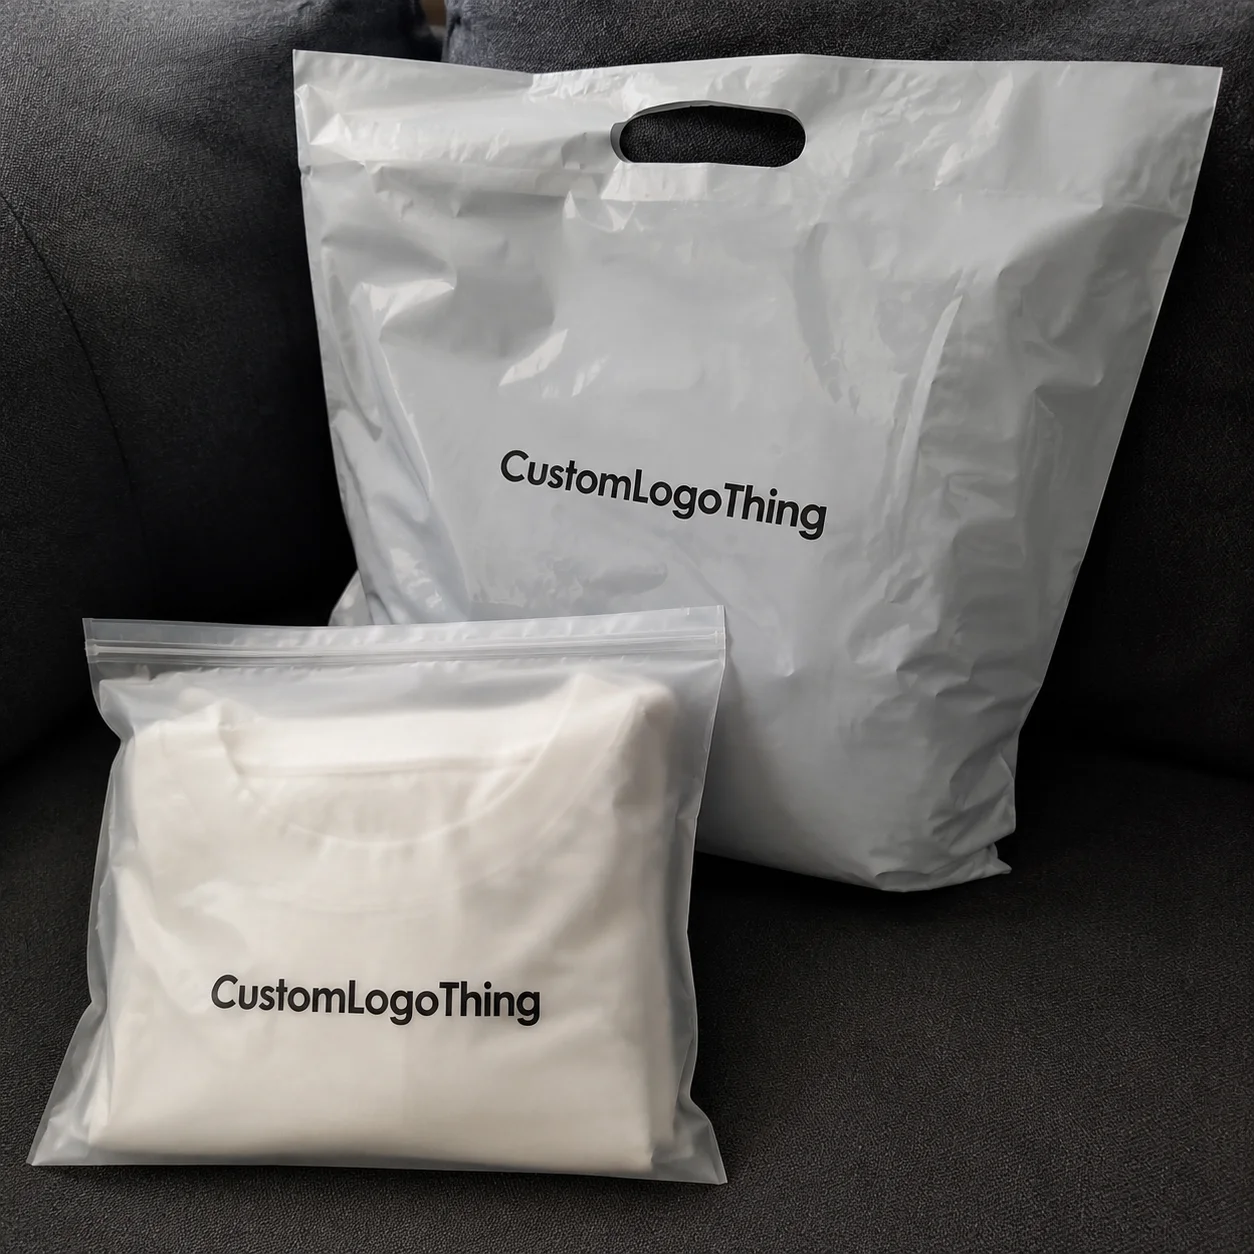
For brands looking to improve presentation and control at the same time, Custom Logo Things can help think through Custom Packaging Products that fit the workflow instead of fighting it. That is where good branding and good operations finally shake hands. If you need custom cartons produced in Dongguan or printed mailers sourced from Ho Chi Minh City, plan for sample approval first and then a typical 12-15 business day production window after proof sign-off.
FAQ
What are the best tips for organizing last mile packaging in a small warehouse?
Use fewer packaging SKUs and keep only fast movers at the pack station. Put labels, tape, dunnage, and the top carton sizes within immediate reach, ideally in the first one to two steps from the operator. Mark replenishment points clearly so staff can reset the station quickly without guessing. In a 2,000-square-foot warehouse, that usually means no more than 6 to 8 active packaging items at the bench.
How do tips for organizing last mile packaging reduce shipping errors?
They reduce choice fatigue by limiting packaging options at the line, which lowers the chance of grabbing the wrong carton or mailer. They also make mislabeled or misplaced materials easier to spot visually, and they standardize the process so orders follow the same sequence every time. A bench with one label printer, one backup roll, and one clearly marked exception bin is far less likely to ship the wrong parcel.
What packaging materials should be staged closest to the line?
Keep high-use cartons or mailers, labels, tape, inserts, and primary void-fill materials closest to the packer. Frequently used tools such as cutters, scales, scanners, and seal checks should stay in the same immediate zone. Exception bins for rework should only be nearby if they are clearly separated from standard flow. If a carton is used 200 times a day, it should not be stored behind a rack in the back corner.
How can I control packaging costs in last mile operations?
Reduce packaging variety and right-size cartons so you lower both material and freight costs. Track material spend per order and watch for overuse of void fill or oversized boxes. Use replenishment rules to prevent emergency buys and wasteful overstock that just sits on the floor. In many facilities, trimming one carton size and one mailer size can save $0.08 to $0.20 per shipment.
What is the fastest way to improve the process timeline for last mile packaging?
Map every handoff from pick to dock and remove unnecessary movement first. Pilot a single station with standardized materials and replenishment timing, then measure pack rate, wait time, and carrier cutoff misses to verify improvement. A layout change that saves 15 seconds per order at 1,000 orders a day can recover more than four labor hours daily.
Final thought: the most effective tips for organizing last mile packaging are the ones that fit your products, your floor space, and your labor model, not somebody else’s ideal diagram. Get the layout right, keep the materials disciplined, and review the process timeline together with the packaging mix, and the whole operation gets easier to run day after day. If your supplier in Shenzhen quotes $0.15 per unit for 5,000 pieces and can ship proofs in 3 business days, great. Just make sure the station can actually handle the box before you celebrate.