Buyer Fit Snapshot
| Best fit | Reducing Postage with Poly Mailers projects where brand print, material claims, artwork control, MOQ, and repeat-order consistency need to be specified before quoting. |
|---|---|
| Quote inputs | Share finished size, material target, print colors, finish, packing count, annual reorder estimate, ship-to region, and any compliance wording. |
| Proofing check | Approve dieline scale, logo placement, barcode or warning zones, color tolerance, closure strength, and carton packing before bulk production. |
| Main risk | Vague material claims, crowded artwork, missing packing details, or unclear freight terms can make a low unit price expensive after revisions. |
Fast answer: Reducing Postage with Poly Mailers: Film, Print, MOQ, and Carton Packing should be specified like a repeatable production item. The safest quote records material, print method, finish, artwork proof, packing count, and reorder notes in one written spec.
Production checks before approval
Compare the actual filled-product size with the drawing, then confirm tolerance on folds, seals, hang holes, label areas, and retail display edges. Reserve space for logos, QR codes, warning copy, and material claims before decorative graphics fill the panel.
Quote comparison points
Review material grade, print process, finish, sampling route, tooling charges, carton quantity, and freight assumptions side by side. A quote is only useful when the supplier can repeat the same color, closure quality, and packing count on the next order.
Why tips for reducing postage with poly mailers matter more than you think
The quickest shipping bill cut I’ve ever seen did not come from a dashboard or a rate-shopping tool. It came from changing one inch of packaging. Tips for Reducing postage with poly mailers can push a parcel into a cheaper bracket faster than most store owners expect, and I watched that happen on a packing bench in Shenzhen while a client stared at the scale like it had personally insulted his family. The order volume was 14,000 units a month, the mailer change took two days to trial, and the postage drop showed up immediately on the next invoice.
For lightweight, non-fragile goods, poly mailers often outperform corrugated boxes because they reduce dead space. Less dead space means smaller outer dimensions, and smaller outer dimensions usually mean lower postage. Carriers do not care whether the product looked polished on a shelf. They care about how much room a shipment takes in the truck, the sortation machine, and the final delivery van. A 0.06 mm mailer made from co-extruded LDPE in a factory outside Dongguan can move far more efficiently than a 32 ECT box filled with kraft paper. Cold, yes. Accurate, also yes.
Postage is usually driven by size, weight, and carrier measurement rules, not only by the product inside. A 6 oz T-shirt in a 10 x 8 x 4 box can price very differently from the same shirt in an 11 x 9 poly mailer that lies flat. Same shirt. Different bill. That is the whole game, and honestly, it is a little annoying how much margin can vanish over something that looks so minor on a packing table. On USPS Ground Advantage, a one-inch reduction in thickness can mean a lower tier if the final parcel stays under the carrier’s dimensional threshold.
I remember a factory visit where a brand was shipping thin fleece liners. Their team insisted on a box because “customers expect a box.” We tested a 0.07 mm co-extruded poly mailer, flattened the product with one folded insert card, and dropped the pack thickness by 0.9 inches. Their carrier rate fell by $1.14 on domestic ground parcels. On 8,000 units a month, that is not pocket change. That is rent money. That is also the sort of thing that makes finance teams suddenly develop a strong appreciation for packaging, which is kinda funny until the savings hit the P&L. The proof approval took 48 hours, and the production run in Shenzhen landed 12-15 business days later.
The goal here is practical: tips for reducing postage with poly mailers That Save Money without turning shipments into wrinkled messes that trigger returns. You can save money and still protect the product. The trick is packing with intent, not hope. Hope is not a shipping strategy, no matter how many times people whisper it in meetings. A sound setup usually starts with a 0.05 mm to 0.08 mm mailer and a measured fold that keeps the finished pack under the next rate break.
How poly mailers reduce postage: the mechanics behind the savings
Once the math is clear, the savings stop feeling mysterious. Poly mailers reduce postage mainly by cutting dimensional weight exposure and keeping the parcel flatter. Carriers like a neat, flat package because it takes less physical space than a box with trapped air. Air is expensive. Shocking, I know. Apparently even the emptiness gets billed now. In Los Angeles, Chicago, and Atlanta, that empty space still occupies the same slot on a conveyor belt, which is why dimensions matter even when the scale says the parcel is light.
Two numbers matter on most parcel networks: actual weight and dimensional weight. Actual weight is what the scale says. Dimensional weight is what the carrier charges based on the parcel size. A lightweight item in a bulky box can get charged as if it were heavier than it really is. That is where poly mailers win. They usually reduce both the weight of the packaging and the dimensions of the packed order. A 5 oz garment in a 10 x 8 x 3 carton can be billed very differently from the same garment in an 11 x 9 x 0.75 poly mailer, especially on zone 5 through zone 8 shipments.
Flexible packaging conforms to the product shape. A folded garment, a soft accessory, a set of stickers, or a textile sample can sit snugly in a mailer with very little wasted space. A carton needs enough internal room for the item, cushioning, and box wall thickness. By the time you add tape and void fill, it is easy to add 1 to 3 inches to each side. Carriers notice. They may not be emotionally invested, but they are definitely paying attention. A mailer made in Yiwu, Zhejiang can often shave away the dead volume that a carton in a 32 ECT board simply cannot remove.
When I visited a fulfillment operation in New Jersey, they were shipping beauty wraps in a 9 x 6 x 3 carton because the operations manager was nervous about crushing. We ran a trial with 0.06 mm mailers plus a folded chipboard insert. Final packed thickness dropped from 2.8 inches to 0.9 inches. The postage difference on USPS Ground Advantage and a comparable regional carrier option averaged $0.86 to $1.32 per shipment depending on zone. Not dramatic in isolation. Very dramatic after 15,000 orders. That is the part people forget: postage savings are usually boring one order at a time and wildly exciting in aggregate. The sampling run took 5 business days, and the follow-up audit in Newark showed the same result on 200 live parcels.
Here is a simple comparison that shows why the structure matters so much:
| Packaging setup | Packed dimensions | Actual weight | Typical postage impact |
|---|---|---|---|
| Small product in corrugated box with void fill | 10 x 8 x 4 in | 8 oz | Higher dimensional pricing, more sorting friction |
| Same product in flat poly mailer | 11 x 9 x 0.75 in | 5 oz | Usually lower rate tier, less dimensional weight |
That does not mean poly mailers are always the answer. Fragile items, rigid products, or anything that needs corner protection may still need a box or a padded mailer. For apparel, soft goods, printed inserts, and other flexible items, Tips for Reducing postage with poly mailers can create real margin lift without changing the product itself. A sweater shipping from Portland to Miami can travel in a very different cost lane than a ceramic mug going the same route, and the packaging should reflect that difference.
Carrier logic is blunt. Smaller, lighter, flatter parcels generally cost less to move, sort, and deliver. It is not glamorous. It is the math of parcel networks. If your package fits through automation more easily, you often pay less. If it resists the system, you pay more. That’s the ugly little truth of it. In parcels moving through hubs in Louisville, Memphis, or Philadelphia, the mailer shape itself can be the difference between an automated pass and a manual touch.
Key factors that affect postage cost with poly mailers
Real savings start with the rate drivers. The biggest ones are package size, weight, destination zone, service level, and carrier rules. That sounds basic because it is basic. Basic is where money disappears when teams pack by habit instead of measurement. A 0.25-inch difference in thickness can be enough to change a rate in carrier software, especially when the parcel sits near a dimensional threshold.
Package size is usually the first culprit. A parcel that crosses a dimensional threshold can jump cost tiers fast. I have seen a 0.6-inch increase in thickness push an order into a pricier bracket because the carrier rounded the measurement up. That tiny change can become a nasty line item if you ship 12,000 units a month. Small numbers get loud at scale. They also somehow become everyone’s problem on Monday morning. One warehouse in Dallas shaved $1.07 per shipment just by moving from an 11 x 10 x 3 mailer to a flatter 11 x 9 x 0.75 format.
Weight matters too. A lightweight 4 oz product can still become expensive if the mailer is heavy, the insert is stiff, or you add a thick brand card. Some padded mailers add more than people realize. A 0.06 mm plain poly mailer may weigh a few grams, while a padded version or kraft-lined option can add enough weight to nudge you into the next postage band. Sometimes that extra protection pays off. Sometimes it just fattens the bill. If your mailer supplier in Guangzhou quotes a heavier construction at $0.03 more per unit, that extra packaging cost may wipe out the postage gain unless the product needs the padding.
Destination zone is another sneaky cost driver. A package shipping 200 miles is not priced like one crossing the country. If your orders are split between nearby customers and far-off zones, the same mailer setup may look good in one lane and mediocre in another. Track postage by region, not only by total monthly spend. Otherwise, you end up celebrating the wrong win. A Midwestern customer base may reward flatter packs far more than a West Coast-heavy order mix.
Service level matters because faster usually costs more. First-class-style parcel services, ground options, and expedited services all price differently. A well-sized poly mailer may help you stay in a lower-cost service tier, but if the customer selects two-day shipping, the mailer can only do so much. No packaging fixes a premium service charge. If only. If packaging could negotiate with carriers, half my job would be obsolete. For a same-day order in Phoenix or Newark, the mailer can reduce the base cost, but the service fee still sets the ceiling.
Carrier-specific rules also change the answer. USPS, UPS, and FedEx each have measurement practices, minimums, and dimensional pricing triggers. Even within a carrier, automation and manual handling rules can vary. One winning setup from one carrier may fail somewhere else. That is why the same pack can feel brilliant in one test and baffling in another. A mailer that sails through USPS sortation in Indianapolis might trigger a different charge on a UPS lane out of Ontario, California.
Material choice affects cost too. A lighter gauge mailer might save a few cents in packaging cost and a few ounces in shipping weight, but it still needs to survive transit. A thicker mailer or padded version may protect better, yet add enough bulk to offset the gain. I usually tell clients to compare three options: plain poly, padded mailer, and thin box, then test all three against actual order data. Otherwise you’re basically guessing with a calculator, and calculators are not nearly as wise as people pretend. A common spec to test is a 0.06 mm co-extruded film versus a 0.08 mm reinforced film, especially on apparel shipping out of Shenzhen or Dongguan.
Closure type can matter more than people think. Self-seal strips are standard, but oversized adhesive flaps or a second seal for security can slightly increase weight and thickness. Label placement matters too. A wrinkled shipping label stuck over a seam can cause scanning problems, and bad scans lead to delays, repacks, and extra handling. Postal systems are not sentimental. They are, however, extremely good at making tiny mistakes expensive. A label centered over a flat panel usually scans better than one wrapped around a folded edge by 0.5 inches.
Parcel automation rules are the hidden layer. If your mailer shape is too irregular, too puffy, or too thick, it may not travel through sorting equipment cleanly. That can create manual handling, and manual handling is where costs multiply. The best Tips for Reducing postage with poly mailers are the ones that make the parcel easy for the carrier to process, not just cheap on your packing table. A packing line in Nashville can get better rates on the same SKU simply because the mailer stays under the machine’s height limit.
For packaging standards and sustainability references, I often point clients to the EPA and the FSC when they are balancing cost with material responsibility. Those sites will not calculate your postage, but they help frame material choices with better context than a random forum thread at 1 a.m. That forum thread will, predictably, be very confident and only half right. If you are sourcing packaging from suppliers in Guangdong, Zhejiang, or Ho Chi Minh City, those references also help guide material claims before you place a 20,000-piece order.
Tips for reducing postage with poly mailers: step-by-step packing workflow
This is where the money gets real. Good shipping results come from a repeatable packing workflow, not from one heroic employee who “just knows” what fits. The smartest tips for reducing postage with poly mailers start with measuring the product first and choosing the smallest mailer that still protects it. If your product measures 9.25 x 11 inches folded, ordering a 12 x 15 mailer because it feels convenient is a fast way to pay for empty space.
Start with product dimensions, not packaging habit
Measure the item in its most compact shipping orientation. For apparel, that might mean folding to a standard size like 10 x 12 inches or 8 x 10 inches depending on the category. For flat accessories, stack them with the product’s natural shape in mind. I have seen teams pick a mailer first and then force products to fit. That is backwards. The product sets the target; the mailer should follow. If not, you end up designing a shipping process around laziness, and laziness is surprisingly expensive. A 350gsm C1S artboard insert can help stabilize certain soft goods without turning the parcel into a box-like shape.
In one client meeting, a DTC brand was using three mailer sizes for six SKUs. The largest size was only being used for one seasonal bundle, but the team kept it in the default pick zone because “it is easier.” Easier for whom? The carrier loved it. The finance team did not. We measured each SKU, removed one oversized mailer from the packing line, and cut average postage by $0.41 per shipment. It took a morning. They had been bleeding margin for months. I still remember the room going quiet when we showed the numbers. That silence? Priceless. The sample labels were printed in Irvine, California, and the new SOP was live within 72 hours.
Flatten, fold, and bundle with intention
Flatten anything that can be flattened. Fold garments consistently. Bundle paired items tightly, but do not over-compress them into a brick. You want a flat parcel, not a puffy rectangle that behaves like a pillow. Use inserts only when they actually improve shipment integrity. A rigid insert for a paper goods bundle can prevent bending. A thick insert inside a soft product order is usually just expensive decoration. A good folding station in Charlotte or Columbus can save more money than a second-rate mailer spec because the fold controls the parcel height before the adhesive strip ever closes.
When you build the pack, watch the corners. Corners create bulk, and bulk creates postage creep. I have watched factory teams fold a hoodie beautifully but leave the sleeves bunching up inside the mailer. That extra puff pushed the parcel from 0.8 inches to 1.4 inches thick. On paper, it sounds trivial. In the carrier system, it is enough to matter. One little bulge, and suddenly the rate behaves like it has a grudge. A packing team in San Diego shaved 0.3 inches off a standard sweatshirt fold just by turning the sleeves inward before sealing.
Test three mailer sizes, not one
Order two to three poly mailer sizes and test them against your top-selling SKUs. Do not guess. Guessing is how you end up paying for a mailer that looks efficient but packs like a marshmallow. Use real shipment weights, actual packed dimensions, and live carrier rate checks. I like to test at least 20 samples per SKU because one or two packs can lie to you. Production consistency is the truth. If the supplier in Shenzhen promises a 0.05 mm gauge, confirm it with a caliper, because a 0.08 mm run can shift the whole cost model.
A practical test run usually takes 3 to 7 business days for sampling, 1 to 2 days for internal packing trials, and another few days to compare live postage on carrier accounts. If you already know your order profile, you can move faster. If you sell a wide mix of SKUs, budget more time. The point is to see the postage outcome before you roll out 10,000 mailers and discover the savings were imaginary. For a supplier in Ningbo, the proof can be ready in 24 hours, but the live mail test should still run long enough to catch real-world variance.
Standardize the packing SOP
Once you find the best setup, write a packing standard. One SKU group gets one mailer size. Another gets a different one. Put the decision rules on the packing table in plain language: “If the folded item is under 9 inches wide and under 1 inch thick, use mailer A.” That kind of rule reduces mistakes fast. It also keeps new staff from improvising their way into higher postage. A laminated SOP card costs almost nothing and can protect thousands of dollars in annual margin.
Training matters. I have stood in packing rooms where three employees packed the same item three different ways because nobody had given them a standard. One tucked the invoice inside. One used extra tissue. One chose a bigger mailer “to be safe.” Safe for the parcel. Expensive for the business. Not a great trade. The worst part is everyone was trying to be helpful, which is lovely in theory and maddening in practice. A 15-minute training session in a warehouse outside Atlanta can fix a mistake that would otherwise cost $0.60 per order.
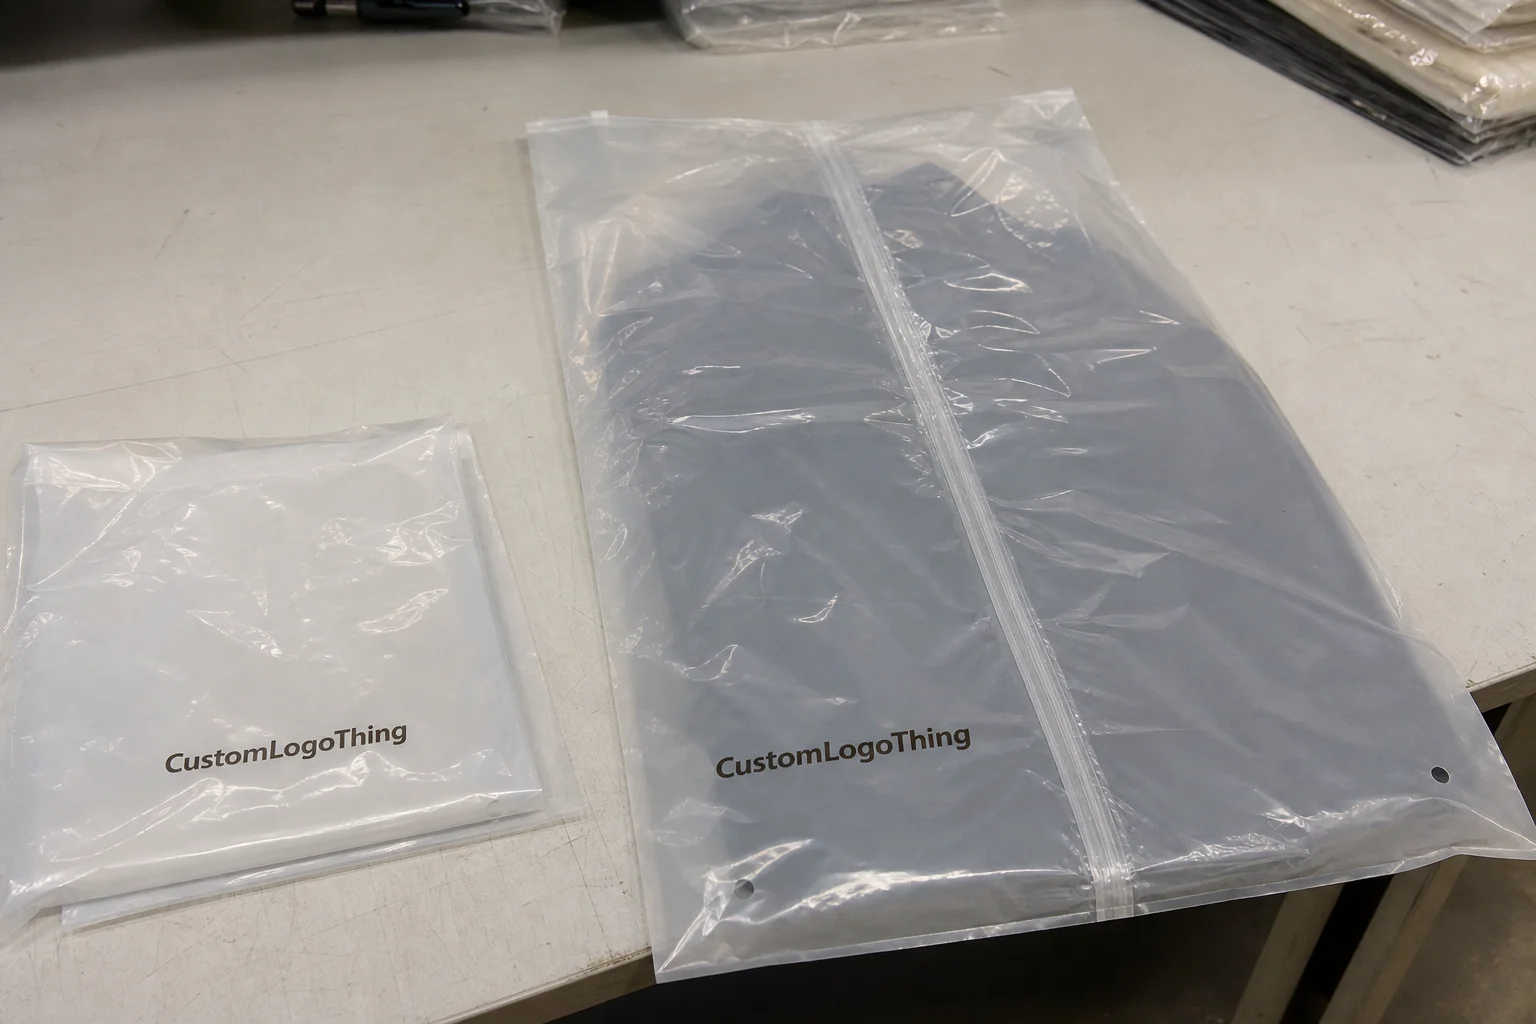
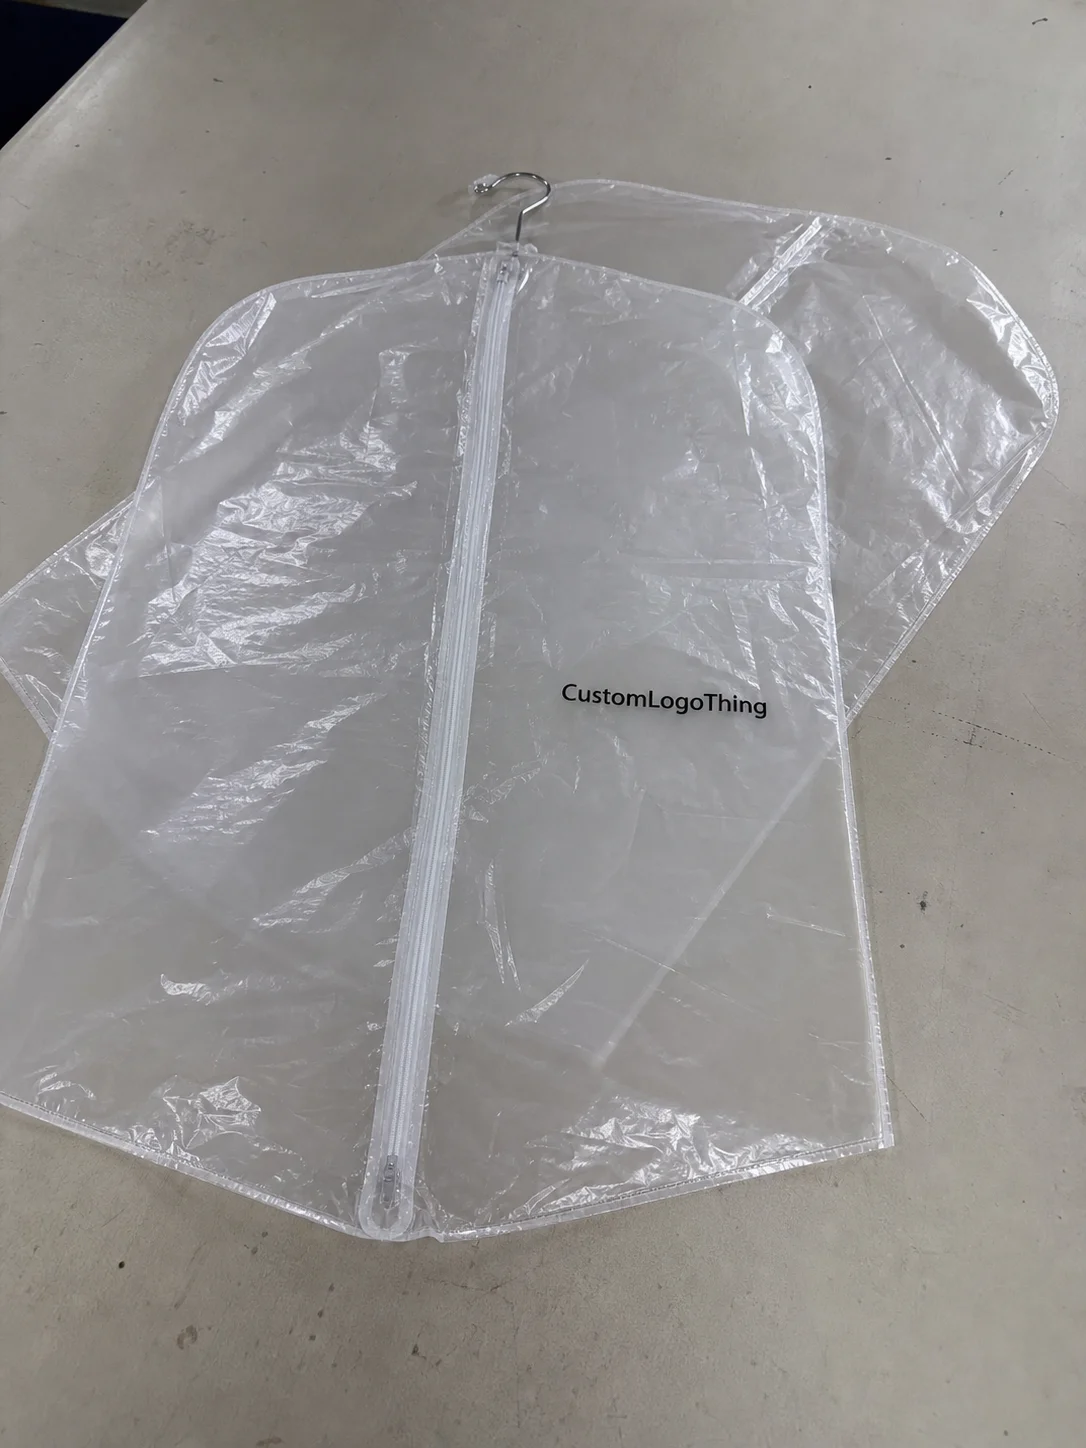
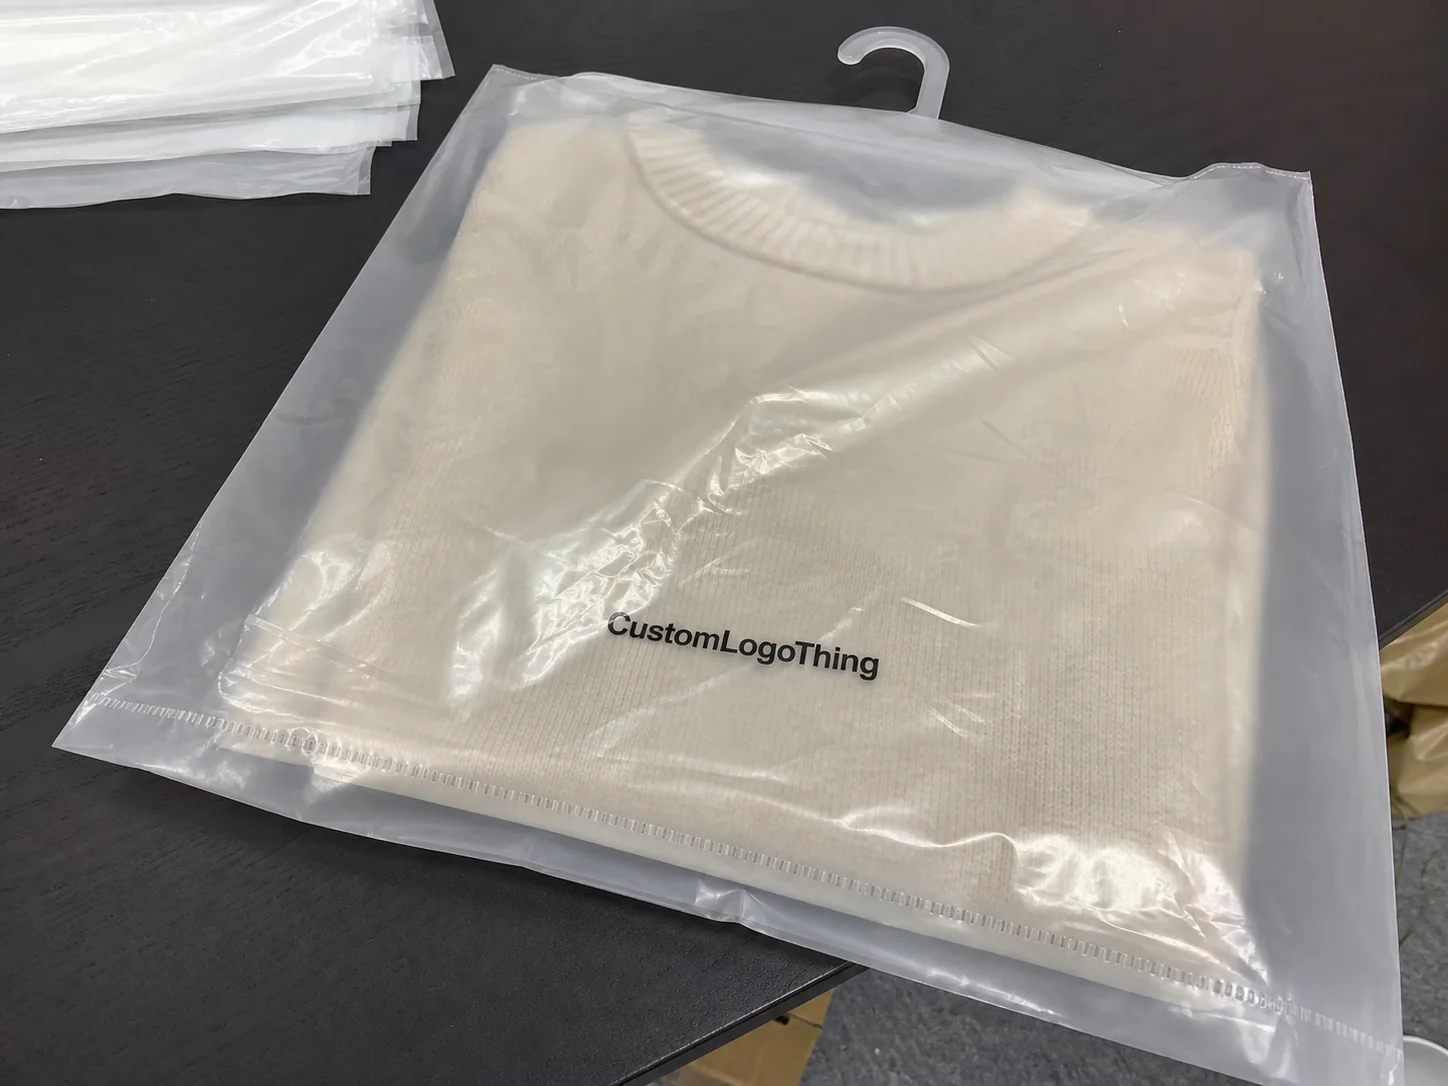
For businesses building out their shipping kits, I often recommend pairing Custom Poly Mailers with the right Custom Packaging Products so the pack size matches the product instead of fighting it. If branding is part of the plan, add it after the postage math works. That order matters. A printed mailer produced in Hangzhou can still ship flat if the artwork is placed inside the seam-safe panel, not across the fold line.
If you are shipping inserts, tags, or branded paperwork, keep an eye on thickness. Even slim extras can compound. A 14 pt card plus tissue plus a thicker mailer can move the parcel into a worse bracket. Use only the pieces that support the sale or reduce damage. The rest is postage perfume. A single 350gsm insert may be fine for premium presentation, but it should earn its place by preventing returns or reinforcing the product, not by habit.
Here is a quick workflow checklist I have used with small fulfillment teams:
- Measure the top five SKUs in their folded or packed state.
- Select two mailer sizes that fit the most common dimensions.
- Weigh each finished pack on a digital scale accurate to 0.1 oz.
- Record final dimensions after sealing the mailer.
- Compare live rates across your top carrier services.
- Choose the setup with the lowest total cost and acceptable transit performance.
That is the core of tips for reducing postage with poly mailers. Simple, yes. Easy? Not always. But simple beats complicated when every parcel costs real money. I’ll take boring, repeatable, and profitable over “creative” shipping any day. In practice, the winning setup is often the one that can be taught in one afternoon and repeated by 20 different packers in Phoenix, Tampa, or Raleigh without drift.
Common mistakes that erase postage savings
The most expensive mistake is choosing a poly mailer that is too big “just in case.” I get why people do it. Nobody wants a damaged return. But oversized mailers create unused space, and unused space can trigger dimensional pricing. That is how a cheap-looking shipping decision quietly becomes an expensive one. If your 11 x 14 mailer is carrying a 9 x 10 garment, the extra space can cost more than the protective value it adds.
Overpacking causes another problem. If the finished parcel becomes thick, stiff, or oddly shaped, the carrier may treat it less favorably. I have seen a mailer stuffed with a sweatshirt, a catalog, and a branded tote become so rigid that it might as well have been a soft box. The shipping cost rose, and the item still did not look premium. Bad deal all around. Honestly, it looked like someone packed frustration into a sleeve. A retail team in Miami once added a foam insert to a product that never needed one; the added 0.4 inches changed the rate and did nothing for presentation.
Carrier measurement differences also trip people up. One carrier may round up dimensions aggressively. Another may calculate based on a different threshold or service rule. If you compare estimates without checking how each carrier measures the final pack, your projections can be off by 10% to 20%. That is not a rounding error. That is lunch money for your warehouse team. I have seen the same parcel priced one way on a USPS label and another way on a UPS manifest because the measurement method changed by a fraction of an inch.
Unnecessary inserts are another silent killer. Tissue paper, thick thank-you cards, oversized marketing brochures, and decorative fillers all add grams and millimeters. Some branding is worth it. Plenty of it is not. If the insert does not protect, inform, or drive repeat purchase, it should earn its place on the invoice. Otherwise, it is decoration that costs postage. A 6 x 9 brochure may look nice in a packout, but if it moves the parcel from 0.7 inches to 1.2 inches, the math gets ugly fast.
Failing to test real shipments is the biggest strategic mistake. Calculator estimates are useful, but they are not the same as live labels. Real shipments reveal rounding behavior, label reading issues, compression in transit, and how the product actually sits after sealing. I always tell clients to ship at least a small live batch before committing to a full roll-out. Twelve sample parcels can save you from twelve thousand bad decisions. A test of 24 live orders across zones 2, 5, and 8 gives a much cleaner read than a spreadsheet alone.
There is another mistake that hits harder than people expect: not tracking damage rates alongside postage savings. If you save $0.80 on postage but add $1.50 in returns, you improved the wrong metric. The best tips for reducing postage with poly mailers always balance shipping cost against product protection. Cheap shipping that creates refunds is not cheap. It is just deferred pain, which is a very annoying kind of expense. The right setup in Austin or Seattle should reduce both postage and avoidable replacements, not just one of them.
Expert tips for reducing postage with poly mailers without hurting delivery
After enough time in packaging, one pattern gets obvious: the cheapest parcel is not the one with the thinnest material. It is the one that arrives intact with the lowest total landed cost. That includes postage, pack cost, labor, and returns. A few expert-level tips for reducing postage with poly mailers can keep that balance under control. In a 50,000-unit program, even a $0.18 difference in material cost can be the wrong savings if the return rate climbs by 1.2 points.
Use the lightest protective material that still passes your transit test. For a clothing brand, that may be a standard 0.05 mm or 0.06 mm poly mailer. For something with edges or hardware, it may mean a padded option or a mailer plus a slim inner sleeve. I have watched brands overspec packaging because they were nervous, not because the product demanded it. Nervous packaging is expensive packaging. It feels safe right up until the invoice shows up. A supplier in Guangzhou can often quote a 0.06 mm flat mailer at $0.15 per unit for 5,000 pieces, while a padded version may land closer to $0.24 per unit.
Choose mailer sizes around your best-selling items, not one-off outliers. If 80% of your orders fit in one flat configuration and 20% need a different one, optimize for the 80%. That is where the monthly savings live. Do not design the whole system around the weird Christmas bundle that ships eight times a year. That is a beautiful way to waste money. If your top SKU ships 4,200 units monthly from Dallas, the mailer should fit that SKU first and the seasonal bundle second.
Negotiate carrier pricing once you have enough volume and enough clean shipment data. Carriers like predictable shippers. If you can show stable monthly volume, consistent dimensions, and low exception rates, you have more room to talk about rate cards and zone discounts. I have sat in those meetings. The number on the page changes when you can prove you are not a chaotic shipper. Carriers charge more for chaos. They really do. They can smell it from across the room, or at least it feels that way after the third pricing review. A 90-day shipment history from Nashville or Indianapolis can carry more weight than a promise and a spreadsheet full of assumptions.
Track postage by SKU. This sounds tedious, and it is. That is why most people skip it and then wonder why margin leaks from three specific products every month. If SKU A costs $3.94 to ship and SKU B costs $2.77, you need to know why. Maybe SKU A’s packaging is half an inch thicker. Maybe it needs a different mailer. Maybe the label is wrapping around a seam. The data tells you where to look. I have seen a single hoodie colorway cost 28 cents more to ship simply because the fold pattern changed during peak season in a Los Angeles warehouse.
Only after the shipping math makes sense should you worry about printed packaging, premium finishes, or branded extras. I am not anti-branding. I built a company on it. I am anti-paying for beauty that reduces margin without improving conversion. If you want branded shipping, start with a thin custom mailer that holds the right dimensions. Then add art, copy, or a logo. Not the other way around. A supplier in Shenzhen can print a two-color design on a flat mailer and still keep the pack under 1 inch thick if the artwork stays on the exterior panel.
For packaging teams that need a broader mix of shipping and presentation materials, Custom Labels & Tags can help you keep packing organized without adding bulk where it hurts. A clean label workflow also reduces mis-shipments, which is another hidden cost people love to ignore until the quarterly report arrives. In a 3,000-order week, even a 0.5% error rate means 15 orders to fix, and each fix can cost more than the label itself.
I also like to remind clients that sustainability and cost do not have to fight each other. A right-sized mailer can reduce material use and postage at the same time. If you are comparing material options, the ISTA testing resources are worth a look, because transit performance should be verified, not assumed. The carrier will not give you points for optimism. If anything, optimism just gets you more claims. A 12-bag drop test in a warehouse outside Toronto can reveal whether a 0.06 mm film is enough or whether the product needs a slim liner.
“We cut our average postage by $0.93 per order after switching from boxes to flat poly mailers, and the return rate stayed flat.” That came from a client selling soft goods in Colorado. Their secret was not luck. It was testing, measuring, and refusing to ship air. Their rollout took 9 business days from the first sample approval to the first live shipment.
What to do next: build a postage-saving test plan
If you want the savings, make the test plan concrete. The best tips for reducing postage with poly mailers start with an audit of your top five shippable products. Write down the current packed dimensions, the packed weight, the carrier service used, and the total postage cost. If you do not know those numbers, you are driving with the dashboard off. And yes, I know that sounds dramatic, but it is also true. A clean baseline from Chicago or Houston will tell you more than six meetings about “shipping efficiency.”
Next, order two to three mailer sizes and run side-by-side tests. Ship the same product in each configuration using your most common carrier routes. Do not just compare label prices from a calculator. Use real shipment data from actual labels. Then log whether the package survived transit without crushing, tearing, or looking like it had a rough night. A 100-piece pilot batch is often enough to catch the obvious issues before you scale.
Create a simple comparison sheet with columns for SKU, carrier, zone, final weight, final dimensions, postage, and damage notes. A spreadsheet is boring. So is losing $2,000 a month in preventable postage. One of those problems is easier to fix. The spreadsheet, for the record, is the better choice. If your team works across New York, Phoenix, and Atlanta, a shared sheet also makes regional differences visible in one place.
Set a pass/fail rule before rollout. For example: “The new mailer must save at least $0.60 per order and survive 50 test shipments with no more than one minor issue.” That gives your team a clear threshold. No vague debates. No emotional packaging choices. Just a decision rule. If the test mailer saves $0.78 and the packed thickness stays under 1 inch, you have a real case for switching.
Once the winner is clear, roll it out to the packing team and watch the numbers for a short live shipment window. I like a two-week review if volume is steady. If the results hold, lock in the SOP. If they drift, revisit the mailer size or closure method. Real operations always need one more adjustment. That is not failure. That is shipping. Shipping is basically a long conversation with reality, and reality is not always friendly. A plant in Raleigh may show a different result than one in Reno because temperature, packing speed, and staff habits all affect the final parcel.
For teams starting from scratch, the simplest plan is often the best one:
- Audit the five highest-volume SKUs.
- Measure current postage and packed dimensions.
- Test two flat mailer sizes and one padded option.
- Ship live samples to three zone groups.
- Compare postage, damage, and labor time.
- Adopt the setup with the best total cost.
If you are buying packaging in volume, talk to your supplier with numbers in hand. I have negotiated 50,000-piece runs where the unit price dropped from $0.21 to $0.17 because the client could show a stable annual volume and a clear size spec. Supplier quotes improve when you know exactly what you need. They get weird when you are vague. That is just how it goes. In one case, a factory in Dongguan turned around revised artwork proofs in 24 hours and shipped the final run 13 business days after approval.
Branded shipping materials can still fit into a postage-saving strategy. You just need the right structure first. If you want to source right-sized materials that support both shipping efficiency and presentation, start with Custom Poly Mailers and build from there. The right package is the one that protects the product, stays flat, and does not burn margin for fun. A 0.06 mm flat mailer with precise dimensions will usually do more for your P&L than a glossy oversized parcel ever could.
That is the real payoff from tips for reducing postage with poly mailers: less wasted space, cleaner packing, fewer pricing surprises, and a shipping process that stops treating every order like a special case. Get the dimensions right, keep the pack flat, test the carrier math, and your postage bill usually gets a lot friendlier. If your volume is 10,000 orders a month, even a $0.55 improvement can turn into $5,500 in monthly savings.
FAQs
What are the best tips for reducing postage with poly mailers for small products?
Use the smallest mailer that fully fits the item without forcing it. Keep the parcel flat, avoid extra inserts that add weight, and test a few mailer sizes against live carrier rates before you standardize. For small, soft products, that one change can easily save $0.50 to $1.25 per order depending on the carrier and zone. A 0.05 mm mailer is often enough for lightweight apparel, while a 0.06 mm version may give you a little more puncture resistance.
Do poly mailers always cost less to ship than boxes?
No. They usually cost less for flat, lightweight items, but not for fragile or bulky products. If the mailer becomes too thick, rigid, or heavy, the savings can disappear fast. The cheapest option depends on carrier rules, final dimensions, and whether the product still arrives in good condition. A 9 x 12 mailer carrying a rigid accessory may still be more expensive than a properly sized box in some zones.
How do I calculate postage savings from switching to poly mailers?
Compare the current packed weight and dimensions to the new mailer setup, then use real shipment rates from your carrier account instead of estimates from a generic calculator. Multiply the per-package savings by monthly order volume. If you save $0.78 on 6,000 shipments, that is $4,680 a month. Numbers like that get attention. If your order base is spread across zones 2, 5, and 8, calculate each zone separately for a cleaner forecast.
What mailer size helps reduce postage the most?
The smallest size that still protects your product and stays flat in transit usually performs best. A mailer that eliminates unused space often beats a bigger padded option. Always test the final packed thickness, because that measurement can change the rate just as much as weight. In many apparel programs, a mailer around 9 x 12 inches or 10 x 13 inches is enough, but the real answer depends on the folded size of the SKU.
How long does it take to test a new postage-saving poly mailer setup?
A basic test can be done in a few days if you already know your top-selling SKUs. A proper rollout usually takes a short sampling phase, rate comparison, and live shipment check. In practice, I would budget about one week for a focused test and another week for live validation if your order flow is steady. If the supplier is in Shenzhen or Ningbo, sample turnaround can sometimes be 3 to 5 business days before shipping the trial packs.