People usually start with the artwork. That is understandable, but it is not the right first move. For tote bags for sublimation printing, the blank controls more of the final result than most buyers expect. Fabric content, surface smoothness, color, seam placement, and press tolerance all affect whether the bag looks clean and retail-ready or merely serviceable.
If the tote is going into merch, events, gift-with-purchase programs, or branded packaging, the spec matters as much as the design file. A strong logo on the wrong surface still looks weak. A simple design on the right bag can look sharp, expensive, and intentional.
Why Some Tote Bags Print Sharp and Others Look Cheap
Sublimation is different from offset, digital toner, or flexographic printing. Those processes put color on top of a surface. Sublimation turns the ink into gas under heat, then allows it to bond with polyester fibers or a sublimation-ready coating. That is why the same artwork can look vibrant on one tote and dull on another.
The buyer mistake is usually assuming all tote blanks behave the same once they are under a heat press. They do not. A cotton-heavy tote, a dark tote, or a bag with a coarse weave will fight the transfer. The print can still land, but the color density, edge detail, and apparent sharpness all suffer.
tote bags for sublimation printing work best when the blank is made for heat transfer from the start. Polyester-rich fabrics, smooth faces, and light colors give the dye the best chance to show correctly. That is not a branding preference. It is how the chemistry works.
If the substrate is wrong, the print never gets a fair shot.
That is also why mockups can be misleading. A monitor does not reveal weave texture, stitch interruptions, or how a seam will shadow through a pressed image. The tote may look perfect on screen and still fail in production if the blank is too rough, too dark, or built for general carry use rather than transfer work.
How Sublimation Ink Binds to Tote Materials
The workflow is straightforward. The artwork is printed onto sublimation paper with transfer ink, then heated so the dye turns into gas and migrates into the material. Once the press cycle is complete and the bag cools, the color is locked in the surface. It does not sit as a thick layer on top, which is why the finished hand feel is usually softer than screen print or vinyl.
That process only works well on the right substrate. White and very light surfaces give the cleanest results because sublimation does not print white ink. The base color shows through, so a beige or gray tote will soften the image, and a dark tote will usually disappoint unless it has a specialized receptive coating.
File prep matters more than many buyers realize. Vector logos are ideal for crisp edges, especially for line work, small type, and simple branding. Photo artwork should be high resolution, sized for the final print area, and prepared with color handling in mind. If the source art is muddy, the pressed result will be muddy too. Heat is not a correction tool.
For packaging, retail assembly, or any order that needs the tote to arrive as part of a finished package rather than as a loose blank, the print spec should be checked alongside the folding, labeling, and packing method. A useful external reference for packaging terminology and general handling standards is the Institute of Packaging Professionals.
Material, Size, Finish, and Color Factors That Change the Result
Buyers usually compare tote bags by size first. That matters, but it is not the first variable that affects print quality. Fabric content comes first, then weave density, then surface finish, then dimensions. A tightly woven 100% polyester tote with a smooth face will usually print cleaner than a blended tote with a rougher hand, even if both are the same size.
Handle length and gusset depth also affect the usable print zone. A bag may have generous overall dimensions, yet still lose usable space because a seam cuts through the center or a fold line lands inside the artwork. That is why production proofing should always reflect the true press area, not just the outer tote measurement.
Surface finish changes the visual result more than many buyers expect. A matte face can make the bag feel calmer and more premium. A very smooth face gives sharper edges and tighter color. A textured canvas-style finish can look upscale in person, but it usually softens fine detail. There is no universal best choice; the right answer depends on whether the tote is meant to feel retail, promotional, or utility-driven.
| Blank type | Print result | Typical use | Risk level |
|---|---|---|---|
| 100% polyester, light color | Sharpest color and clean edge detail | Retail merch, premium branded bags | Low |
| Polyester blend | Good color, slightly softer than pure polyester | Events, giveaways, mid-tier branding | Medium |
| Cotton or cotton-heavy tote | Muted, inconsistent, often disappointing | Only if specially coated for sublimation | High |
| Coated sublimation-ready tote | Strong image transfer if the coating is even | Specialty promo items | Medium |
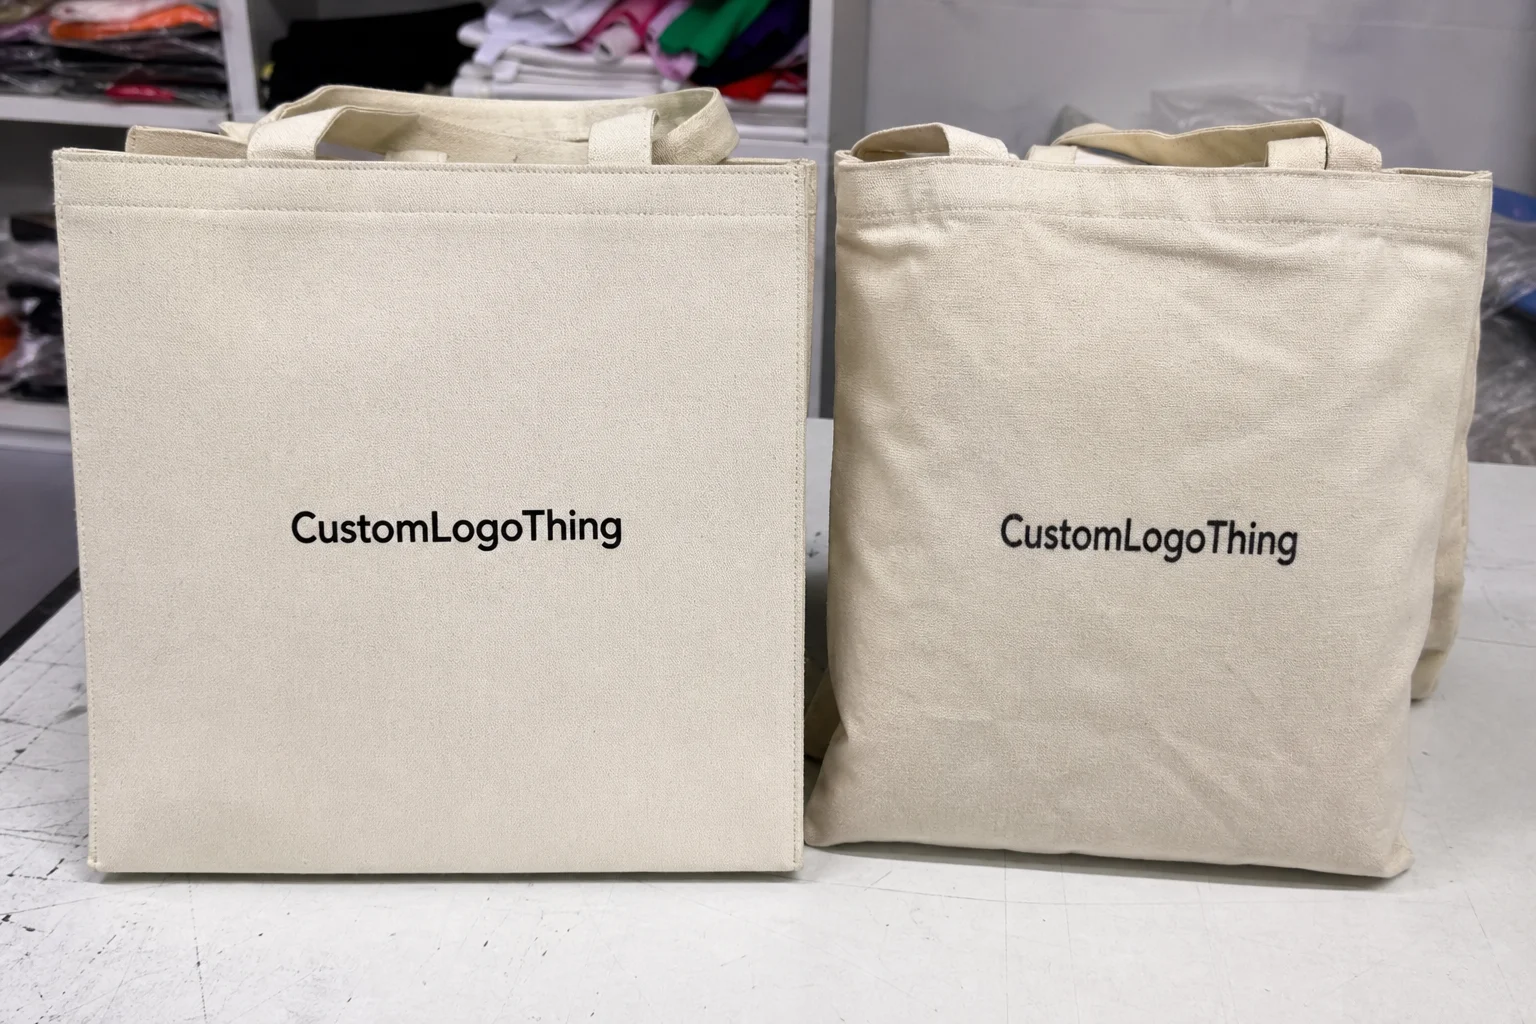
Base color is the next dealbreaker. Bright white remains the safest choice because it gives the transfer a neutral field. Very light cream can work if the artwork has warm tones, but it will shift the look. If exact brand matching matters, do not assume the tote will behave like coated paper or rigid packaging stock. Fabric absorbs and reflects differently, and that difference shows immediately in color reproduction.
Weave density deserves attention too. Loose weave creates visual noise and can make gradients look grainy. Tight weave supports cleaner transfers and better clarity around small text. If the bag is meant to sit in a customer’s hand, not just appear in a mockup, that distinction matters.
Production Process and Turnaround Timeline
The workflow is usually simple on paper: artwork review, proof or sample approval, transfer setup, press test, bulk production, finishing, packing, and shipment. The problems start when one of those steps is rushed. A missing dimension, a low-resolution file, or a last-minute color correction can add days before production even begins.
For a straightforward order using ready stock, sample turnaround often falls around 3 to 7 business days. Bulk production commonly takes 10 to 18 business days after approval. Larger quantities, custom sewing, or special packaging will push the schedule longer. If someone gives a very short lead time without asking about print area, quantity, or delivery destination, they are estimating, not quoting.
Rush orders are possible when stock is already on hand and the production schedule is open. Faster shipping does not reduce proofing time, and it does not rescue missing approvals. It only shortens the transit portion once the bags are packed. If the order includes inserts, retail folding, barcode labels, or kitting, that work should be defined before the purchase order is locked.
For projects that move through distribution, packaging stress matters too. The ISTA standards are useful if you want a better sense of how packaged goods are tested for handling damage, drop behavior, and transit wear. A tote that looks fine in the production room can still arrive scuffed or creased if the pack-out is careless.
Quality control should happen before the full run starts, not after. A practical check list includes placement accuracy, color shift, seam interference, ghosting, scorch marks, and whether the image still reads from normal viewing distance. A sample that is technically printable is not necessarily a good sample. The real question is whether the bag feels finished.
Small details often reveal whether the process was controlled or improvised. If the image is centered but the handle stitching pulls the fabric, the tote reads as low-grade. If the color is accurate but the press leaves a hard edge where the platen stopped short, the bag feels less refined. These issues are fixable only when they are caught early.
Cost, Pricing, MOQ, and Unit Cost
Pricing breaks into a few parts: blank tote cost, transfer paper and ink, labor, setup, finishing, packaging, and freight. Buyers often compare only the blank price, which is how projects end up being underbudgeted. The print area, artwork complexity, and quantity all shape the final number.
Small orders carry a heavier share of setup cost, so the unit price stays high. Larger orders spread that fixed work across more pieces, which lowers the per-bag cost. That is normal. It is not a trick or a surcharge invented for convenience. It is how production economics work.
| Order size | Typical unit cost | What drives the price | Best fit |
|---|---|---|---|
| 100 to 250 units | $3.25 to $5.50 each | Setup share, proofing, lower efficiency | Pilot runs, small campaigns |
| 500 to 1,000 units | $1.90 to $3.10 each | Better setup spread, steadier production | Events, retail tests, brand launches |
| 3,000 units and up | $1.10 to $2.00 each | Volume efficiency, stable spec, bulk freight | Recurring promotions, store programs |
Artwork coverage changes the quote too. A small chest-sized logo costs less than a full-panel print. Multiple placements, oversized art, or coverage that wraps around seams uses more transfer material and more press time. If the tote needs custom labels, belly bands, hang tags, or retail-ready folding, those pieces add cost in steps rather than all at once. The bag may be inexpensive. The finished package usually is not.
MOQ is not only about volume. It also reflects how much setup the run requires and how much waste risk the blank carries. A specialty coated tote with a narrow press window may need a higher minimum than a standard polyester blank because the operator has less room for error. That is a production constraint, not a sales tactic.
Cheap tote bags are only cheap until they fade, warp, or feel flimsy in the customer’s hand. If the tote is part of a premium offer, saving a few cents on the blank can cost far more in perceived value. That matters especially in retail and gift programs, where the bag itself carries the brand message after the product is gone.
Common Mistakes That Ruin Sublimation Totes
The first mistake is choosing the wrong fabric and expecting the press to compensate. It will not. Cotton-heavy bags usually produce weak saturation unless they have a sublimation-compatible coating. The fix is simple: confirm the fiber content before quoting the project, not after a disappointing sample arrives.
The second mistake is sending low-resolution art and expecting crisp edges. A blurry file does not sharpen under heat. Vector files are best for logos and line art. High-resolution raster files can work for photos, but only if they are built at print size and handled with the right color profile. If the artwork includes fine type or gradients, ask for a proof before bulk production starts.
The third mistake is approving a sample because the logo is visible. Visibility is not the standard. Check the actual color, edge sharpness, seam placement, and fabric hand feel. A tote can be printed correctly and still feel wrong in use. That is often a spec issue, not a printer issue.
The fourth mistake is treating every tote order the same. A lightweight promo bag and a premium retail bag are not interchangeable. One is built for volume and short-term distribution. The other needs better fabric, cleaner stitching, and more controlled finishing. If the use case changes, the spec should change too.
Do not judge the sample by the mockup alone. Judge it by color, texture, seam placement, and how it feels in the hand.
The fifth mistake is forgetting that print and packaging travel together. If the bags are folded badly, packed loosely, or shipped with surface contact that scuffs the print area, the first impression gets damaged before the customer even opens the box. A clean image on a damaged pack-out still reads as poor quality.
There is also a quieter mistake that shows up later: over-specifying a bag for a task that does not need it. Not every program needs the most expensive blank. Some need consistency, decent hand feel, and a reliable print surface. The right answer sits between bargain-bin and overbuilt.
What to Prepare Before You Request a Quote
Good quotes come from clear specs. Start with final quantity, tote dimensions, fabric preference, blank color, print placement, and delivery date. If the bag needs a gusset, long handles, a side label, or retail packaging, include that too. Guessing only creates revisions and delays.
Send the final artwork in the correct format. Vector files are best for logos and line art. High-resolution raster files work for photo-based designs if they are built at final size and prepared for print. Ask for a proof if the design uses gradients, small type, or brand-critical colors. Tiny errors get expensive once the full run starts.
Ask for one quote that prioritizes price and one that prioritizes finish. The gap between them tells you where the real cost pressure sits. That is often more useful than a single number. A very low quote may hide weak blank quality, a smaller usable print area, or thin packaging. A higher quote may be paying for better consistency and fewer rejects.
If the project needs custom cut-and-sew, special finishing, or retail-ready assembly, use our Manufacturing Capabilities page as the starting point. It is easier to match the process to the product before approval than to force a mismatch after the sample is already close.
The clean workflow is simple: confirm the spec, review the proof, approve the sample, and move into production. That is how you get tote bags for sublimation printing that look deliberate instead of washed out. The bag is the product, not just the carrier for the product.
Common Questions
What materials work best for tote bags for sublimation printing?
Polyester-rich fabrics and sublimation-ready coated blanks usually give the cleanest color and the sharpest detail. Light or white surfaces perform best because the dye is not fighting a colored base. Smooth weave matters as much as fiber content.
Can you sublimate on cotton tote bags?
Standard cotton is a poor match because sublimation dye needs polyester or a special coating to bond properly. If the tote is mostly cotton, expect muted results unless the surface has been treated specifically for sublimation. A fabric label should be checked before quoting.
How much do tote bags for sublimation printing cost per unit?
Unit cost depends on blank quality, print coverage, quantity, setup, and packaging. Small orders usually cost more per bag, while larger runs spread fixed costs and bring the price down. Custom finishing and pack-out can move the number more than buyers expect.
How long does production usually take?
Sample turnaround is often faster than bulk production, but approval time can add days if artwork or color needs changes. Typical lead time depends on stock availability, order size, and shipping method, so ask for a timeline before approval. Rush work is possible, but only with clear specs and available stock.
What artwork do I need to order tote bags for sublimation printing?
Send high-resolution files, ideally vector logos or clean print-ready artwork with the correct dimensions and color profile. If the design includes gradients, photos, or fine text, request a proof so blur, seam interference, and color shifts can be caught early. A file that looks fine on screen can still fail on fabric.


