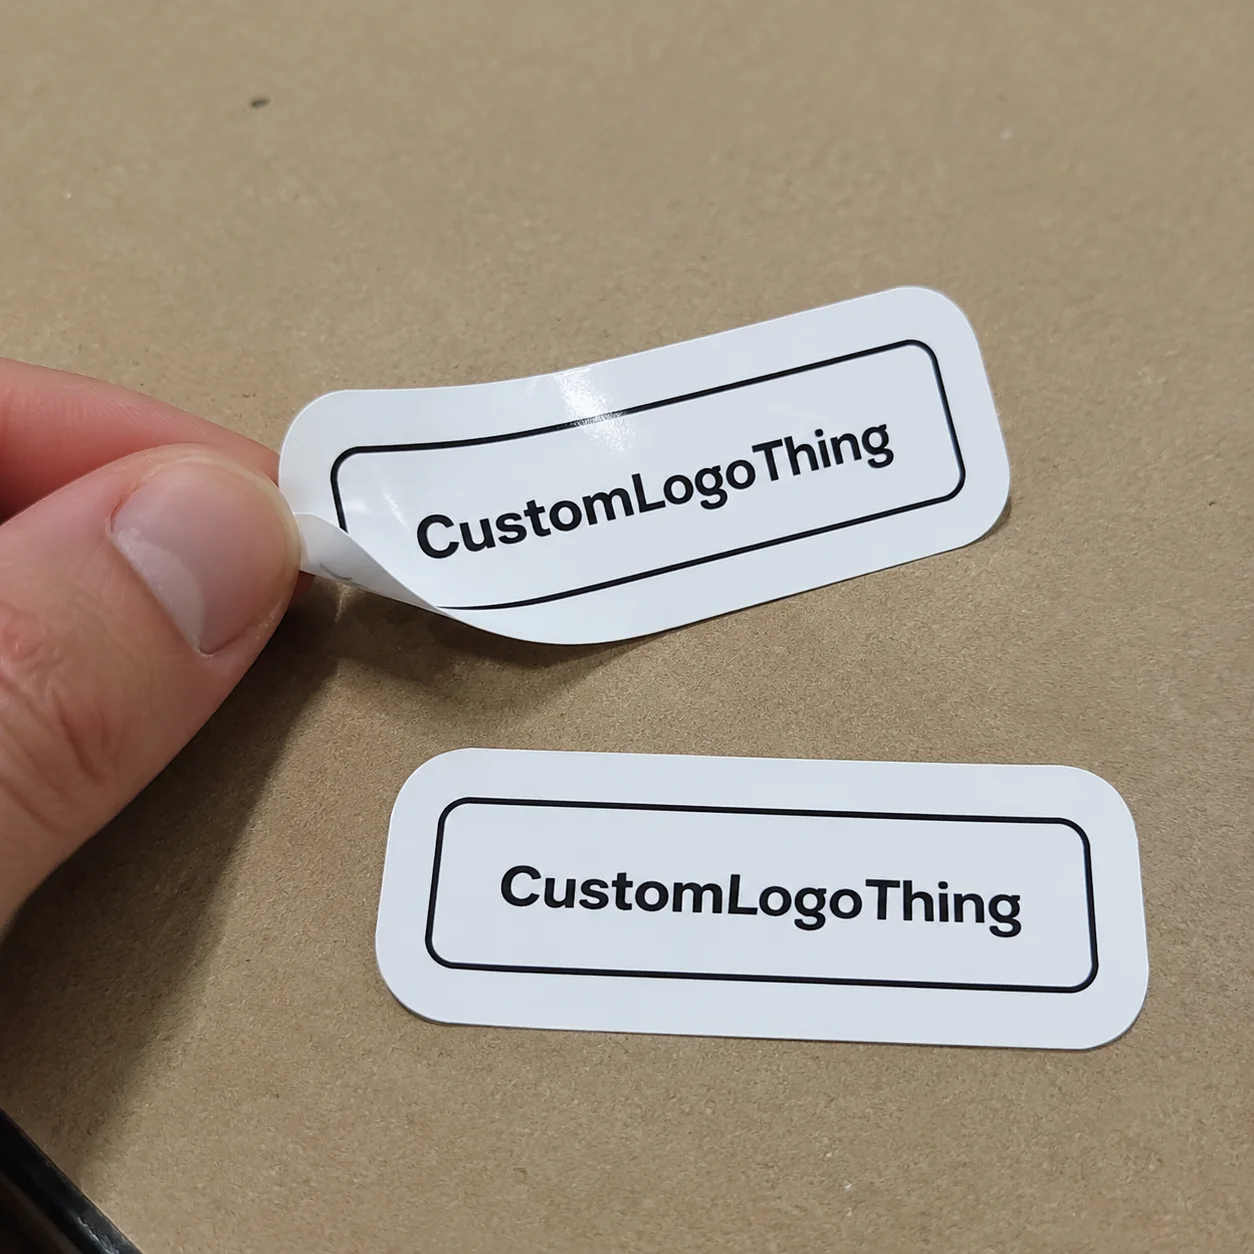
Buyers looking for vinyl Transfer Stickers Custom made for logos, lettering, windows, jars, bottles, laptops, tool cases, displays, and packaging usually want one thing: a clean graphic with no visible sticker background.
A transfer sticker is typically cut from colored vinyl, weeded so only the usable design remains, then covered with transfer tape for application. Once applied, the logo or text sits directly on the surface instead of inside a printed label shape.
Why Vinyl Transfer Stickers Custom Orders Look Cleaner Than Regular Decals
Regular printed decals are better for full-color artwork, gradients, product photos, ingredient panels, warnings, and tiny copy. Transfer decals solve a different problem: they remove the background and leave only the cut graphic.
That matters on glass jars, cosmetic bottles, rigid boxes, vehicle windows, machinery, retail fixtures, and event signage. A white logo on a black case can look intentional and permanent. A clear printed sticker may still show edges, trapped dust, or a gloss mismatch.
The strongest transfer sticker artwork is usually simple: one-color logos, block lettering, icons, arrows, shop hours, unit numbers, social handles, and storefront graphics. Designs with smoke effects, tiny gradients, distressed texture, or photographic detail usually belong on printed stickers instead.
The buyer’s decision should start with use case, not file appearance. Where will the decal be applied? Who will apply it? How long should it last? Can the artwork survive cutting and weeding at the requested size? A logo that looks fine at 4 inches wide may fail at 1.25 inches on a curved tube.
Practical rule: use transfer Stickers for Clean, bold, cut graphics. Use printed labels for color-heavy artwork, tiny copy, gradients, and designs that need a solid background.
Transfer decals can also support a broader packaging system. A brand might use Custom Labels & Tags for required product details, then use cut vinyl logos on jars, rigid boxes, launch kits, display props, or retail fixtures where the mark should feel less label-like.
How Transfer Decals Work From Cut Vinyl to Final Application
Most transfer decals have three layers. The backing liner sits on the bottom. The cut vinyl design sits in the middle. Transfer tape sits on top and holds every letter, icon, dot, and spacing relationship in place during application.
Production starts with a vector file. A plotter follows the vector paths and cuts through the vinyl film without cutting through the liner. Clean paths matter. Duplicate lines, open paths, unexpanded strokes, rough auto-traces, and tiny corners can cause bad cuts or failed weeding.
After cutting, the operator weeds away the unwanted vinyl around the design and inside letters such as A, O, P, D, and R. Simple block text is fast. Thin script, rough distress effects, and many tiny interior spaces add labor and risk.
Transfer tape is then applied over the weeded design. The tape needs enough tack to lift the vinyl from the liner but not so much that it fights the final surface. High-tack tape can help with small pieces and matte vinyl. Lower-tack tape may be better for large graphics, delicate surfaces, or glossy films.
Application depends on surface prep. The user cleans the surface, lets it dry, positions the decal, presses firmly with a squeegee or card, peels away the backing liner, presses again, then removes the transfer tape slowly at a low angle. Pulling too quickly is a common reason letters lift or stay behind.
Transfer decals can be supplied as individual pieces, sheets, rolls, or multi-part graphics. Individual pieces are easiest for giveaways and simple hand application. Sheets can reduce cost when several small decals ship together. Large storefront or vehicle graphics may need registration marks, hinge application, or multiple panels for alignment.
Key Specs That Change the Look, Durability, and Usability
The result depends on film type, adhesive, thickness, finish, minimum detail size, transfer tape, and application surface. These specs affect cost, durability, and how easily the decal can be applied without damage.
Vinyl film type
Calendared vinyl is common for short- to medium-term use. It is affordable and works well on flat or gently curved surfaces. Many standard calendared films are rated around 3 to 5 years outdoors, depending on color, climate, UV exposure, and cleaning conditions.
Cast vinyl is thinner, more conformable, and better for demanding outdoor use, vehicle graphics, curved surfaces, and longer life requirements. It usually costs more but resists shrinkage better. Premium cast films may last 5 to 7 years or more in suitable conditions.
Adhesive type
Permanent adhesive is the standard choice for branding, packaging, windows, equipment, and long-term use. Removable adhesive can work for temporary promotions, seasonal windows, rented spaces, or short campaigns, but heat, sun, time, porous surfaces, and weak paint can still make removal messy.
Glass, coated metal, acrylic, finished wood, rigid plastic, and powder-coated surfaces are usually more predictable after cleaning. Low-energy plastics such as polyethylene and polypropylene are harder. Textured walls, silicone-coated materials, dusty cardboard, and oily surfaces are high-risk. If the surface is questionable, test samples before ordering volume.
Thickness and finish
Vinyl thickness is often measured in mils. Many standard films sit around 2 to 4 mil before adhesive. Thinner film can look cleaner and conform better. Thicker film may feel more substantial but can show a more obvious edge.
Gloss vinyl looks sharp on glass, vehicles, polished plastic, and retail displays. Matte vinyl is quieter and often suits premium packaging, matte boxes, and minimal brand systems. Metallic, holographic, fluorescent, frosted, and reflective films can work, but they usually add cost and may have tighter cutting limits or shorter outdoor life.
Minimum detail size
Thin lines, tiny gaps, distressed textures, and small punctuation can cut, but that does not mean they will weed or apply well. As a practical baseline, avoid lines thinner than about 1 mm for small decals unless the supplier confirms the film, cutter, and transfer tape can handle it.
Letter height also matters. Simple block letters can work smaller than thin script or serif fonts. Tiny lowercase text, registered trademark symbols, dots over lowercase i’s, and accent marks are frequent failure points. If those details are essential, printed stickers may be safer.
Surface and environment
Indoor decals on clean glass or rigid packaging are forgiving. Outdoor decals face UV, rain, heat, cold, road grime, abrasion, and cleaning chemicals. A vinyl decal may handle hand washing on a jar or bottle, but repeated dishwasher cycles can lift edges, dull finishes, or weaken adhesive. If dishwasher resistance is required, state that before quoting.
Packaging surfaces need extra attention. Soft-touch lamination, uncoated paper, textured cardboard, recycled stock, and waxy coatings can reduce adhesion. Vinyl prefers smooth, clean, non-porous surfaces.
Pricing, MOQ, and Unit Cost Drivers for Custom Transfer Stickers
Transfer sticker pricing is driven by size, material, color count, artwork complexity, weeding time, order quantity, finishing, packing method, inspection standard, and shipping. The vinyl itself is only part of the cost; labor often matters more.
For simple small decals, pricing may start around a few cents per piece at high volume. Lower quantities, larger sizes, specialty films, or more complex weeding can move costs into the $0.30 to $1.50 range or higher. Large window graphics, vehicle lettering, metallic films, multi-color layered decals, and individually packed retail sets cost more.
Minimum order quantities vary by supplier and setup. Some shops can handle 50 to 100 simple pieces. Factory-style production often makes more sense at 500, 1,000, or 5,000 pieces, especially with custom packing, barcodes, or multi-SKU sorting. Lower MOQ is convenient, but setup and proofing time still affect unit price.
Cost drivers buyers often underestimate include:
- Weeding difficulty: thin script, distress effects, and tiny interior spaces increase labor.
- Size: larger decals use more vinyl and transfer tape, even with simple artwork.
- Specialty materials: metallic, reflective, frosted, fluorescent, and textured films cost more than standard gloss or matte colors.
- Color count: each vinyl color may need separate cutting, alignment, and layering.
- Packaging: individual sleeves, instruction cards, retail headers, and barcode labels add handling time.
- Inspection level: tight visual standards require more sorting and waste allowance.
Multi-color transfer decals need careful planning. Two or three cut vinyl colors may be layered by hand or supplied as separate application layers. Small registration shifts can show. If the artwork needs full-color accuracy, gradients, or very tight alignment, printed decals are usually more efficient.
The cheapest option is only useful if it fits the application. A giveaway decal and a permanent equipment mark should not use the same assumptions about adhesive, film, inspection, or expected life.
Process and Timeline: From Artwork Check to Delivery
A custom transfer sticker order usually starts with artwork review. The supplier checks whether the file is vector, whether fonts are outlined, whether strokes are expanded, whether spacing is sufficient, and whether the requested size is realistic. Flat PNG or low-resolution JPG files may need redrawing before cutting.
Good production files are usually AI, EPS, PDF, or SVG with clean vector paths. Overlapping shapes should be merged where appropriate. Tiny isolated pieces should be removed or enlarged unless they are essential to the design.
After file review, the supplier confirms size, vinyl color, finish, adhesive, transfer tape, quantity, packing method, and delivery requirement. A digital proof should show final dimensions, color reference, cut shape, and any simplifications made for production. For sensitive jobs, a physical sample or pre-production piece is worth the added time.
Typical production timing for straightforward orders is often 5 to 10 business days after artwork approval. Complex orders, large quantities, specialty materials, layered colors, custom packaging, or sampling can push timing to 2 to 4 weeks. Shipping adds time, especially for international orders or large sheets that require protective packing.
Quality control should include practical checks:
- Cut depth is clean without slicing through the backing liner.
- Small details stay attached after weeding.
- Transfer tape lifts the full design without leaving letters behind.
- Edges are clean, with no ragged cuts or hanging scraps.
- Color, finish, size, and quantity match the approved proof.
- Packed decals stay flat enough to apply without creases or tunnel marks.
If customers or store staff will apply the decals, include simple instructions. A good decal can still fail if it is applied to a dusty surface, pressed lightly, or peeled straight upward too quickly.
Common Ordering and Application Mistakes That Ruin Good Decals
The most common ordering mistake is using artwork built for print and assuming it will cut cleanly. Print can hide tiny details in ink. Cut vinyl cannot. Every separate piece must physically exist, survive weeding, transfer correctly, and stick to the final surface.
Another mistake is shrinking the design too far to save money. That may work for a simple mark, but it can destroy fine text or detailed icons. If the logo needs to be readable from three feet away, a 1-inch decal may not be enough.
Surface testing is often skipped. A decal that bonds well to glass may struggle on textured powder coating, soft-touch packaging, waxy coatings, or dusty recycled stock. Test on the actual surface whenever adhesion matters.
Application conditions also matter. The surface should be clean, dry, and free of oil. Isopropyl alcohol can help on many hard surfaces, but it should be tested first because some coatings, inks, and plastics react poorly. Avoid applying decals to freezing windows or hot panels in direct sun.
Peeling technique affects success. Peel the liner back slowly while checking that the vinyl stays on the transfer tape. After placement, apply firm pressure so the adhesive wets out onto the surface. Remove the transfer tape slowly at a sharp angle, almost folded back against itself.
For curved bottles, tubes, and jars, shape matters. Long straight lines can wrinkle on tight curves. Small marks, stacked layouts, or adjusted proportions may apply better than wide horizontal designs. If staff will apply thousands by hand, choose a layout that is easy to place consistently.
Storage affects performance too. Keep decals flat, clean, and away from heat, humidity, and direct sun. Use them within the recommended shelf life, often around 6 to 12 months depending on materials and storage conditions. Old transfer tape can lose the right tack balance and make application harder.
Next Steps Before You Request a Quote or Approve Production
Before requesting pricing for Vinyl Transfer Stickers Custom made for your project, gather the details that affect production: artwork, finished size, quantity, vinyl color, finish, adhesive expectation, application surface, packing method, and delivery date.
Send vector files if available, plus a screenshot or mockup so the supplier knows the intended appearance. If the decal goes on packaging, identify the material or coating. If it goes outdoors, state the expected life, weather exposure, and cleaning conditions.
Decide who will apply the stickers. Factory application, staff application, installer application, and customer application all change the acceptable level of detail. A delicate design might work for a trained installer but fail for a subscription-box customer applying it at home.
Ask for a proof that shows cut limitations, not just a polished preview. If the supplier recommends thickening lines, simplifying texture, increasing size, changing film, or switching to printed decals, treat that as production guidance, not design criticism.
For large orders, request samples or a short pilot run when timing allows. Test on the real surface and wait at least 24 hours after application before judging adhesion, because pressure-sensitive adhesive often builds bond over time. If the decal must survive washing, abrasion, outdoor exposure, or repeated handling, test those conditions before full production.
The best transfer sticker orders are specific: clean vector art, realistic detail size, suitable vinyl film, the right adhesive, honest surface information, and a clear application plan.
FAQ
Are vinyl transfer stickers the same as die-cut stickers?
No. A die-cut printed sticker is usually printed on a sheet or roll, then cut to a custom outside shape. It may still have a visible sticker background, even if the background is clear. A vinyl transfer sticker is cut from vinyl film so only the graphic, letters, or shapes remain after application.
Can transfer stickers include multiple colors?
Yes, but multi-color cut vinyl is more complex than one-color work. Each color may need separate cutting and alignment. For simple two-color logos, it can work well. For full-color graphics, gradients, or tight registration details, printed stickers are usually better.
What file type is best for custom transfer stickers?
Vector files are best: AI, EPS, SVG, or clean PDF. Fonts should be outlined and strokes


