A Beyblade can be tuned correctly and still look off if the decal fit misses by 1 mm. That is the core issue with Beyblade X Custom stickers: the parts are small, the graphics are highly visible, and even slight sizing or cut errors read as low quality.
Most buyers need one of three things: replacement graphics for worn originals, custom designs with new colors or icons, or small sticker sheets for clubs, collector packs, and resale bundles. In every case, these decals are decorative. They improve appearance and identification, not spin, balance, or battle performance.
Because of that, small toy decals behave more like precision printed components than casual labels. A sticker that works on a notebook may fail on a curved plastic ring, recessed emblem area, or textured launcher part. If the goal is a clean result, specs matter more than generic sales language.
Why Beyblade X Custom Stickers Matter More Than Most Fans Expect
Sticker fit has an outsized effect on how a build is perceived. Miss the outline by half a millimeter and the part looks cheap. Molded edges frame the graphic, so the eye catches drift immediately.
Buyers usually fall into four groups:
- Replacement decal buyers fixing lost or damaged graphics
- Custom theme buyers creating original colorways or character-inspired sets
- Club and team buyers adding names, symbols, or event marks
- Presentation-focused buyers matching decals with cases, display stands, or insert sheets
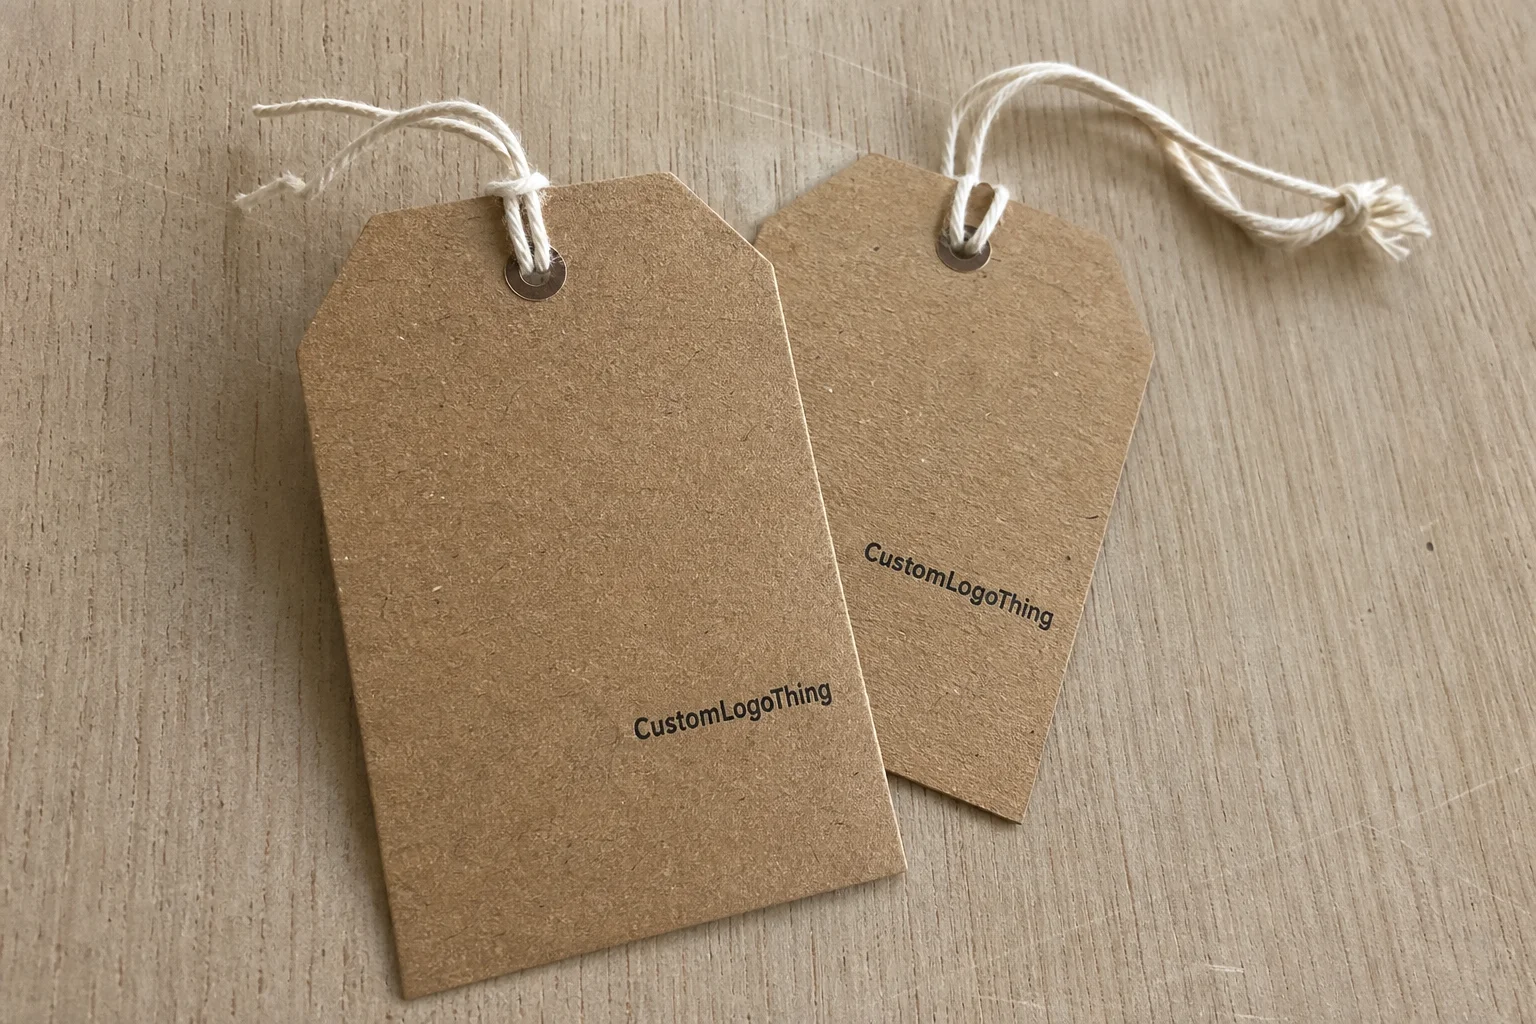
If the decals are part of a resale bundle or gift set, pairing them with Custom Labels & Tags or a simple insert card can make the set feel more complete without forcing a large packaging budget.
There is also a practical advantage. Replacement decals refresh used parts without repainting, and custom graphics let collectors personalize a build without making permanent changes. For clubs or small sellers, decals are also a low-risk way to test visual identity before committing to broader package branding.
How Custom Decals Work on Beyblade X Parts
Custom decals for Beyblade X typically go on blade sections, center caps, launcher accessories, storage cases, display stands, and collector inserts. Some buyers also add matching outer presentation pieces, which can tie into broader packaging design if the sticker sheet is part of a merch pack.
The production flow is simple in outline: prepare artwork, size it to a template, proof the file, print onto the chosen stock, and kiss-cut or die-cut for peeling. The difficult part is tolerance. On small decals, minor prep errors rarely stay hidden.
Surface shape decides a lot. Smooth ABS or PP plastic can take a thin vinyl decal well if the area is clean and mostly flat. Deep curves, ridges, textured zones, and surfaces that cross seams are much less forgiving. Even a good print can lift early if the shape is wrong for the material.
Cut tolerance matters for the same reason. General custom work may allow around ±0.5 mm. Better specialty work can tighten closer to ±0.25 mm, depending on the file, cut method, and geometry. On small parts, that difference is visible.
Most orders fit into two categories:
- Full replacement sets that recreate all graphic zones
- Accent sets for logos, initials, stripes, or small symbols
Single personal sheets are possible, but the unit cost is high because prepress and cutting setup still apply. Short runs for clubs, sellers, event packs, or collector bundles usually make better financial sense.
Material, Finish, and Adhesive Factors That Decide Whether They Last
For most handled parts, laminated vinyl is the safest choice. A thin white vinyl with gloss or matte laminate usually gives the best balance of print sharpness, flexibility, and abrasion resistance. Typical face stock runs around 2.5 to 3.5 mil, with laminate adding roughly another 1 to 1.5 mil, which is usually thin enough for small parts without feeling flimsy.
Paper is cheaper, but for handled parts it is often the wrong tradeoff. Finger oils, light moisture, and friction from storage trays can wear it down quickly. It can still work for display-only sheets, binder storage, or static display stands.
Clear film works well for transparent overlays and designs that need the base plastic to show through. The main limitation is color density. Pale shades and white elements often need white ink underprinting or they can look faded, especially on dark plastic.
Finish choices that actually matter
Gloss usually gives brighter color and stronger contrast. Matte tends to look cleaner on darker or more technical designs and hides fingerprints better. Finish affects appearance and feel; it does not correct poor artwork, weak adhesive, or a bad die line.
A useful supplier question is whether the top layer is a true laminate or only a varnish. Laminate typically provides better scratch resistance, which matters if the sheets will be mailed, packed with merch, or handled repeatedly. For shipping durability, broader packaging references such as ISTA can still be useful.
Adhesive tradeoffs
Adhesive strength needs balance. Too weak and corners lift. Too aggressive and removal may leave residue or stress the surface. Removable acrylic adhesive suits display use or designs likely to be swapped. Medium-tack permanent acrylic adhesive is usually the safest default for general use on clean plastic.
Most decal failures start with one lifted corner, then normal handling does the rest.
Common durability problems come from:
- Friction against cases, trays, or loose accessories
- Skin oils reducing edge grip over time
- Sharp corners catching during handling
- Designs crossing seams, ridges, or recessed details
- Micro text and thin outlines disappearing at print size
For tiny logos and symbols, 300 dpi at final print size is the minimum. Vector art is better wherever possible. Reversed text under about 5 pt often fills in, while low-contrast dark-on-dark designs can disappear. The best results stay readable from normal viewing distance and still look precise up close.
Beyblade Sticker Pricing, MOQ, and Unit Cost Breakdown
Pricing is usually driven by material, print method, sheet size, decal count per sheet, cut complexity, finish, and proofing time. Quantity matters once setup is absorbed, but setup never disappears entirely.
For budgeting, prototype sheets often land around $12 to $25 per sheet at very low quantities. Short runs of 25 to 50 laminated vinyl sheets commonly fall in the $2.50 to $6.00 per sheet range. Orders around 100 to 250 sheets often drop closer to $1.20 to $3.50 per sheet, depending on sheet size, cut count, laminate, and whether the job uses white ink on clear stock.
The best quote comparison is not just the lowest sheet price. It is how many usable decals fit on the sheet, how accurate the cut is, and whether laminate and suitable adhesive are included.
| Order Type | Typical Quantity | Common Specs | Estimated Cost Range | Best Use |
|---|---|---|---|---|
| Prototype test sheet | 1-5 sheets | White vinyl, digital print, kiss-cut | $12-$25 per sheet | Fit testing and proof review |
| Small personal run | 25-50 sheets | Laminated vinyl, custom layout | $2.50-$6.00 per sheet | Personal sets, gifts, collector extras |
| Club or seller batch | 100-250 sheets | Laminated vinyl or clear film | $1.20-$3.50 per sheet | Events, merch, resale bundles |
Digital printing keeps MOQs flexible, but true one-off sheets are rarely good value unless the order is only for fit testing. For detailed sets, ordering a few extras usually saves money later by covering failed applications and future replacements.
If the stickers are part of a larger merch pack, a matching insert, sleeve, or Custom Packaging Products order can improve presentation without changing the decal specs.
Artwork Process and Turnaround Timeline From Idea to Finished Stickers
The standard workflow looks like this:
- Measure the parts or target sticker zones
- Build a template with exact dimensions
- Create or place the artwork at final size
- Add bleed and mark cut lines clearly
- Review the proof
- Approve production
- Print, cut, pack, and ship
Most delays come from poor input rather than printing itself. Low-resolution art, unclear measurements, screenshots instead of source files, and undefined cut paths create revision loops. Small artwork often needs adjustment after the first proof because details that look fine on screen may fail at 8 or 9 mm.
Good proofs should show final dimensions, cut paths, and material notes. Better proofs also flag thin lines, small reversed text, tight edge clearance, and white ink requirements for clear film.
Lead time depends more on complexity than quantity. A repeat order with approved files may move in 3 to 5 business days. A first-time custom order with new measurements and revisions often takes 7 to 12 business days. If the job needs a custom die, unusual finish, or white ink layer, 10 to 15 business days is a safer expectation. Shipping should be counted separately.
Event orders and resale drops should carry at least a one-week buffer. Small decals leave more room for proof-stage corrections than larger labels, and those corrections take time.
Step-by-Step Guide to Ordering the Right Set the First Time
Step 1: Define the exact target parts. Decide whether the order is for replacement decals, original graphics, or both. Count each part separately because a blade section, launcher grip, storage case, and display stand do not behave the same way.
Step 2: Measure the usable area, not the full part. Calipers are best. Leave roughly 0.5 to 1 mm of clearance from risky edges unless that shape has already been tested successfully.
Step 3: Match the material to the use case. For display-only sets, coated paper may be enough. For routine handling, laminated vinyl is the safer default. For transparent effects, clear film is worth considering if white ink support is available.
Step 4: Prepare the artwork at final scale. Vector art is ideal. Raster files should stay high resolution at finished size. Keep cut lines separate from printed art, and avoid forcing tiny text into very small badges.
Step 5: Ask for a proof with dimensions shown. A sheet layout alone is not enough. Printing the proof at 100% on plain paper is still one of the cheapest and most effective fit checks.
Step 6: Test tricky shapes before scaling. Curved surfaces, segmented parts, and narrow-border designs deserve a short trial run before a larger order.
Step 7: Inspect the finished batch before full application. Check color, cut accuracy, edge cleanliness, and peel behavior. Apply one set first before moving through the whole batch.
A short order brief saves time: part list, dimensions, quantity, intended use, finish, deadline, and a few reference photos.
Common Mistakes Buyers Make With Small Custom Decal Sets
The most common mistake is weak source art. Screenshots, compressed images, and low-resolution edits rarely print cleanly at toy scale.
Another is measuring the entire part instead of the actual sticker zone. Chamfers, curves, ridges, gaps, and recessed details all reduce usable area.
Material choice is another frequent problem. Buyers choose paper to save money, then are surprised when it scuffs, absorbs oils, or lifts after light handling.
Over-designed artwork also causes trouble. Thin outlines, low-contrast palettes, and tiny text may look intricate on screen but turn into clutter in print.
Skipping physical test fits is expensive. A screen proof helps, but it does not show how the cut path behaves on molded plastic.
Finally, many buyers order too close to the exact count. A practical buffer is 10% to 20% extra if the budget allows.
Smart Next Steps for Testing, Reordering, and Getting a Clean Final Result
Start with a clear plan: gather dimensions, list each target surface, and decide whether the set is meant for display, light play, or frequent handling. That decision narrows the material options quickly.
Next, build a basic order brief with a size map, quantity, intended use, finish, deadline, and reference photos. If the project includes event packs or resale bundles, note whether matching labels or inserts are needed so the decals can connect cleanly to broader product packaging or packaging design choices.
Once a test batch is approved, keep the final proof and at least one applied sample. Those references do more for reorder consistency than memory. They help control changes in finish, color density, and cut spacing.
It also helps to inspect like a quality-control reviewer: check cut alignment to the printed border, make sure kiss-cuts weed cleanly, confirm laminate adhesion at the edges, and verify that colors still separate clearly under normal room light.
For paper-based inserts or backing cards, FSC can be a useful sourcing reference. For the decal itself, performance still comes first: fit, adhesive stability, print density, and resistance to scuffing.
The main idea is simple. Treat these decals like precise printed parts, not novelty extras. Measure carefully, match the stock to actual use, proof tiny details, and test before scaling.
What Are the Best Beyblade X Custom Stickers for Small Parts?
The best option for small parts is usually laminated white vinyl with medium-tack permanent adhesive, accurate cut lines, and artwork built at final size. That combination gives the most reliable balance of durability, color clarity, and manageable application on compact plastic surfaces.
If the set is display-only, coated paper can work at lower cost, though it is a compromise. If the design needs transparency or layered effects, clear film is often the better fit, provided white ink support is available. The best choice is the one that fits the part, survives handling, and keeps the graphic readable after application.
- Best all-around option: laminated white vinyl
- Best for subtle overlays: clear film with white ink support
- Best for display-only use: coated paper decals
- Best artwork format: vector files or high-resolution print-ready art
FAQ
What material is best for Beyblade X custom stickers?
For most buyers, white vinyl with a protective laminate is the safest choice. It offers better durability, sharper print, and better resistance to handling than paper. Paper can work for display-only use, while clear film is useful for layered effects if white ink support is available.
How do I measure Beyblade X sticker areas correctly?
Measure the usable surface rather than the full plastic part. Watch for curves, molded ridges, recessed areas, gaps, and edge clearance so the decal does not bunch or lift. Printing a paper mockup at 100% scale is still one of the easiest fit checks.
How much do custom Beyblade X sticker sheets usually cost?
Cost depends on quantity, material, finish, cut complexity, and whether new templates or multiple proof rounds are required. Small runs have the highest unit cost because setup is spread across fewer sheets. Compare quotes by usable decals per sheet, cut accuracy, laminate, and durability, not just the lowest number.
What is the normal turnaround time for Beyblade X custom stickers?
Production and shipping should be treated as separate numbers. Simple repeat orders may move in 3 to 5 business days, while first-time custom jobs with new measurements and proofing often take 7 to 12 business days or longer. Add extra buffer for test fitting, white ink jobs, or event deadlines.
Can I order a small batch of custom stickers before placing a bigger run?
Yes, and for detailed small decals it is usually the smartest approach. A test batch confirms fit, color readability, finish, and edge behavior before more budget is committed. It also gives you a reference sample for future reorders.


