Buy Custom Labeling Stickers That Fit Your Product
Put two identical jars on a shelf. One has custom labeling stickers that sit straight, scan cleanly, and feel matched to the container. The other uses a generic label, slightly crooked, with text crowded near the edge. Most shoppers trust the first jar before they read an ingredient. Not because labels perform magic. Because packaging makes a product look either controlled or improvised.
A product label may be the smallest branded surface on the package, but it carries a lot: compliance text, barcode data, flavor cues, handling instructions, batch codes, price-positioning signals, and the first impression of quality. It can also be the cheapest surface to update. A brand can revise a label far more easily than it can replace bottles, jars, cartons, pouches, or mailers.
What Custom Labeling Stickers Actually Do for a Product
Custom labeling stickers are adhesive printed labels made for a specific size, shape, product surface, storage condition, and brand requirement. That definition sounds plain, but it prevents expensive mistakes. A label for a refrigerated kombucha bottle is not the same engineered item as a kraft candle label, even if both are rectangles with a logo.
You see them on food jars, cosmetics, candles, supplements, beverage bottles, shipping cartons, retail boxes, sample kits, and promotional packaging. They may sit on glass, PET plastic, coated paperboard, kraft mailers, metal tins, flexible pouches, or textured stock. Each surface changes the job.
A decorative sticker can be a brand giveaway. A labeling sticker has a product function. Roll labels are supplied on a wound roll for hand application, semi-automatic labeling, or machine application. Sheet labels work for lower-volume use, events, samples, test batches, and office-style application. Packaging seals are usually narrow labels placed across a flap, lid, or closure for presentation, tamper evidence, or both.
For retail packaging, the label is part of the larger packaging system. It has to agree with the carton, insert, mailer, and sometimes the Custom Labels & Tags used elsewhere in the line. Good package branding feels consistent. Bad labeling looks like a correction added late.
Buyer reality check: a label is not just printed decoration. It is a small adhesive-backed component that must survive filling, storage, shipping, handling, display, and customer use.
How Product Label Stickers Work From Artwork to Application
The production chain looks simple: artwork file, dieline, material selection, adhesive choice, printing, finishing, cutting, quality check, packing, and shipping. Problems begin when a label is treated as a flat graphic instead of a shaped part that must wrap, stick, and stay readable on a real object.
Curved bottles, tapered jars, squeeze tubes, and textured boxes all introduce distortion. A 3-inch-wide label can look balanced on screen and then wrinkle on a tight-radius bottle. A tapered container can make straight artwork appear to drift. On small cosmetics, a placement error of 1/16 inch may be visible enough to make the front panel look careless.
Digital printing is common for short to medium runs, multiple SKUs, and frequent design changes. Flexographic printing is often used for larger roll-label production where speed, repeatability, and unit cost matter. Foil stamping, embossing, and spot UV can add shelf impact, although they also add setup, proofing, and production control.
Adhesive behavior is where labels become technical. Glass is smooth but may collect condensation. Plastic can contain additives that interfere with adhesion. Kraft paper can absorb adhesive differently from coated paperboard. Metal tins may be handled repeatedly. Flexible pouches bend, flex, and rub during shipping. Moisture, oil, temperature, pressure, and dwell time all affect performance.
Application method matters just as much as print quality. Hand-applied labels often benefit from easy-release liners and materials forgiving enough for careful placement. Machine-applied roll labels require the right unwind direction, core size, gap spacing, roll outside diameter, and orientation. If those details are wrong, the label may be beautifully printed and still unusable on the line.
This is where many first-time buyers underestimate the spec. The label is a small manufactured part, not merely a printed sticker. A correct spec reduces waste because mismatched labels wrinkle, lift, scan poorly, or make finished products look cheaper than they are.
Key Specs That Decide Material, Adhesive, and Finish
Most label decisions come down to eight practical specs: size, shape, material, adhesive, finish, color coverage, roll or sheet format, and use environment. If a quote request omits several of those, the price may look attractive while still missing the real product need.
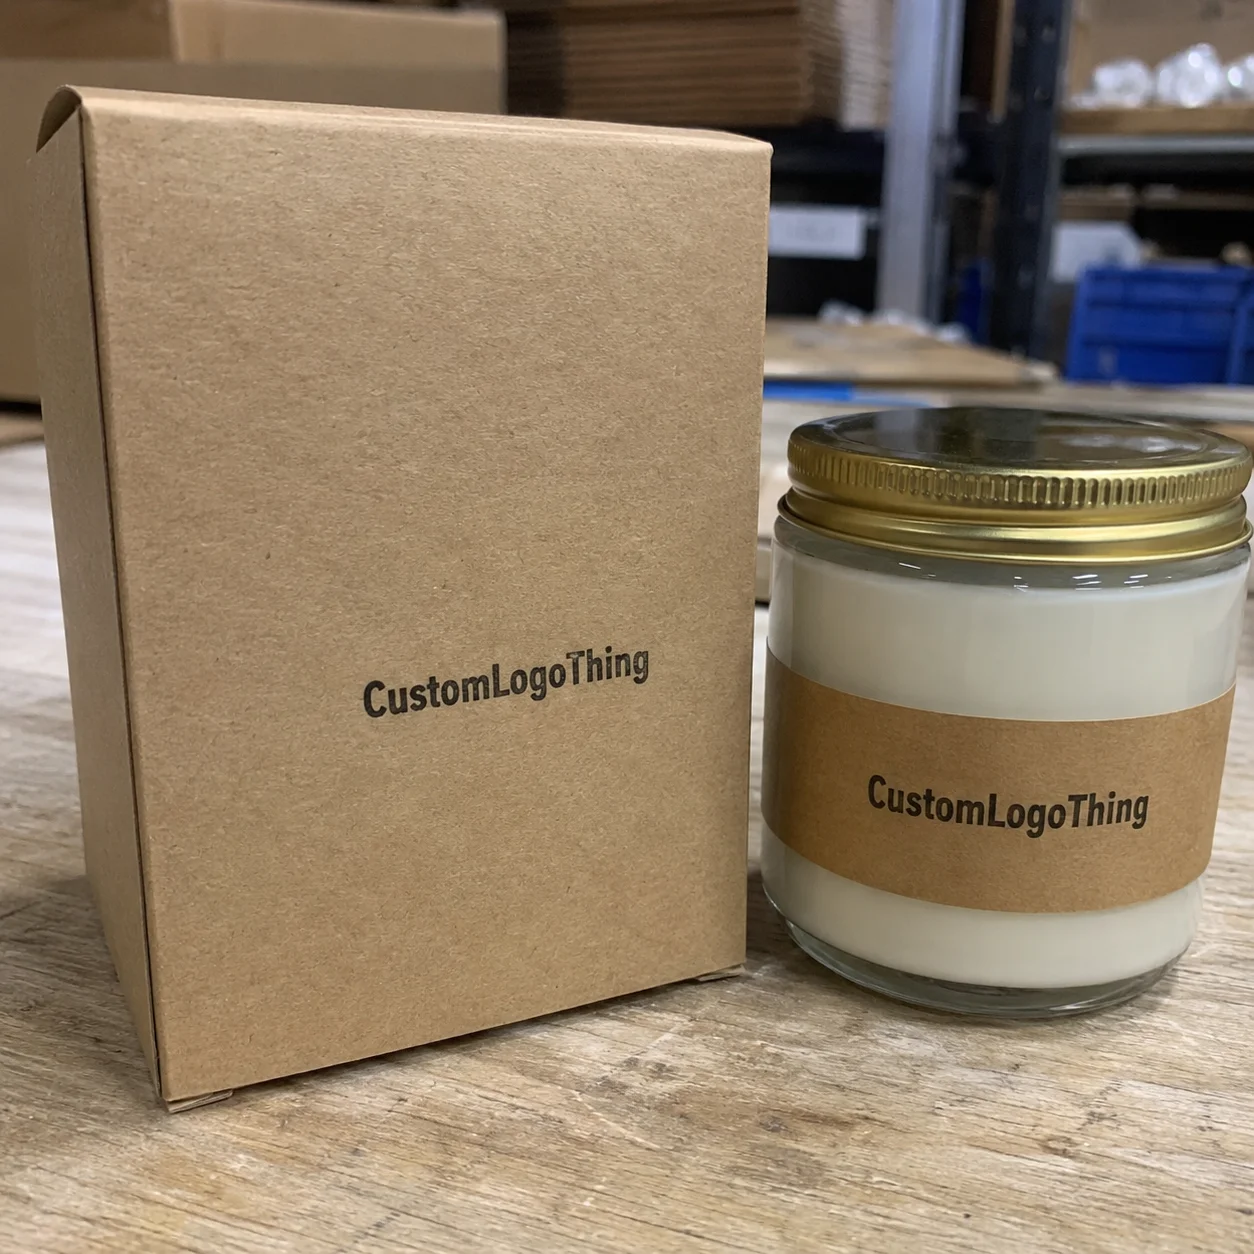
Paper labels are common for dry indoor goods, including boxed items, candles, pantry jars, and some retail packaging. BOPP, or biaxially oriented polypropylene film, is a safer choice for moisture resistance on beverages, bath products, and refrigerated items. Vinyl adds durability for outdoor or heavy-handling use. Kraft paper supports natural or handmade branding. Clear film creates the popular “no-label look,” especially on glass or transparent plastic.
Adhesive selection should follow the surface and environment. Permanent adhesive is the default for many retail products. Removable adhesive helps with temporary pricing, samples, and reusable containers. Freezer-grade adhesive is built for cold storage. High-tack adhesive helps on rough, recycled, or low-energy surfaces. Repositionable adhesive can help during hand application, though it may not fit every product lifecycle.
Finishes change appearance and performance at the same time. Matte labels reduce glare and often feel more premium. Gloss boosts color saturation. Soft-touch laminate adds a velvety feel, but it can show scuffs on products handled often. Standard laminate protects print from abrasion and moisture. Foil creates a metallic signal from several feet away. Spot UV adds contrast by making selected areas shine against a matte background.
| Label Choice | Best Fit | Typical Watch-Out | Budget Impact |
|---|---|---|---|
| Matte paper label | Dry jars, candles, boxes, sample kits | Can stain or tear around moisture and oils | Usually lowest for simple shapes and larger quantities |
| BOPP film label | Bottles, bath products, refrigerated items | Needs the right adhesive for curved or slick plastics | Moderate; often worth it for moisture resistance |
| Clear film label | Glass jars, bottles, premium cosmetics | Dust, trapped air, and fingerprints show more easily | Moderate to high, depending on ink coverage |
| Foil or spot UV label | Premium retail packaging and gift products | Extra setup and proofing can extend lead time | Higher, especially on short runs |
Compliance and readability deserve their own check. Supplement facts, ingredients, warning text, QR codes, UPC barcodes, batch numbers, and recycling claims need contrast and quiet space. GS1-style UPC symbols, for example, can fail if the bars are distorted, printed too small, placed across a sharp curve, or surrounded by busy graphics.
Environment is the final filter. Condensation, refrigeration, sunlight, shipping abrasion, bathroom humidity, candle heat, and freezer storage can all change the right label choice. If sustainability claims are part of the packaging design, confirm whether paper sources or chain-of-custody claims need support from standards such as the Forest Stewardship Council.
Test labels on the real container before committing to a full run. That is not cautious busywork. It is cheap insurance, especially with curves, seams, recycled-content plastic, textured cartons, or products filled warm.
Pricing Factors, MOQ, and Unit Cost Trade-Offs
Label pricing is rarely just a price per sticker. It blends material, size, quantity, print method, finish, die-cutting, setup, proofing, SKU count, and packing format. A quote for 5,000 plain paper rectangles and a quote for 5,000 waterproof laminated clear labels are not close cousins. They are different jobs.
The cost logic is predictable. Larger orders usually reduce unit cost because setup and production time are spread across more labels. Specialty finishes can keep costs higher even at volume. Foil, custom die-cutting, variable data, lamination, multiple versions, and SKU sorting add labor, materials, or process time.
For planning only, simple paper product labels in common sizes often sit in a low cents-per-piece range at higher quantities. Short runs may cost several times more per label because setup has fewer pieces to absorb it. Waterproof film, laminate, heavy ink coverage, clear stock, foil, or custom shapes move the price upward. Exact pricing depends on supplier equipment, material market changes, finishing method, and current capacity, so online calculators should be treated as rough estimates.
MOQ varies too. Some digital label runs can start small, which helps with product testing, seasonal releases, and first launches. Custom dies, specialty stocks, foil stamping, and certain roll-label processes may require higher minimums. Hidden cost drivers include unusual shapes, oversized labels, multiple SKUs, variable QR codes, waterproof films, laminated protection, custom unwind direction, and rush production.
Low-cost is not automatically wrong. A matte paper label can be a smart, economical choice for dry goods sold in a controlled indoor setting. But waterproof film with laminate may prevent staining, returns, relabeling, or shelf damage for refrigerated beverages, body oils, and bath products. Price the label against product margin and failure risk, not only against the cheapest sticker price online.
Request quotes with exact specs: size, quantity, material, finish, application method, container type, number of artwork versions, and delivery deadline. If your broader line includes cartons, inserts, or Custom Packaging Products, share that context. A supplier can often align label stock, finish, and color expectations with the rest of the branded packaging system.
Process and Timeline: From Quote to Finished Labels
A typical custom label project moves through spec gathering, quote, artwork review, proof, approval, production, quality control, packing, and shipping. The cleanest jobs are usually the ones where the buyer sends complete information before the first quote is built.
Prepare label dimensions, container photos, order quantity, number of designs, material preference, finish preference, storage conditions, and deadline. Add whether labels are hand-applied or machine-applied. For roll labels, include core size and unwind direction if an applicator is involved.
Artwork review is more than checking whether the logo looks nice. Files are checked for bleed, resolution, color mode, font outlines, barcode readability, dieline fit, and safe margins. A common production requirement is 1/8-inch bleed beyond the cut line, though exact requirements vary by printer and label shape. Images should generally be 300 dpi at final size for clean print reproduction.
Proof approval is the line in the sand. Production usually follows the approved proof, so typos, outdated nutrition panels, incorrect lot fields, missing allergens, or old compliance claims can become expensive quickly. For regulated categories such as supplements, food, cosmetics, and chemicals, a packaging supplier can check print mechanics, but the brand is typically responsible for legal content accuracy.
Lead time depends on quantity, material availability, finish complexity, press schedule, die requirements, proof revisions, and shipping distance. Simple digital labels may move faster than foil-stamped roll labels or custom-shaped waterproof labels. Rush production may be possible when specs are simple, files are print-ready, and materials are in stock. Revisions slow the clock. Specialty finishes slow it more.
Build a label buffer into launch calendars. Filling, packing, influencer kits, retail deadlines, trade show shipments, and marketplace inventory windows all suffer when labels arrive two days after the product is ready. ISTA testing protocols, available through the International Safe Transit Association, also remind buyers that labels and packaging must survive distribution, not only look good in a studio mockup.
Step-by-Step Guide to Ordering Labels Without Guesswork
- Identify the container and surface. Record whether the package is glass, plastic, paperboard, metal, pouch film, or kraft. Note diameter, curves, taper, texture, temperature exposure, and whether the label is applied before or after filling.
- Measure the label area. Use a flexible ruler, paper strip, or printable test strip. Leave room for curves, seams, caps, shrink bands, hand placement, and any area that might rub during packing.
- Choose the label role. Decide whether the piece is a front brand label, back information label, tamper seal, barcode label, shipping label, promotional sticker, or multi-panel wrap label.
- Select material and adhesive for real use. Appearance matters, but refrigerated, oily, wet, freezer, outdoor, and high-touch products need performance first. A beautiful paper label that stains after one day in a cooler is not a bargain.
- Prepare print-ready artwork. Include bleed, safe margins, outlined fonts, high-resolution images, and clear dieline instructions. Keep dielines on a separate layer when possible, and never leave cut lines as visible artwork.
- Request a quote with exact quantities and SKU counts. Compare unit cost, proofing support, material fit, packing format, and turnaround reliability. The cheapest quote may not include the same adhesive, liner, finish, or quality-control process.
- Review the proof slowly. Check spelling, barcode placement, warnings, ingredients, QR codes, color expectations, and label orientation. Test samples if possible, approve production, then inspect the first delivery before applying labels to full inventory.
For custom labeling stickers used across several flavors, scents, or sizes, group SKUs strategically. Similar label dimensions and materials can simplify production, but each artwork version still needs its own compliance and barcode check. One wrong digit in a UPC can cause more disruption than a slightly higher label cost.
Common Labeling Mistakes That Create Waste
The biggest mistake is ordering from a flat screen mockup without testing the label on the actual container. On screen, every label is perfectly flat and centered. On a jar, the edge may lift. On a tapered bottle, the label may angle downward. On a squeeze tube, the material may crease after repeated handling.
Size errors are painfully common. Labels can be too tall for curved jars, too wide for tapered bottles, or too close to a seam. Print quality may be excellent, yet the final product still looks unprofessional because the label does not belong to the container geometry.
Material mismatch creates another tier of waste. Paper labels on products exposed to moisture, oils, cold storage, bathroom humidity, or repeated handling can stain, tear, or fail at the edges. A candle label may need to tolerate warm conditions. A sauce jar may face refrigeration, fingerprints, and condensation. A bath product may sit beside a shower for weeks.
Over-designing causes quieter damage. Tiny fonts, low-contrast colors, busy backgrounds, and decorative scripts can make ingredient lists, warning text, QR codes, and barcodes hard to read or scan. A label can win on style and lose at checkout. That is a bad trade.
Artwork issues still derail otherwise simple jobs: missing bleed, low-resolution logos, unoutlined fonts, RGB color surprises, and dielines left visible in the final print file. Operational mistakes are just as costly, especially ordering sheet labels when roll labels are needed for an applicator or choosing the wrong unwind direction for machine application.
Chasing the lowest unit price can also backfire. A failed label can delay a launch, waste filled product, trigger relabeling labor, or weaken customer trust. In packaging, the cheapest component is sometimes the one that costs the most after it fails.
Before You Request a Label Quote
Before requesting pricing, gather the facts a label supplier actually needs: container type, label size, quantity, number of designs, application method, storage conditions, finish preference, and deadline. If you have an existing sample, measure it. If you do not, make a paper mockup and place it on the package.
Take three photos of the package: a straight front view, a side view showing curve or seam, and a close-up of the surface texture. Those three images can reveal issues that a flat PDF cannot, especially with kraft paper, frosted glass, molded plastic, or textured retail boxes.
Ask for samples when the label must survive refrigeration, condensation, oils, shipping abrasion, freezer conditions, or outdoor exposure. Samples do not need to answer every question, but they can expose edge lift, glare, stiffness, scuffing, and adhesive mismatch before money is tied up in a full production run.
Ask direct supplier questions: Does this material suit the product surface? Does the adhesive match the environment? Are there file issues that could delay production? What lead time applies after proof approval? Are roll direction, core size, and gap spacing needed for the application method? What quality checks happen before shipment?
Before ordering custom labeling stickers, test the label size on the real package, confirm the material against the product environment, and send complete specs so the quote reflects the label you actually need. Better inputs produce better labels. Better labels make the whole product feel more trustworthy.
FAQ
What are custom labeling stickers used for?
They are used to brand products, display ingredients or instructions, add barcodes, identify batches, seal packaging, and make plain containers retail-ready. Common uses include jars, bottles, candles, cosmetics, food packaging, supplement containers, shipping cartons, and promotional kits.
How much do custom product labels usually cost?
Cost depends on size, quantity, material, adhesive, finish, shape, number of designs, and whether the labels are supplied on rolls or sheets. A simple paper label in a larger quantity usually has a lower unit cost than a waterproof film label with laminate, foil, or custom die-cutting.
What material is best for custom labeling stickers on bottles?
For dry indoor bottles, paper or film labels may work. For refrigerated, wet, oily, or frequently handled bottles, BOPP or another moisture-resistant film is usually safer. Curved bottles also need the right adhesive and label size so the edges do not lift after application.
How long does it take to print custom label stickers?
Timeline depends on proof approval, material availability, order size, finish complexity, die-cutting needs, and shipping method. Buyers can shorten delays by submitting print-ready artwork, exact dimensions, quantity, application details, and a clear deadline with the quote request.
Should I order roll labels or sheet labels for custom packaging?
Roll labels are usually better for higher-volume production or machine application because they can match applicator requirements such as unwind direction and core size. Sheet labels can work well for smaller batches, hand application, samples, events, or low-volume product testing.


