Custom zebra labels look simple on paper. A size, a core, a roll direction, maybe a barcode. Yet a label that is off by a few millimeters can stall a printer, trigger a reprint, or create a scan failure that no one notices until the order is already moving through the warehouse. That is the real risk: the problem is usually not the artwork. It is the fit.
For apparel operations, that fit affects more than printing. Labels touch receiving, folding, shelving, shipping, and retail presentation. A roll that behaves well on one Zebra unit can misfeed on another because the sensor mode, winding direction, or ribbon system is different. That is why custom zebra labels should be treated as production inputs, not stationery.
There is also a brand side to this. A label is not a headline element, but it shapes the same impression as box graphics, inserts, and hang tags. A clean label supports package branding and product packaging; a peeled edge or blurred barcode does the opposite. It is a small surface with a large effect.
That matters even more when labels are used alongside Custom Labels & Tags, Custom Packaging Products, or custom printed boxes. If those components do not speak the same visual language, the package feels assembled rather than designed.
What Custom Zebra Labels Are and Why They Matter
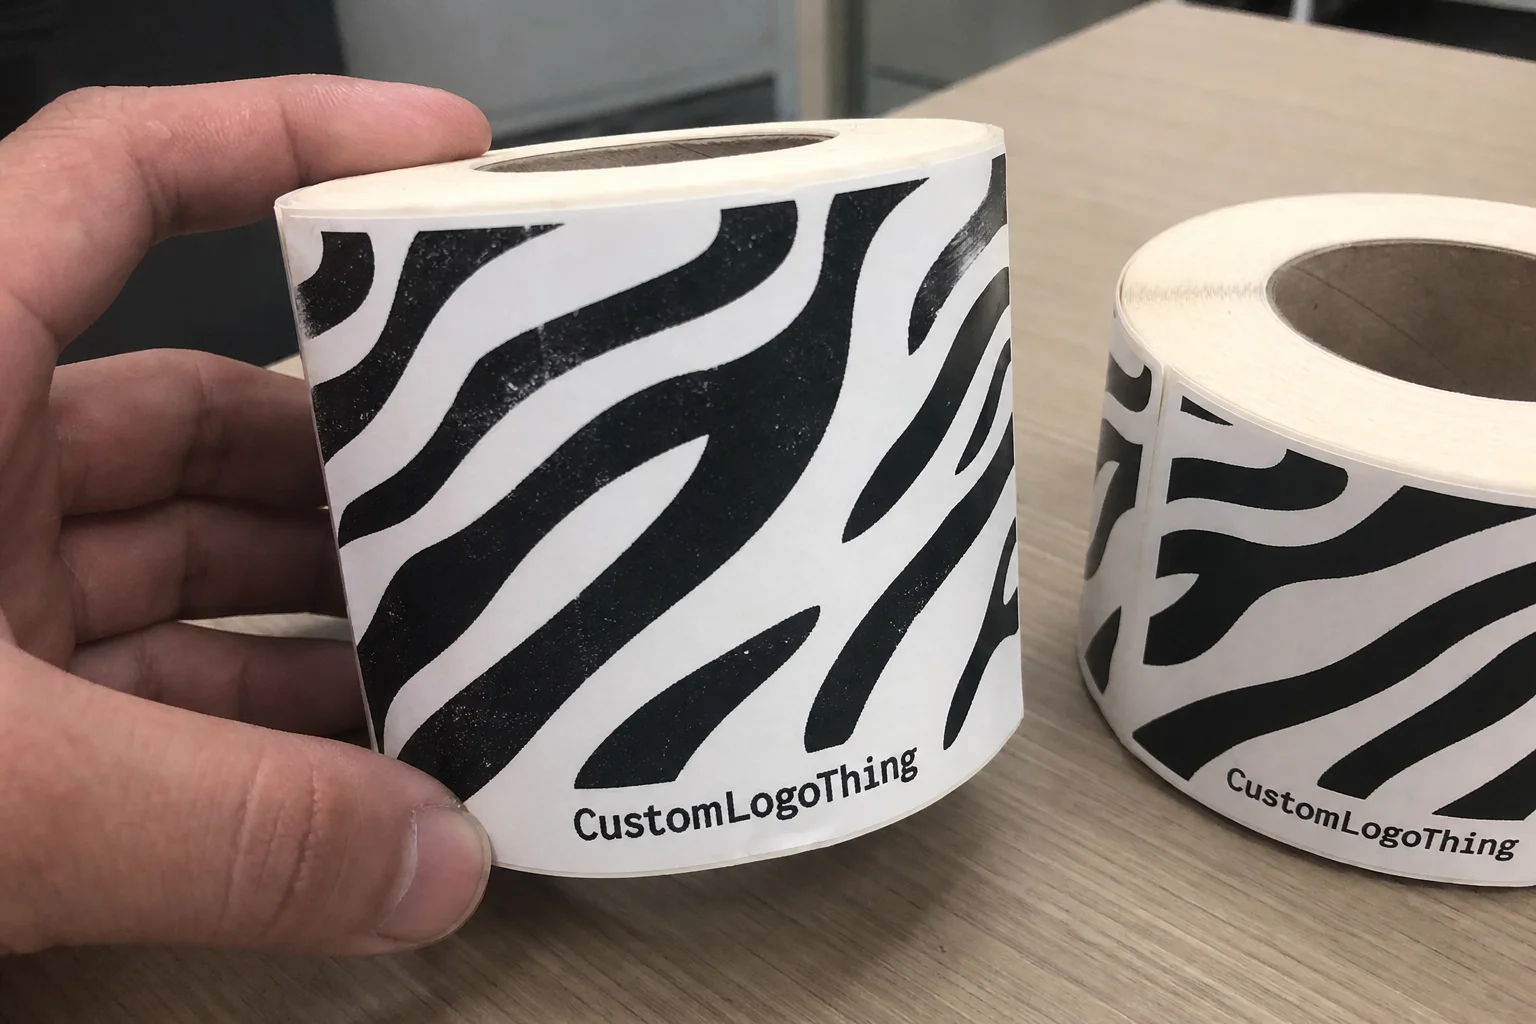
Custom Zebra labels are rolls or sheets built for Zebra thermal and thermal-transfer printers. In apparel, they are used for size labels, inventory tags, pricing, carton labels, and temporary internal identification. The important part is not that they are “for Zebra.” The important part is that they match Zebra’s feed path, sensing logic, and media requirements.
Generic label stock can be wider or narrower, but that does not make it compatible. If the core is wrong, the roll may wobble. If the gap spacing is inconsistent, the sensor may misread the media. If the unwind direction is reversed, the roll can feed, but badly. Those failures are annoyingly ordinary, and they add up fast when a team prints hundreds or thousands of labels a day.
The operational value is easy to quantify. If a warehouse prints 20,000 labels a month and even 1% need to be reprinted, that is 200 extra labels, plus labor, plus interruption. The cost of a more carefully specified label is often lower than the cost of correcting the mistakes it prevents.
That is why buyers should think beyond the roll itself. Labels influence scan accuracy, labor flow, and how confidently staff can move items through the system. In apparel, where SKUs change quickly and seasonal volume can spike, consistency matters more than a low unit price that only works in ideal conditions.
There is a common mistake here: treating labels as a commodity because they are small. Small does not mean low-risk. It usually means the failure is concentrated.
How Zebra Printer Compatibility Changes Label Performance
Zebra printers are reliable, but they are not forgiving when the media spec is vague. The first decision is print method. Direct thermal uses heat-sensitive stock and no ribbon. It is suitable for short-life labels such as temporary size tickets, bin labels, or internal inventory markers. Thermal transfer uses a ribbon, which adds durability, sharper contrast, and more stock options.
Ribbon selection matters more than many buyers expect. Wax is common for coated paper and short-term use. Wax-resin offers a stronger balance of durability and cost. Resin is the tougher option for synthetic labels that may be exposed to abrasion, moisture, or repeated handling. Match the ribbon to the stock, or the print may look acceptable while failing in scan tests.
Physical specs matter just as much. Core diameter, outer roll diameter, label pitch, gap size, liner thickness, and unwind direction all affect how smoothly the printer advances media. Desktop Zebra printers often require tighter roll limits than industrial units, and sensor settings must match the media type, whether the printer reads a gap, black mark, or notch.
That is where most compatibility issues begin: not in the label design, but in the assumptions around the machine. A label can be the correct size on the quote sheet and still be wrong if the printer expects a different core or sensing mode. The printer manual is not optional reading here. It is the spec boundary.
Apparel use cases complicate things further. A label for a dry stockroom shelf is not the same as one that will sit on a carton in a humid receiving area or be touched repeatedly on a retail floor. The environment changes the requirement. If the media is chosen only by printer model, the result can be underbuilt or overpriced.
One practical test matters more than a polished proof: run a short batch through the actual Zebra unit, on the actual substrate, under normal handling. The feed pattern, peel behavior, and barcode contrast tell you more than a spec sheet ever will.
A proof that scans once is not enough. A label has to work after handling, stacking, and storage too.
If labels also need to survive transit or carton handling, the ISTA testing framework gives a more realistic benchmark than a desk test. If sourcing claims are part of the brief, FSC is a cleaner standard to reference than vague “eco” language.
Key Material, Adhesive, and Format Choices
Material choice is where cost and durability start pulling in different directions. Basic paper is the lowest-cost option and works well for short-life indoor labels. Top-coated paper improves print clarity and adds some scuff resistance. Synthetic materials such as polypropylene or polyester cost more, but they hold up better when the label will face moisture, rubbing, or longer storage.
For custom zebra labels, the right stock depends on stress, not preference. If the label is temporary, premium stock may be wasted. If the label has to survive handling or travel, cheap paper becomes expensive quickly because it fails earlier and gets replaced.
Adhesive is the other half of the equation. Removable adhesive makes sense for temporary apparel tags, bins, or surfaces where residue would be a problem. Permanent adhesive is the standard when the label needs to stay put. Aggressive adhesive can be correct for corrugated cartons, cold storage, or rough surfaces, but it is a poor choice for fabrics and delicate packaging.
The format itself should be written into the specification. Finished dimensions, perforation, spacing, core size, and roll count all affect how the label behaves in the printer and in the workflow. If variable data, serial numbers, or barcodes are part of the order, the production method must account for them from the beginning. Late changes are where most delays start.
It helps to think of the label as part of the packaging system rather than a separate item. Labels sit alongside retail packaging, box graphics, and inserts. If the rest of the package is carefully controlled and the label is not, the inconsistency shows.
Here is a practical comparison for common apparel label options:
| Option | Best Use | Typical Unit Cost | Notes |
|---|---|---|---|
| Blank direct thermal paper | Short-life size tags, bin labels, internal use | $0.03-$0.06 per label at 5,000 pieces | No ribbon required; lower cost, shorter lifespan |
| Top-coated thermal transfer paper | Price tickets, inventory labels, better scan contrast | $0.05-$0.09 per label at 5,000 pieces | Requires ribbon; better abrasion resistance than basic paper |
| Synthetic PET or PP | Moisture, rubbing, longer storage, rough handling | $0.09-$0.18 per label at 5,000 pieces | Higher material cost; stronger durability and legibility |
| Serialized or variable-data runs | Track-and-trace, SKU control, warehouse rotation | Usually +$0.01-$0.03 per label, plus setup | Data setup and proofing matter more than print speed |
Those numbers are not fixed. They move with stock choice, print coverage, order size, and finishing. Still, they show the shape of the market: the cheapest label is rarely the cheapest outcome if it fails in use.
Cost, Pricing, and MOQ: What Drives Unit Cost
Pricing for custom labels usually comes down to five variables: material grade, adhesive type, print coverage, finishing, and quantity. Blank rolls cost less than printed rolls. Single-color black print is simpler than full branding. Standard paper is cheaper than top-coated or synthetic stock. If the label needs serialization, inspection, or a special finish, the price climbs again.
MOQ changes the economics quickly. Small runs carry a heavier setup burden because proofing, die charges, and press setup are spread across fewer labels. Larger runs lower unit cost, but they increase inventory risk if the label spec changes or a SKU gets retired. For many apparel buyers, the best number is not the cheapest number. It is the one that keeps reorders predictable without overcommitting cash.
Typical quote lines should include:
- Price per roll or per thousand labels
- Setup or proofing charges
- New die or tooling if required
- Ribbon cost for thermal transfer jobs
- Freight and rush fees
- Sample or pilot-run charges
The headline price can hide the real total. A label quoted at $0.04 may carry a large setup fee, while a $0.06 label may be cheaper overall if the order is small. That is why buyers should ask for pricing at several quantity levels. The breakpoints matter more than the single number.
Comparability matters too. Use the same exact spec when collecting quotes: label size, face stock, adhesive, core, unwind, printer model, and quantity. If those inputs are loose, the quote is basically fiction. If they are precise, supplier comparisons become much more useful.
Production Steps, Timeline, and Approvals for a First Order
A good first order starts with a complete spec sheet. At minimum, it should list the Zebra printer model, label dimensions, core size, unwind direction, face stock, adhesive, and whether the job is direct thermal or thermal transfer. If the labels include barcodes or variable data, add the format and sequence rules. The fewer guesses the production team has to make, the fewer corrections you pay for later.
The workflow is usually straightforward: confirm the spec, check printer compatibility, review artwork or data layout, approve the proof, run production, inspect the finished rolls, and ship. A disciplined supplier will also confirm tolerances and barcode standards before the job starts. That is the point where corrections are cheap. After production begins, they are not.
Timeline depends on stock availability, artwork complexity, and approval speed. A standard label on readily available material may move from approval to shipment in about 12-15 business days. Custom Die Cuts, special materials, or slow approvals can extend that. Rush service exists, but it usually costs more and narrows the material options.
Inspection is not a formality. Ask how roll count, barcode quality, and winding direction will be checked before shipment. If there are multiple SKU versions, the carton labels should be verified too. A single mixed roll can disrupt an entire packing line.
A sensible first-order test looks like this:
- Print a small batch on the actual Zebra unit.
- Apply the labels to the real surface: garment tag, polybag, carton, or shelf bin.
- Handle, rub, or flex the label the way the team will use it.
- Scan it with the same device used in operations.
- Check peel speed, residue, curl, and edge lift.
That short test saves money because it catches the failure before the full run is committed. It also creates a better second order, which is where standardization starts paying back.
Common Mistakes That Cause Jams, Reprints, or Waste
The biggest mistake is ordering labels without matching them to the exact printer in use. Desktop and industrial Zebra models do not accept media in the same way. Sensor type matters. Core size matters. Unwind direction matters. Even a label that is technically correct can feed badly if the roll is wrong for the machine.
Adhesive mistakes are just as common. Fabric, poly mailers, corrugated cartons, coated packaging, and hang tags all behave differently. A label that bonds well to a box may fail on a slick pouch. A strong adhesive that is right for shipping cartons may be too aggressive for temporary apparel tagging. The surface should drive the adhesive choice, not the other way around.
Barcode layout causes its own share of problems. Quiet zones, bar width, contrast, and print density all affect scan quality. Buyers often spend time perfecting the logo and then place the barcode too close to the edge or too small for the scanner settings in use. The scanner does not care how good the label looks. It cares whether it can read it quickly.
The cheapest way to avoid waste is to run a pilot. A short test can reveal smearing, curl, feed errors, or adhesive problems before a full pallet lands. In apparel, that matters because the work often happens under time pressure. A failure during a seasonal floor reset costs more than the label itself.
The label is not finished when it prints. It is finished when it survives handling and still scans cleanly.
Expert Tips for a Cleaner Rollout and Reorder Plan
Keep one current spec sheet and use it for every reorder. Record the printer model, media size, core diameter, unwind direction, adhesive, face stock, ribbon type, roll count, and artwork version. That document prevents the usual reorder problem where someone remembers the label “looked right” but cannot reconstruct the approved build.
Run the label through the same life cycle it will face in production. Print it. Peel it. Apply it. Store it. Scan it at the receiving point and again at the selling point if that is part of the workflow. If the labels support a broader branded packaging system, check them against the inserts, cartons, and other packaging cues. The system should feel intentional, not patched together.
Reducing variation usually helps more than chasing tiny price differences. One stock, one adhesive, one core, one approved setup. That approach lowers labor, shortens reorder time, and reduces the chance of a wrong item slipping into production. It also makes inventory easier to manage when demand moves quickly.
If sustainability claims are part of the program, match the material choice to the claim. Paper-based stock can support FSC sourcing where applicable. If waste is a concern, look at the setup scrap rate, not just the final output. The real sustainability question is often how much material gets discarded before the press run stabilizes.
For teams reviewing labels alongside retail packaging updates, bring the label spec into the same approval cycle as the carton and insert artwork. That avoids mismatched finishes and keeps the customer-facing presentation coherent. The label is small, but it still has to belong to the same system.
The practical sequence is simple: sample first, test on the actual Zebra unit, compare pricing across a few quantities, and freeze the final spec before the full run. That is the cleanest way to buy custom zebra labels without paying twice for the same mistake.
What do I need to order custom Zebra labels for clothing inventory?
Provide the exact Zebra printer model, label dimensions, core size, and whether the roll is direct thermal or thermal transfer. Add the use case, such as size tags, shipping labels, or shelf labels, so the adhesive and face stock fit the job. If the labels include barcodes or variable data, include the data format early so the proof can be checked against the real setup.
Are custom Zebra labels better for apparel than generic thermal labels?
Usually yes when the labels need to run reliably in a Zebra printer and survive the handling conditions of apparel work. Generic rolls may be cheaper, but compatibility issues often show up later as jams, weak scans, or adhesive failure. Custom specs are worth the effort when label accuracy affects receiving speed, inventory control, or store presentation.
How do I choose the right adhesive for custom Zebra labels?
Match the adhesive to the surface: fabric, polybag, cardboard, coated packaging, and cold storage all behave differently. Use removable adhesive when the label should come off cleanly, and permanent adhesive when durability matters more than clean removal. Test in real conditions because temperature, moisture, and handling can change bond strength quickly.
What affects the turnaround time on custom Zebra labels?
Artwork approval, stock availability, and whether the order needs custom sizing or special finishing usually drive the schedule. Rush orders can move faster, but they often add cost and may limit material choices or proofing options. A complete spec sheet shortens the process because the production team can work from confirmed information instead of corrections.
How can I lower unit cost on custom Zebra labels without hurting quality?
Consolidate SKUs where possible and order enough volume to spread setup costs across a larger run. Keep the spec simple unless a premium face stock or adhesive is genuinely needed. Ask for pricing at multiple quantities so you can compare the real cost of a pilot run against a larger production order.


