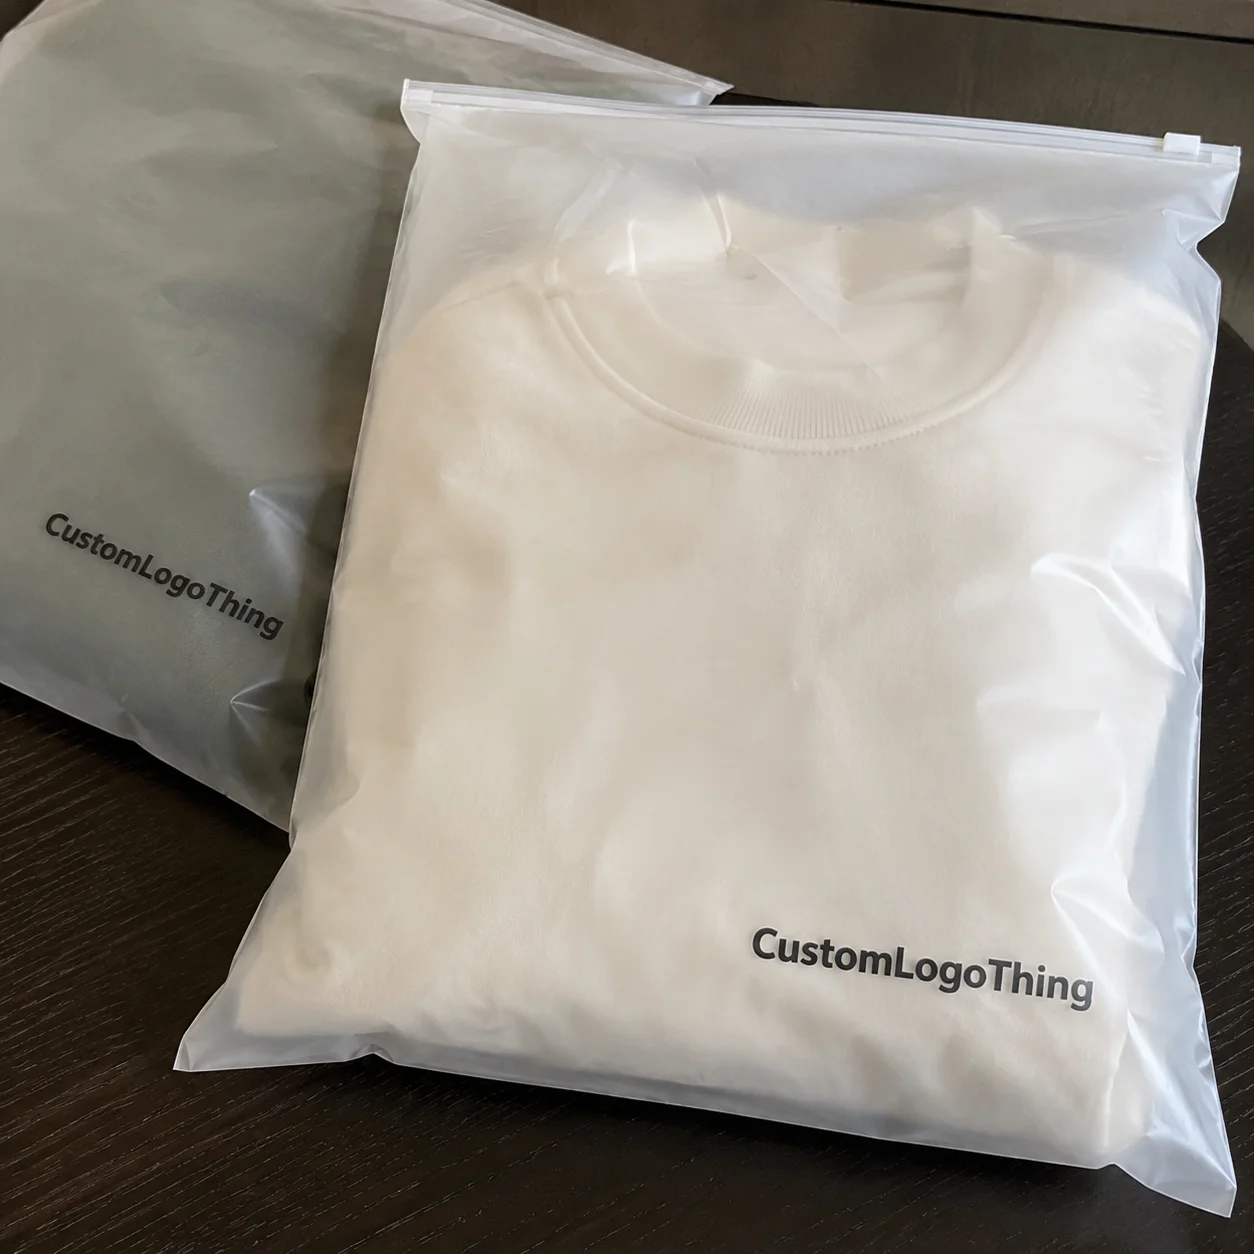
A plain plastic card can undermine an otherwise polished presentation faster than most teams expect. A brand may invest in sharp product packaging, clean inserts, and premium custom printed boxes, then hand over a blank gift card, access card, or membership card that feels unrelated to everything around it. That disconnect is one reason Credit Card Stickers Custom projects come up so often in retail, hospitality, events, and short-run promotions.
Cards also get more repeat exposure than many other branded pieces. They are touched, scanned, carried in wallets, clipped to lanyards, stacked at counters, and seen again and again. From a buyer’s point of view, that makes a card face a high-visibility surface, even though it is small.
Why credit card stickers custom orders solve a real branding problem
Most buyers are not ordering custom card overlays just to decorate a plain card. Usually they are fixing a presentation problem, an operational problem, or both. A standard plastic card may work perfectly well, yet still feel generic next to a carefully built branded packaging program. That gap shows up with retail gift cards, hotel key cards, event passes, loyalty cards, membership cards, and temporary access cards.
In practical terms, buyers usually mean precision-cut adhesive overlays sized for standard card formats, often around 85.60 x 53.98 mm, the ID-1 size used by many payment-style cards. The overlay may cover the full face, a partial section, or a planned area that leaves chips, magnetic stripes, tap zones, barcodes, numbering, or signature panels exposed. Some projects refresh an outdated card face. Others support a seasonal campaign or limited promotion without requiring a full plastic reprint.
A few early distinctions help. Decorative skins are mostly visual. Temporary information labels may add instructions, codes, or event details. Branded overlays tend to be held to a tighter standard because they need to install cleanly, fit consistently, and hold up through real handling.
That difference changes the build. Material choice, adhesive type, finish, cut tolerance, and testing requirements all shift depending on what the sticker must do. A casual skin for light personalization is not the same product as an overlay that has to survive weeks of wallet abrasion while keeping a barcode readable and the edges flat.
Common uses include gift cards, event credentials, loyalty cards, access badges, sample kits, seasonal campaign cards, and fast refreshes where reprinting plastic cards would cost more or take too long. If your team already pays close attention to Custom Labels & Tags or broader Custom Packaging Products, card overlays fit into that same system of coordinated package branding.
What custom card overlays are and how they work on plastic cards
A custom card overlay is a layered construction, not just a printed sticker. The basic stack usually includes a face stock, printed graphics, an adhesive layer, and a release liner. Many jobs also add a laminate or protective topcoat for scratch resistance, chemical resistance, or a particular surface feel. Once that structure is clear, the material discussion gets much easier.
Typical face stocks include vinyl, polyester, polypropylene, and specialty films. Vinyl is flexible and forgiving, which helps on cards that see heavy handling or slight curvature. Polyester offers stronger dimensional stability and a crisp print surface, so it is often the safer choice where tight fit and clean edges matter. Polypropylene can work for lighter promotional use where cost control matters more than long wear. Specialty films may add metallic effects, texture, anti-scuff properties, or tamper-evident features.
The adhesive matters just as much as the film. Permanent adhesive is used when the overlay should stay in place for the life of the card. Removable or repositionable constructions can work for temporary campaigns, but they need real testing because not every plastic surface releases cleanly. Surface coatings, texture, and surface energy all affect bond strength. A smooth PVC card does not behave the same way as a laminated membership card or a coated access badge.
Fit has to be precise. Standard cards may share broad dimensions, yet corner radius can vary enough to create exposed slivers, corner overhang, or edge lift. A well-made overlay should match the card outline closely, often within about ±0.25 mm to ±0.5 mm depending on material stability and die-cut method. At card size, even a small mismatch is obvious.
Some cards should never be fully covered. Magnetic stripes, chip contact areas, NFC tap zones, barcodes, signature panels, variable data fields, and embossed elements may require windows or clearly defined no-cover zones. That is not a design preference. It is a functional requirement.
Printing method changes both price and timing. Digital printing is common for short runs, faster proof cycles, and multiple versions. Flexographic printing can make more sense at higher volumes where setup cost spreads across larger quantities. Screen or hybrid methods are sometimes chosen for opaque white, metallic inks, or heavier ink laydown.
Finish affects both appearance and wear. Gloss can make color look vivid, though it also shows fingerprints more easily. Matte often feels more refined and tends to reduce glare under strong light. Soft-touch finishes can look excellent, but they may scuff sooner unless paired with a durable top layer. For cards that get constant handling, an anti-scuff laminate is often worth the extra spend. Trade groups such as PMMI and major material suppliers keep returning to the same point: choose film and adhesive for the use conditions, not only for the visual effect.
Fit, durability, and compliance factors that matter before ordering
A clear spec sheet prevents most avoidable problems. Include card length and width, corner radius, overlay coverage area, target thickness, finish, and any required open windows. If those details are missing, the supplier is left to guess. Guessing at card scale usually means rework.
Thickness is one of the biggest decision points in any credit card stickers custom order. Many overlays begin with face stocks in the 50 to 150 micron range before adhesive and liner, though exact constructions vary. Add adhesive and laminate, and the total build can become thick enough to affect wallet fit, badge sleeves, or card readers. Hotel keys, gift cards, and access cards that pass through tight hardware can start dragging, catching, or peeling if the caliper gets too high.
Durability depends on actual use, not hopeful assumptions. Cards rub against keys, wallet seams, fingernails, badge holders, and countertop edges. They pick up skin oils, cleaning chemicals, moisture, and hand sanitizer residue. Outdoor event cards may also see UV exposure, heat inside parked vehicles, or humidity during shipping and storage. Corner lift often starts with repeated abrasion at the edges and then spreads inward.
Compatibility needs to be tested card by card. A gift card used for manual scanning has a different tolerance than a hotel key that interacts with lock hardware or an NFC-enabled card that relies on a defined tap area. Magnetic stripe cards need particular care because slight intrusion into the stripe area can interfere with readability. Active financial cards are more sensitive still, and any overlay intended for them should be checked against issuer or program rules before production proceeds.
Readable elements need room as well. Barcodes, serial numbers, expiration dates, legal marks, signature panels, and variable data all have to remain visible and usable. Metallic inks, dark films, and textured laminates can interfere with scanning or legibility if they cross machine-readable areas. Testing is part of the specification, not an afterthought.
The lowest material cost rarely stays low if the result creates edge lift, scan failures, or labor-heavy rework after delivery.
Storage and transit conditions matter even for indoor-use applications. Hot trailers, cold loading docks, and humid stockrooms can affect adhesive behavior and liner stability. If the overlays will be applied by hand, ask for handling guidance and storage conditions, usually around room temperature with moderate humidity. For broader environmental packaging guidance, the EPA packaging resources provide a useful starting point.
Production process and lead time: from artwork to finished stickers
The production path is usually straightforward, but small missing details slow it down fast. A typical job moves through quote request, artwork review, dimension confirmation, material selection, proofing, optional physical sample or test fit, print production, finishing, die cutting, inspection, packing, and shipment.
Most delays are predictable. Missing dimensions, no dieline, no card photo, an unclear use case, or unresolved cutouts for chips and stripes are common hold-ups. Artwork revisions can stretch the schedule too, especially if logos, colors, or safety margins keep changing after proofing begins.
Proof approval deserves more attention than it often gets. At card scale, edge alignment, live area, barcode clearance, and corner shape all matter. A usable proof should show the final cut line, bleed, safe zones, and any no-print or no-cover spaces. If the project includes multiple versions, each SKU should be reviewed separately. Where function may be affected, a physical pilot batch on the actual card is the safer path.
Lead time depends on quantity, finish, and complexity. A simple digital run with one version and no unusual surface treatment may move in about 7 to 10 business days after proof approval. Add custom dies, specialty laminates, several SKUs, hand collation, or heavier press scheduling, and 12 to 15 business days is more realistic. Rush production is possible in some shops, though it usually comes with higher pricing and tighter shipping windows.
Sample timing should be treated separately from production timing. A digital proof might arrive within 24 to 48 hours. A physical sample set usually takes several more days depending on material availability and shipping distance. That difference matters when the overlays need to be packed into kits, paired with retail packaging, or used at a scheduled event. Work backward from the in-hand date, not the ship date, and leave time for receiving, inspection, and application labor.
Good suppliers typically inspect print registration, cut consistency, liner release, and count accuracy before shipment. If the overlays have to perform on functional cards, ask whether the shop has experience with that application type and whether its packing process reflects transit conditions such as those covered in ISTA distribution testing guidance.
Credit card sticker pricing: cost drivers, MOQ, and quote details
Price is shaped by far more than finished size. Material, adhesive type, laminate, print coverage, quantity, version count, finish, and packing method all affect cost. In credit card stickers custom work, even a chip window or a special corner profile can change setup time and waste rates.
Short-run digital printing usually keeps minimum order quantities fairly flexible, often starting around 250 to 500 pieces. Higher-volume methods become more efficient once the same size, material, and finish repeat across several thousand units. Unit cost can drop nicely at that stage, but only if the project stays standardized.
| Project Type | Typical Quantity | Common Material Build | Approximate Unit Range | Notes |
|---|---|---|---|---|
| Short-run promo overlay | 500-1,000 | PP film + standard adhesive | $0.28-$0.65 | Digital print, limited finishing |
| Mid-volume branded card sticker | 2,500-5,000 | Vinyl or polyester + matte laminate | $0.14-$0.32 | Better fit control and wear resistance |
| Higher-volume standard overlay | 10,000+ | Polyester + protective topcoat | $0.08-$0.18 | Efficiency improves if specs stay consistent |
Those ranges are directional, not guaranteed. Metallic finishes, soft-touch laminates, removable adhesives, extra versions, flood white, unusual cut requirements, and manual packing can all raise the number. Secondary costs are easy to miss too, including custom dielines, test samples, press setup, hand kitting, split shipments, and expedited freight.
A clean quote starts with complete information:
- Actual card dimensions and corner radius
- A photo or scan of the card front and back
- Target quantity and number of versions
- Required no-cover areas for chips, stripes, tap zones, barcodes, or numbering
- Finish preference such as matte, gloss, or anti-scuff
- Application method and required in-hand date
Quote comparisons work best when you look past the piece price. A cheaper option that fits poorly or fails in use can erase any savings through waste, returns, or manual correction. Ask whether proofs are included, how pieces are packed, what overrun or underrun policy applies, and whether lead time starts at quote approval or proof approval.
How to order card stickers step by step without rework
The smoothest ordering process starts with the actual card in hand. Do not assume every card uses the same radius or finished size just because it looks close to a standard payment card. A digital caliper is ideal. At minimum, confirm width, height, corner shape, and any raised or functional zones before artwork begins.
Then define the job clearly. Is the overlay meant for a brand refresh, a temporary promotion, a protective layer, event personalization, or membership identification? The answer directly affects material and adhesive selection.
Construction should follow the use conditions. High-handling cards often do better with polyester or vinyl plus a laminate. Short-run promotional cards may work with lighter films if removability matters. If the card has to fit sleeves or travel with printed components from a wider packaging design system, thickness becomes even more important.
Artwork prep essentials
Provide artwork with bleed, safe area, cut line, and any no-cover zones clearly marked. Important text should usually sit at least 1.5 to 2 mm inside the cut where possible. Barcode or chip windows need exact dimensions in the art file, not rough notes in an email. A good proof makes trim, live art, and exclusion areas easy to read at a glance.
Testing before approval
Start with a proof, then request a physical sample or small pilot batch if the card needs to scan, slide, tap, or fit inside a holder. Apply a few overlays to live cards and test them under normal handling. Check edge alignment, readability, surface feel, and whether hand application is realistic at the speed your team needs. If the card goes through a reader, test more than once. A sample that works on one pass is not enough evidence for a larger run.
Receiving and application planning
Plan the receiving and application method before the shipment arrives. Rolls are efficient for repetitive hand application or machine use. Sheets can be easier for small manual batches or one-off version sorting. Store the overlays flat, clean, and away from heat. If installation happens in-house or through a co-packer, provide placement instructions and acceptable tolerances. A simple placement jig can reduce bubbles and crooked installs dramatically.
Teams that already manage retail packaging or multi-component kits usually do well here because they understand that fulfillment details can make or break a simple-looking item. Card overlays follow the same logic: accurate prep upfront means less rework later.
Common mistakes buyers make with card-sized labels and how to avoid them
A full-face design that ignores function is still one of the most common mistakes. If the card includes a chip, stripe, barcode, serial number, tap zone, embossed number, or signature panel, those areas need to be resolved before design approval. A strong mockup does not help if the live card stops working.
Buying on price alone causes trouble too. Low-cost films may look fine on day one and then scratch, curl, discolor, or lift at the corners after repeated handling. Cards that live in wallets, badge clips, front-desk environments, or event lanyards need a build that matches the wear they will actually see.
Thickness is overlooked more often than it should be. A small increase in caliper can keep cards from fitting sleeves, inserts, or readers. It is easy to catch during sampling and frustrating to correct after a full production run.
Skipping a physical test is another expensive shortcut. Digital proofs catch graphic errors, but they do not show swipe resistance, barcode performance, edge wear, or real-world fit. Card tolerances leave very little room for guesswork.
Finish choice can create problems as well. Dark matte coatings over machine-readable areas, textured surfaces over writable panels, or glossy glare over small type can make the card harder to use. If someone has to scan it, sign it, or read it under bright light, the finish should support that task.
Timing assumptions trip up plenty of teams. Artwork approval, sample review, production, freight, receiving, and application are separate steps. Treating them as same-day actions is a quick route to rush fees and unnecessary pressure.
Application planning gets missed too. Manual installation by office staff sounds simple until crooked placement, trapped air, and slow throughput appear. If labor is part of the project, it should be planned like any other packaging operation, with time, tools, and acceptable placement tolerance spelled out in advance.
Next steps: how to spec, sample, and approve the right card sticker project
Start with a short project summary. Gather card dimensions, front and back photos, quantity, number of versions, use case, finish preference, and required in-hand date. A one-page spec improves quote accuracy and cuts down on back-and-forth immediately.
Three questions should be answered before production begins:
- Which material and laminate fit the real handling conditions?
- Which card areas must stay uncovered for function, readability, or compliance?
- What lead time is realistic once sampling, approval, and application are included?
If the card has to work with readers, sleeves, wallets, barcodes, or tap functions, begin with a sample set or pilot quantity. That small step usually costs far less than discovering a fit problem after a full run ships. Supplier comparisons are more useful when they include proof quality, communication clarity, fit accuracy, and production transparency rather than price alone.
If your team or co-packer will install the overlays, document the process. Include surface cleaning steps if needed, alignment guidance, acceptable tolerance, storage conditions, and how to handle misapplied pieces. A simple work instruction sheet prevents a surprising amount of waste.
Well-planned credit card stickers custom projects often look simple from the outside, but the best results come from tight specifications, realistic timing, and testing before scale. The overlay is small. The details are not. If the goal is to make a card feel consistent with the rest of your branded packaging while staying fully usable, those details are what separate a polished result from a short-lived patch.
FAQ
Are credit card stickers custom products safe to use on payment or chip cards?
They can be, but only if the design avoids chip contacts, tap zones, magnetic stripes, embossed data, and any required security elements. Testing on the exact card type is essential because reader compatibility varies. For active bank cards, buyers should also confirm issuer rules before applying any overlay.
What material works best for custom stickers on plastic cards?
Vinyl and polyester are the most common choices because they combine good print quality with better wear resistance than lighter films. Polyester usually offers tighter dimensional stability, while vinyl can be more forgiving on surfaces that flex slightly. The right choice depends on handling frequency, finish, and thickness limits, and the adhesive has to be chosen with the film rather than separately.
How much do credit card stickers custom orders usually cost?
Small runs often land around $0.28 to $0.65 per piece, mid-volume branded overlays around $0.14 to $0.32, and higher-volume standardized jobs around $0.08 to $0.18. Those are working ranges, not fixed rates. Material, laminate, quantity, version count, finish, and turnaround all affect the final quote.
Can I remove custom card stickers without damaging the card underneath?
Sometimes, but only if the construction was designed for removal and the card surface cooperates. Removable adhesives are available, though coated, printed, or laminated cards may still show residue or surface change after longer dwell times. If clean removal matters, make that requirement clear at the quoting stage and test it on the exact card stock.
What is the typical turnaround for custom card sticker printing?
A straightforward job may take about 7 to 10 business days after proof approval. More complex work with samples, specialty finishes, multiple versions, or custom dies often runs closer to 12 to 15 business days. The safest schedule starts from the required in-hand date and leaves room for sample review, shipping, receiving, and application.

