Custom box inserts for shipping solve a simple but costly problem: a carton can look fine and still fail once the product starts moving inside it. If the item shifts, rubs, or drops into empty space, damage claims usually follow. The outer box gets blamed because it is visible. The failure is usually internal.
That is why insert design matters. A strong shipper does little if the contents can rattle around. The insert holds position, absorbs small impacts, separates fragile surfaces, and makes pack-out repeatable. A package that only works when handled carefully is not a reliable package.
The best design is rarely the thickest or most complex. It is the one that fits the product, carton, and shipping environment without pushing unit cost out of range. For ecommerce shipping, retail packaging, and branded packaging, the target is the same: protect the product with as little material and labor as the risk allows.
Custom box inserts for shipping: what they solve
Think of the insert as movement control, not just padding. It keeps the product centered, prevents corner impact, and stops accessories or multiple components from colliding. That sounds basic because it is. Basic is also where a lot of packaging fails.
Custom box inserts for shipping also improve pack-out consistency. They give the warehouse team a fixed location for each component, which reduces variation from one operator to the next. That matters because a package that is packed tightly by one person and loosely by another will not perform the same way in transit.
They also help with presentation. A product arriving upright, separated, and cleanly seated feels intentional. A product arriving loose or scuffed feels handled. Customers notice that quickly, even if they do not know why.
Outer cartons still do their job. They handle stacking, crush, and the general abuse of parcel and freight networks. But the outer box does not stop vibration, micro-movement, or repeated edge contact by itself. That is why damage often drops after the internal structure is corrected even when the carton grade stays the same.
A good insert should be boring in transit. If the package is exciting on the truck, someone missed a detail.
For mixed kits, cables, chargers, bottles, and accessories, the insert also keeps loose pieces from turning into projectiles. That reduces returns and the small complaints that consume customer service time. A tidy pack-out is not luxury. It is control.
For brands that already use Custom Packaging Products, the insert should match the rest of the system. A premium product in a sloppy internal layout feels cheap. A practical product overbuilt with unnecessary material feels wasteful. The internal structure should support the product and the brand, not compete with them.
How the insert keeps products from shifting in transit
Three forces do most of the work: friction, compression, and geometry. Friction slows movement. Compression keeps the item loaded into the insert so it does not bounce free. Geometry gives the product a stable seat so vibration cannot build into motion.
A spacer is not the same thing as a retention design. A spacer fills a gap. A retention design locks the product into place and keeps it centered through drops, vibration, tilt, and stacking. That distinction matters for electronics, glass, cosmetics, and anything with an awkward center of gravity.
Most insert programs use one of a few structures:
- Folded corrugated for repeatable shapes, moderate weights, and flat-shipping efficiency.
- Die-cut paperboard for lighter items, kits, and retail-ready presentation.
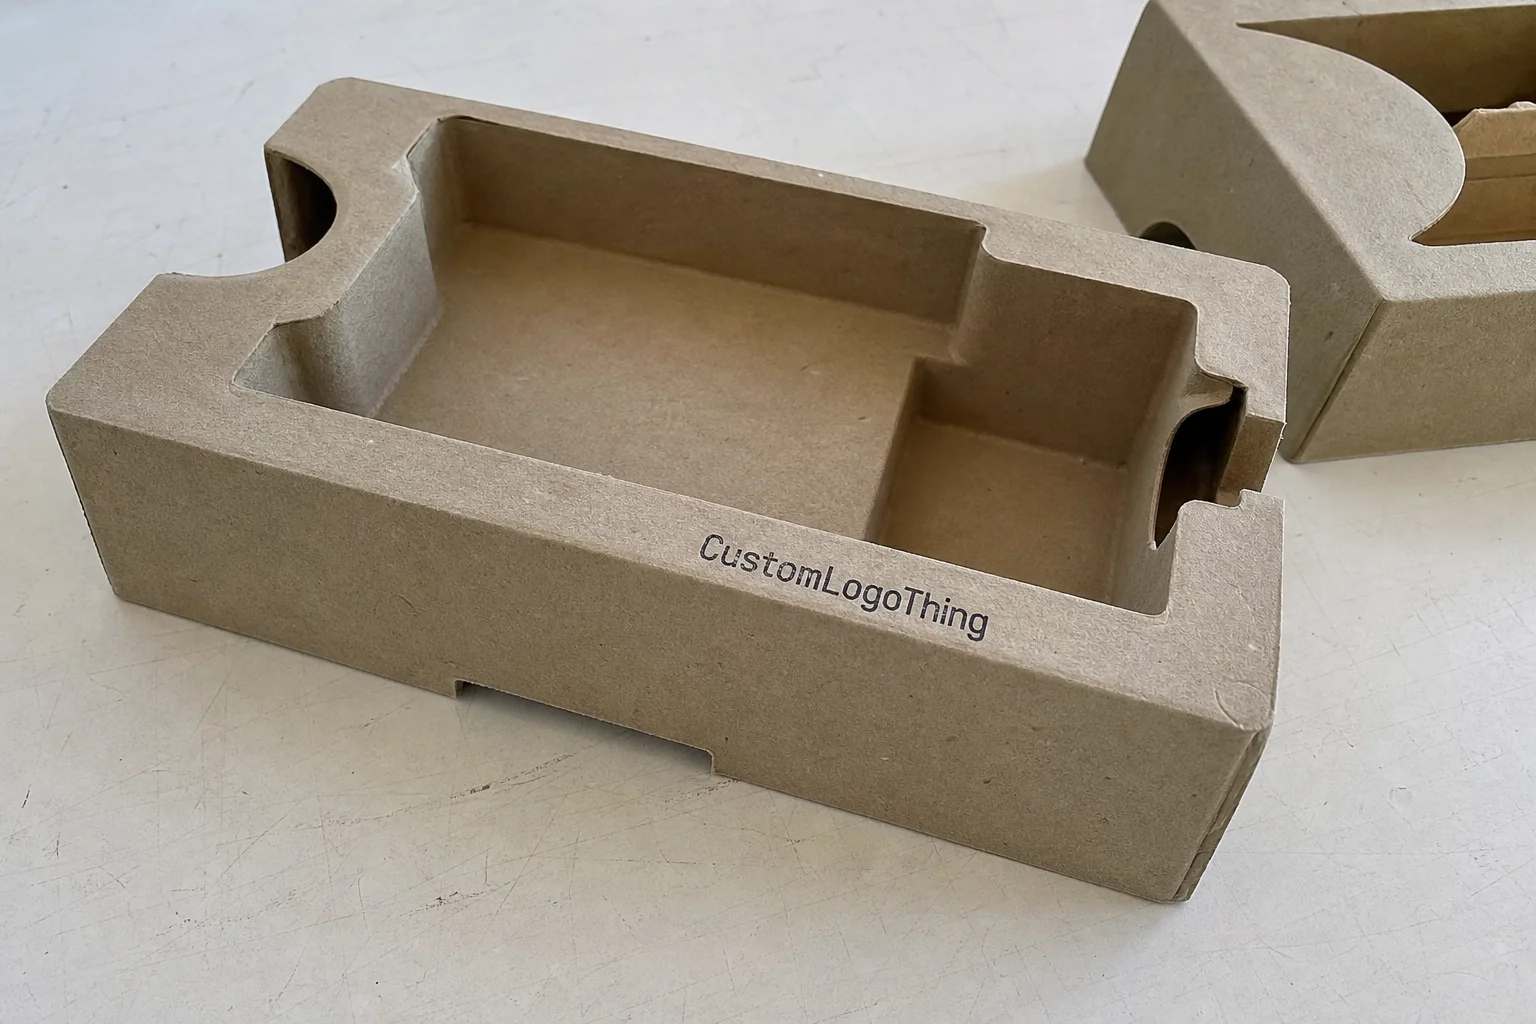
- Molded pulp for higher-volume shipping where crush resistance and fiber-based sourcing matter.
- Foam for shock-sensitive goods that need reliable cushioning.
- Hybrid systems for kits or products that need both restraint and cushioning.
There is no universal winner. The right material is the one that controls movement at the lowest total cost. Total cost includes damage, returns, assembly time, freight cube, and the labor needed to pack the order. A simpler corrugated insert can beat a more elaborate foam build if the product is moderate in weight and not unusually fragile.
The customer sees the result too. Good inserts reduce scuffing, label wear, and the scrape of a product rubbing against the carton wall. That matters for branded packaging, but it also matters for plain B2B shipping. No one wants to open a box and find product dust where a finished surface should be.
For mixed-product orders, the insert often replaces multiple internal components at once. It separates parts, organizes the layout, and stops small items from wandering. Less movement usually means fewer complaints.
Materials, structures, and cost drivers
Material choice affects more than protection. It changes tooling needs, labor, storage, shipping cube, and how easy the insert is to assemble. The cheapest-looking option is not always the cheapest once production and freight are counted.
The main cost drivers are board grade, thickness, cut complexity, number of pieces per kit, and how much setup the line needs. Print, coatings, specialty inks, and unusual die cuts all push the price up. If the insert ships flat and nests efficiently, the economics usually improve.
| Insert option | Best use case | Typical strengths | Tradeoffs | Relative unit cost |
|---|---|---|---|---|
| Folded corrugated | Moderate-weight products, repeatable shapes | Low tooling, easy sourcing, flat ship | Less shock control than foam | Low |
| Die-cut paperboard | Light products, retail packaging, kits | Clean presentation, good print surface | Limited for heavy or fragile items | Low to medium |
| Molded pulp | Higher-volume ecommerce shipping | Crush resistance, nestability, fiber-based sourcing | Tooling and setup can raise startup cost | Medium |
| EPE or PU foam | Fragile electronics, glass, shock-sensitive goods | Strong cushioning, consistent protection | Higher material cost, recycling concerns | Medium to high |
| Hybrid insert | Mixed-product kits, premium packs | Flexible protection strategy | More parts, more assembly steps | Varies |
MOQ changes the math fast. A design that looks efficient at 100 units can become expensive at 5,000 if it needs too much hand assembly. At higher quantities, a simpler structure usually wins because labor becomes a real line item. In many programs, a flat-shipping corrugated insert around $0.18 to $0.28 per unit at 5,000 pieces will beat a more elaborate build that creeps toward $0.40 once assembly and waste are included. Those are not universal numbers, but they are a useful range.
Printing changes the equation as well. If the insert is part of the customer-facing experience, a simple logo or one-color message can work. Heavy coverage, specialty inks, and coated finishes add cost without improving protection. If function is the priority, keep the print light and put the budget into fit.
For some programs, the outer shipper and insert are designed together. Pairing the insert with Custom Shipping Boxes usually improves cube efficiency and reduces the temptation to oversize the carton. If the shipment is lighter and the product mix is broader, Custom Poly Mailers can work as the outer layer with an internal board insert or sleeve inside. The outer package should match the route, not just the brand palette.
For fiber-based components, verify sourcing claims before you build the spec around them. If the program needs certified paper, check chain-of-custody through FSC. For transit testing, review ISTA methods so everyone is using the same benchmark.
Production steps and lead time from sample to shipment
The fastest projects start with clean inputs. The supplier needs product dimensions, product weight, carton size, handling risks, and a sense of how the product is packed today. If the brief says “make it fit” and stops there, the job slows down immediately.
The usual workflow is simple: collect dimensions, confirm the hazards, review structure options, build a dieline, sample, approve the sample, then move into production. Delays usually come from late spec changes, missing measurements, or a sample that was approved before the actual production unit existed.
Lead time depends on the structure. A cut-and-fold corrugated insert can move faster than a molded component or a hybrid build with multiple parts. Print setup, board availability, and assembly complexity matter too. For many standard jobs, 12 to 15 business days after proof approval is realistic once the spec is locked.
Planning matters because inserts are not an afterthought. They belong on the same calendar as the carton, label, and fulfillment setup. A launch can stall because the product is ready and the internal packaging is still waiting on approval. That creates avoidable pressure, and pressure leads to rushed decisions.
Pack-out speed matters for larger programs too. If the insert takes too many hand steps, labor cost climbs. A simpler design that folds in one motion can beat a more elaborate design that looks better but slows the line. The warehouse team wants packages that are fast, predictable, and hard to assemble incorrectly.
How to size the insert around weight, fragility, and stack height
Start with the product, not the box. Measure the actual footprint, height, weight, center of gravity, and any surfaces that must never touch the carton wall. Screens, caps, pumps, lenses, painted finishes, and glass components all change the design.
Stack height is not a detail for the spec sheet nobody reads. It matters for kits, multipacks, bottle sets, chargers, and anything with multiple loose pieces. If one component can migrate over another during transit, the insert needs tighter cavities, a divider, or a second retention layer.
Tolerance is where the design becomes practical. A little compression is useful because it keeps the product snug. Too much pressure can deform the product, crush retail packaging, or create failures that show up after the shipment leaves the building. The fit should be snug, not forced.
The shipping method changes the answer too. Parcel shipping, palletized freight, and retail replenishment punish packaging in different ways. Parcel brings drops and vibration. Freight brings stacking pressure and rough handling. Retail stock can be opened, closed, and restacked by people who are not reading your spec sheet.
For heavier products, compression resistance matters more than cushioning alone. For fragile products, shock absorption and edge protection matter more. For mixed kits, separation is usually the hidden requirement. A plain insert with the correct geometry usually beats a flashy one that only solves part of the problem.
Common mistakes that raise damage rates and freight costs
The first mistake is using void fill to cover up a poor fit. Loose fill moves. Paper settles. Air pillows drift around. None of that creates reliable restraint for a fragile product. Void fill still has a place, but it is not a substitute for custom box inserts for shipping when the product needs real immobilization.
Another common problem is designing around a prototype that never became the production unit. A few millimeters can change the result. On a screen, that sounds trivial. Inside a carton, it can be the difference between a tight hold and a rattling mess.
Over-specifying material is an easy way to waste money. Thicker is not automatically better. Heavier board, denser foam, and extra reinforcement increase material cost and freight without always improving performance. If the product does not need the extra mass, you are paying for confidence theater.
Warehouse execution causes problems too. Inserts that are hard to identify, easy to flip, or annoying to assemble create inconsistency in the pack-out. If one worker can install the insert in five seconds and another takes twenty, the design has built variation into the process.
Oversizing the outer carton is another mistake that shows up constantly in ecommerce shipping. People do it because it feels safer. Usually it is not. A bigger box raises dimensional weight, gives the product more room to move, and often makes the shipment look sloppy.
There is also a brand mistake hidden inside the technical work. If the insert looks messy, the product arrives looking second-hand. That affects reviews, returns, and repeat orders. The box might arrive intact and still feel wrong. That is a packaging failure too.
What to send for a fast, accurate insert quote
Speed starts with a decent request. If you want a useful quote, send product dimensions, product weight, carton size, and photos of the current pack-out. A sample is better. Photos show shape and surface issues. A sample shows what the item actually weighs and how it behaves under pressure.
Add the handling details that matter: parcel or freight, drop-test expectations, retail display needs, sustainability targets, and monthly or annual quantity. The clearer the route, the less likely the supplier is to quote the wrong material. If you plan to test against ISTA methods or internal ASTM-based checks, say so early.
Ask for three things before approval:
- A sample or prototype.
- A dimensional drawing or dieline.
- A unit-cost breakdown that separates material, setup, and assembly where needed.
That breakdown matters. It shows whether the price is driven by material, labor, or an awkward structure that should probably be simplified. Buyers who skip it often discover that the prototype price was fine but the production price is not.
If the insert sits inside a wider packaging system, align it with the carton, label, and product presentation. A coherent spec across the shipper and the internal pack usually reduces waste and confusion. It also makes reorders easier.
Gather the spec sheet, a real product sample, and the target shipper size, then request a design that fits the actual workflow instead of a guess. That is the difference between packaging that merely looks engineered and packaging that survives the route.
What do custom box inserts for shipping actually protect against?
They keep the product from moving inside the carton, which is usually what causes corner damage, scuffs, and breakage. They also reduce pressure points, prevent parts from colliding, and help the package survive vibration and drops.
Are custom box inserts for shipping cheaper than using a bigger box and void fill?
Usually yes once returns, damage claims, and extra freight are counted in. Cheap void fill gets expensive fast when it fails. A properly sized insert can also reduce carton size, which often lowers dimensional weight and shipping cost.
How long does production for custom box inserts for shipping usually take?
Simple inserts can move quickly if the size and material are already clear. More custom structures need sampling and approval time. Lead time depends on tooling, material availability, and how fast the buyer signs off on the dieline and sample.
What information is needed to quote custom box inserts for shipping?
You need product dimensions, weight, carton size, quantity, and photos of the current pack-out or damaged areas. It also helps to know the shipping method, fragility level, target material, and whether the insert must be retail-ready or just protective.
Which material is best for custom box inserts for shipping?
Corrugated is usually the best starting point for cost and flexibility. Molded pulp works well at scale and supports fiber-based sourcing goals. Foam is used when shock absorption is the priority. The right choice depends on weight, fragility, budget, and the actual shipping route.