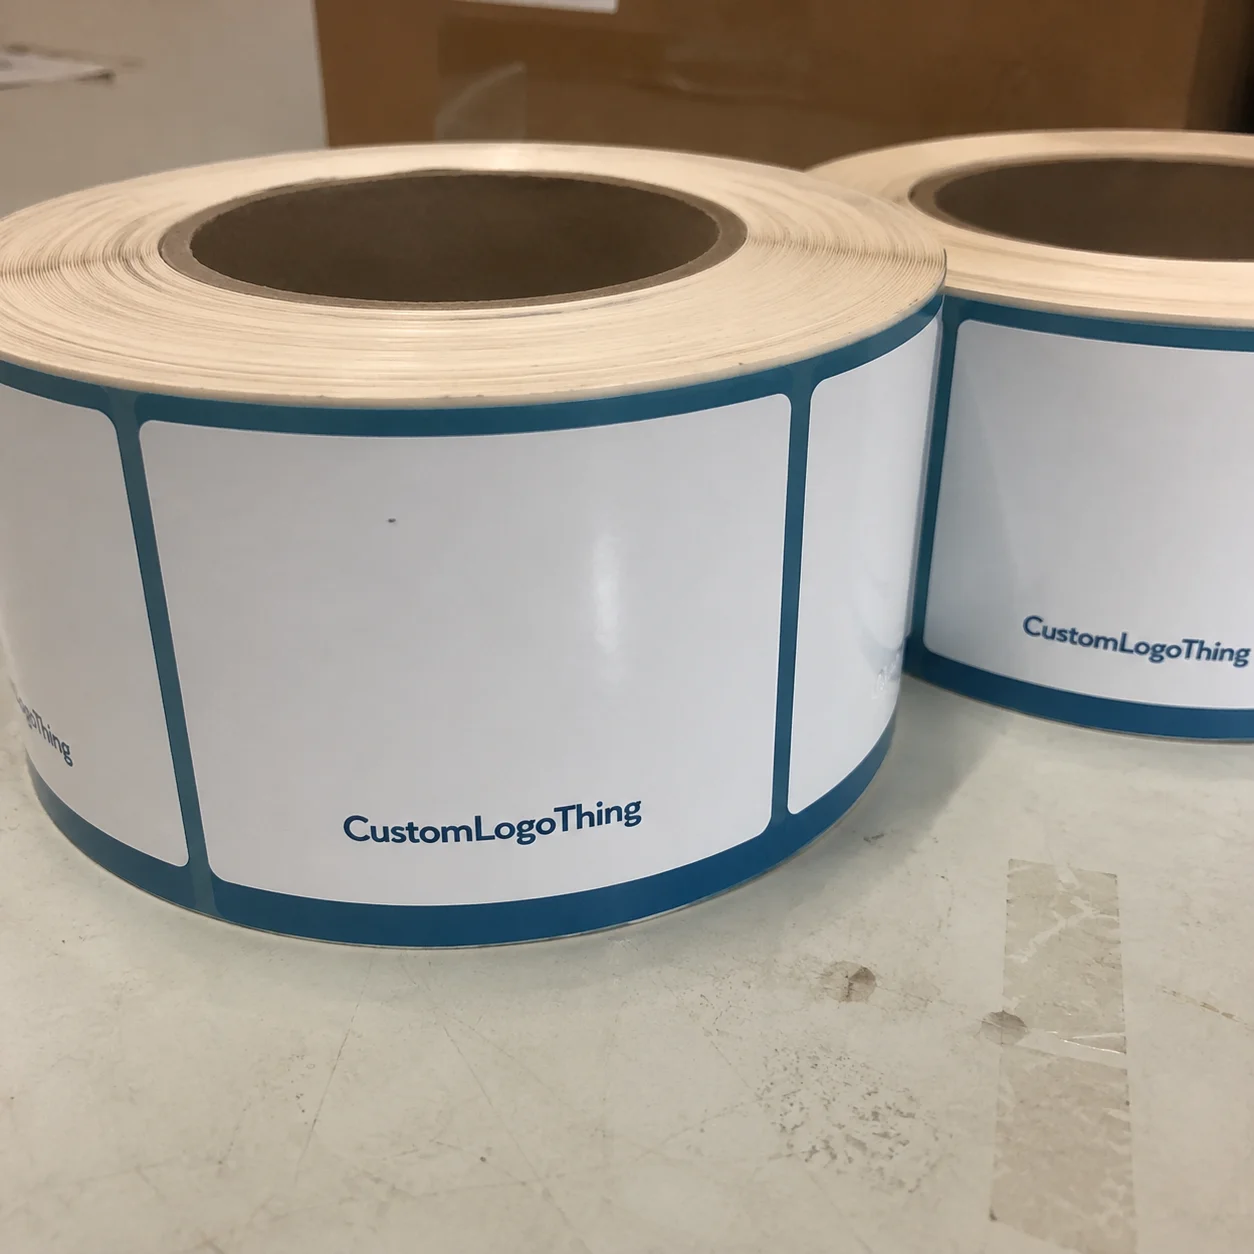
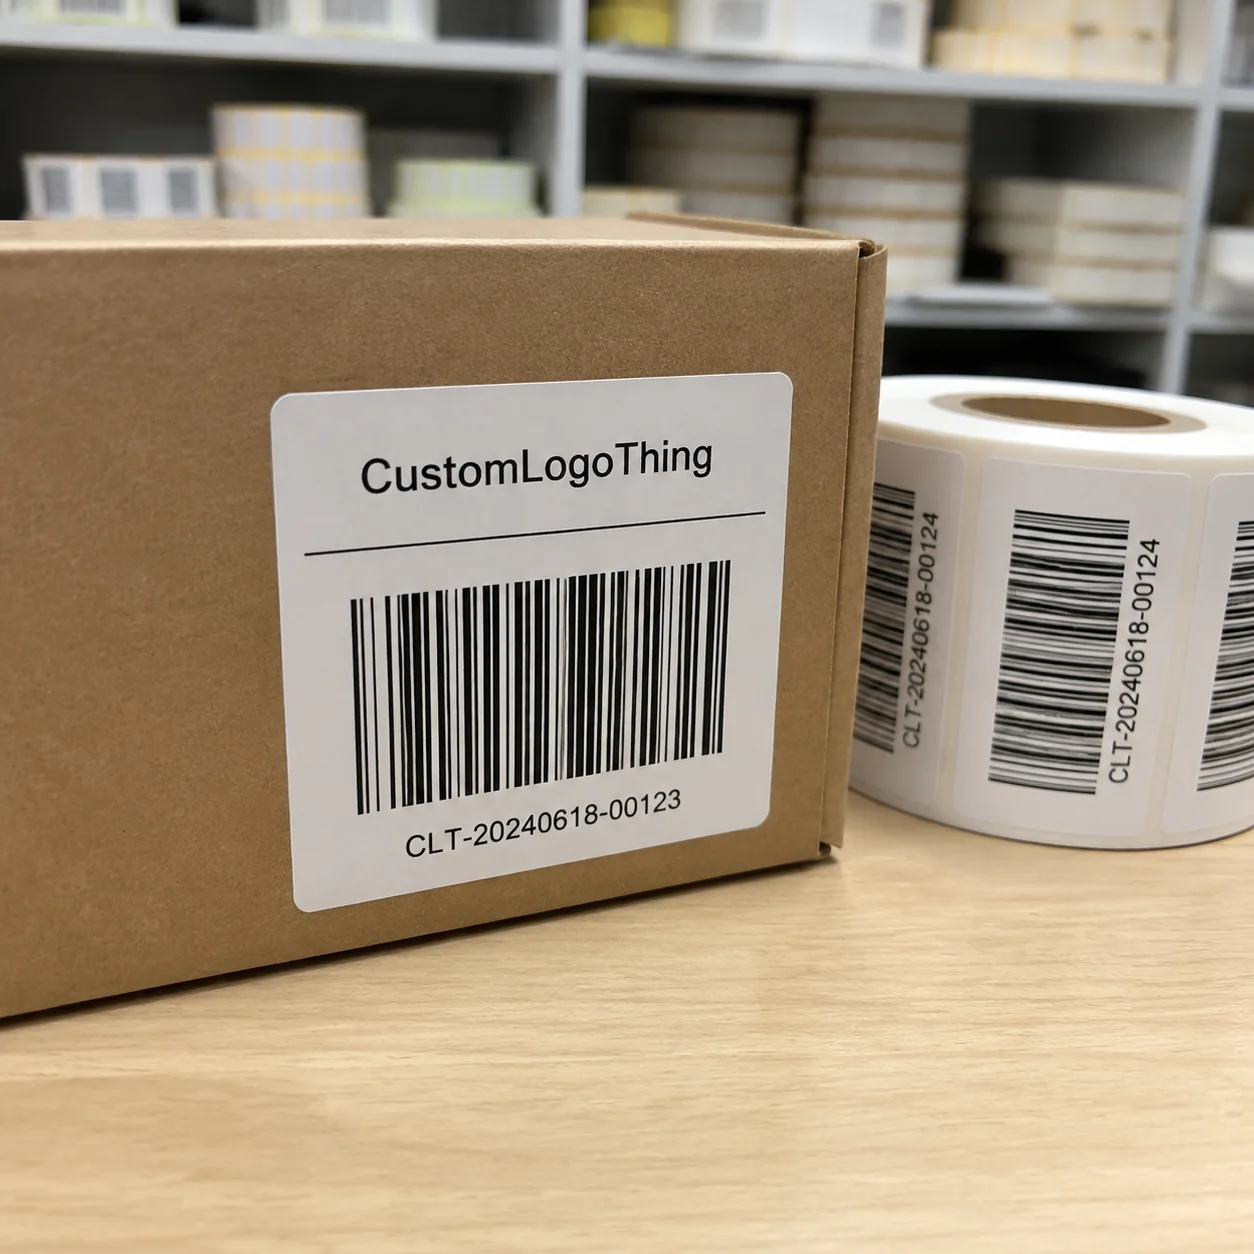
Plain corrugated cartons rarely stay plain once they hit a warehouse floor, a retail shelf, or a shipping line. A well-specified set of custom box labels can handle branding, tracking, and compliance without forcing a full box reprint every time something changes. That matters more than people like to admit. A label that costs a few cents can shape how a package looks, how it scans, and how it survives the trip.
Used well, labels turn ordinary packaging into something that feels organized and intentional. Used badly, they peel, smudge, wrinkle, or make a decent carton look cheap. The difference usually comes down to the boring parts: material, adhesive, print method, and whether the label actually matches the box surface and environment.
What custom box labels are and why they matter
Custom box labels are adhesive labels printed or supplied for application on cartons, mailers, and shipping boxes. They can carry a logo, product name, SKU, barcode, handling icon, warning, lot number, or tamper message. In many packaging programs, one label replaces direct box printing, a separate insert, or a manual stamp. That alone can simplify a lot of messy workflow.
They also give packaging teams more flexibility. A brand can use plain cartons for most of the year and still create a polished retail or fulfillment presentation. Seasonal products, regional compliance text, and short-run SKUs are easier to manage when the box structure stays the same and the label changes. That is one reason labels show up in so many product packaging programs, from e-commerce shipments to warehouse cartons to bag-in-box setups.
There is also a practical buyer reason to care. A clean label on a kraft box can make the package feel deliberate. A crooked label on a premium carton can do the opposite in about half a second. Customers, pickers, and inspectors all read packaging quickly. Nobody is sitting there admiring your substrate choice.
Labels help with package branding, too. They let teams keep the outer carton simple while still showing brand cues, barcodes, and handling instructions in a controlled format. That is useful when the artwork changes often or the same carton is used across different SKUs and channels.
Think of label buying as a packaging system decision, not a single-SKU purchase. The face stock, adhesive, liner, size, finish, and print method all affect how the label performs once it leaves the proof stage and meets a real box.
How label materials, adhesives, and printing work
A label has three core layers: face stock, adhesive, and liner. The face stock is the printable surface. The adhesive does the sticking. The liner is the backing removed before application. Simple structure. Plenty of ways to get it wrong.
Paper labels are usually the least expensive option. They work well for indoor use, short shipping cycles, and lower-abuse applications. They print clearly and can look sharp on kraft or white cartons. The tradeoff is durability. Paper can scuff, absorb moisture, and break down faster when exposed to condensation or repeated handling.
BOPP, a polypropylene film, is a common step up. It resists moisture better than paper, holds color well, and stands up to more abrasion. That makes it a strong Fit for Shipping cartons and retail packaging that needs to survive transit and shelf handling. Vinyl is tougher still, but it is usually reserved for harsher environments or specialty use cases because it tends to cost more.
Thermal labels sit in their own category. Direct thermal labels are widely used in logistics because they do not require ribbon, but the image can fade with heat, light, and time. Thermal transfer labels use a ribbon and are much more durable. If the barcode has to stay readable through storage and transit, thermal transfer is usually the safer option.
Adhesive choice matters just as much as the face stock. Permanent adhesive is the default for most shipping cartons. Removable adhesive is useful for temporary marking, promotions, and returnable packaging. Freezer-grade adhesive is built for cold-chain conditions and is designed to hold at low temperatures where standard adhesives can fail. High-tack adhesives help on textured or rough surfaces, but they are not magic. If the carton is dusty, wet, or oily, surface prep still matters.
Here is a practical comparison buyers can use without pretending all labels behave the same:
| Label type | Best use | Durability | Typical cost level |
|---|---|---|---|
| Paper | Short-term cartons, simple branding, office use | Moderate to low | Lowest |
| BOPP / polypropylene | Shipping cartons, retail packaging, moisture exposure | High | Mid |
| Vinyl | Harsh handling, longer wear, specialty needs | Very high | Higher |
| Thermal transfer | Barcode-heavy logistics, inventory control | High | Mid to higher, depending on ribbon and stock |
Printing method changes the outcome just as much as the substrate. Digital printing works well for short runs and variable data like changing SKUs or batch codes. Flexographic printing makes more sense on larger volumes because the setup cost is spread across more labels. Thermal transfer is the workhorse for warehouse labels where scanability and speed matter more than decorative finish.
Real-world conditions decide whether a label earns its keep. Conveyor abrasion, humidity, cold storage, oil from handling, and temperature swings can all shorten label life. If the boxes are going into refrigerated space, sitting in a hot truck, or moving through a high-touch warehouse, appearance is only part of the job. The label has to survive the route.
For programs that need more formal validation, package testing references help. ISTA guidance is widely used for transit testing and shipping performance expectations: ISTA. For broader packaging education and terminology, the Packaging Machinery Manufacturers Institute is another useful reference: packaging.org.
Key factors that affect cost, pricing, and MOQ
Pricing for custom box labels usually comes down to a handful of variables. Once you know what they are, most quotes are easier to decode. Size, material, adhesive, color count, finish, shape, and variable data all affect the final number.
Smaller labels cost less per piece, but not always less per project. Setup, proofing, and freight can make a small order look expensive on paper. Bigger runs usually bring the unit cost down because the fixed parts of production are spread across more labels. That is why a digital run of 500 labels may feel reasonable while 10,000 labels on a flexographic press can be much cheaper per unit.
Minimum order quantity, or MOQ, depends on the print method and the supplier’s workflow. Digital production usually supports lower MOQs, which helps brands testing a new product or running seasonal packaging. Flexographic jobs often need a higher minimum because plates, setup, and waste have to be absorbed somehow. A quote with a very low unit price and a very high MOQ is not always a bargain. Sometimes it is just inventory waiting to happen.
Here is the framework that helps buyers read a quote without needing a decoder ring:
- Setup fees: prepress, file prep, and press setup charges.
- Plate charges: more common on flexographic jobs.
- Proofing: digital proofs, hard proofs, or sample runs.
- Shipping: freight for roll goods or cartons of labels.
- Rush fees: added when lead time is compressed.
- Special finishes: laminate, foil, varnish, or custom die-cut shapes.
Realistic cost ranges help set expectations. A basic paper label order in a mid-range quantity might land around $0.03-$0.08 per unit. A BOPP label with a cleaner retail finish can move into the $0.07-$0.18 range. More durable or heavily customized work can go higher. Those numbers are not universal, because quantity, ink coverage, and finishing choices matter a lot, but they are close enough to spot a sensible quote versus a padded one.
Labor belongs in the pricing conversation, too. A label that is manually applied to 500 boxes is not the same as a label dispensed automatically onto 50,000 cartons. Manual application adds time. If a worker spends six extra seconds per box because the label curls, is difficult to place, or needs rework, that cost can easily outweigh the label price itself.
There is another hidden expense: rework. Poor adhesion, color mismatch, unreadable barcodes, or wrinkled application can turn a cheap job into a costly one. A label that saves two cents but creates a 3% reprint rate is not cheap. It is just underpriced.
Step-by-step ordering process and timeline
Most label projects follow the same sequence: define the use case, gather specs, review artwork, approve a proof, produce the labels, finish and pack them, then ship them to the right place. The process sounds tidy. The trouble usually starts when the early details are vague.
Before requesting a quote, collect these basics:
- Box or carton size, plus the available label area.
- Label size and shape, including whether you need square corners or a die-cut profile.
- Quantity, with a realistic reorder estimate.
- Material, such as paper, BOPP, vinyl, or thermal stock.
- Adhesive type, especially if the surface is cold, textured, or glossy.
- Finish, such as matte, gloss, or laminated.
- Artwork files, ideally vector files for logos and clean barcodes.
- Application method, manual, semi-automatic, or automatic.
Proofing is where a lot of schedules slip. If the file resolution is too low, the barcode size is wrong, or the dieline does not match the carton panel, someone has to stop and fix it. That delay is normal. It is also cheaper than finding the problem after production. A proper proof catches contrast issues, quiet zones around barcodes, and small text that might disappear once printed.
Typical turnaround depends on the order type. Stock formats can move faster, often within a short production window if the file is ready. Digital custom runs usually take longer than stock, but they are still faster than specialty jobs that require plates, laminations, or unusual materials. In many plants, a straightforward label order can move from proof approval to shipment in roughly 10-15 business days. Complex jobs can take longer.
For packaging and fulfillment teams, timing matters more than most buyers expect. Labels should arrive before cartons, bags, or products are moved into the warehouse. If a launch date is fixed, build in margin for approvals, freight variability, and one correction cycle. That buffer often keeps the rest of the packaging plan from unraveling.
Common mistakes that cause wasted labels and reorders
The most common mistake is choosing the wrong adhesive for the surface. A label that works on a smooth carton may peel from textured corrugate, a cold box, or a dusty warehouse shipment. That happens a lot when buyers assume “permanent” means “sticks to anything.” It does not.
Barcode problems come next. A barcode that looks fine on screen can fail once it sits over a seam, a glossy coating, or a dark printed area. Scanner contrast matters. Quiet zones matter. Even label orientation matters if the box moves through automated scanning equipment. The code does not care how nice the brand mark looks.
Placement errors are another expensive habit. A label crossing a flap, fold, or edge can look sloppy and may fail as the box opens or flexes. The cleaner approach is to reserve a dedicated label zone on the carton and keep the visual hierarchy simple. Brand first. Product or SKU second. Handling or compliance information where it can be found quickly.
Artwork mistakes are easy to avoid and still show up all the time. Low-resolution images, converted fonts, and color expectations based on a laptop screen can all produce surprises. CMYK conversion, Pantone matching, and substrate absorption change how color behaves. Paper labels and film labels do not always print the same way, even with identical files.
Application conditions are often ignored until they cause trouble. Hot warehouses can soften adhesives. Refrigerated storage can make labels fail to bond fully. Dust, oil, and condensation all reduce performance. A label that looked perfect on a desk may behave very differently once it reaches the packing bench.
“The cheapest label is usually the one that gets tested before full production.”
If you want a more reliable buying process, ask for a small pilot run before committing to the full order. That one step often reveals whether the stock feels right, whether the barcode scans, and whether the label sits cleanly on the box. It is a small expense compared with replacing an entire batch.
Expert tips for better durability, branding, and compliance
A good label should do more than stick. It should reinforce the brand, survive the route, and carry the right information without cluttering the carton. That is where packaging design becomes practical instead of decorative.
One of the best choices is matching the label finish to the box surface. Matte paper on kraft can look handcrafted and calm. Gloss BOPP on a white carton can feel cleaner and more retail-ready. Durable film on a shipping box signals that the package has to work harder. None of those options is inherently right or wrong. The point is to make the result look intentional.
Use the box like a layout grid. Give the label a clean zone with enough white space or tonal contrast to read immediately. Then build hierarchy into the content itself. The brand mark should be obvious. The product descriptor should be faster to scan than any decorative element. Handling icons and regulatory text should be visible but not fight for attention.
For compliance-heavy programs, check whether the label needs to support safety text, ingredient data, lot numbers, or barcodes that align with retail or logistics standards. If the packaging has to pass through distribution networks, it may also need to survive transit testing consistent with common shipping methods. For sustainability-minded buyers, FSC-certified paper stocks may make sense when the paper component matters to the program; the FSC has a clear overview here: fsc.org.
It also helps to treat labels as part of the full packaging stack rather than a finishing touch. If you are already using Custom Labels & Tags or coordinating with other Custom Packaging Products, the label spec should fit the rest of the system. A label that clashes with the insert, the outer carton, or the mailer can break visual consistency even when the print quality is solid.
My practical advice: build a small test matrix. Compare paper versus film, permanent versus removable, matte versus gloss. Then check them on the actual box surface under actual packing conditions. That sounds basic because it is. Basic testing saves money. Fancy assumptions usually just make expensive scrap.
Next steps for choosing the right label spec
The easiest way to Choose the Right label is to work backward from the job it has to do. Start with the use case. Pick the surface. Choose the material and adhesive based on the environment. Confirm the artwork. Then request a proof or sample before full production.
If you expect to reorder, create a one-page spec sheet now. Include dimensions, substrate, adhesive, finish, barcode requirements, approved artwork version, and application notes. That one document can save hours later, especially when different facilities or teams are involved. It also helps keep seasonal runs, batch reprints, and multi-site orders consistent.
Buyers comparing label options should make side-by-side tests, not gut calls. A paper label and a film label can look similar in a sample pack and perform very differently in transit. A removable adhesive may look fine on a desk and fail on a dusty carton in a hot warehouse. Those differences only become obvious when the test matches the real use case.
Lead time matters. Minimums matter. Application method matters. If the packaging line is not ready for the label spec, the label is not the right label yet. That is true whether the project is retail packaging, fulfillment cartons, or a refreshed package branding system.
The best buying decision is not the cheapest quote. It is the label that looks right, sticks right, scans right, and survives the environment your boxes actually face. That is the real standard for custom box labels.
What are custom box labels used for on packaging?
They can carry branding, product names, barcodes, warnings, SKUs, and shipping details. They also help a plain box look more polished without changing the carton itself.
Which material is best for custom box labels on shipping cartons?
Paper works for short-term indoor use and lower-cost applications. BOPP or other film labels are better when moisture, scuffing, or handling are concerns.
How do I estimate pricing for custom box labels?
Base pricing on size, material, adhesive, print colors, quantity, and any special finishes. Always ask whether setup fees, proofing, and shipping are included in the quote.
What is the usual turnaround for custom box labels?
It depends on the print method, quantity, and approval speed. Digital short runs are typically faster, while specialty materials and larger runs take longer.
How do I make sure custom box labels stick properly?
Match the adhesive to the box surface and storage conditions. Test placement, surface cleanliness, and temperature before placing a full order.