What Custom Branded Stickers Are and Where They Fit
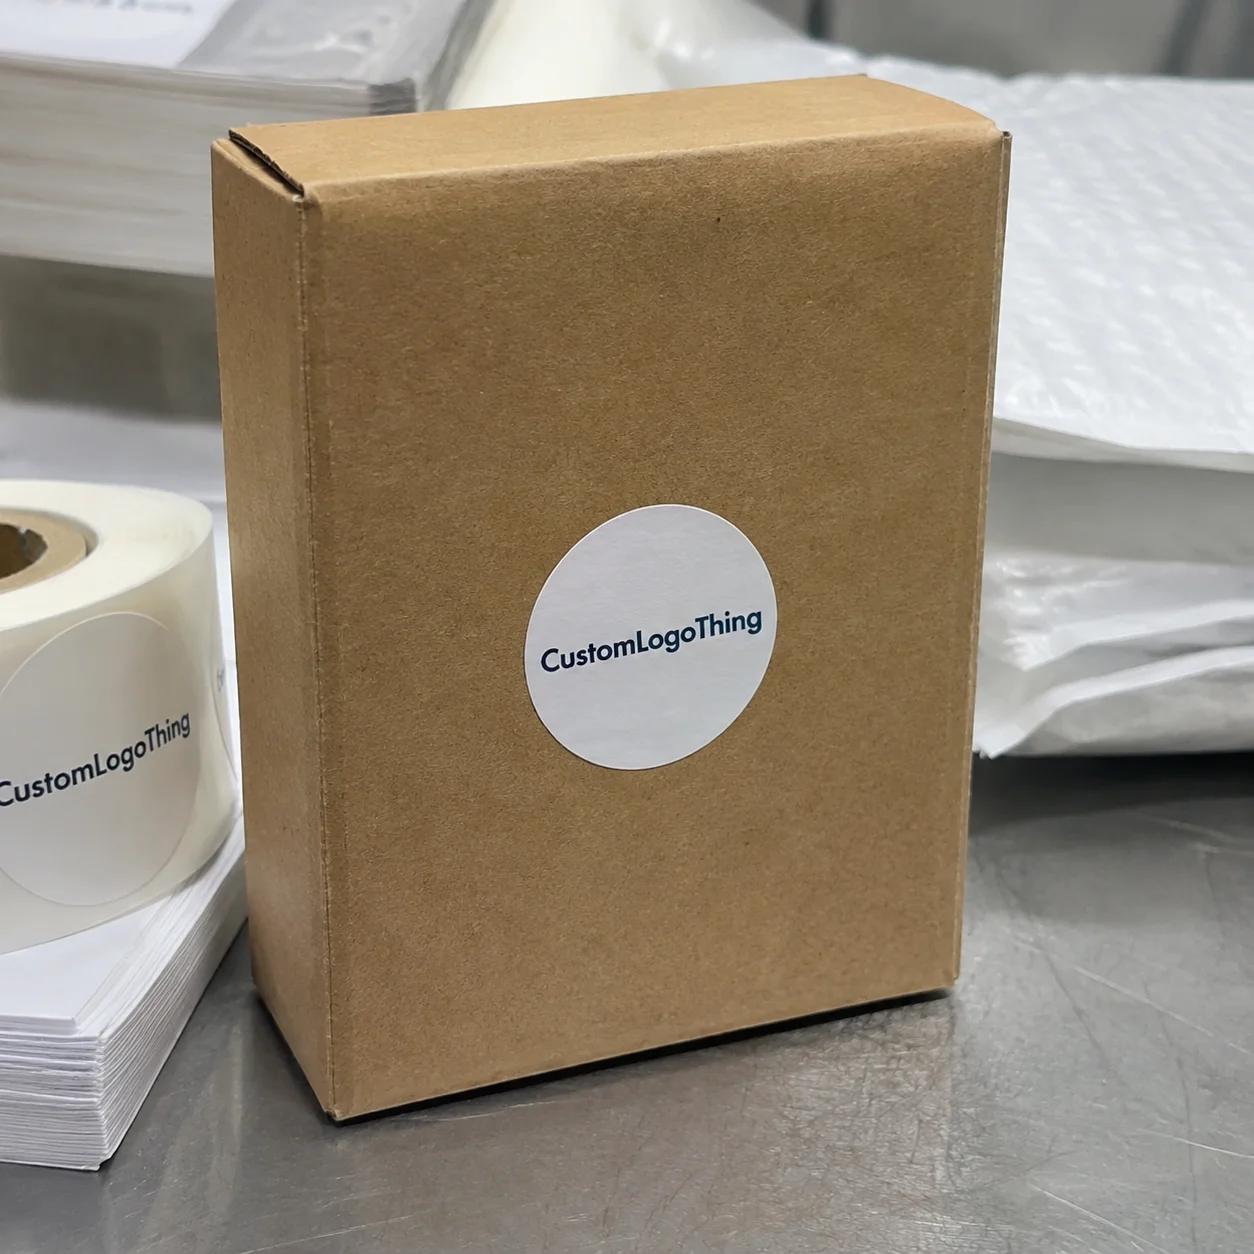
A plain carton can ship a product just fine. Add Custom Branded Stickers, and the package starts to feel deliberate, even before the box is opened. That shift is small on paper, but it changes how customers read the order: cleaner, more finished, and a little more considered.
In practice, custom branded stickers are printed adhesive pieces used to carry a logo, short message, seal, promotion, or visual cue tied to a brand system. They overlap with labels and decals, but the use case is different. A label usually has to carry regulated or functional information. A sticker is often chosen for presentation, sealing, temporary messaging, or flexible brand touchpoints.
That distinction matters more than most buyers expect. If the piece needs a barcode, ingredient panel, or serialized data, you are probably buying a label. If the goal is a thank-you seal, a mailer accent, a limited-run event handout, or a simple logo mark on a pouch, a sticker is usually the better fit. The same product category can support packaging, inserts, shipment closure, and retail handouts, but only if the material and adhesive match the job.
These pieces show up everywhere a brand touches the customer: e-commerce mailers, tissue wraps, product boxes, bottle necks, display packaging, and event kits. They also give smaller brands a way to tighten presentation without moving straight into fully printed cartons. That is why they pair naturally with Custom Packaging Products and, in some programs, with Case Studies that show how modest packaging changes can improve shelf and unboxing perception.
The advantage is repetition. A flyer may be glanced at once. A sticker can appear on every outgoing parcel, every retail bag, and every restock. That steady exposure is one reason custom branded stickers often punch above their size in day-to-day brand recall.
How the Sticker Production Process Works
The workflow is simple, but each step affects the finished result. Artwork is uploaded, proofs are reviewed, printing begins, the pieces are cut or finished, and the order is packed. If any one of those steps is rushed, the final product can still be usable while looking slightly off. On small-format items, “slightly off” is enough to stand out.
Digital printing is common for shorter runs because it skips plate setup and handles multiple versions efficiently. Flexographic printing is often better for larger quantities, where unit economics improve and long-run color consistency is easier to hold. Neither method is inherently better; they solve different production problems.
Cutting style matters too. Die-cutting trims the sticker into a custom shape, which works well for logos and signature outlines. Kiss-cutting cuts the sticker layer but leaves the liner intact, making peeling easier in production. Sheeted layouts place multiple stickers on a flat sheet, which can help office teams, hand applicators, and smaller fulfillment operations.
Proof review is where many orders succeed or drift. Color shifts are easier to spot on a two-inch sticker than on a poster, because the eye lands on them immediately. The same is true for line weight, negative space, and cut alignment. A thin font that looks elegant on screen can become hard to read once the piece is trimmed and applied.
If the order needs to survive shipping stress, moisture, or repeated handling, think beyond print quality. ASTM methods are often used to describe material performance, and ISTA package testing is a useful reference point for transit abuse. Those standards do not replace common sense, but they help frame the conversation around friction, compression, and exposure. For a broader reminder that material choices affect waste and pack design, the EPA’s packaging guidance at epa.gov is a useful reference.
Cost, Pricing, and MOQ Factors to Compare
Sticker pricing looks straightforward until the quote is broken into parts. Size, quantity, shape, material, finish, and print coverage all move the number. A simple round logo on coated paper has a very different cost structure from a full-bleed die-cut sticker on clear film with lamination.
Unit price usually drops as volume rises, but the curve is not perfectly smooth. There are fixed costs in prepress, proofing, setup, and sometimes plates, then variable costs tied to material and finishing. A 5,000-piece run might come in around $0.18 to $0.28 per unit for a simple design, while a 500-piece run can land much higher per piece because the fixed work is spread across fewer units. Smaller orders are still useful; they just suit testing, short promotions, and product launches better than large-scale fulfillment.
Minimum order quantity also changes the buying decision. Some teams need low-volume digital runs because they update artwork often or are validating a new package system. Others are better off ordering larger quantities to reduce repeat freight and avoid frequent reprints. The right answer depends on storage, reorder rhythm, and how stable the branding is over time.
Quote comparisons should go beyond the headline number. Ask whether prepress, revisions, shipping, packaging, and proofing are included. A quote that looks 10% cheaper can become more expensive once freight and art adjustments appear. It also helps to make sure the supplier is quoting the same stock and finish you actually need. A gloss vinyl piece and a matte paper piece are not interchangeable, even if the artwork is identical.
| Option | Typical Use | Price Profile | Pros | Watchouts |
|---|---|---|---|---|
| Paper stickers | Indoor packaging, inserts, short-term promos | Lowest | Budget-friendly and easy to print | Less moisture resistance |
| Vinyl stickers | Bottles, mailers, durable retail use | Mid-range | Better resistance to handling and moisture | Costs more than paper |
| Clear film stickers | Minimalist branding, product windows | Mid-range to higher | Lets the container show through | Artwork needs strong contrast |
| Laminated specialty stickers | Premium packaging, high-touch items | Higher | Better durability and surface protection | Longer lead time, higher unit cost |
A sticker is inexpensive only when it performs in the real application. A low quote that fails on a chilled bottle, curls on kraft board, or smudges during packing is not a savings at all.
Material, Adhesive, and Finish Choices That Matter
Material choice carries more weight than most first-time buyers expect. Paper is fine for dry indoor use and short-duration applications. Vinyl is the workhorse when durability matters. Specialty films can add a premium finish, better resistance, or a cleaner visual effect for retail packaging and branded mailers.
Adhesive selection matters just as much. Permanent adhesive is the default for shipping and product applications because it is designed to stay put. Removable adhesive makes sense when the sticker needs to come off cleanly, such as for temporary promotions or changeable displays. The surface itself changes the answer. Glossy cartons, kraft board, refrigerated bottles, curved jars, and powder-coated surfaces all behave differently.
That is where real-world testing becomes useful. Moisture, abrasion, and UV exposure expose weak specs quickly. If the item will be stored cold, handled often, or moved through wet conditions, ask for a stock designed for that environment. If the sticker sits in sunlight, ask about fade resistance. If it goes on a pouch or bottle that gets touched a lot, check how the finish holds up after repeated handling.
Matte and gloss finishes solve different problems. Matte cuts glare and usually makes text easier to read. Gloss adds visual pop and often improves fingerprint resistance. Clear film works well for modern packaging when the container itself should remain visible. Metallic accents and laminates can raise perceived value, but they should support the design rather than dominate it.
For most buyers, the best choice depends on the package surface, not the artwork alone. A shipping carton, a glass jar, and a resealable pouch all need different specs. That is why custom branded stickers should be chosen as part of the packaging system, not as a last-minute accessory.
Step-by-Step Ordering and Timeline Checklist
Start with the application. Where will the sticker go, how long must it last, and what surface must it bond to? Those three answers eliminate a lot of bad assumptions. If the packaging line, storage condition, and customer touchpoint are clear, the rest of the order becomes much easier to define.
Then prepare the artwork carefully. Vector files are best for logos and type. If that is not available, use high-resolution raster files. Confirm bleed, safe area, color mode, and font conversion. If the sticker uses a custom outline, include the cut path. These details are easy to miss and expensive to fix later.
Proofs should be reviewed by someone who understands both brand and production. A designer can catch contrast problems, line weight issues, or a cut that will clip important detail. Someone from operations can catch a wrong URL, a barcode issue, or a quantity mismatch. A good proof review is practical, not ceremonial.
- Define the use case and surface.
- Choose shape, size, and finish.
- Prepare artwork and cut lines.
- Request a quote with full specs.
- Review proofs and confirm color expectations.
- Approve production only after checking all details.
- Build in shipping time and contingency time.
Timeline is where many orders get optimistic. A repeat run may move quickly, but new shapes, specialty films, and back-and-forth on proofs can stretch the schedule. A typical lead time often falls in the 12 to 15 business day range after proof approval, though rush work, complex finishes, and freight timing can change that. If the sticker is tied to a launch, treat buffer time as part of the project, not a nice-to-have.
For brands comparing packaging components, it helps to review stickers alongside Custom Labels & Tags and the broader set of Custom Printed Boxes or inserts in the package system. A sticker may be the easiest item to change, but it still has to fit the larger visual and functional plan.
Common Mistakes Buyers Make With Sticker Orders
The first mistake is choosing the wrong adhesive for the surface. Glossy cartons, textured kraft, cold bottles, and curved containers all need different behavior. A sticker that lifts at the corners makes the entire package look unfinished, even if the print quality itself is excellent.
The second is picking a finish because it looked good on screen. Screens exaggerate sheen and saturation. In person, a highly glossy or metallic design can reduce legibility under warehouse lighting or retail fluorescents. If contrast matters, test it before committing to a large run.
The third is skipping proof review. A small color drift or cut-line offset may be hard to spot in a PDF preview, but it becomes obvious once applied. Spelling errors, incorrect margins, and malformed barcodes are common enough that they should be treated as routine checks, not rare surprises.
The fourth is underestimating quantity. Ordering a second small batch later usually costs more than getting the right amount the first time, especially once freight and setup are added. If the sticker supports a seasonal campaign, launch, or event, it pays to think a reorder ahead.
The fifth is assuming every sticker is weatherproof. It is not. Some are fine for dry indoor use and little else. If the piece has to handle condensation, rain, ice, or outdoor exposure, say so upfront and ask for the right material and adhesive. For higher confidence, ask how the stock performs under shipping stress and whether it fits the type of material testing normally used for the application.
Application speed is another overlooked point. If the liner is hard to peel or the sheet layout slows the packing team, the package line pays for it every day. A sticker that saves two seconds per unit can be more valuable than one that looks slightly better but creates friction in fulfillment.
Expert Tips for Better Results and Next Steps
Match the sticker to the customer journey. A sticker on an unboxing experience can be more playful and brand-forward. A sticker used for storage or resale may need cleaner information hierarchy. A seal sticker should prioritize adhesion and the feel of tamper evidence. The best custom branded stickers solve a packaging problem first and decorate second.
If you manage several SKUs or seasonal campaigns, one strong core design with a small family of variations is easier to control than a long list of one-offs. It keeps the brand system cleaner and reduces production confusion. It also helps when the same visual language needs to work across mailers, inserts, and retail packaging.
“The right sticker is the one that fits the workflow, survives the surface, and still makes the package feel more complete.”
Request samples when the finish or substrate is still uncertain. A physical sample says more than a spec sheet can. It shows reflectivity, touch, peel behavior, and how the artwork reads on the actual surface. That matters especially when comparing matte against gloss, or paper against vinyl.
Build a simple comparison sheet before approving the order. Include material, finish, quantity tiers, turnaround, proof terms, adhesive type, and freight. That makes the choice easier to review internally and keeps premium and budget options from being compared as if they were the same product.
When the order is ready, gather artwork, define the use case, request quotes, and confirm proof terms before approving production. If the packaging system is still being shaped, review how the sticker fits with branded packaging, inserts, and other components around it. In the right setup, custom branded stickers do more than decorate a surface. They help the whole package feel coordinated and finished.
What size works best for custom branded stickers on packaging?
Choose a size that fits the available flat space without covering barcodes, nutrition panels, or shipping details. For most packaging, the logo should remain readable at arm’s length and the shape should suit the container instead of fighting it.
Are custom branded stickers waterproof or weatherproof?
Only if the material and adhesive are built for moisture, outdoor exposure, or cold storage. Ask whether the stock uses a protective coating or laminate before assuming it can handle rain, ice, or condensation.
How long does it usually take to produce custom branded stickers?
Timeline depends on proof approval, quantity, shape complexity, and finish selection. Simple repeat orders can move quickly, while new shapes or specialty materials usually need more production time.
What affects the price of custom branded stickers the most?
Quantity, size, material, finish, and die-cut complexity are the main price drivers. Shipping, proofing, and any special handling can also affect the final quote.
Should I choose roll, sheet, or individually cut stickers?
Rolls work well for fast application and higher-volume packaging lines. Sheets are often better for hand application, inserts, and smaller fulfillment operations, while individually cut stickers suit giveaways and merch.


