Custom cloth Labels for Handmade items do more than identify a product. They signal intent, help the buyer recognize the brand, and make a finished piece feel deliberate instead of improvised. On a tote bag, baby blanket, knit hat, pouch, or apron, the label is one of the few brand elements that stays visible after the packaging is gone.
That is why the label should be treated as part of the product spec, not an afterthought. Placement affects construction, construction affects label type, and label type affects artwork. If those decisions are made late, the result is usually a label that looks generic, wears poorly, or adds avoidable cost.
Custom cloth labels for handmade items: why they punch above their weight
A cloth label looks small on paper, but it carries a disproportionate brand signal on the finished item. Remove it and even a well-made product can feel less polished. That is the value of a good label: it adds clarity without taking up much space.
Custom cloth labels for handmade items usually include brand tags, size tags, care labels, and decorative labels. They are common on apparel, bags, blankets, pet accessories, plush goods, and home textiles. If the item will be washed, folded, ironed, or handled often, the label has to be built for that use.
The strongest labels are chosen with the product in mind from the start. A tiny woven tag can look clean on a seam, but it cannot carry too much text or detail. If the logo, care copy, and web address are all crowded into a small space, readability suffers and the product looks less refined.
A strong label does not rescue a weak product, but a weak label can make a good product look unfinished.
The practical questions are simple: where will the label sit, what will happen to the item during use, and how much detail does the artwork need to stay readable? The answer determines whether the label should be woven, printed, satin, cotton, or twill, and whether it should be sewn in, folded, or edge-finished another way.
How the production process works and what turnaround looks like
The production path is straightforward: artwork setup, proofing, production, finishing, inspection, and shipping. Problems usually appear at the proof stage, where details that looked fine on screen can become too small, too dense, or too weak for the chosen label type.
For woven labels, the artwork is translated into thread structure, so small type and thin lines are the first things to fail. For printed labels, the supplier checks contrast, edge handling, and wash durability. If the label needs to stay legible after repeated laundering, the proof is the first real test.
Turnaround depends on quantity, complexity, and location. A simple order may take about 10 to 15 business days after proof approval. More colors, specialty folds, or larger quantities usually add time, and overseas production adds transit time on top of that. Rush service exists, but it reduces room for sample review and corrections.
Most delays come from preventable file and spec issues: low-resolution art, text that is too small, missing color references, unclear fold instructions, or late changes after proof approval. A cleaner setup shortens the cycle more than a last-minute rush ever will.
- Send artwork in vector format or a high-resolution print-ready file.
- Confirm the exact size, fold, and attachment method.
- Review the digital proof or physical sample.
- Approve layout, colors, and spelling.
- Produce, finish, and inspect the batch.
- Pack and ship the order.
If the labels are needed for a launch, build them into the production calendar early. A missing label can stall sewing, assembly, and fulfillment. For reorderable items, keep a simple spec sheet with size, material, fold, artwork, color references, and wash expectations so the next run does not depend on old email threads.
Material, weave, size, and finish choices that change the result
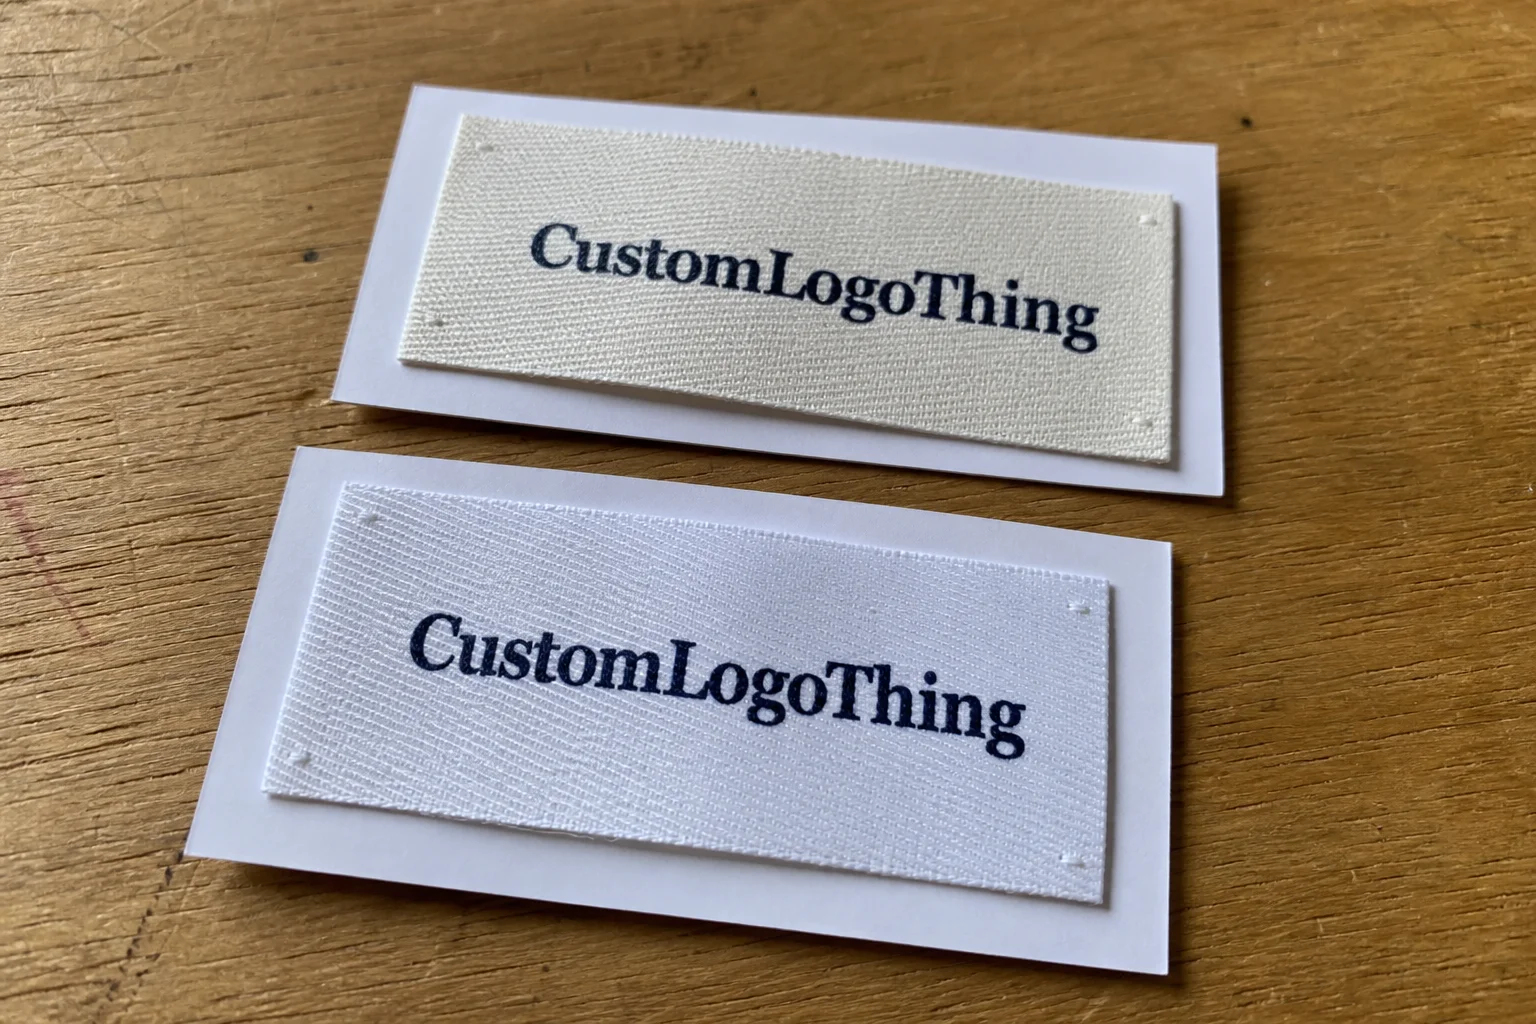
Material changes feel, durability, and visual sharpness. Woven labels are the usual choice for a polished look and good wear resistance. Printed fabric labels are better when the design needs smaller text or finer detail. Satin has a smoother hand feel, cotton reads more natural, and twill sits in the middle with a durable, craft-forward look.
For custom cloth labels for handmade items, the best material is the one that matches the product. A baby blanket does not need the same surface as a denim patch. A linen pouch should not carry a label that scratches or buckles the fabric. The item determines the label, not the other way around.
Size is where many makers overestimate what the artwork can survive. Small labels look tidy only if the logo and text remain readable at the final dimensions. If the design loses detail when reduced, the label stops helping the product. Smaller is not automatically better.
Fold style affects both appearance and sewing behavior. Common options include:
- End fold for a clean sewn-edge finish.
- Center fold for seam insertion or hanging from the fold.
- Loop fold when the label needs to show on both sides.
- Heat-sealed or laser-cut edges for synthetic materials with clean edge control.
- Sew-in edges for stronger attachment and better wash performance.
Color count also matters. A design with six colors can look fine on screen and feel crowded in thread. Thin strokes blur, small script disappears, and soft contrast becomes harder to read. If legibility matters, simplify the artwork instead of assuming the factory can fix a dense design.
Edge finishing is another practical choice. Exposed edges can fray, folded edges can look cleaner, and laser-cut synthetic edges can be neat when the material suits them. A label that will be washed often or sit against skin needs a finish that holds up in real use, not just in a mockup.
For brands comparing sourcing standards, keep the label aligned with the rest of the packaging system. If the boxes, inserts, and paper goods are restrained and natural, the label should not feel like it came from a different brand.
| Label Type | Best Use | Typical Strength | Tradeoff |
|---|---|---|---|
| Woven | Apparel, bags, durable soft goods | Sharp brand look, good wash durability | Less fine detail than print |
| Printed | Care labels, fine text, softer hand feel | Better detail and lighter feel | Can wear faster if poorly specified |
| Satin | Gift items, fashion, baby products | Smooth touch, polished appearance | Can show edge wear if abused |
| Cotton or twill | Natural, craft-forward branding | Texture and artisan appeal | Less crisp for tiny graphics |
One rule applies across material types: if the product will be worn, washed, folded, or pressed, test the label against those conditions before approving the full run. A sample that looks good flat can behave differently once sewn into a seam or put through a wash cycle.
Cost, pricing, MOQ, and what actually drives unit cost
Pricing for custom cloth labels for handmade items depends on quantity, size, color count, fold style, material, and production location. Domestic production usually costs more per unit but is easier to manage. Overseas production can be cheaper at scale, though shipping, customs, and slower revision cycles can reduce the savings.
MOQ matters because many small brands are buying for a launch, not a warehouse. The real question is whether the per-unit price and reorder plan justify the commitment. Buying more labels than the product line can absorb is a poor trade if the design is still evolving.
For rough planning, small-run woven or printed labels often land somewhere around $0.12 to $0.35 per unit, depending on complexity and quantity. Setup fees, samples, shipping, and rush charges can still move the landed cost significantly. Comparing only the headline unit price is how people get surprised by the total.
The cheapest quote is not always the lowest cost. If a label frays, fades, or looks muddy after one wash, replacing it costs twice. That is a bad trade even when the initial quote looks efficient.
Watch for the usual hidden costs:
- Digitizing or setup fees for woven artwork.
- Sample or proof charges.
- Rush fees for compressed timelines.
- Shipping, import charges, or brokerage fees.
- Replacement runs caused by guessing dimensions or finishing.
If you are also ordering boxes, inserts, or paper packaging, evaluate the label within the full packaging budget. The label should support a simpler package or match a stronger one. Either way, the components need to look like one system.
Step-by-step ordering checklist for a small handmade brand
Start with the finished item. Measure the seam, hem, or placement area. Decide whether the label should be visible, hidden, or partly exposed. Confirm whether the item is machine-washed, hand-washed, pressed, or likely to be exposed to heat. Those details shape the label before color ever enters the conversation.
Then lock the artwork. Vector files are the cleanest option for woven labels. For printed cloth labels, the file still needs to be crisp and sized correctly. Keep text readable at the final dimensions, not at the larger size you prefer in a layout program. If the label includes a website, care text, or fiber information, test the readability at actual size and cut copy if it breaks down.
Request a proof or sample and inspect what digital mockups hide. Check the edge feel, contrast, fold direction, and whether the label sits correctly on the real item. Fabric has no interest in pretending, so a label that looks balanced on screen can still be awkward once sewn in.
- Measure the placement area on the finished product.
- Choose woven, printed, satin, cotton, or twill based on use.
- Set the exact size and fold style.
- Prepare artwork in the correct format and scale.
- Request a proof or sample and inspect it on the real product.
- Approve the final spec only after testing.
If you are ordering multiple branded pieces, keep the label spec aligned with the other custom tags and packaging elements. Consistency across the line matters. A product that looks coordinated at the label stage usually looks coordinated everywhere else, too.
Testing discipline helps here. If the item will be packed, shipped, and handled in transit, fold it, wash it if relevant, press it if the product will be ironed, and pull on the label lightly to see whether it distorts the seam. Small checks prevent larger problems later.
Common mistakes that make labels look cheap or fail early
The most common mistake is putting too much information into too little space. Brand name, care instructions, fiber content, social handle, website, and a decorative icon all competing on one label usually means none of them get enough room. The result is visual noise and weak readability.
Low contrast causes the same problem. A pale gray logo on cream satin may look elegant in a proof and nearly vanish in real life. Thin lines and delicate script behave similarly. Fabric is less forgiving than a screen, so fragile detail is usually a production problem, not a style choice.
Durability mistakes are just as common. If the item is washed often, the label should be built for repeated laundering. If the edges are exposed, they need proper finishing. If the label sits against skin, it should not scratch or curl. Pretty loses to practical in this category.
Planning mistakes cost more than material mistakes. Brands guess dimensions, skip samples, order too few, or change the pattern after the first batch is approved. Then the next run no longer fits the same way. That is a spec problem, not a supplier problem.
- Using a file designed for screens instead of production.
- Forcing a detailed logo into a small woven format.
- Ignoring wash and abrasion requirements.
- Skipping testing on the real product before approval.
- Assuming one label spec fits every item in the line.
Good custom cloth labels for handmade items support the product quietly. Bad ones distract from it. If the stitching is clean and the fabric is strong, the label should reinforce that quality, not fight for attention.
Expert next steps before you place the order
Before ordering, write a one-page spec sheet. Include the product type, label size, material, fold, color count, placement, wash requirements, quantity, and reorder timing. That small bit of discipline saves time later because suppliers can work from clear specs instead of guesswork.
Shortlist at least three vendors and compare them on sample quality, turnaround, communication, and whether the quote actually matches the spec. A low price with vague wording is not a strong quote. Compare like with like, or the cheapest option becomes a false comparison.
Test the label on a finished product before committing to a larger run. Not a mockup. The real item. Fabric stretch, seam thickness, and placement all change once the label is stitched into place. If the label hangs awkwardly or feels too stiff, adjust the spec now.
A practical label plan is simple: measure, sample, test, approve, then order enough stock to cover the next production cycle.
If the label is part of a larger launch, align it with the rest of the packaging so the buyer sees one coherent system. Boxes, inserts, tissue, thank-you cards, and the label should speak the same visual language.
Order custom cloth labels for handmade items only after you know the product, the fabric, the wash conditions, and the final placement. Get the specification right, and the label stops being an afterthought. It becomes part of the product’s value.
What are custom cloth labels for handmade items usually made from?
Most are woven polyester, satin, cotton, twill, or printed fabric. The best choice depends on texture, durability, and how much detail the artwork needs. If the item will be washed often, durability matters more than softness.
How much do custom cloth labels for handmade items cost per piece?
Unit cost depends on quantity, size, color count, fold style, and finish, so small orders usually cost more per label than larger runs. Setup, samples, shipping, and rush charges affect the real total, not just the headline quote.
How long does it take to make custom cloth labels for handmade items?
Simple orders can move quickly, but proofing, sample approval, and shipping are the parts that usually stretch the schedule. A realistic window is often 10 to 15 business days after proof approval for standard production, with longer timelines for complex specs or overseas transit.
Should I choose woven or printed cloth labels for handmade products?
Choose woven labels when you want a polished, durable look and the design is mostly text, simple icons, or clean shapes. Choose printed labels when you need finer detail, a softer hand feel, or a lower-cost option for simpler branding.
What should I put on handmade item labels besides my logo?
Use the space for essentials first: brand name, size if relevant, care instructions, fiber content when needed, and a website or social handle if it fits. Do not overload the label. Crowding the surface usually makes the product look less premium and less readable.


