Custom Cycling Name Stickers: What They Are and Why Riders Use Them
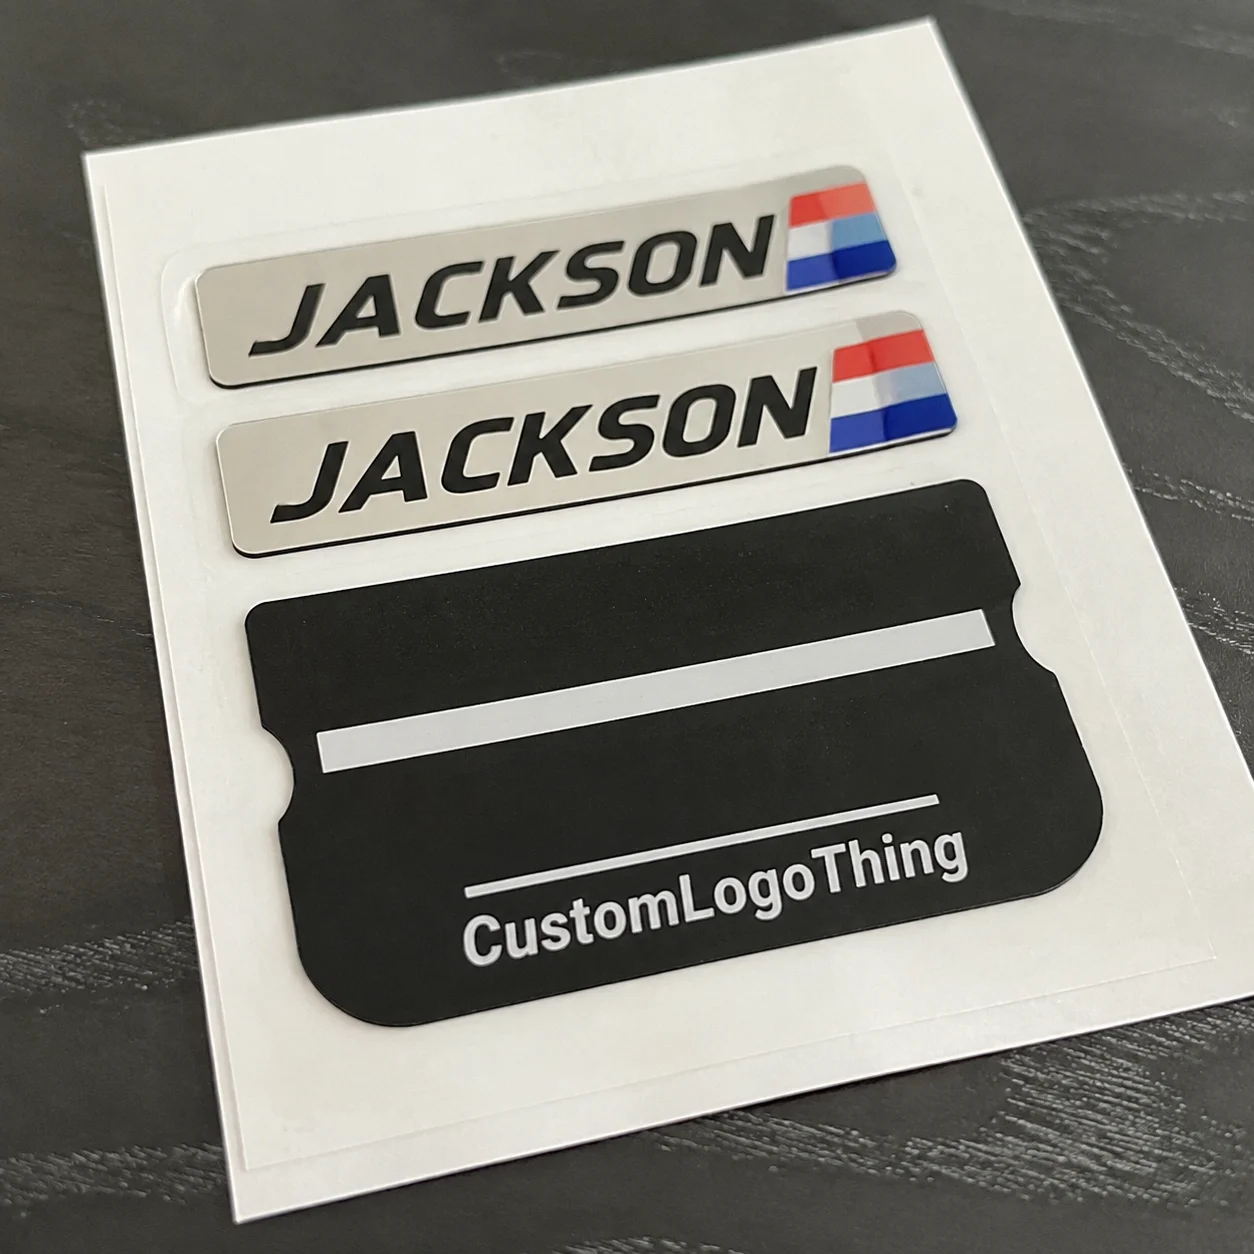
Custom Cycling Name stickers are personalized adhesive decals printed with a rider name, team name, flag, race number, logo, social handle, emergency contact, or bike nickname. They help identify similar bikes and gear at races, camps, shops, charity rides, and team events.
Riders use them on road bikes, gravel bikes, mountain bikes, triathlon bikes, helmets, top tubes, seat posts, wheel cases, water bottles, travel bags, toolboxes, storage bins, and event packs. Clubs use them for matching team setups. Coaches use them to keep junior gear organized. Bike shops use them on demo fleets and service items. Event organizers use them for rider ID, packet distribution, sponsor sheets, and luggage labels.
The important distinction is between a casual name label and a bike-ready decal. Cycling stickers need adhesive that can handle curved surfaces, weather, sweat, sunscreen, bike wash, chain lube, UV exposure, dust, and transport abrasion. A sticker that looks good on a laptop may not survive weekly riding and cleaning.
Buyers usually fall into a few groups: individual riders, clubs, junior teams, charity rides, bike shops, race teams, coaches, and event organizers. The use case changes the spec. A one-off helmet decal is not the same job as 500 variable-name stickers for a stage race.
If a sticker only needs to decorate a giveaway, basic print may be enough. If it needs to survive sweat, rain, handling, and transport, material and adhesive choices matter.
The best orders are specific from the start: where the stickers will go, how long they need to last, how many names are involved, whether they need laminate, and what deadline is real.
How Personalized Bike Decals Work on Frames, Helmets, and Gear
Most personalized bike decals are made from printed vinyl, polyester, or a similar film backed with pressure-sensitive adhesive. Outdoor decals are often finished with a protective laminate. That layered construction helps the label resist moisture, abrasion, cleaning, and sunlight.
They stick best to smooth painted frames, clear-coated carbon, aluminum frames, helmets, hard travel cases, bottles, laptops, team bins, tool kits, and rigid plastic cases. The surface should be clean, dry, and free of wax, oil, silicone spray, sunscreen, polish, and dust.
They struggle on dirty surfaces, textured plastic, rubber grips, oily frame areas, scratched paint, low-surface-energy matte coatings, and spots that get constant rub from shoes, bags, cables, or straps. Placement affects lifespan as much as material does.
Lamination changes durability and appearance. Gloss laminate makes colors brighter and gives sponsor logos more punch. Matte laminate looks calmer and often suits dark or high-end frames. Both finishes add scratch resistance, improve moisture protection, and help the printed layer handle sun exposure and cleaning.
Shape matters too. Rectangles are usually cheapest. Rounded corners peel less. Die-cut names look sharper. Contour-cut flags and logos can look excellent, but they need clean artwork and a proper cut line. Complex shapes are fine when production files are clear.
Most decals build bond strength over 24 to 72 hours. For best results, clean the surface, let it dry fully, avoid touching the adhesive, press with steady pressure, and let the bond cure before washing or hard use. Top tubes, helmet shells, seat tubes, and hard cases are usually friendly. Chainstays, crank areas, cable-contact zones, and frame-bag rub points are less forgiving.
Specs That Matter: Material, Adhesive, Size, and Finish
If you want Name Stickers That hold up, the spec sheet matters more than the mockup. Looks are easy. Durability comes from the right material, adhesive, size, finish, and placement.
Material is the first decision. Standard vinyl works for many individual riders and casual club orders. Premium outdoor vinyl is better for frequent riding, racing, travel, and regular cleaning. Polyester label stock is often stronger for equipment bins, toolboxes, cases, and support gear. Reflective film helps with visibility on commuter setups, club rides, support vehicles, and low-light gear marking.
Adhesive comes next. Removable adhesive fits temporary event use, short-term sponsor pieces, packet labels, and decals that should come off cleanly after a weekend. Permanent adhesive is better for frames, helmets, bottles, and long-term gear marking. High-tack adhesive can help on textured cases or harder-to-stick plastics, but removal can be less forgiving.
Size depends on placement. Helmet stickers often sit around 1 to 2 inches wide because vents and curvature reduce usable space. Frame name decals commonly land around 3 to 6 inches wide. Large gear-case labels can run 6 to 12 inches wide. For teams, mixed-size sheets usually work better than forcing one size to fit helmets, frames, bottles, and cases.
Thickness also deserves attention. Thicker stickers can feel tougher, but the edge may stand proud and catch more dirt or abrasion. Thinner decals conform better and look more integrated, especially on curved tubes and helmets. For a clean factory-style look, thinner film with good laminate usually wins.
Finish changes the feel. Gloss works for bright team colors and bold sponsor graphics. Matte looks cleaner on dark or minimal builds. Clear backgrounds can look subtle on light frames, but color may lose strength on dark surfaces unless white ink or a white backing is used. Metallic and holographic films can work for special runs, but they are best used as accents rather than default team sheets.
For branding-heavy orders, the same logic applies as with Custom Labels & Tags or broader Custom Packaging Products: material has to fit the use case, not just the design file. A good-looking label in the wrong stock is still the wrong label.
Typography needs discipline. Thin fonts disappear fast at small sizes. Narrow letters close up. Low contrast gets worse outdoors. If the rider’s name should be readable at arm’s length, use clear type, enough contrast, and realistic sizing.
Teams should send clean data. Variable names, numbers, flags, categories, and sponsor versions need a structured spreadsheet. Use one rider per row, separate columns for each data point, no merged cells, and no unexplained abbreviations.
| Option | Best For | Typical Use | Tradeoff |
|---|---|---|---|
| Standard vinyl | Most individual riders | Frames, helmets, bottles | Lower cost, moderate durability |
| Outdoor laminated vinyl | Race teams and frequent riders | Frames, travel cases, gear bins | Higher cost, stronger protection |
| Polyester label stock | Equipment labeling | Toolboxes, storage, support gear | Less frame-like feel, more utility |
| Reflective film | Visibility-focused use | Commuter bikes, support vehicles | Usually pricier, fewer finish choices |
Durability expectations should match the way the stickers will be handled. If the item gets scrubbed, shipped, handled, strapped down, or exposed, specify it for that reality. For event programs that include paper components, envelopes, backing cards, or outer packaging, sustainability and transport references may also matter. See ISTA and FSC for useful reference points.
Cost, Pricing, and MOQ for Cycling Name Stickers
Pricing depends on quantity, size, material, laminate, number of designs, variable names, special finishes, packaging, proofing time, and shipping speed.
For simple bulk stickers, small name decals can land around $0.20 to $1.50 per piece, depending on order size and construction. Premium die-cut or laminated decals often run $1 to $4+ each when the size is larger, the artwork is more complex, or the run is small.
MOQ often starts making sense around 50 to 100 pieces for custom runs. Team and event orders usually become more efficient at 250, 500, or 1,000+ pieces. Equipment setup, proofing, material loading, cut setup, and quality checks happen whether the order is 20 stickers or 2,000.
Setup costs may include artwork cleanup, die-line setup, variable data formatting, proof revisions, white-ink layers, special material sourcing, and sheet layout. Sometimes these are included. Sometimes they are separate. Ask before approving the quote.
Budget and premium choices split in predictable ways. Unlaminated vinyl costs less but offers less protection. Laminated outdoor vinyl costs more but performs better on bikes, helmets, travel cases, and gear that gets wiped down often. If the sticker only needs to last through a weekend packet pickup, basic material may be fine. If it is going on a frame that sees rain, chain grease, and roof-rack straps, the upgraded construction is usually worth it.
Variable data can also affect price. A sheet with one repeated design is simpler than a sheet with 200 different names, flags, and numbers. Variable-name orders are manageable, but they need cleaner files, better proofing, and tighter quality control.
Good quote requests include size, quantity, material preference, number of unique names, finish, deadline, shipping location, and whether the artwork is ready. That list cuts out most of the back-and-forth and makes the price more accurate.
Process and Timeline: From Artwork to Finished Decals
A practical ordering process starts with placement and size. Then comes artwork, rider data, digital proofing, production approval, printing, laminating, cutting, inspection, packing, and shipping.
Simple orders may take a few business days after proof approval. Larger team sheets, variable-name orders, specialty films, reflective material, metallic finishes, or tight cut tolerances can take longer. The production clock usually starts after proof approval, not after the first inquiry.
Proofing is where most avoidable problems show up. Check spelling, capitalization, accents, flags, numbers, logo placement, background color, sticker dimensions, and cut lines. If an athlete’s name is wrong on 300 pieces, that is a production problem, not a small typo.
Color needs realistic expectations. Screens glow. Stickers reflect light. Bike frames vary. Matte laminate softens color. Clear material changes color behavior over different frame paints. If a sponsor has strict brand color requirements, provide proper color references and allow time for review. If the order is functional, do not overcomplicate the color target.
Late artwork causes delays. So do messy spreadsheets, last-minute roster changes, missing logo files, uncertain color targets, unavailable specialty material, and shipping plans built on optimism. The more variable data the order has, the earlier it should start.
For planning, individual riders should allow one to two weeks when possible. Teams and organizers should plan earlier, especially if stickers need to be distributed before a race, training camp, kit pickup, or travel day. Rush options can help, but they may reduce material choices, revision time, special finishes, and shipping flexibility.
Quality control should include name count against the roster, spelling spot checks, registration between print and cut, laminate coverage, edge quality, color consistency, and packing by rider, team, or sheet type. For event orders, sorted packing can save hours during distribution.
Step-by-Step Ordering Guide for Riders, Teams, and Events
- Decide where the stickers will go: top tube, helmet, seat post, bottle, tool case, wheel bag, event packet, or team equipment bin.
- Measure the usable space with a ruler. Curves, cables, bottle cages, helmet vents, and frame angles reduce the actual sticker area.
- Choose the information to include: first name, last name, team name, country flag, rider number, category, sponsor logo, emergency contact, or social handle.
- Pick a style: clean text-only labels, flag-and-name decals, die-cut rider names, mini sticker sheets, or branded team sets.
- Choose material and finish based on use: laminated outdoor vinyl for serious riding, removable labels for short events, polyester for equipment, and reflective material for visibility-focused use.
- Prepare artwork and data: send vector logos when possible, use readable type, and provide names in a spreadsheet with one rider per row.
- Review the proof slowly. Check spelling, size, color, cut lines, flags, numbers, and quantities.
- Approve production only when size, color, spelling, quantity, and packing requirements are correct.
For teams, the easiest workflow is a roster sheet with clean columns: rider name, number, flag, category, team version, sponsor version, and any special notes. For events, separate functional ID labels from sponsor stickers or giveaway pieces. Different jobs need different specs, even when they are printed together.
Logo files also need a quick check. Vector artwork is best for team marks, sponsor logos, and flags. High-resolution raster files can work for some designs, but low-resolution screenshots get ugly fast when scaled or cut small.
If riders are applying the decals themselves, include simple application guidance with the order: clean the surface, dry it fully, apply with steady pressure, avoid washing for at least a day, and keep decals away from heavy rub zones.
Common Mistakes That Make Bike Stickers Peel, Fade, or Look Cheap
The fastest way to ruin a cycling decal order is to use the wrong material. Indoor paper labels and basic craft stickers will not survive sweat, rain, UV exposure, bike wash, rack straps, and gravel dust.
Fonts are another trap. Elegant hairline type may look nice on a screen, then disappear at helmet-sticker size. If someone has to squint to read the name in the proof, the final sticker will be worse. Legibility beats cleverness.
Skipping laminate for outdoor use is a classic mistake. Unprotected print can scuff or fade faster, especially on frames, helmets, bottles, and travel cases. If the sticker is going on a bike, assume it will be touched, washed, rubbed, and exposed to sun.
Surface prep matters. Chain lube, sunscreen, polish, silicone spray, sweat residue, and dust all weaken adhesion. Clean first, dry fully, then apply.
Placement is another easy miss. Crank areas, heel-rub spots, cable-contact points, and frame-bag strap zones will destroy even good stickers faster. If the spot gets constant abrasion, choose another location or expect a shorter life.
Contrast matters too. Black text on navy, red on black, and pale gray on white may look stylish in a layout, then become useless outdoors.


