Custom design Stickers for Cars can do a lot with very little material. A cleanly printed decal can brand a service vehicle, mark a fleet unit, promote an event, or just give a personal car a sharper visual identity, all without the cost or permanence of paint. That value is why buyers keep coming back to vinyl graphics when they need visibility but do not want to commit to a full wrap.
These stickers are usually printed or cut vinyl pieces made to bond to automotive surfaces such as glass, painted metal, or smooth plastic trim. The result can be subtle or highly visible depending on the film, finish, and cut style. The important part is matching the material to the actual job, because a rear-window graphic has very different demands than a logo on a curved door panel.
Why custom car stickers stand out on the road
Car stickers sit in a useful middle ground. They are cheaper and easier to change than paint, but they feel more durable and intentional than a temporary paper sign. For a buyer comparing branding options, that balance matters. You can test a design on a vehicle before scaling it across a larger fleet, and if the artwork changes later, the sticker can be replaced without redoing the entire surface.
Different use cases call for different constructions. Decorative decals are often chosen for style and personalization. Branding stickers usually carry a logo, website, phone number, or social handle. Temporary promotional graphics are common for launches, seasonal campaigns, and event vehicles. In practice, the best-looking jobs tend to be the ones with a clear purpose from the start, because the size, finish, and longevity all follow from that decision.
What buyers care about most is usually straightforward: how it looks on the vehicle, how long it lasts outdoors, and whether it removes cleanly later. A good automotive vinyl sticker with the right adhesive can hold up through sun, rain, and routine washing, but that performance depends on the surface and the film grade. Glass is usually more forgiving. Curved body panels and textured trim need more careful material selection.
A good car sticker should look deliberate from a few feet away and still hold its shape after months on the road.
Finish changes the effect more than many people expect. Gloss gives strong color and high contrast. Matte cuts glare and reads a little softer. Reflective film stands out at night and can be useful for utility vehicles or safety messaging. None of those choices is automatically right or wrong; the better choice depends on how the vehicle will be used and where it will be seen.
How the design and production process works
The production flow is fairly consistent. Artwork is reviewed first, then a proof is created, and only after approval does the job move into print, cutting, finishing, and packing. Each step sounds simple, but quality usually slips when one of them gets rushed. A misread file, an unchecked cut path, or a sloppy trim can turn a straightforward order into a reprint.
Vector artwork is the safest starting point for logos, text, and contour-cut designs because it scales cleanly. High-resolution raster files can work for printed graphics, but only if the file is large enough at final size. A file that looks fine on a monitor can still print soft or pixelated once it is enlarged for a rear window or door panel. For raster artwork, 300 dpi at final size is a practical baseline.
Bleed and safe margins deserve attention. Bleed gives the printer room to trim without exposing a white edge, while safe margins keep text and fine details away from the cut line. If the sticker is contour cut, the outline should be checked carefully, especially around tight corners, interior holes, and small lettering. Those are the spots where a design that looks fine on screen can become awkward in production.
Cut style affects usability
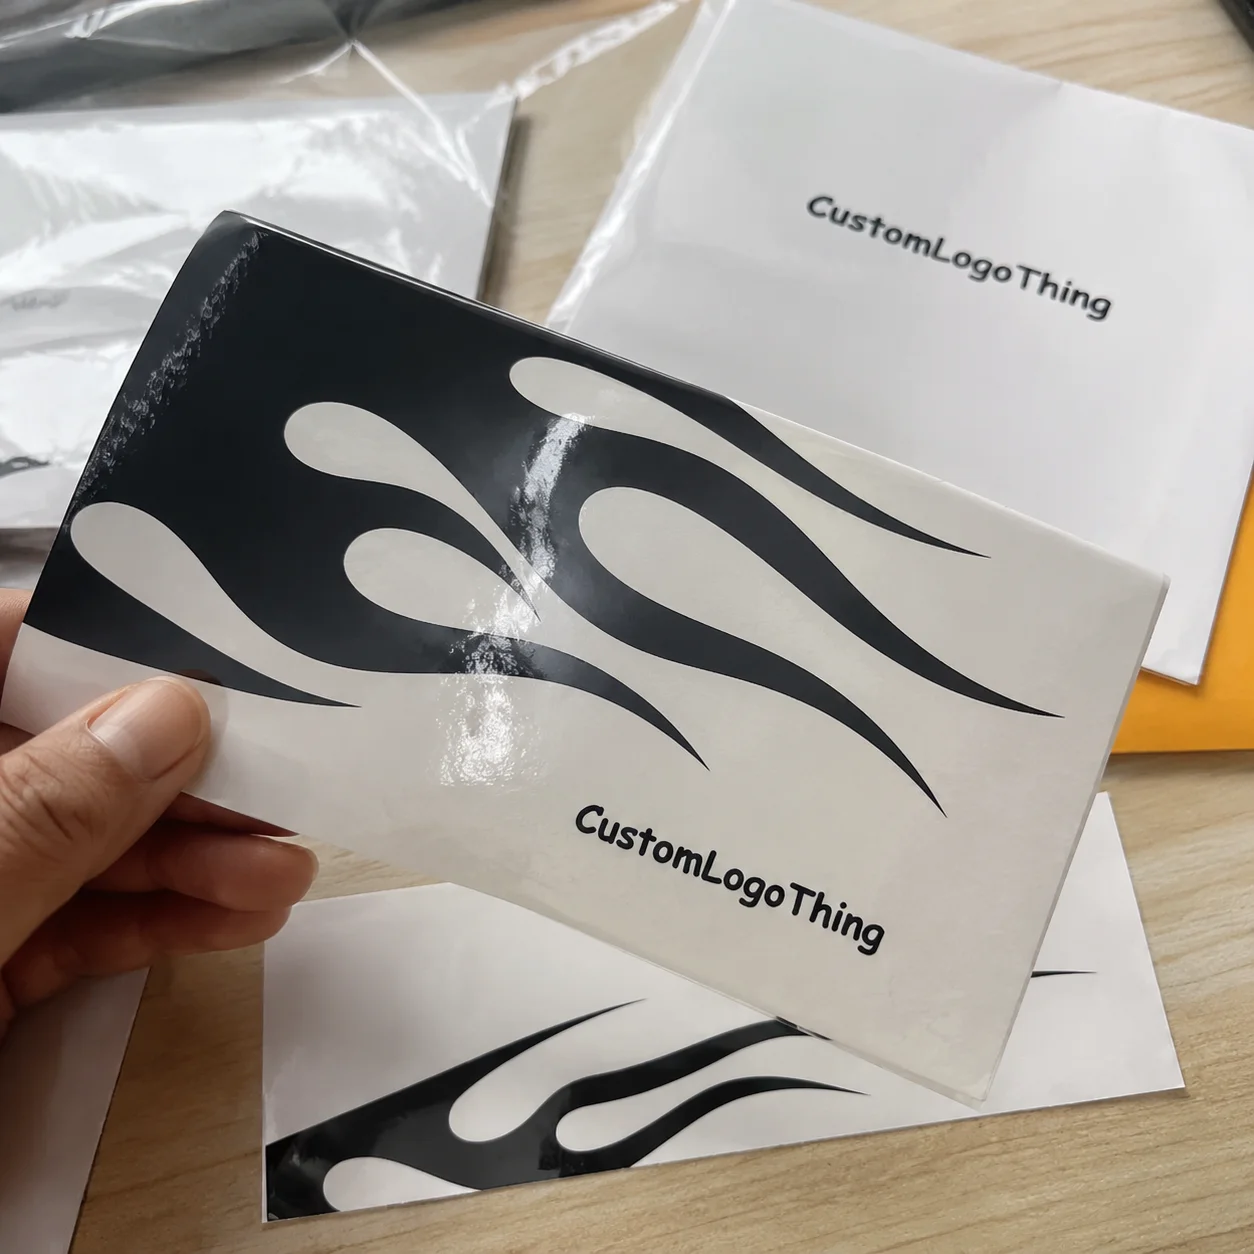
Kiss cutting leaves the backing sheet intact and cuts only through the top vinyl layer, which makes peeling and application easier. Contour cutting follows a custom shape and gives a more tailored look, which is often what buyers want for custom design Stickers for Cars. The tradeoff is that more complex shapes need cleaner files and tighter cutting tolerance.
Adhesive choice matters just as much as artwork. A removable adhesive is often better for short-term campaigns or temporary vehicle graphics. A stronger automotive-grade adhesive is a better fit for long outdoor exposure. The right balance is enough grip to survive heat, rain, and washing, without making removal a battle later.
Quality control should be visible at the end of the process. Good production teams check registration, edge cleanliness, color consistency, laminate alignment, and cut accuracy before packing. Those checks sound basic, but they are what separate a finished graphic that looks crisp from one that starts lifting at the corners after a few weeks.
For brands managing more than one printed surface, it helps to keep the vehicle graphic aligned with Custom Packaging Products and other branded materials. The sticker itself is small, but it still carries the same color decisions, logo treatment, and type choices as the rest of the identity system.
Cost, pricing, and unit value factors
Sticker pricing depends on size, shape, material, print coverage, finish, and quantity. A simple one-color logo in a large run will cost very differently from a full-color contour-cut rear-window decal in a short run. Setup is the hidden factor in many smaller orders. When the artwork has to be prepared, proofed, and cut in a short quantity, those fixed costs get spread across fewer units.
As a rough benchmark, simple Printed Vinyl Stickers may fall around $0.18 to $0.45 per unit at moderate quantities. Larger automotive graphics, laminated decals, or specialty cuts can sit much higher, especially when the order is small or the artwork is complex. Many suppliers also set minimum charges for proofing, cutting, or short-run production, so the lowest unit price is not always the lowest total cost.
Standard gloss and matte finishes are usually the most practical options. Reflective film costs more, but it can be worth the premium if visibility is part of the goal. Metallic films, specialty textures, and extra-durable laminates raise the price as well. Those upgrades can make sense, but only when they solve a real need rather than simply looking premium on a quote sheet.
| Option | Typical Use | Relative Cost | Value Consideration |
|---|---|---|---|
| Standard printed vinyl | Logos, promotional decals, basic branding | Low to moderate | Good for general use and shorter applications |
| Laminated vinyl | Outdoor vehicles, frequent washing, longer wear | Moderate | Better UV and abrasion resistance |
| Reflective or specialty film | Safety messaging, night visibility, standout branding | Higher | Worth it when visibility or impact is the goal |
| Contour-cut custom shape | Logo-centric designs, premium presentation | Moderate to higher | More polished appearance and cleaner brand presentation |
When comparing quotes, check what is actually included. A slightly higher quote may cover laminate, proofing, trimming, and packaging, while a lower number may not. That difference matters, because a sticker that fails early or arrives poorly packed is more expensive in the long run than one that starts a little higher but lasts as expected.
The same applies to Custom Labels & Tags and related print work. A low price is only useful if the material, adhesive, and finishing match the application.
Process, timeline, and turnaround expectations
Most orders move through five stages: artwork prep, proofing, production, finishing, and shipping. Simple one-color graphics can move faster than full-color jobs, and flat shapes usually print and cut more quickly than complex contour work. Larger quantities also extend the timeline because they require more press time and more inspection.
Once a proof is approved, standard production often takes about 12 to 15 business days. That is a realistic planning window for many orders, though it can stretch with specialty materials, higher quantities, or added finishing steps. If a launch date or vehicle install date is fixed, the timeline should be discussed before approval rather than after.
Some materials need extra lead time. Reflective vinyl, cast vinyl for curves, and laminated outdoor graphics may involve additional steps or curing time. That is not a problem if the schedule allows for it, but it becomes one quickly when the graphics are tied to an event, route start, or fleet rollout.
Timing also affects quality control. When the proof comes back late or the order gets rushed, there is less room to catch spelling issues, spacing errors, or cut-line problems. The cleanest jobs are usually the ones where the buyer gives enough time for a proper proof, a careful print run, and a realistic delivery buffer.
Material, finish, and durability choices
Vinyl type is one of the biggest decisions in the job. Calendared vinyl is the economical choice and works well on flatter surfaces or for shorter service life. Cast vinyl is thinner, more conformable, and better suited to curved panels because it settles more easily around body lines and complex shapes. If the graphic has to flow around the vehicle rather than sit flat on it, cast film is usually the safer choice.
Lamination is more than a cosmetic layer. It adds UV resistance, improves abrasion protection, and makes cleaning easier. For daily-driven vehicles, service fleets, and anything exposed to long sun hours, a laminated decal generally performs better over time. The added cost often pays back in durability, especially when the sticker is expected to survive repeated washing and road grit.
Finish changes the look, but it also changes how the sticker behaves under light. Gloss looks saturated and bright. Matte reduces reflections and can hide small surface imperfections. Satin sits between the two and often gives a balanced result. Reflective film is more specialized, but it has a clear purpose when nighttime visibility matters.
Durability is the real test. Heat can loosen weak adhesive. Rain exposes lifted edges. Car washes can stress low-grade film. Road debris can mark the surface if there is no laminate. Those failures are not random; they usually trace back to material selection, surface prep, or a mismatch between expected wear and the actual film grade.
Removal matters too. Short-term promotional stickers should come off more cleanly than long-term fleet decals. No adhesive is magic after years of UV exposure, but better films and correct installation reduce residue and make cleanup less painful. That is one reason it is worth asking whether the adhesive is intended for temporary or long-term use before the order is placed.
Step-by-step guide to ordering the right sticker
Start with the purpose. A personal decal, a dealership mark, a work vehicle graphic, and a trade-show promotion all need different specifications. The expected lifespan alone can change the film, adhesive, and laminate choice. A six-month campaign should not be spec’d the same way as a logo that needs to stay on a truck for years.
- Measure the exact location. Check width, height, usable flat area, and any obstacles such as handles, seams, sensors, rivets, or trim edges.
- Choose the artwork carefully. Use vector files when possible, keep text readable, and avoid line weights that may disappear after cutting.
- Request a proof. Confirm size, cut line, color intent, finish, and adhesive before production starts.
- Plan the installation. Make sure the surface is clean, dry, and ready, with enough time for careful placement and pressure.
- Check packaging and shipping. Ask how the graphics will be packed so edges are protected in transit.
If placement is uncertain, a photo mockup is worth asking for. Seeing the graphic overlaid on an actual vehicle panel can catch proportion problems that are easy to miss on a blank artboard. A design that feels balanced on screen can still look too small on a van or too busy on a compact car.
Installation prep is not optional. Wax, silicone, dust, and moisture all reduce adhesion. A proper wipe-down with the right cleaner usually solves most surface issues, but fresh paint may need additional cure time before any sticker goes on. That timing depends on the paint system, so it should be confirmed rather than assumed.
For buyers who also handle retail packaging or printed collateral, this process will feel familiar. The strongest brand systems are the ones that stay visually consistent across surfaces, whether the surface is a corrugated box, a label, or a vehicle door.
Common mistakes that cause poor results
The first mistake is sizing from a screen instead of the vehicle. A design that looks correct in a digital mockup may feel too small on a large van or too loud on a compact car. Measure the actual placement area first, then design to that space.
The second mistake is weak source artwork. Low-resolution images, fuzzy logos, and thin text do not hold up well in print or cut vinyl. Small details can close up, break apart, or tear during production, especially on contour-cut shapes with narrow interior spaces.
The third mistake is poor surface prep. Dust, wax, and moisture are behind many adhesion failures, but they are often blamed on the material instead of the installation. Clean, dry panels and firm edge pressure make a bigger difference than most buyers expect.
The fourth mistake is choosing a finish that does not match the application. A high-gloss graphic can look strong under indoor light and distracting in full sun. Matte can be visually calm, but it may not suit a design that needs maximum roadside attention. The finish should serve the use case, not just the mood board.
The fifth mistake is skipping proof review. Misspellings, spacing issues, and cut-line errors are cheapest to fix before production. Once the sticker is printed, those mistakes become avoidable waste.
The proof is not paperwork; it is the last chance to catch a problem before it turns into inventory.
Next steps before you place an order
The easiest way to stay organized is to write a small spec sheet before requesting a quote. Include size, quantity, placement, finish, expected lifespan, and the surface type. If you have a vehicle photo, send that too. It gives the production side a much better basis for recommending the right film and adhesive.
When quotes arrive, compare more than unit price. Look at material grade, laminate, turnaround, proofing, packaging, and any install guidance. Two quotes that look close on paper can represent very different jobs if one includes a higher-grade outdoor film and the other does not.
Ask for the proof, inspect the cut line, and read the text carefully. Then schedule installation after approval, not before. That keeps the production timeline honest and reduces the risk of rushing a job that needs a little more review.
Custom design Stickers for Cars work best when the design, material, and installation plan are decided together. Treated that way, the sticker is not just a printed graphic. It becomes a small, durable piece of branding that has to survive weather, washing, and daily use while still looking intentional.
What are custom design stickers for cars made from?
Most are made from adhesive vinyl designed for automotive use. Optional laminate adds UV resistance, scratch protection, and longer outdoor life. The best material depends on whether the sticker is temporary, decorative, or intended for long-term branding.
How long do car stickers usually last?
Lifespan depends on material, sun exposure, washing habits, and installation quality. Short-term promotional stickers may last months, while higher-grade vinyl can last years. Laminated graphics generally hold up better in daily outdoor use.
Do I need a vector file for custom car sticker artwork?
Vector files are best for clean cutting and sharp scaling. High-resolution raster files can work for printed designs if the resolution is sufficient. Simple layouts, logos, and text-heavy stickers benefit most from vector artwork.
Can custom car stickers be removed without damage?
Many can be removed cleanly if they are high-quality and not over-aged. Heat and proper removal technique help reduce residue and surface stress. Old stickers or low-grade adhesive may leave residue that needs cleaning.
What should I know before ordering custom design stickers for cars?
Confirm the exact size, placement, finish, and quantity before production. Check the proof carefully for spelling, cut lines, and color expectations. Match the sticker material to the vehicle surface, climate, and intended use.


